Home>Devices & Equipment>Subwoofer>Where To Place Subwoofer In Studio

Subwoofer
Where To Place Subwoofer In Studio
Published: January 22, 2024
Discover the best placement for your subwoofer in your studio to optimize sound quality and enhance your listening experience.
(Many of the links in this article redirect to a specific reviewed product. Your purchase of these products through affiliate links helps to generate commission for AudioLover.com, at no extra cost. Learn more)
Table of Contents
- Introduction
- Importance of Subwoofer Placement in Studio
- Factors to Consider for Subwoofer Placement
- Ideal Locations for Placing Subwoofer in Studio
- Subwoofer Placement Recommendations for Different Studio Setups
- Tips for Achieving Optimal Subwoofer Performance in Studio
- Common Subwoofer Placement Mistakes to Avoid
- Conclusion
Introduction
A subwoofer is an essential component of a studio setup for audio professionals and enthusiasts alike. It is designed specifically to handle low-frequency sounds and reproduce deep bass tones that regular speakers may struggle to deliver. The placement of a subwoofer in a studio is crucial for achieving optimal sound quality and accuracy.
When it comes to subwoofer placement, there are several important factors to consider. The position of the subwoofer can greatly impact the overall sound balance, imaging, and bass response in a studio environment. By strategically placing the subwoofer, you can ensure that the low-frequency sounds are accurately reproduced and integrated with the rest of the audio spectrum.
In this article, we will explore the importance of subwoofer placement in a studio and provide recommendations for achieving optimal performance. Whether you are setting up a home recording studio or a professional mixing room, understanding the principles of subwoofer placement can significantly improve your listening experience and the quality of your audio productions.
By placing the subwoofer in the right location and considering the room acoustics, you can avoid issues such as excessive bass buildup or uneven bass response. Furthermore, strategic subwoofer placement can help minimize the interaction between the subwoofer and the room’s resonant frequencies, resulting in cleaner and more accurate bass reproduction.
It is important to note that there is no one-size-fits-all approach to subwoofer placement, as it depends on the specific characteristics of your studio space and personal preferences. However, there are some general guidelines and principles that can help you make informed decisions and optimize the placement of your subwoofer.
In the following sections, we will delve into the factors to consider for subwoofer placement, explore ideal locations for placing the subwoofer in a studio, provide recommendations for different studio setups, offer tips for achieving optimal subwoofer performance, and discuss common subwoofer placement mistakes to avoid. Let’s dive in and learn how to optimize your studio’s subwoofer placement for exceptional audio reproduction.
Importance of Subwoofer Placement in Studio
The placement of a subwoofer in a studio is of utmost importance to achieve accurate and balanced low-frequency reproduction, which is crucial for an immersive and professional audio experience. A well-placed subwoofer ensures that the deep bass frequencies are seamlessly integrated with the rest of the audio spectrum and that the overall sound remains focused and cohesive.
One primary reason for paying careful attention to subwoofer placement is to achieve proper bass response throughout the listening area. Bass frequencies are sensitive to room acoustics and can easily become uneven or distorted if the subwoofer is not positioned correctly. By understanding the principles of subwoofer placement, you can minimize issues like bass build-up, null spots, and resonant frequencies that can negatively impact your audio mixing decisions.
Another critical aspect of subwoofer placement is achieving accurate imaging and sound localization. When the subwoofer is properly positioned, it helps create a seamless soundstage, where the low-frequency sounds blend harmoniously with the mid and high frequencies. This ensures that instruments and vocals are accurately placed in the stereo image, creating a more realistic and immersive listening experience.
Additionally, subwoofer placement affects the overall balance and tonal accuracy of the audio playback. In a well-balanced mix, the bass frequencies should neither overpower nor be overshadowed by the other elements of the music. By placing the subwoofer in an optimal location, you can ensure that the low frequencies are present and impactful without overwhelming the rest of the audio content.
Proper subwoofer placement also helps in dealing with room modes and standing waves, which are common issues in studio environments. Often, rooms have specific resonant frequencies where certain bass frequencies are emphasized or canceled out. By strategically positioning the subwoofer, you can minimize these room resonances and achieve a more accurate and reliable bass response.
It’s important to note that subwoofer placement is not a one-time set-and-forget task, but an ongoing process that requires experimentation and fine-tuning. Even after finding an initial placement that seems satisfactory, it’s worth spending time adjusting the subwoofer’s position and listening carefully to the changes in sound to achieve the optimal placement for your specific studio environment.
In the following sections, we will explore the various factors to consider for subwoofer placement, including room acoustics, ideal locations within the studio, and specific recommendations for different studio setups. By understanding and implementing these guidelines, you can optimize the performance of your subwoofer and elevate the sonic quality of your studio recordings and mixes.
Factors to Consider for Subwoofer Placement
When determining the placement of your subwoofer in a studio, there are several important factors to consider. Taking these factors into account will help you achieve the best possible bass response and overall sound quality. Here are the key factors to keep in mind:
1. Room size and shape: The dimensions and shape of your studio space play a significant role in subwoofer placement. Different room sizes and shapes can create standing waves and resonant frequencies that affect bass reproduction. Larger rooms generally require more subwoofers or strategic placement to distribute bass evenly, while smaller rooms may require careful positioning to avoid excessive bass buildup.
2. Room acoustics: Assessing the acoustic properties of your room is crucial. Factors such as wall reflections, room modes, and resonances can impact subwoofer placement. Use acoustic treatment materials to mitigate reflections and standing waves. Consider conducting frequency response measurements to identify problematic areas in your room and adjust subwoofer placement accordingly.
3. Listening position: Your listening position should be taken into account when placing the subwoofer. Ideally, the subwoofer should be positioned to provide an even bass response at the primary listening position. Experiment with different subwoofer placements to achieve a balanced and accurate bass experience.
4. Speaker positioning: The placement of your main speakers can influence the placement of the subwoofer. For stereo setups, it is generally recommended to position the main speakers symmetrically, with the subwoofer located near the midline between them. For surround sound setups, follow the guidelines recommended by the speaker manufacturer and ensure that the subwoofer is integrated seamlessly with the rest of the speaker system.
5. Boundary effects: The proximity of the subwoofer to walls, corners, and other boundaries can have a significant impact on bass response. In some cases, placing the subwoofer near a wall or corner can increase bass reinforcement, while in other situations, it may cause excessive bass buildup. Experiment with different positions and move the subwoofer away from walls if needed to achieve a balanced bass response.
6. Subwoofer type and design: Different subwoofers have different design characteristics and low-frequency dispersion patterns. Some subwoofers are designed to be front-firing, while others may have downward-firing or side-firing configurations. These factors can influence the optimal placement of the subwoofer in your studio.
7. Flexibility and experimentation: Subwoofer placement is not an exact science, and it often requires experimentation and fine-tuning to find the ideal position. Don’t be afraid to move the subwoofer around the room, listen carefully, and make adjustments based on the perceived bass response. Trust your ears and make incremental changes until you achieve the desired sound.
By considering these factors and taking the time to properly place your subwoofer, you can create an optimal listening environment where bass sounds are faithfully reproduced and seamlessly integrated with the rest of the audio spectrum. In the next section, we will explore the ideal locations for placing a subwoofer in a studio to achieve the best possible results.
Ideal Locations for Placing Subwoofer in Studio
Choosing the right location for your subwoofer in a studio is crucial for achieving optimal bass response and sound quality. While the ideal placement can vary depending on your specific studio setup and room characteristics, there are a few general guidelines to consider. Here are some ideal locations for placing your subwoofer:
1. Nearfield Placement: One common approach is to place the subwoofer nearfield, which means positioning it close to the listening position. This helps to minimize room reflections and ensures that the bass frequencies reach your ears more directly. Position the subwoofer on the floor, slightly off-center from the main listening position for stereo setups.
2. Midwall Placement: Placing the subwoofer along the midwall of your studio can help create an even bass response throughout the room. The midwall placement involves positioning the subwoofer halfway between the front and back walls of your room. Experiment with different positions along the midwall to find the sweet spot with the most balanced bass response.
3. Corner Placement: Placing the subwoofer in a corner of the room can take advantage of the boundary reinforcement effect, which can increase bass output and energy. However, corner placement can also lead to excessive bass buildup in certain rooms. Carefully adjust the position and experiment to find the optimal corner placement for your studio.
4. Front Wall Placement: Another common placement option is to position the subwoofer against the front wall of your studio. This can help create a solid foundation for the low-end frequencies. Place the subwoofer close to the front wall, but not too close to avoid excessive bass buildup. Experiment with the distance from the wall to find the best placement for your room.
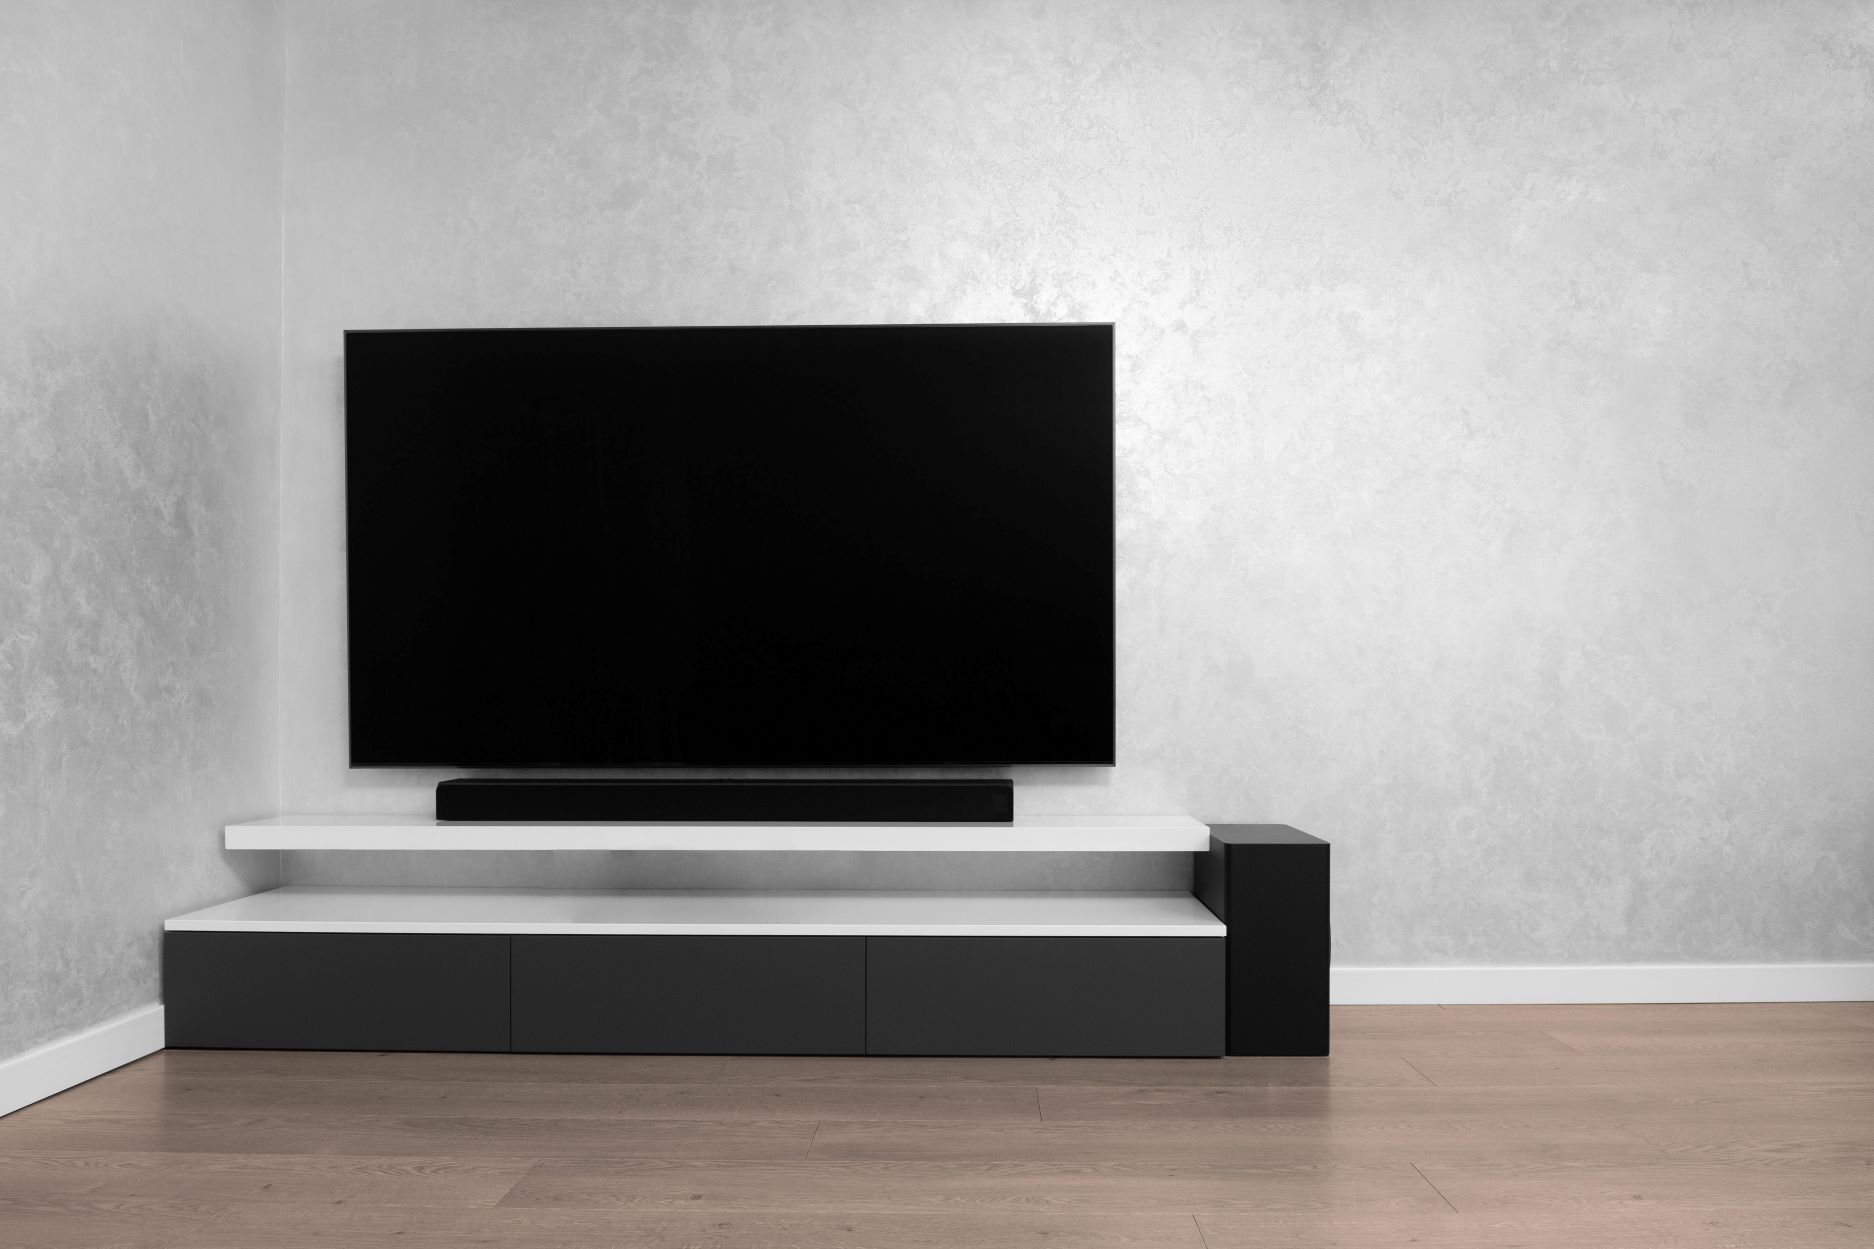
5. Subwoofer Integration with Main Speakers: For stereo setups, placing the subwoofer between the main speakers, either below or above them, can help create a cohesive soundstage and seamless integration between the subwoofer and the main speakers. Adjust the position to achieve a balanced bass response and ensure a smooth transition between the subwoofer and main speakers.
Remember, the ideal subwoofer placement will depend on the specific characteristics of your studio space and personal preferences. It is recommended to experiment with different positions, listening carefully and making adjustments until you find the optimal placement that provides the most accurate and balanced bass response throughout your listening area.
In the next section, we will provide specific subwoofer placement recommendations for different studio setups, including home recording studios, professional mixing rooms, and surround sound environments. These recommendations will help you further optimize the placement of your subwoofer based on your specific needs.
Subwoofer Placement Recommendations for Different Studio Setups
Depending on the type of studio setup you have, there are specific recommendations for subwoofer placement that can enhance your listening experience and improve the overall sound quality. Here are some subwoofer placement recommendations for different studio setups:
1. Home Recording Studios: In a typical home recording studio, space is often limited. The nearfield placement approach is highly recommended, where the subwoofer is positioned close to the listening position. Place the subwoofer on the floor, slightly off-center from the main listening position. Experiment with the exact placement to achieve the most accurate and balanced bass response.
2. Professional Mixing Rooms: Professional mixing rooms usually have larger and more acoustically treated spaces. In this setup, the midwall placement or corner placement can be effective. Experiment with different positions along the midwall or corner to find the spot with the most even bass response. It is also important to adjust the distance from the subwoofer to the walls to avoid excessive bass buildup.
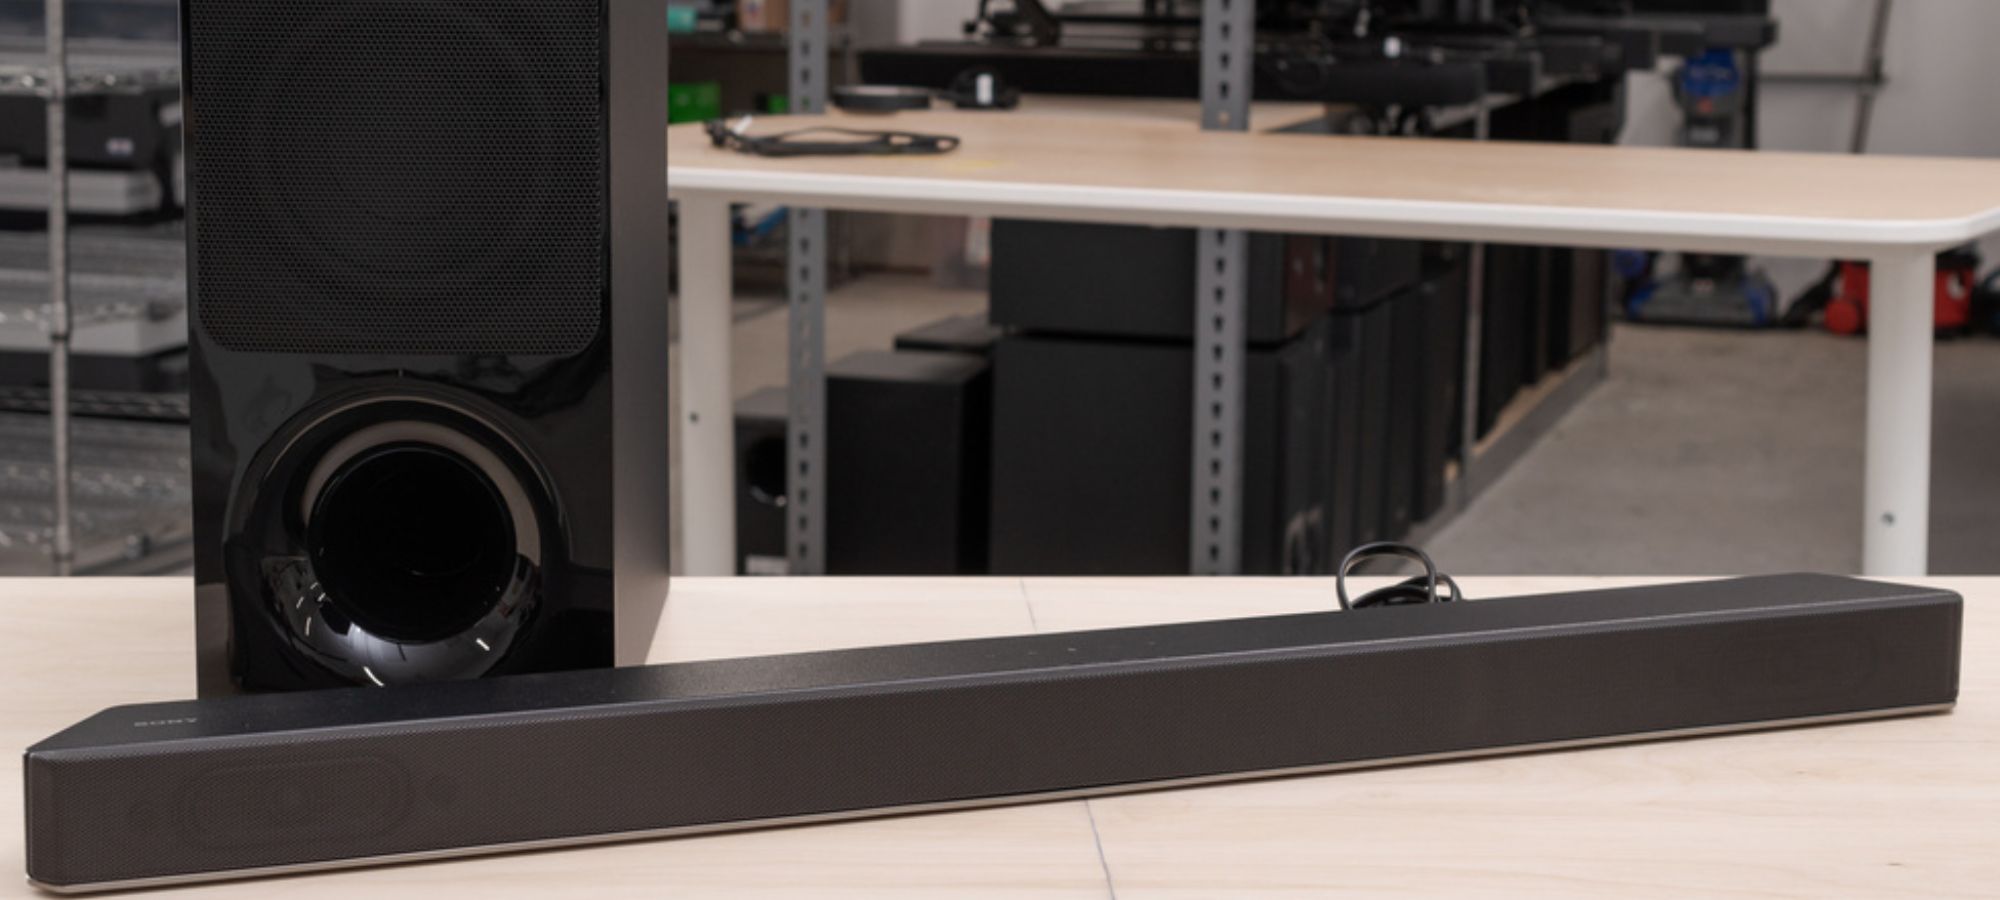
3. Surround Sound Environments: In surround sound setups, the subwoofer placement is crucial to achieve a seamless and immersive audio experience. Follow the recommendations provided by the speaker manufacturer for the specific surround sound configuration. Typically, the subwoofer is placed near the front wall or in a corner to provide a solid foundation for the low-end frequencies. Experiment with the position to ensure a balanced bass response and integration with the other speakers.
4. Studio with Multiple Subwoofers: In some cases, using multiple subwoofers can help distribute bass more evenly throughout the listening area. If you have multiple subwoofers, consider placing them at different points in the room to minimize standing waves and achieve a more uniform bass response. Experiment with the positions and distances between the subwoofers to find the setup that delivers the best sound balance.
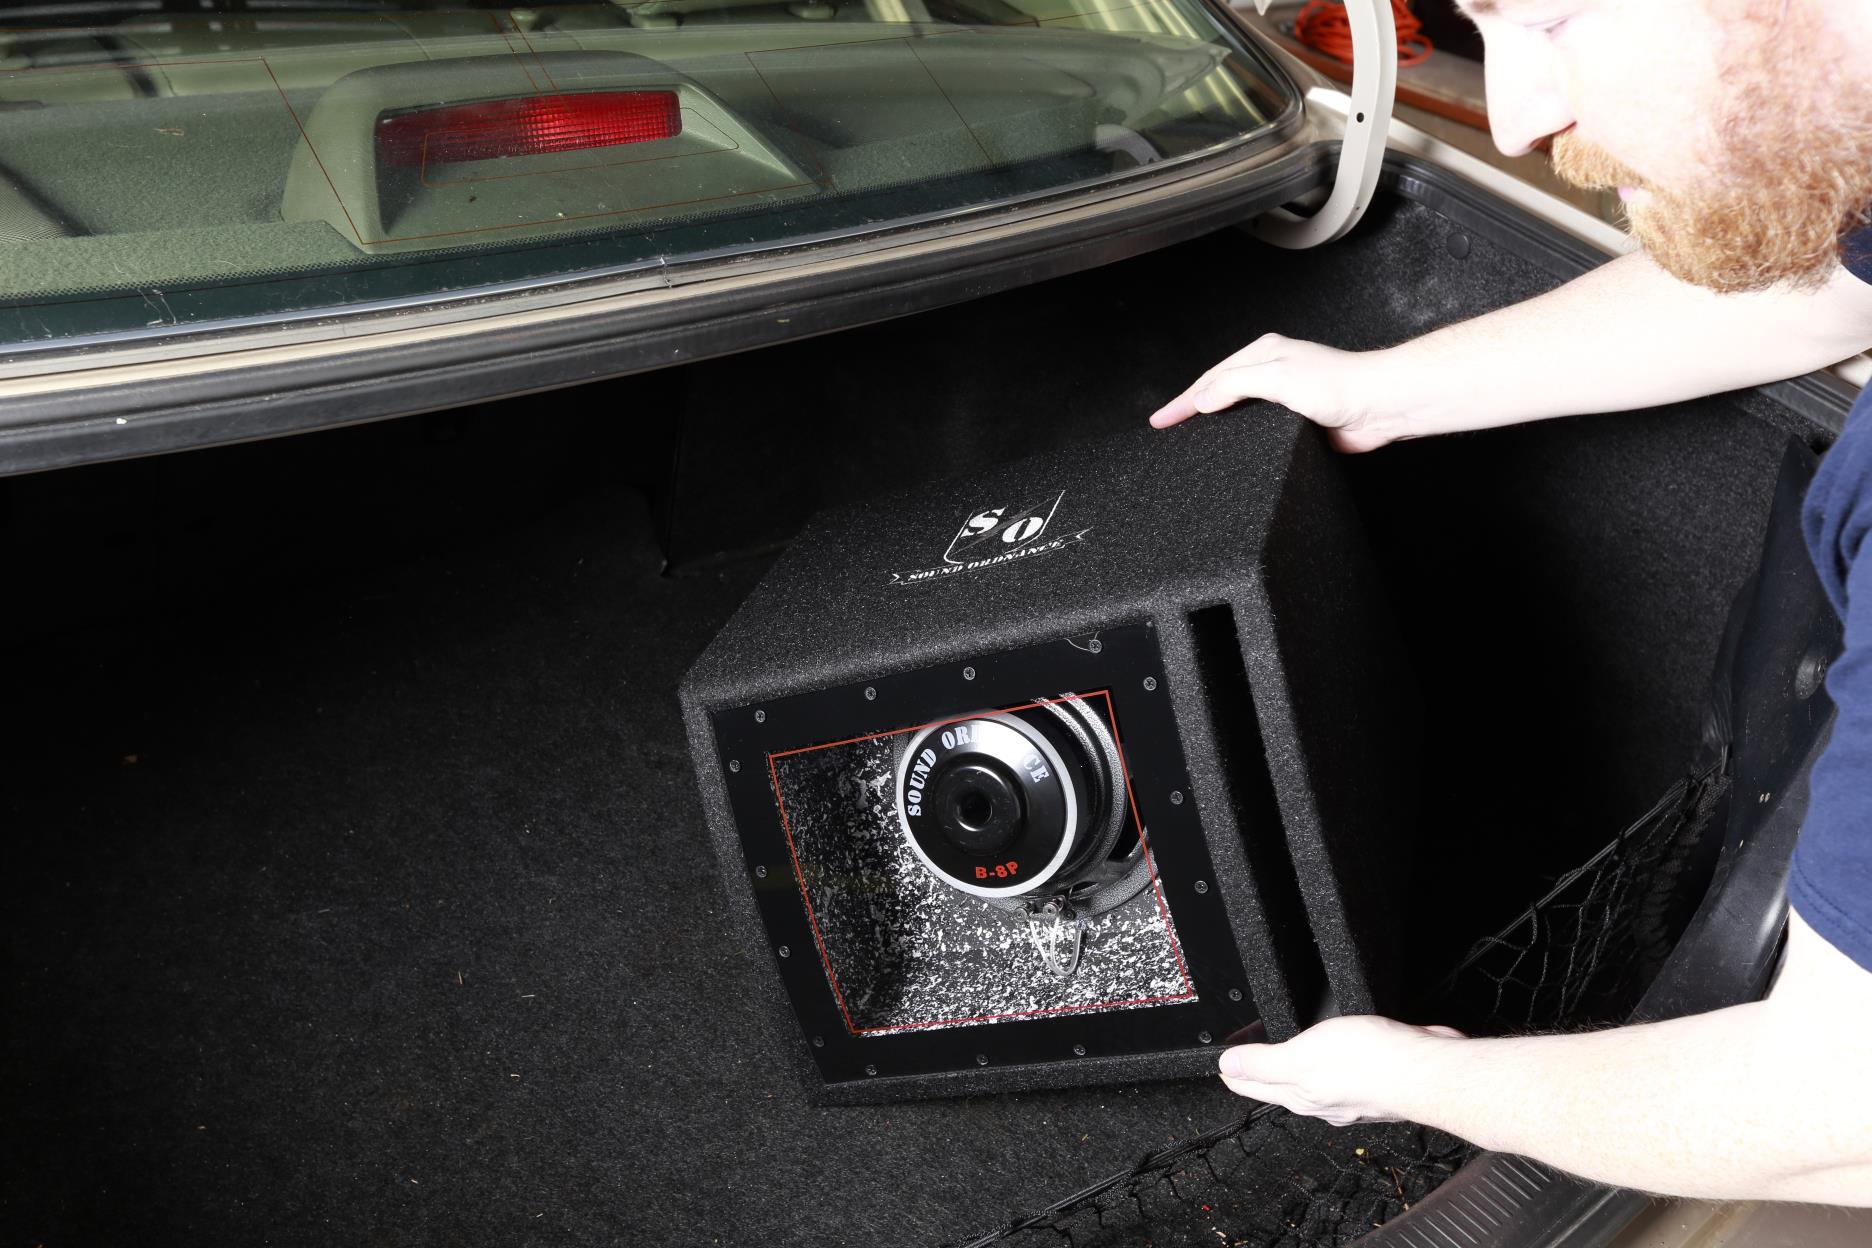
5. Mobile Studios: For mobile studios or setups where portability is essential, consider using compact and portable subwoofers that can easily be positioned near the listening area. Utilize nearfield placement principles and experiment with the subwoofer position to achieve optimal bass response, taking into account the unique characteristics of each venue or space.
Remember that these recommendations serve as general guidelines and can be adjusted based on the specific characteristics of your studio space and personal preferences. Take the time to experiment with different placements and listen carefully to the changes in sound to find the optimal subwoofer placement for your specific setup.
In the next section, we will share some tips for achieving optimal subwoofer performance in a studio. These tips will help you further enhance your subwoofer setup and maximize the quality of your audio productions.
Tips for Achieving Optimal Subwoofer Performance in Studio
To ensure that your studio’s subwoofer delivers optimal performance and enhances the overall sound quality, consider the following tips:
1. Calibrate and integrate: Take the time to calibrate and integrate your subwoofer with your main speakers. Use a sound level meter or calibration software to match the volume levels between the subwoofer and the main speakers. This ensures a balanced and cohesive sound across the entire audio spectrum.
2. Room correction: Consider using room correction software or hardware to address any room-related acoustic issues. These tools can help optimize the subwoofer’s performance by adjusting for room resonances and nulls, resulting in a more accurate bass response.
3. Experiment with subwoofer placement: Don’t be afraid to experiment with different subwoofer positions within your studio. Move the subwoofer around the room and listen for changes in the bass response. Even small adjustments can have a significant impact on the overall sound quality.
4. Consider dedicated subwoofer stands: Using dedicated subwoofer stands can help isolate the subwoofer from the floor, reducing unwanted vibrations and enhancing bass clarity. This can be particularly useful in situations where the subwoofer is placed on a hard or resonant surface.
5. Use subwoofer isolation pads: Placing subwoofer isolation pads underneath your subwoofer helps decouple it from the surface it sits on. This minimizes vibrations and improves bass definition and clarity.
6. Implement bass traps: Install bass traps in your studio to address low-frequency issues caused by room resonances. Bass traps help absorb excessive bass energy and reduce standing waves, resulting in a more accurate and balanced bass response.
7. Listen critically: Develop your critical listening skills by familiarizing yourself with different bass-heavy tracks. Listen carefully to how the bass is reproduced in different frequency ranges and pay attention to any anomalies or inconsistencies. This will help you identify and address any potential issues with your subwoofer’s performance.
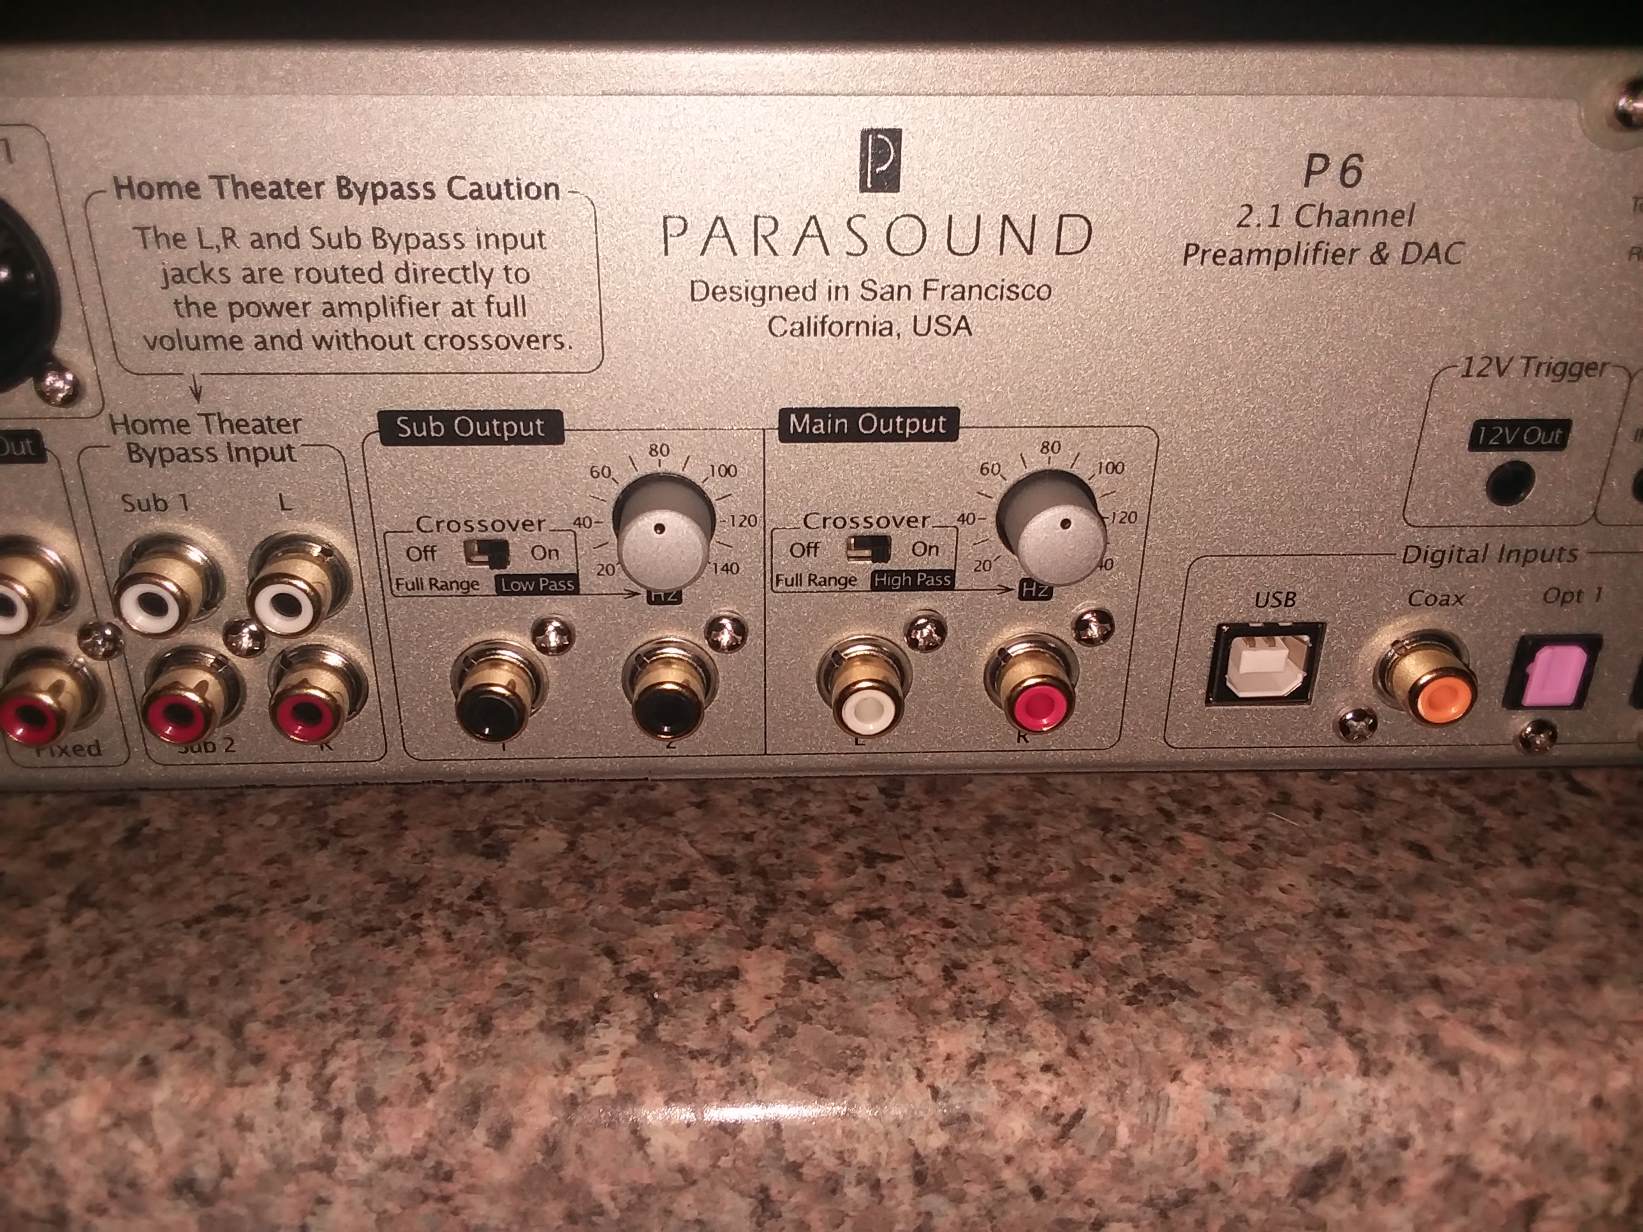
8. Consider a subwoofer crossover: If your studio setup includes a dedicated subwoofer output on your audio interface or mixer, consider using a subwoofer crossover to redirect the low-frequency content specifically to the subwoofer. This can help optimize the performance and integration of your subwoofer with the main speakers.
9. Avoid over-reliance on the subwoofer: While the subwoofer enhances low-frequency reproduction, it’s important not to overuse it. Ensure that the subwoofer is complementing the rest of your audio system and that the bass content is balanced and appropriately integrated with the mid and high frequencies.
By implementing these tips, you can significantly improve the performance of your subwoofer in the studio. Remember that achieving optimal subwoofer performance is a process of trial and error, so take the time to fine-tune and adjust as needed to achieve the best possible sound quality.
In the next section, we will discuss some common subwoofer placement mistakes to avoid to ensure that you achieve the best results in your studio setup.
Common Subwoofer Placement Mistakes to Avoid
While proper subwoofer placement can greatly enhance the sound quality in your studio, there are some common mistakes that should be avoided. By avoiding these pitfalls, you can ensure optimal bass response and achieve a more accurate listening experience. Here are some common subwoofer placement mistakes to avoid:
1. Placing the subwoofer based solely on aesthetics: It may be tempting to position the subwoofer in a convenient or visually appealing spot, but this approach often sacrifices sound quality. Always prioritize the acoustic performance and optimal placement over aesthetics.
2. Misaligning the subwoofer with the main speakers: The subwoofer should be aligned with the main speakers to achieve a cohesive soundstage. Avoid placing the subwoofer too far away or at an angle that creates an imbalance in the stereo image.
3. Ignoring room resonances and reflections: Every room has its unique acoustic characteristics that can affect bass reproduction. Ignoring room resonances and reflections can lead to uneven frequency response and inaccurate bass reproduction. Address these issues with proper acoustic treatment or adjust the subwoofer placement accordingly.
4. Placing the subwoofer too close to a wall or corner: While corner placement can enhance bass output, it can also cause excessive bass buildup and imbalance in certain rooms. Avoid placing the subwoofer too close to walls or corners without considering the impact on bass response. Experiment to find the best compromise between bass reinforcement and balanced sound.
5. Not experimenting with different subwoofer positions: Subwoofer placement is not a one-size-fits-all approach. Experimenting with different positions can reveal the optimal placement for your specific room and setup. Don’t settle for the first position that seems acceptable; explore different options and listen critically to find the sweet spot.
6. Not integrating the subwoofer with the main speakers: To achieve a cohesive sound, it is essential to calibrate and integrate the subwoofer with the main speakers. Ensure that the volume levels are properly balanced using a sound level meter or calibration software.
7. Ignoring the listening position: The position where you typically sit or stand to listen is crucial for accurate bass reproduction. If the subwoofer is not placed with respect to the listening position, the bass response may be inconsistent throughout the room. Adjust the subwoofer position to achieve an even bass response at the primary listening spot.
8. Not considering the room size and acoustics: Different room sizes and shapes can have a significant impact on subwoofer placement. The room’s dimensions, surface materials, and acoustic treatment should be taken into account when determining the best placement for the subwoofer. Avoid neglecting these factors, as they greatly affect the bass reproduction in your studio.
By being mindful of these common subwoofer placement mistakes, you can avoid potential issues and optimize the performance of your subwoofer in your studio setup. Taking the time to properly position the subwoofer can greatly enhance the accuracy and impact of the low-frequency content in your audio productions.
In the final section, we will conclude our discussion on subwoofer placement and summarize the key takeaways to remember when setting up your studio’s subwoofer.
Conclusion
Proper subwoofer placement is crucial for achieving optimal sound quality and bass performance in a studio environment. By considering factors such as room size, acoustics, and listening position, you can strategically position the subwoofer to achieve a balanced and accurate bass response.
Throughout this article, we discussed the importance of subwoofer placement and explored various recommendations for different studio setups. We also provided tips for achieving optimal subwoofer performance and highlighted common placement mistakes to avoid.
Remember that subwoofer placement is not a one-size-fits-all approach. Each studio space is unique, and what works for one setup may not be applicable to another. Experimentation, careful listening, and adjustments are key to finding the optimal subwoofer placement for your specific studio environment.
By meticulously placing the subwoofer, considering room acoustics, integrating it with the main speakers, and avoiding common placement mistakes, you can ensure that your studio’s subwoofer delivers accurate, balanced, and immersive bass reproduction.
Take your time to understand the characteristics of your room, experiment with different positions, and make adjustments as needed. By doing so, you can achieve a well-integrated and cohesive soundstage that enhances your audio productions and elevates your overall listening experience.
Remember, achieving optimal subwoofer placement is a continuous process of refinement. Regularly revisit and fine-tune your subwoofer position as you make changes to your studio setup or encounter new acoustic challenges.
Incorporating these best practices for subwoofer placement will help you maximize the potential of your studio’s subwoofer, bringing depth, impact, and accuracy to your audio productions.


