Home>Devices & Equipment>Subwoofer>How To Connect A Subwoofer To Studio Monitors
Subwoofer
How To Connect A Subwoofer To Studio Monitors
Published: January 22, 2024
Learn how to connect a subwoofer to your studio monitors for enhanced bass performance and immersive audio experience. Step-by-step guide for seamless integration.
(Many of the links in this article redirect to a specific reviewed product. Your purchase of these products through affiliate links helps to generate commission for AudioLover.com, at no extra cost. Learn more)
Table of Contents
Introduction
Welcome to the world of immersive audio! Adding a subwoofer to your studio monitors can significantly enhance the low-frequency response of your audio system, allowing you to experience the full depth and impact of your music, movies, or gaming sessions. Subwoofers are designed to reproduce the low-frequency sounds, such as deep bass and booming drums, with precision and power.
Connecting a subwoofer to your studio monitors may seem like a daunting task, but fear not! In this article, we will guide you through the step-by-step process of connecting a subwoofer to your studio monitors, ensuring that you achieve optimal audio performance.
Before we dive into the details, it’s essential to understand the importance of a subwoofer in your audio setup. While studio monitors excel at delivering clear and detailed sound in the mid and high-frequency ranges, they typically lack the ability to reproduce deep bass frequencies accurately. By incorporating a subwoofer into your setup, you can fill in this sonic gap and experience a more balanced and immersive audio experience.
Whether you are a music producer, an audio engineer, or an avid music listener, adding a subwoofer to your studio monitors can take your audio experience to new heights. So, let’s get started and learn how to connect a subwoofer to your studio monitors!
Step 1: Gather the necessary equipment
Before diving into the process of connecting your subwoofer to your studio monitors, it’s crucial to ensure that you have all the necessary equipment at hand. Here’s a list of items you’ll need:
- Subwoofer: Select a subwoofer that suits your audio needs and budget. Consider factors such as the subwoofer’s size, power output, and frequency response.
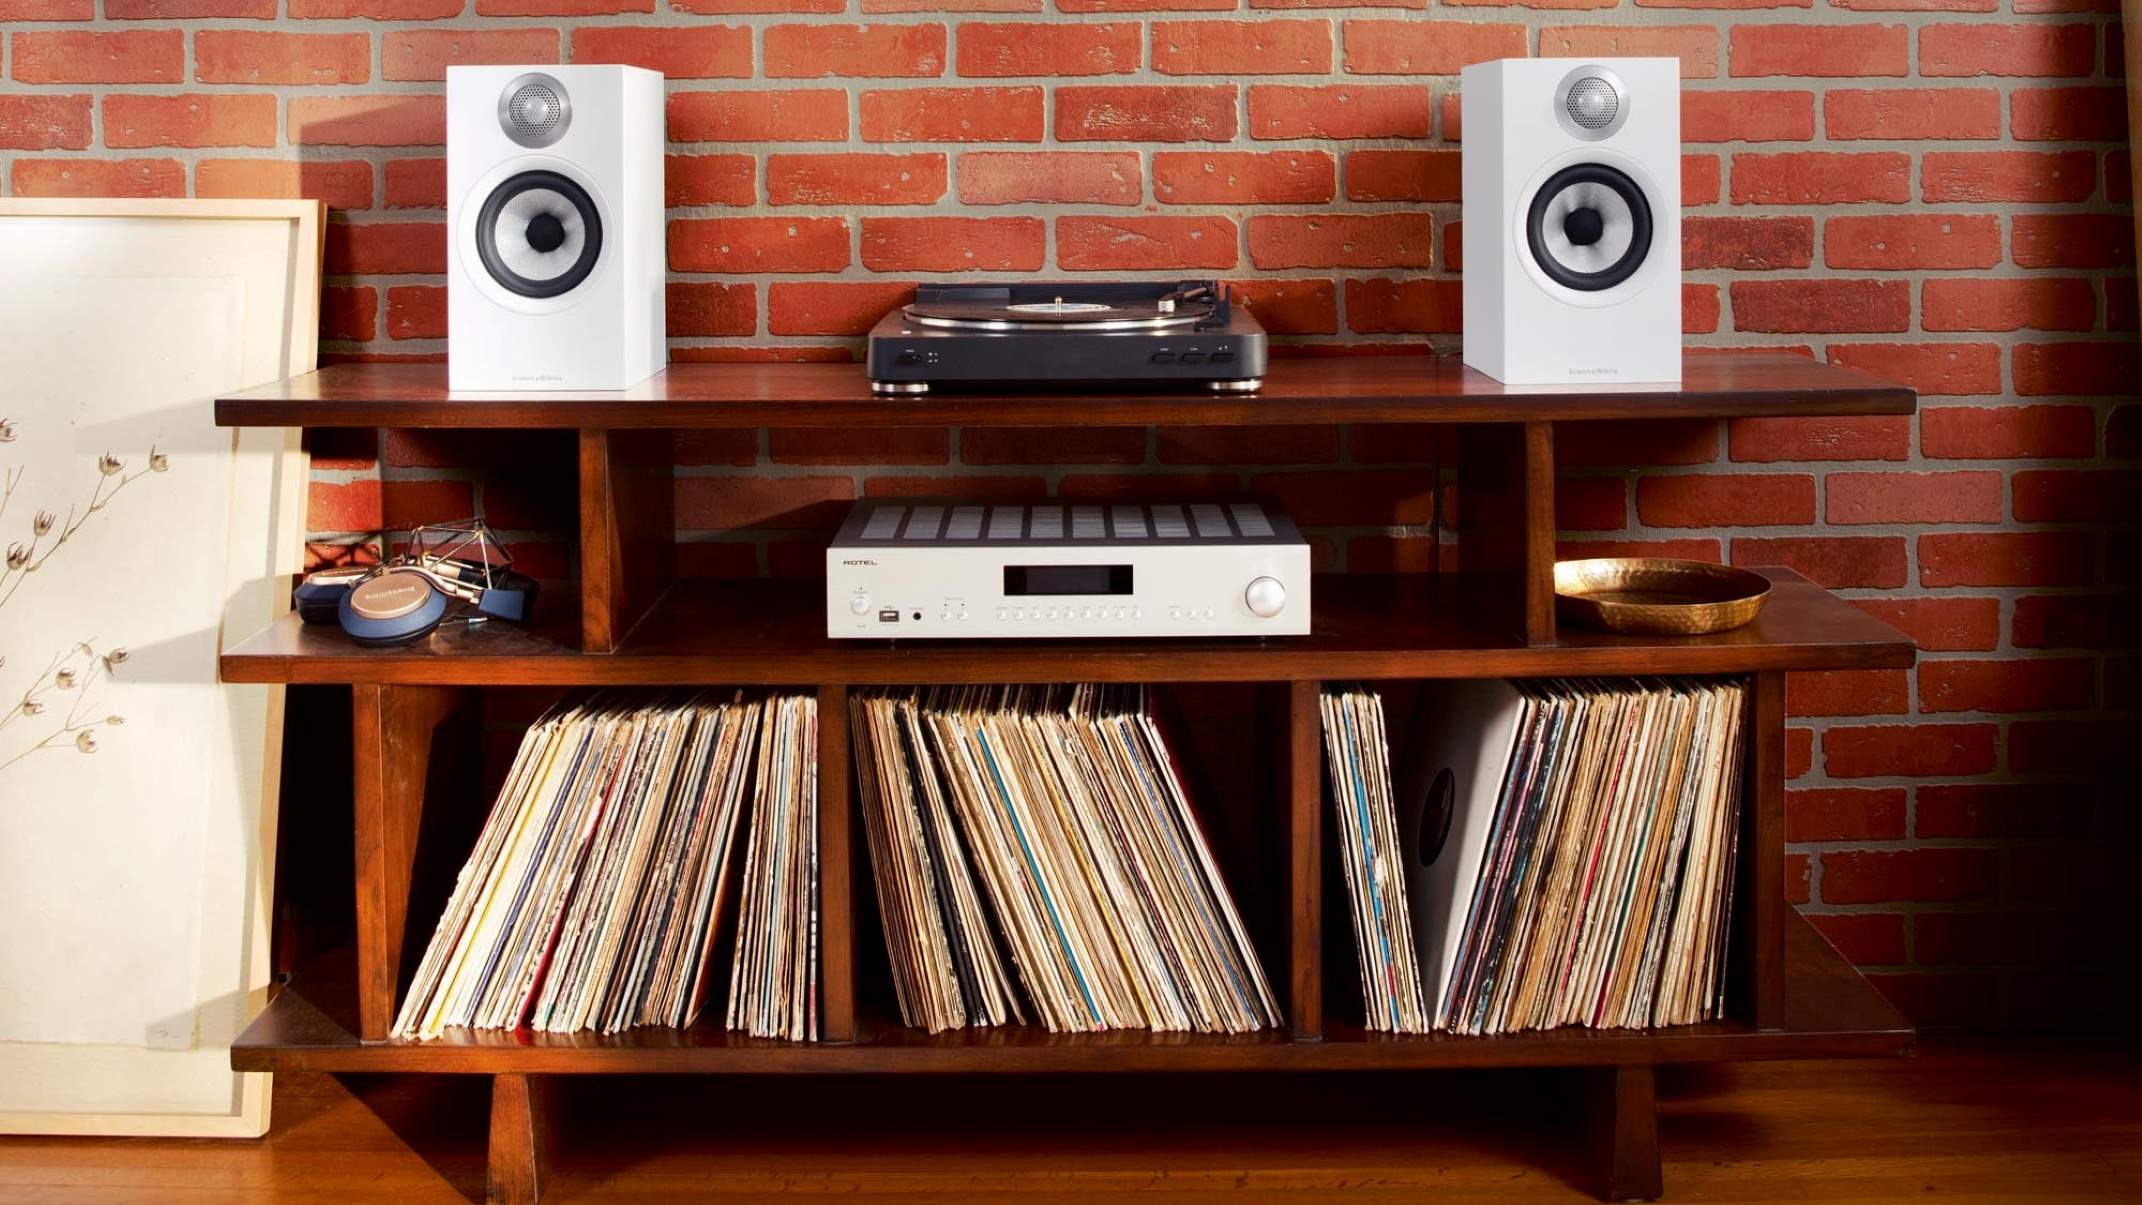
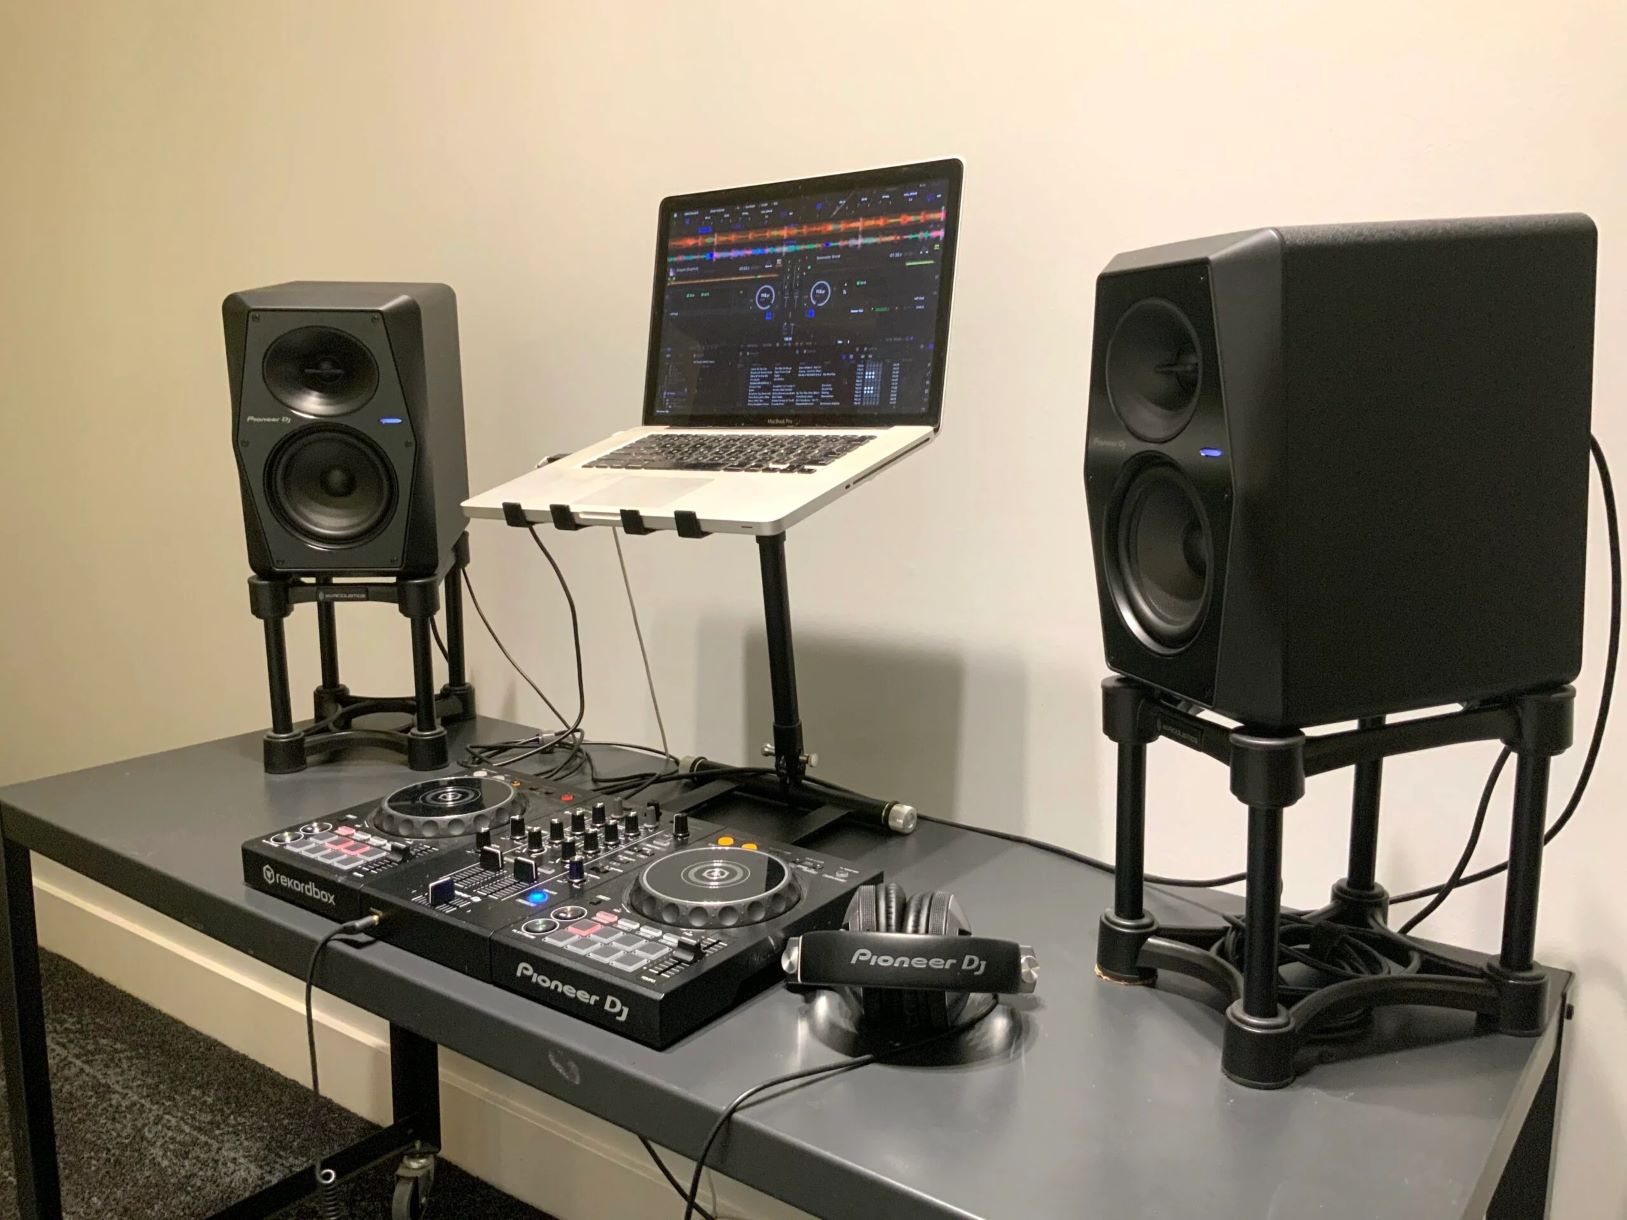
- Studio Monitors: Make sure you have a pair of studio monitors that you intend to connect the subwoofer to.
- Audio Cables: You’ll need appropriate audio cables to make the necessary connections. The type of cables required will depend on the inputs and outputs available on both the subwoofer and studio monitors. Common options include RCA, XLR, or quarter-inch cables.
- Power Cables: Ensure you have power cables for both the subwoofer and studio monitors to provide them with the necessary electrical power.
- User Manuals: Keep the user manuals for both the subwoofer and studio monitors handy. These will provide specific instructions and diagrams for connecting and setting up the devices.
Once you have gathered all the required equipment, you’re ready to move on to the next step: positioning the subwoofer.
Step 2: Positioning the Subwoofer
Proper placement of the subwoofer plays a crucial role in achieving optimal sound quality and bass response. Here are some guidelines to help you position your subwoofer:
- Consider the room layout: Take into account the layout of your room and the available space. Ideally, you want to place the subwoofer near a wall or corner to take advantage of boundary reinforcement, which can enhance the bass response. However, avoid placing it too close to corners or walls, as it may result in excessive bass buildup.
- Avoid obstructions: Ensure that there are no obstacles or furniture blocking the path between the subwoofer and the listening area. This will allow the bass frequencies to travel freely and reach your ears without interference.
- Experiment with placement: Don’t be afraid to experiment with different subwoofer positions. Small adjustments can make a significant difference in bass quality. Try placing the subwoofer in different locations within the room and listen for the most balanced and satisfying bass response.
Once you have found an optimal position for your subwoofer, you’re ready to move on to the next step: connecting the subwoofer to the studio monitors.
Step 3: Connecting the Subwoofer to the Studio Monitors
Now that you have positioned your subwoofer, it’s time to establish the connection between the subwoofer and your studio monitors. Follow these steps to ensure a proper and secure connection:
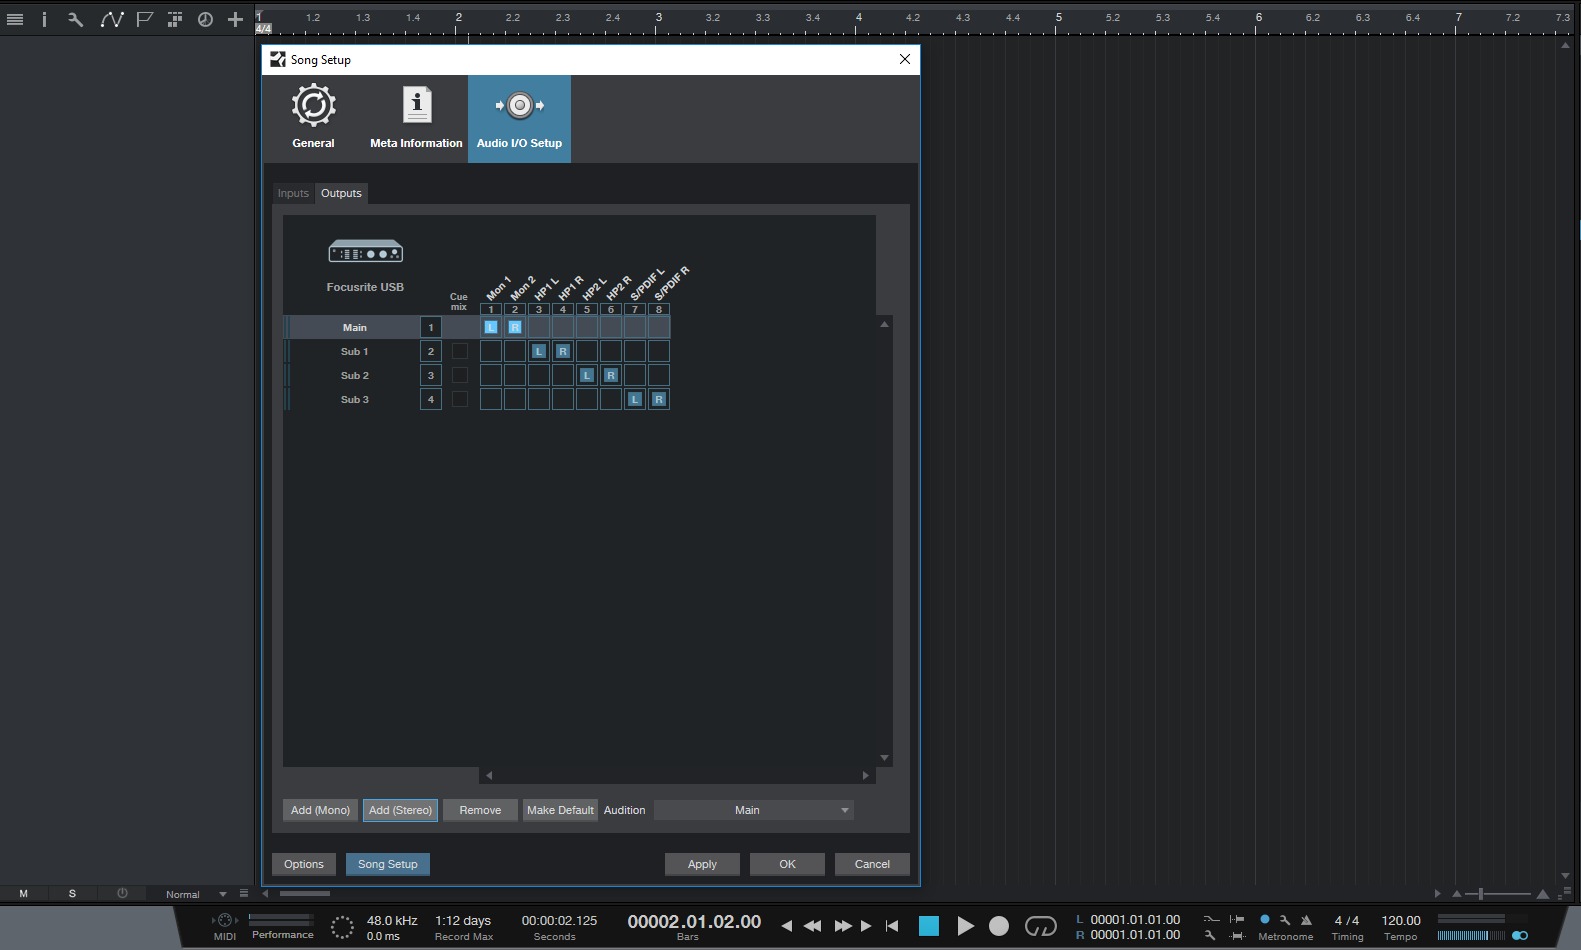
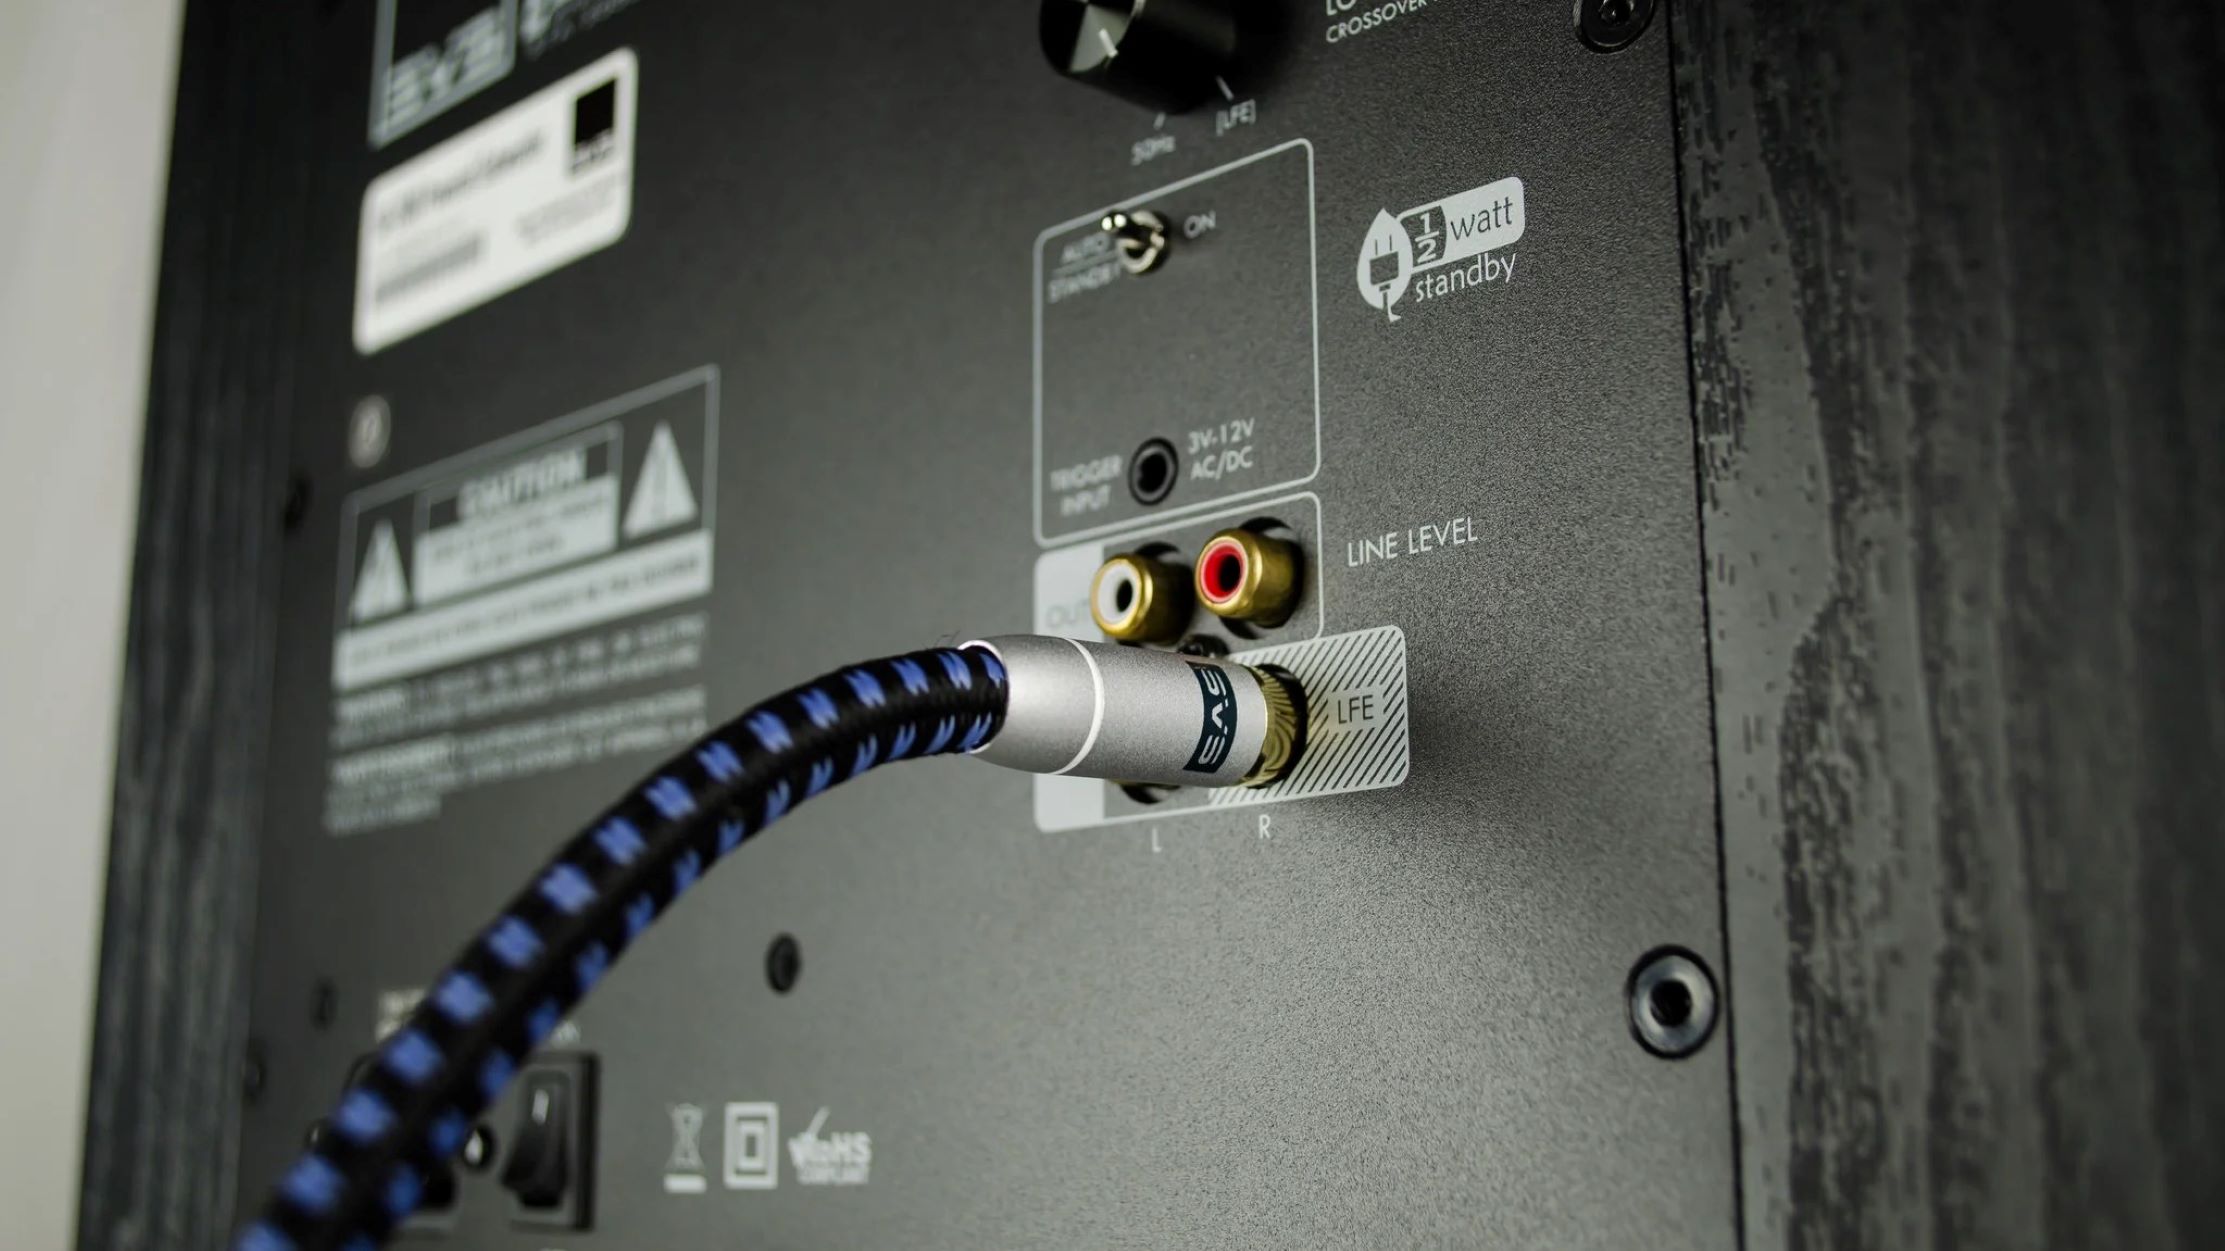
- Identify the input and output ports: Locate the input and output ports on both the subwoofer and the studio monitors. The subwoofer will have a dedicated input for connecting to the audio source and output ports for connecting to the studio monitors.
- Choose the appropriate audio cables: Select the audio cables that match the input and output ports of your subwoofer and studio monitors. Common options include RCA, XLR, or quarter-inch cables. If you’re unsure about the compatibility, refer to the user manuals of your devices or consult the manufacturer’s website.
- Make the connections: Connect one end of the audio cable to the subwoofer’s output port labeled “Sub Out” or “LFE Out.” Then, connect the other end of the cable to the input port on your studio monitors labeled “Sub In” or “LFE In.”
- Ensure a secure connection: Check that the cables are firmly plugged into the corresponding ports on both the subwoofer and studio monitors. Loose connections can result in audio distortion or the subwoofer not functioning properly.
- Repeat the process if using multiple studio monitors: If you’re using multiple studio monitors, repeat the connection process for each monitor, ensuring that all are properly connected to the subwoofer.
Once you have successfully connected your subwoofer to the studio monitors, it’s time to move on to the next step: adjusting the subwoofer settings.
Step 4: Adjusting the Subwoofer Settings
After connecting the subwoofer to your studio monitors, it’s important to fine-tune the subwoofer settings to achieve the desired audio balance. Here are some essential adjustments to consider:
- Crossover Frequency: The crossover frequency determines the point at which the subwoofer takes over the reproduction of bass frequencies from the main speakers or studio monitors. Set the crossover frequency to a point where there is a smooth transition between the subwoofer and the main speakers. This can typically be adjusted using a control knob or switch on the subwoofer.
- Phase Alignment: Ensure that the phase of the subwoofer is aligned with the main speakers. This will prevent any phase cancellation or overlap, resulting in a more accurate and cohesive bass response. Most subwoofers have a phase switch or control to adjust the phase alignment.
- Volume Level: Adjust the volume level of the subwoofer to blend seamlessly with the main speakers or studio monitors. Avoid overpowering or overwhelming the overall audio balance by setting the subwoofer volume to a level that complements the rest of the frequency spectrum.
- Room Correction: Depending on the capabilities of your subwoofer, you may have access to room correction features, such as EQ adjustments or automatic calibration. Utilize these features to compensate for any room acoustics or resonances that may impact the subwoofer’s performance.
It’s important to note that the specific settings and controls may vary depending on the make and model of your subwoofer. Refer to the user manual or manufacturer’s guidelines for detailed instructions on adjusting the settings.
Once you have carefully adjusted the subwoofer settings, you’re almost ready to enjoy the enhanced audio experience. But before that, let’s move on to the final step: testing the subwoofer connection.
Step 5: Testing the Subwoofer Connection
After connecting and adjusting the subwoofer, it’s time to test the subwoofer connection to ensure everything is working as intended. Follow these steps to verify the performance of your subwoofer:
- Play audio with prominent bass: Choose audio content that features deep bass frequencies, such as music with heavy basslines or movies with impactful sound effects. This will allow you to assess how well the subwoofer integrates with the studio monitors and enhances the low-end response.
- Listen for balanced bass: Pay attention to the bass response and how it blends with the rest of the audio. The subwoofer should provide a rich and full bass without overpowering or overshadowing the mid and high frequencies. The sound should feel immersive and well-balanced.
- Make further adjustments if necessary: If you notice any issues with the bass response, such as excessive booming or muddiness, you may need to revisit the subwoofer settings and make further adjustments. Fine-tune the volume level, crossover frequency, and phase alignment until you achieve the desired sound quality.
- Reposition if needed: If you find that the bass response is not satisfactory or lacks clarity, you may need to experiment with repositioning the subwoofer. Small changes in placement can have a significant impact on the bass performance, so don’t hesitate to try different configurations and find the optimal position.
By thoroughly testing the subwoofer connection and making any necessary adjustments, you can ensure that your audio setup delivers the best possible low-frequency response and an immersive listening experience.
Congratulations! You have successfully connected and tested your subwoofer to your studio monitors. Now it’s time to sit back, relax, and enjoy your favorite music, movies, or games with enhanced bass that will elevate your audio experience to new heights!
As a final reminder, always refer to the user manuals of your subwoofer and studio monitors for specific instructions and guidelines. Happy listening!
Conclusion
Adding a subwoofer to your studio monitors can transform your audio experience, allowing you to fully appreciate the depth and impact of low-frequency sounds. By following the step-by-step guide outlined in this article, you can confidently connect your subwoofer to your studio monitors and achieve optimal audio performance.
Remember to gather the necessary equipment, position the subwoofer appropriately, and make secure connections using the appropriate audio cables. Take the time to adjust the subwoofer settings, including crossover frequency, phase alignment, and volume level, to achieve a balanced and immersive audio experience.
After making the necessary adjustments, it’s crucial to test the subwoofer connection with audio content that emphasizes bass frequencies. Pay attention to the balance of the bass and its integration with the rest of the audio. If needed, further refine the settings or consider repositioning the subwoofer for optimal bass response.
Always refer to the user manuals of your subwoofer and studio monitors for specific instructions and guidelines tailored to your equipment. Each setup may have its own unique requirements and features.
Now that you have successfully connected your subwoofer to your studio monitors, sit back, relax, and enjoy the enhanced audio experience. Whether you are a music producer, an audio engineer, or simply a lover of great sound, the addition of a subwoofer will elevate your listening experience to new heights, allowing you to truly feel the music and immerse yourself in your favorite movies or games.
So, go ahead and unleash the power of your subwoofer. Hear the deep bass, feel the impact, and enjoy every detail of your favorite audio content like never before!