Home>Events & Info>Opera>How To Make Phantom Of The Opera Mask
Opera
How To Make Phantom Of The Opera Mask
Modified: January 22, 2024
Learn how to make the iconic opera mask from Phantom of the Opera with our step-by-step tutorial. Perfect for theater lovers and opera enthusiasts.
(Many of the links in this article redirect to a specific reviewed product. Your purchase of these products through affiliate links helps to generate commission for AudioLover.com, at no extra cost. Learn more)
Table of Contents
Introduction
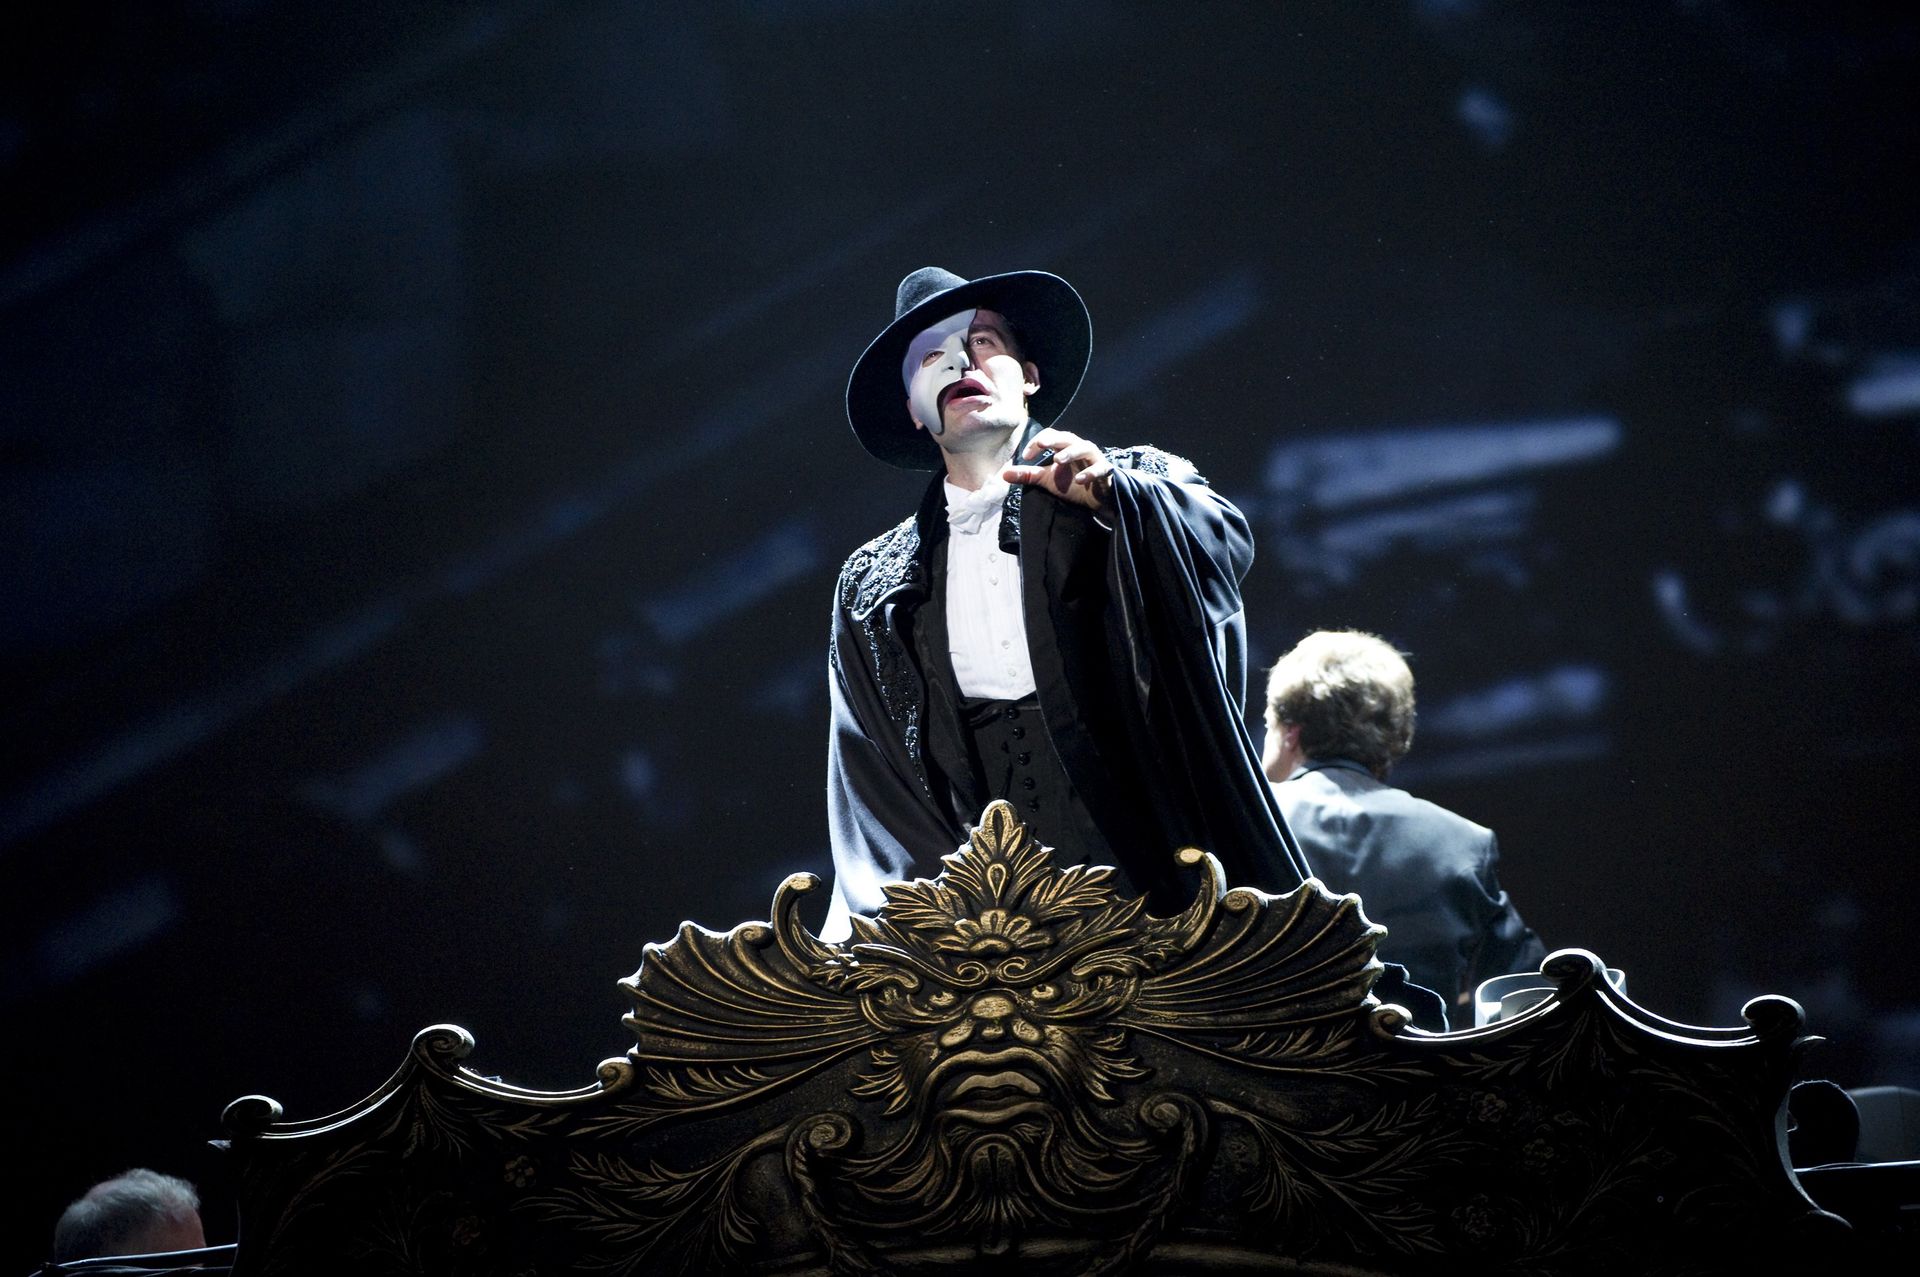
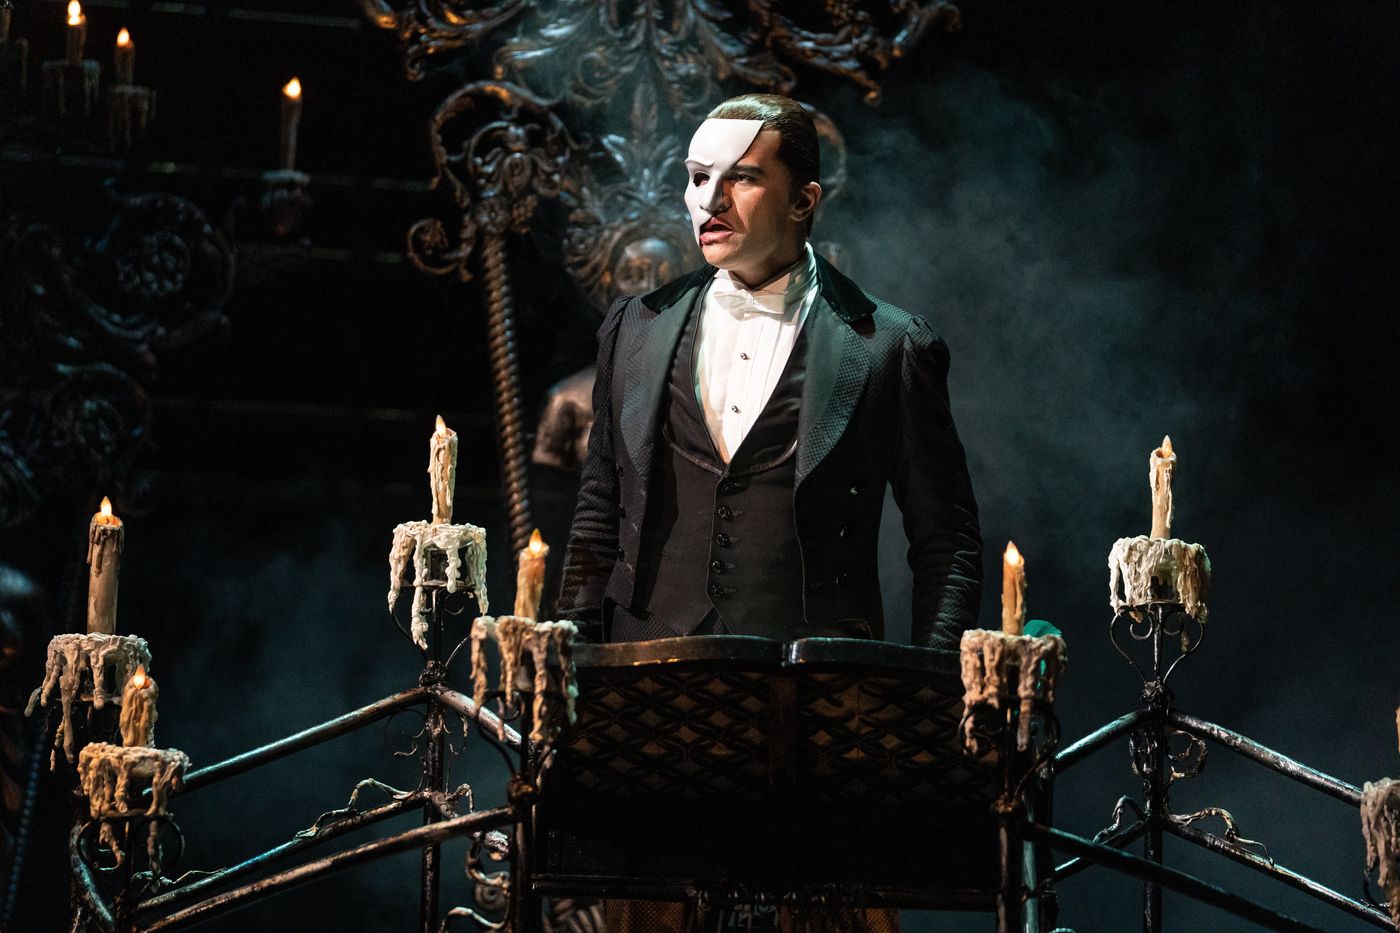
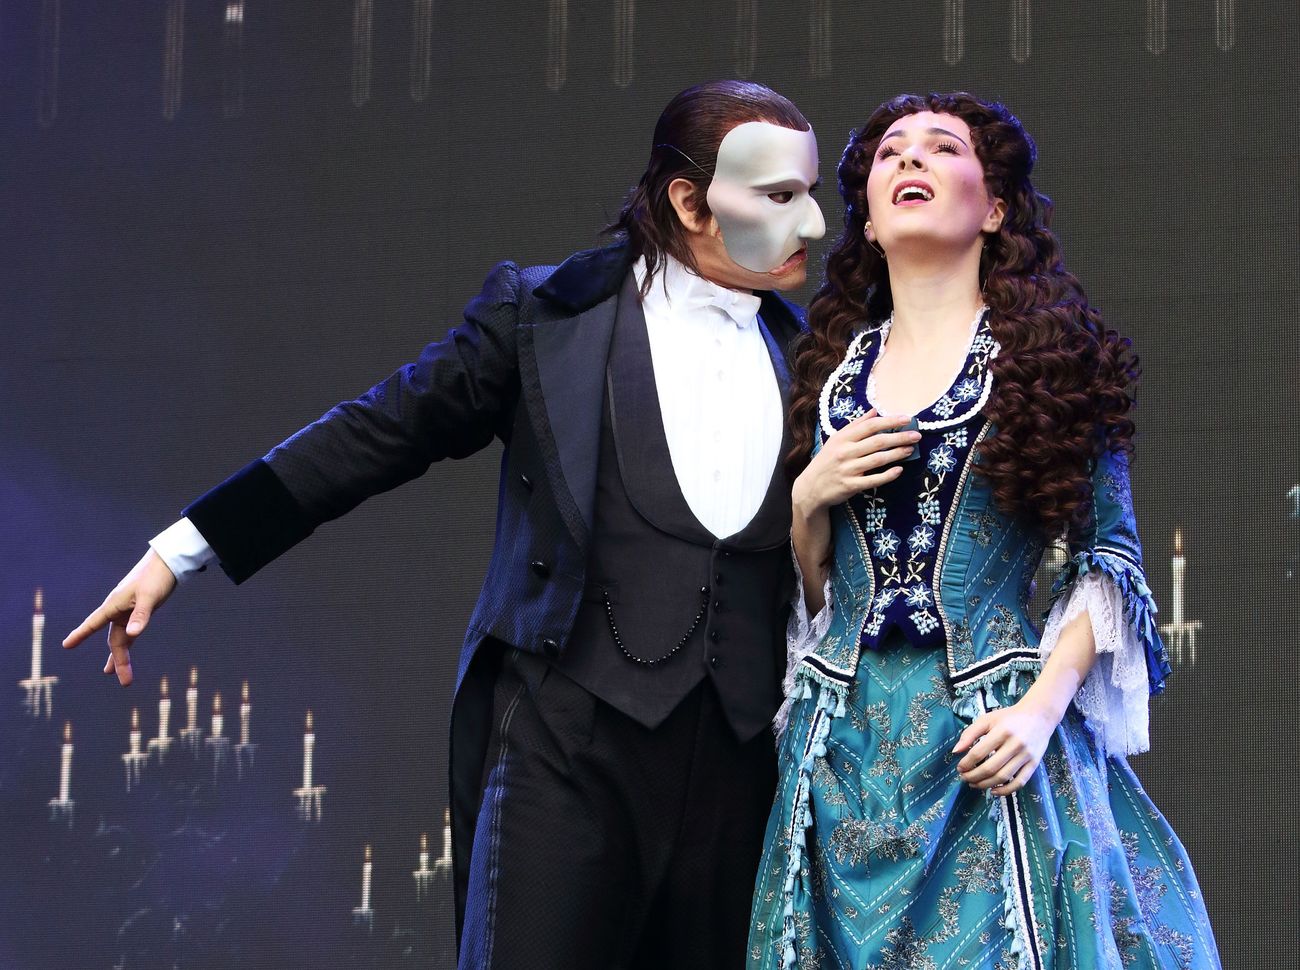
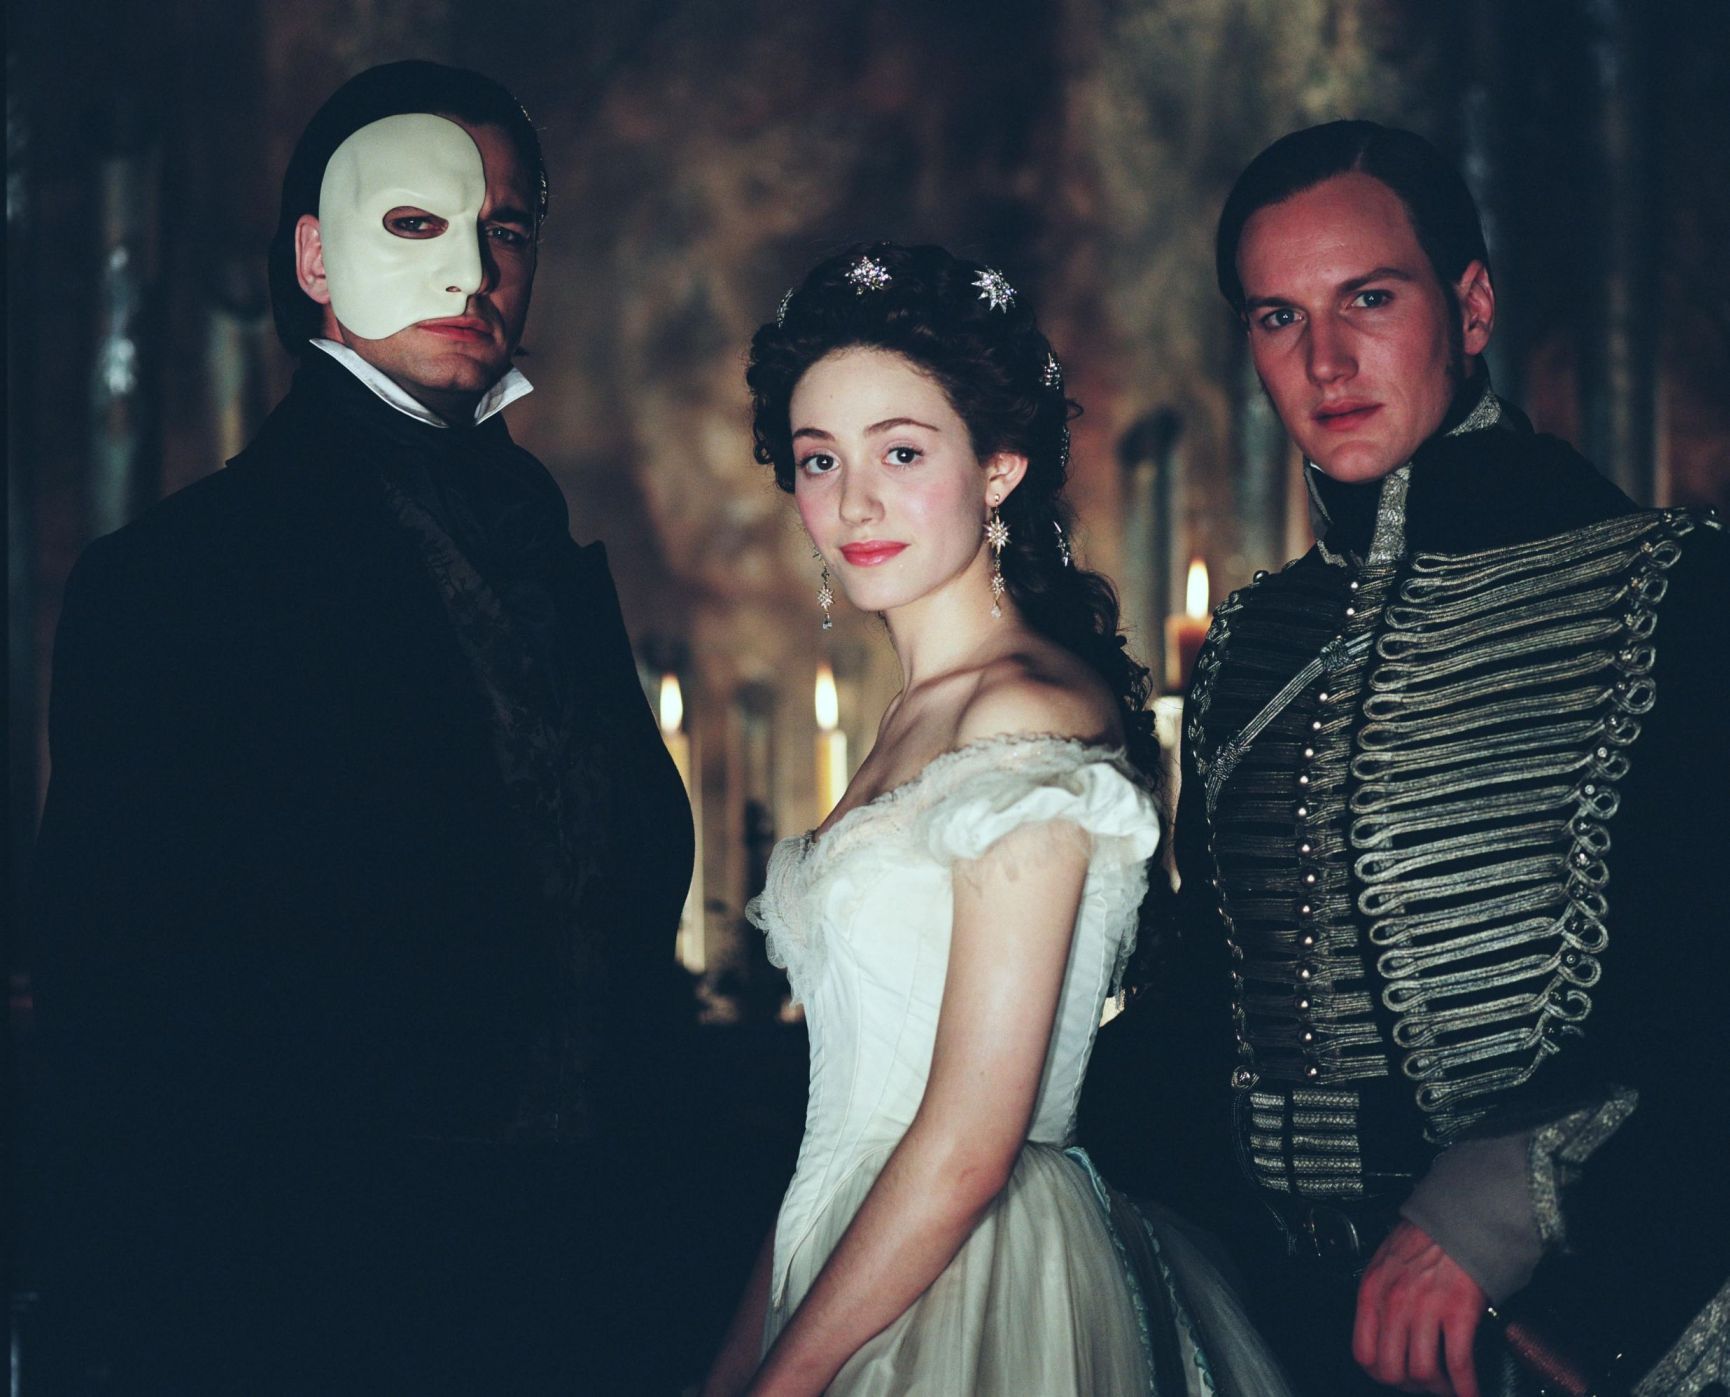
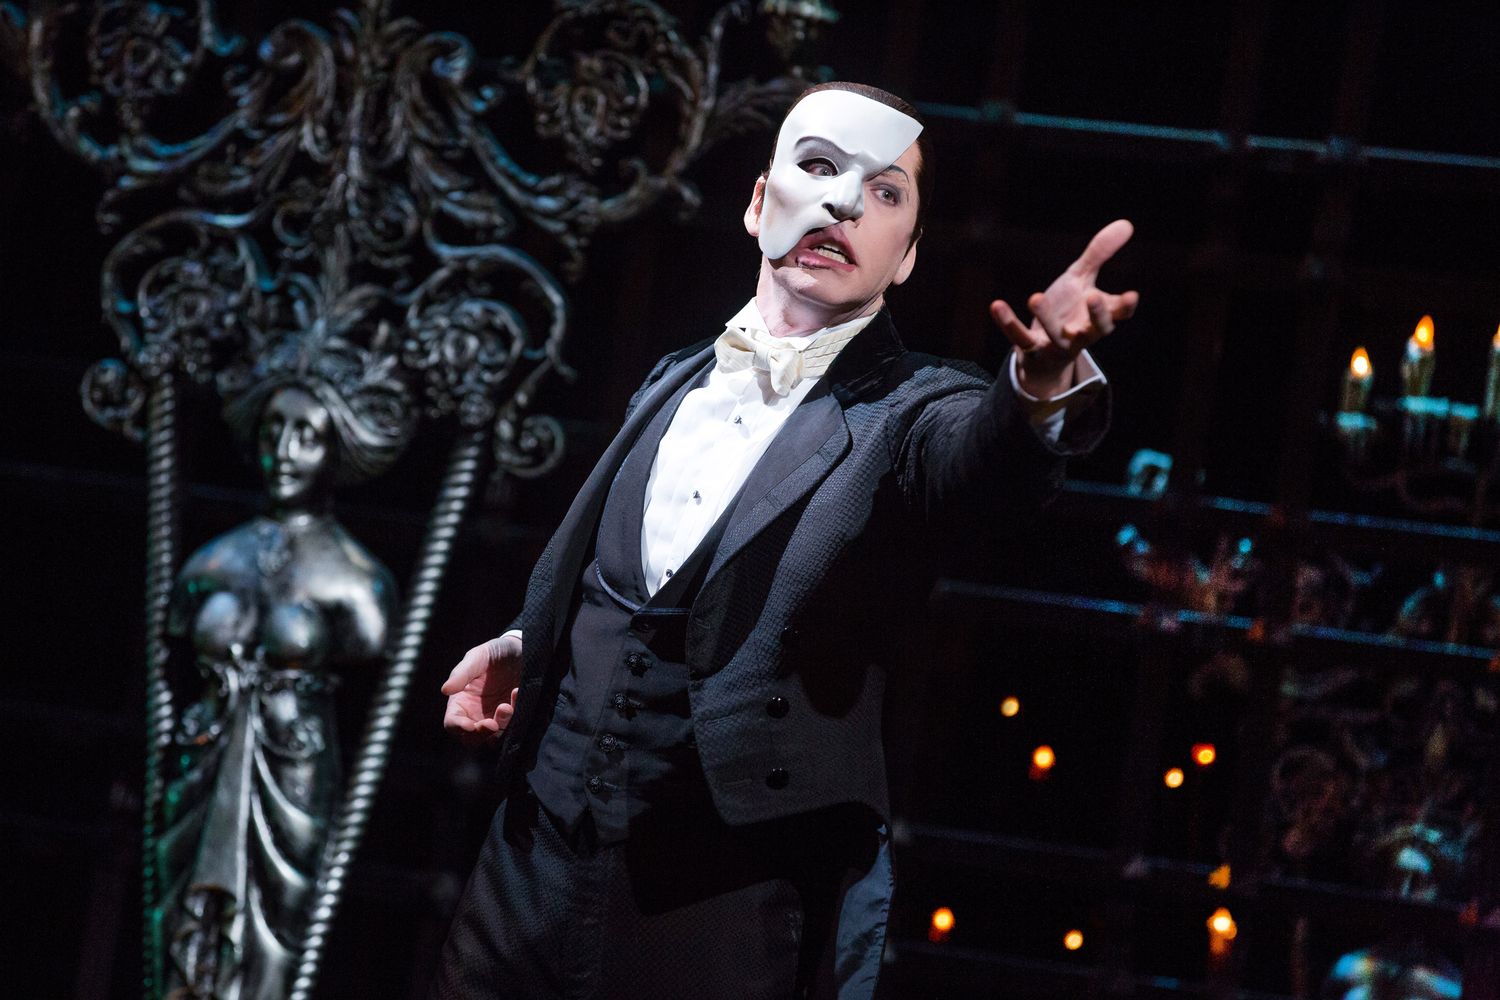
The Phantom of the Opera is a timeless story that has captivated audiences for decades. One of the most iconic symbols from the musical is the Phantom’s hauntingly beautiful mask. Whether you’re a fan of the show, planning a costume party, or simply love the mystique of the Phantom, creating your own Phantom of the Opera mask can be a fun and rewarding project.
In this article, we will guide you through the steps of making your very own Phantom of the Opera mask. From gathering the materials needed to adding the finishing touches, we will provide you with a comprehensive and easy-to-follow tutorial. So, let your creativity shine and let’s get started on crafting the perfect replica of the Phantom’s mask!
Note: This tutorial will focus on creating a wearable mask for costume purposes. We encourage you to exercise caution and be mindful of ventilation and safety measures when working with certain materials, such as paint or adhesives.
Materials Needed
Before you begin creating your Phantom of the Opera mask, gather the following materials to ensure a smooth and enjoyable crafting experience:
- White polymer clay
- Masking tape
- Aluminum foil
- Acrylic paints (black, silver, gold)
- Paintbrushes
- Elastic straps
- Scissors
- Hot glue gun
- Pencil
- Exacto knife
- Clear varnish (optional)
These materials are readily available at most craft stores or can be conveniently ordered online. The use of polymer clay allows for easy molding and shaping of the mask, while acrylic paints provide a vibrant and durable finish. The elastic straps will ensure a comfortable and secure fit for wearing the mask.
Note: Feel free to experiment with different materials and colors to match your desired aesthetic. You can also add rhinestones, feathers, or other embellishments for a more dramatic effect.
Step 1: Creating the Mask Base
To begin, take a fist-sized amount of white polymer clay and knead it until it is soft and pliable. Roll the clay into a ball and flatten it slightly to form the base of the mask. Use your fingers to shape the clay into an oval shape, resembling the size and shape of half of a face.
Next, take a piece of aluminum foil and crumple it into a small ball. Place the aluminum foil ball onto the center of the clay base. This will create a protrusion to give the mask a 3D effect, inspired by the Phantom’s disfigured face.
Gently press the aluminum foil ball into the clay, ensuring it is securely in place. Use your fingers and the palm of your hand to smooth out any cracks or imperfections in the clay.
Once you are satisfied with the shape and smoothness of the mask base, let it air dry according to the instructions on the polymer clay packaging. This usually takes around 24 hours, but drying times may vary. It’s important to allow the clay to fully dry before moving on to the next steps.
Note: If you prefer a faster drying method, you can bake the clay in a preheated oven at a low temperature for a shorter period of time. However, be sure to follow the instructions provided by the manufacturer to avoid any potential damage to the clay or oven.
Step 2: Shaping the Mask
Once the mask base is completely dry, it’s time to shape it to resemble the iconic Phantom of the Opera mask.
Start by using a pencil to sketch the desired shape onto the clay. Referencing images of the Phantom’s mask can help you achieve accurate proportions and curves. Keep in mind that the mask should cover the eye area and extend slightly onto the forehead and cheekbones.
Using an exacto knife, carefully cut along the pencil lines to shape the mask. Take your time and make small, precise cuts to avoid any mistakes. Remember, you can always adjust and refine the shape as you go along.
Once you have cut out the basic shape of the mask, use your fingers or the back of a spoon to smooth out the edges and create a clean finish. Take the time to ensure that the edges blend seamlessly into the surrounding clay.
To add depth and dimension to the mask, use a pencil or a toothpick to gently create lines, curves, and textures on the surface. This will replicate the intricate details found on the Phantom’s mask. Be creative and experiment with different patterns to make your mask unique.
Note: If you make any mistakes or are unhappy with the shape, you can always reshape the clay or start over. Polymer clay is forgiving and allows for multiple attempts.
Step 3: Adding Details
Now that the basic shape of the mask is complete, it’s time to add intricate details that will give it the signature Phantom of the Opera look.
Using a pencil or a toothpick, lightly sketch the design elements onto the mask. These can include swirls, curls, and geometric patterns commonly seen on the Phantom’s mask. Take your time and ensure that the design is symmetrical and visually appealing.
Once you are satisfied with the design, use an exacto knife or a small sculpting tool to carefully carve out the sketched details. Take caution not to apply too much pressure as you don’t want to accidentally break the clay or disrupt the overall shape of the mask.
As you carve out the details, gently remove any excess clay or loose particles. This will help refine the shapes and lines, making them more distinct and prominent. Take breaks and step back to evaluate the progress, ensuring that the details align with your vision.
To enhance the texture and depth of the mask, consider adding small indentations or etchings with the sculpting tool. These subtle touches can give the mask a weathered and worn appearance, reminiscent of the Phantom’s mysterious character.
Once you’ve finished adding the desired details, carefully inspect the mask for any rough or uneven areas. Use your fingers or a smoothing tool to gently smooth out any imperfections and ensure a polished finish.
Note: Don’t be afraid to experiment and personalize your mask by adding your own unique design elements. This is your chance to make it truly one-of-a-kind!
Step 4: Painting the Mask
Now that the mask has been shaped and detailed, it’s time to bring it to life by adding color and character.
Start by applying a base coat of black acrylic paint to the entire surface of the mask. Use smooth, even brushstrokes to ensure a consistent coverage. This black base will provide a dramatic backdrop for the subsequent layers of paint.
Once the black base coat is dry, it’s time to add metallic accents that will give the mask its signature look. Using silver and gold acrylic paints, carefully highlight the raised areas and intricate details of the mask. The silver paint can be used for the swirls and curls, while the gold paint can be applied to specific areas for a touch of luxury.
Consider using a small, fine-pointed brush for precision and control when applying the metallic paints. Take your time and work slowly to achieve the desired effect. Layering the metallic paints can add depth and dimension to the mask.
Allow the metallic paint to dry completely before moving on to the next step. This will prevent any smudging or mixing of the colors.
Once the metallic paint is dry, you can further enhance the mask by adding additional details and touches of color. Consider using black paint to outline the edges of the mask and define the shapes and curves. This will make the details stand out even more.
If desired, you can also use other colors to add personal touches and create subtle shading. For example, dabbing a small amount of brown or gray paint along the edges can give the mask an aged and weathered appearance.
Lastly, for long-lasting protection and a subtle shine, you may choose to apply a thin layer of clear varnish over the painted surface of the mask. This will seal the paint and help preserve its vibrancy over time.
Note: Take your time when painting the mask and work in layers. This will allow you to build up the colors gradually and achieve the desired effect.
Step 5: Attaching Elastic Straps
To ensure a secure and comfortable fit, elastic straps will be attached to the Phantom of the Opera mask. Follow these steps to complete this important final touch:
1. Measure and cut two pieces of elastic strap that will comfortably fit around your head. The length will vary depending on personal preference and head size, but a good starting point is around 12 inches for each strap.
2. Using a hot glue gun, apply a small amount of glue to one end of each elastic strap. Press the glued end firmly onto the backside of the mask, just above the ear area. Repeat this process for the other strap, making sure they are equidistant from the center of the mask.
3. Hold the straps in place for a few seconds to allow the glue to dry and bond with the mask. Test the tension of the straps by gently pulling on them to ensure they are securely attached.
4. Try on the mask and adjust the elastic straps as necessary to achieve a comfortable and snug fit. Trim any excess strap length if needed, leaving enough to create overlap for proper attachment.
5. Apply a small dot or line of hot glue to the opposite end of each elastic strap, creating a secure bond with the mask. Press the glued end onto the backside of the mask, ensuring it is positioned in a way that allows for easy access and adjustment.
6. Let the hot glue dry completely before handling or wearing the mask. This usually takes just a few minutes, but refer to the instructions provided with your hot glue gun for specific drying times.
Once the elastic straps are securely attached, you can confidently wear your Phantom of the Opera mask without worry.
Note: Take care not to apply too much hot glue, as it may seep through the mask or create uncomfortable bumps against your skin. Use small, controlled amounts to secure the straps in place.
Step 6: Final Touches and Adjustments
With the elastic straps in place, it’s time to make any final touches and adjustments to ensure your Phantom of the Opera mask is perfect. Follow these steps for a final polish:
1. Examine the mask closely and check for any areas that may require touch-ups or additional detailing. Use a small brush and acrylic paints to add any necessary corrections or enhancements. This can include refining the metallic accents, adding shading, or blending colors for a seamless appearance.
2. Take a moment to try on the mask again and assess its fit and comfort. If the mask feels loose or doesn’t sit securely on your face, you can use additional hot glue to attach small pieces of foam padding or felt to the inside of the mask. This will help provide a snug fit and prevent discomfort during wear.
3. Once you are satisfied with the mask’s appearance and fit, give it a final inspection. Check for any stray marks or smudges and clean them off with a damp cloth or cotton swab. Ensure that all the details are crisp and the colors are vibrant.
4. Allow the mask to fully dry and set before wearing or displaying it. This will ensure that any added paint or adhesive has time to cure completely.
5. Congratulations! Your Phantom of the Opera mask is now complete and ready to be showcased! Whether you’re attending a costume party, performing in a production, or simply displaying it as a decorative piece, your handmade mask will surely impress and capture the essence of the iconic character.
Note: Feel free to experiment with different embellishments, such as feathers, rhinestones, or lace, to add your personal flair to the mask. Just ensure that any additions are securely attached and do not interfere with the fit or comfort of the mask.
Conclusion
Congratulations on successfully creating your very own Phantom of the Opera mask! By following the steps outlined in this tutorial, you have crafted a unique and striking replica of the iconic mask worn by the mysterious Phantom.
Not only does this mask allow you to embody the spirit of the character, but it also serves as a testament to your creativity and craftsmanship. Whether you plan to wear it to a masquerade ball, incorporate it into a cosplay costume, or display it as a piece of art, your Phantom of the Opera mask is sure to make a lasting impression.
Remember, the key to a truly exceptional mask is adding your personal touch. Feel free to experiment with different colors, textures, and embellishments. Let your imagination run wild as you make each mask your own.
Phantom of the Opera has captivated audiences around the world with its haunting melodies and gripping storyline. Now, with your very own handmade mask, you can truly immerse yourself in the mystique and allure of this timeless musical.
So go ahead, put on your Phantom of the Opera mask and embrace the enigmatic spirit of the character. Let the world be your stage as you bring the magic of the Phantom to life.
Note: Always remember to respect copyright laws and ensure that any use of the Phantom of the Opera mask is for personal enjoyment and not for commercial purposes.