Home>Events & Info>Playback>How To Enable Playback Devices Windows 7

Playback
How To Enable Playback Devices Windows 7
Modified: January 22, 2024
Learn how to enable playback devices on Windows 7. This step-by-step guide will help you troubleshoot and fix any playback issues efficiently.
(Many of the links in this article redirect to a specific reviewed product. Your purchase of these products through affiliate links helps to generate commission for AudioLover.com, at no extra cost. Learn more)
Table of Contents
Introduction
Welcome to this step-by-step guide on how to enable playback devices in Windows 7. Playback devices are essential for audio output on your computer, allowing you to listen to music, watch videos, or play games with sound. In Windows 7, the process of enabling playback devices is quick and straightforward, and this guide will walk you through the steps.
Whether you are using external speakers, headphones, or a built-in audio device, ensuring that the correct playback device is enabled is crucial for an optimal audio experience. Sometimes, you may encounter issues where your audio output is not working. This could be due to a disabled playback device or a different device set as the default. By following the steps outlined in this guide, you can easily enable the appropriate playback device and resolve any audio playback issues.
Before we dive into the step-by-step instructions, please ensure that you have the necessary permissions and administrative privileges on your Windows 7 computer. Additionally, make sure that you have connected any external audio devices properly to your computer.
Now, let’s get started and learn how to enable playback devices in Windows 7!
Step 1: Accessing the Sound Settings
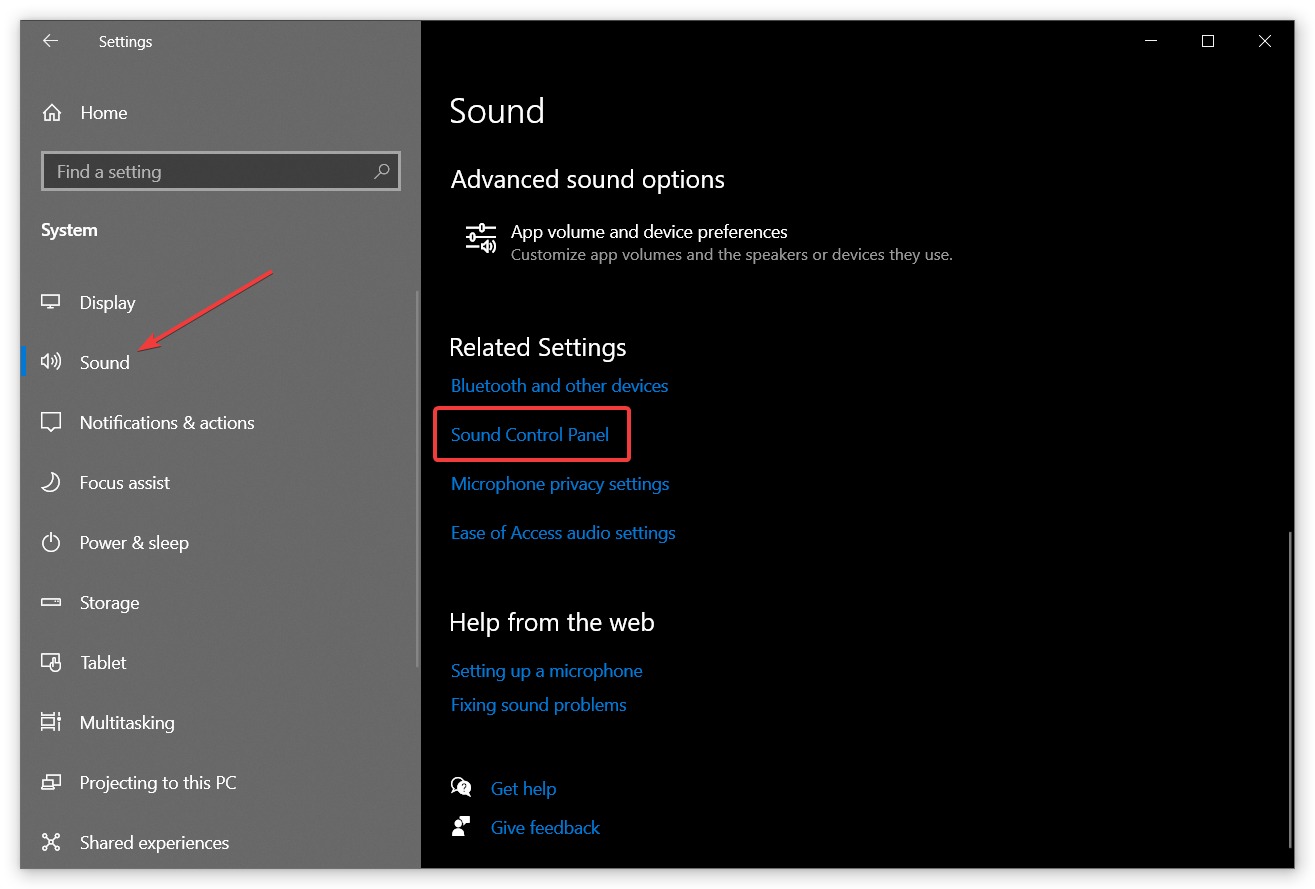
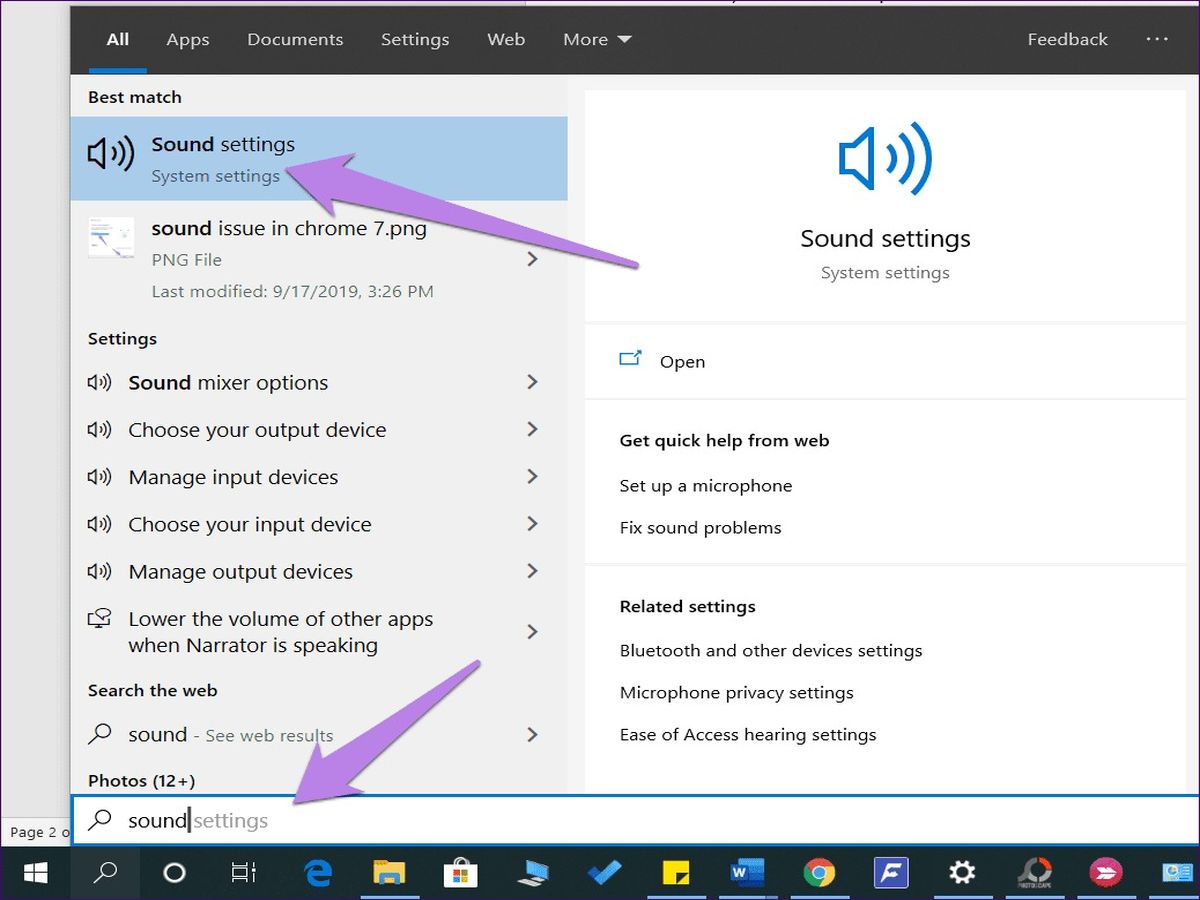
The first step in enabling playback devices in Windows 7 is to access the Sound settings. To do this, you can follow these simple instructions:
- Click on the “Start” button, usually located in the bottom-left corner of the screen.
- Select “Control Panel” from the Start menu.
- In the Control Panel window, locate and click on the “Hardware and Sound” option.
- Under the “Sound” category, you will find the option to “Manage audio devices.” Click on it.
After completing these steps, the Sound window will appear on your screen. This is where you can manage your playback devices and make any necessary adjustments.
Keep in mind that the steps provided may vary slightly depending on your specific version of Windows 7. However, the general process should remain the same, allowing you to access the Sound settings regardless of any minor differences in the user interface.
With that said, let’s move on to the next step in enabling your playback devices.
Step 2: Opening the Playback Devices Window
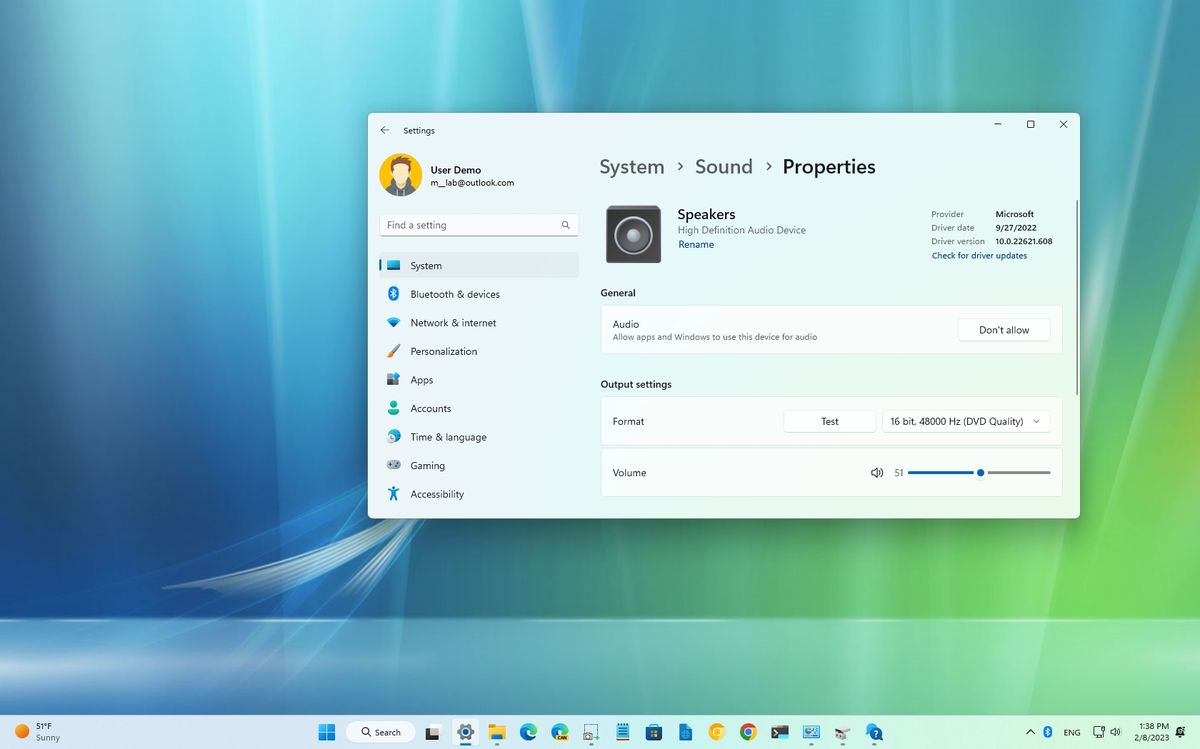
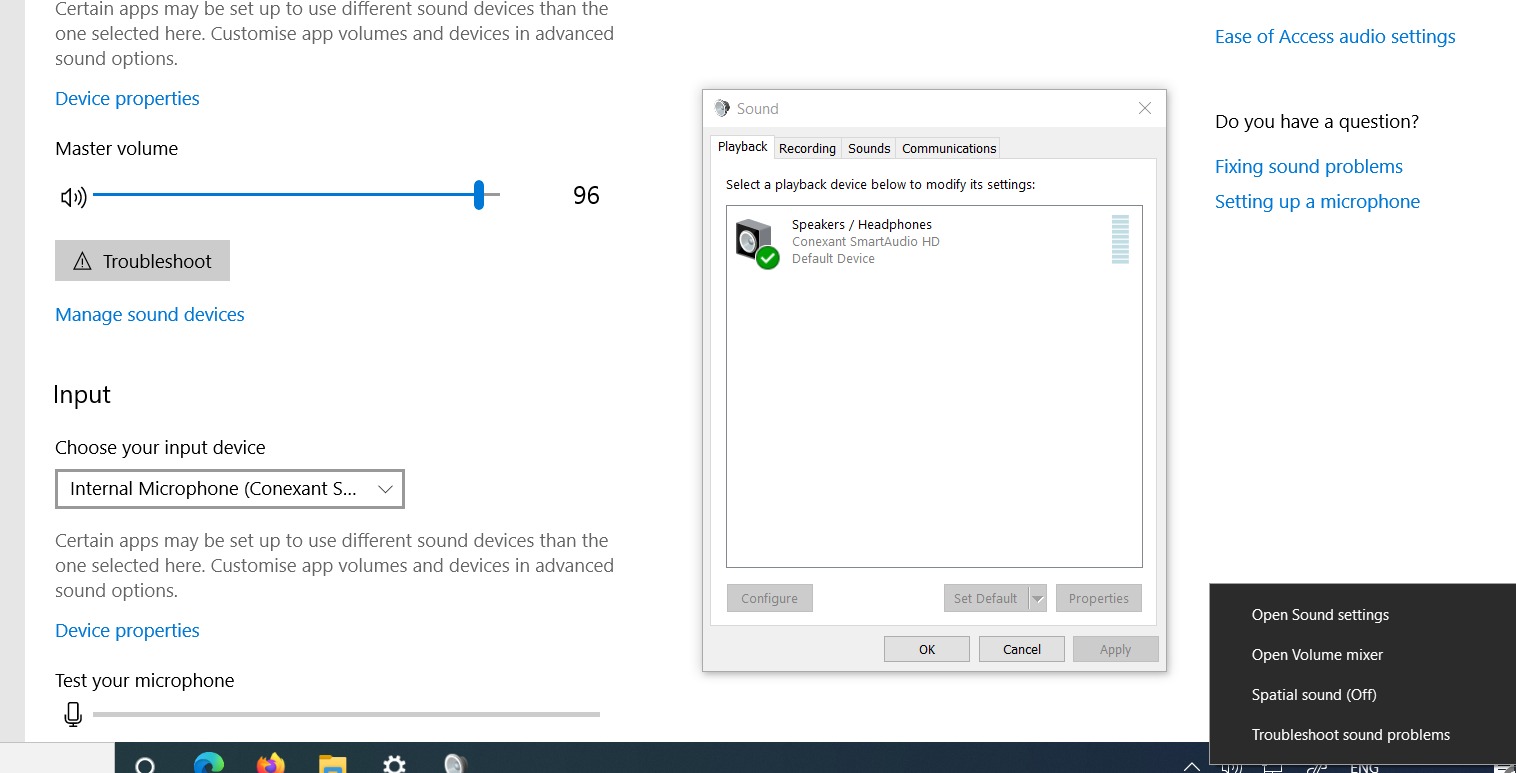
Once you have accessed the Sound settings, the next step is to open the Playback Devices window. This window allows you to view and manage the various playback devices connected to your computer. Follow these instructions to open the Playback Devices window:
- In the Sound window, navigate to the “Playback” tab.
- You will see a list of available playback devices. These devices can include speakers, headphones, and any other audio output devices connected to your computer.
- Right-click anywhere in the empty area of the Playback tab to bring up a context menu.
- From the context menu, select “Show Disabled Devices.” This will display any playback devices that are currently disabled.
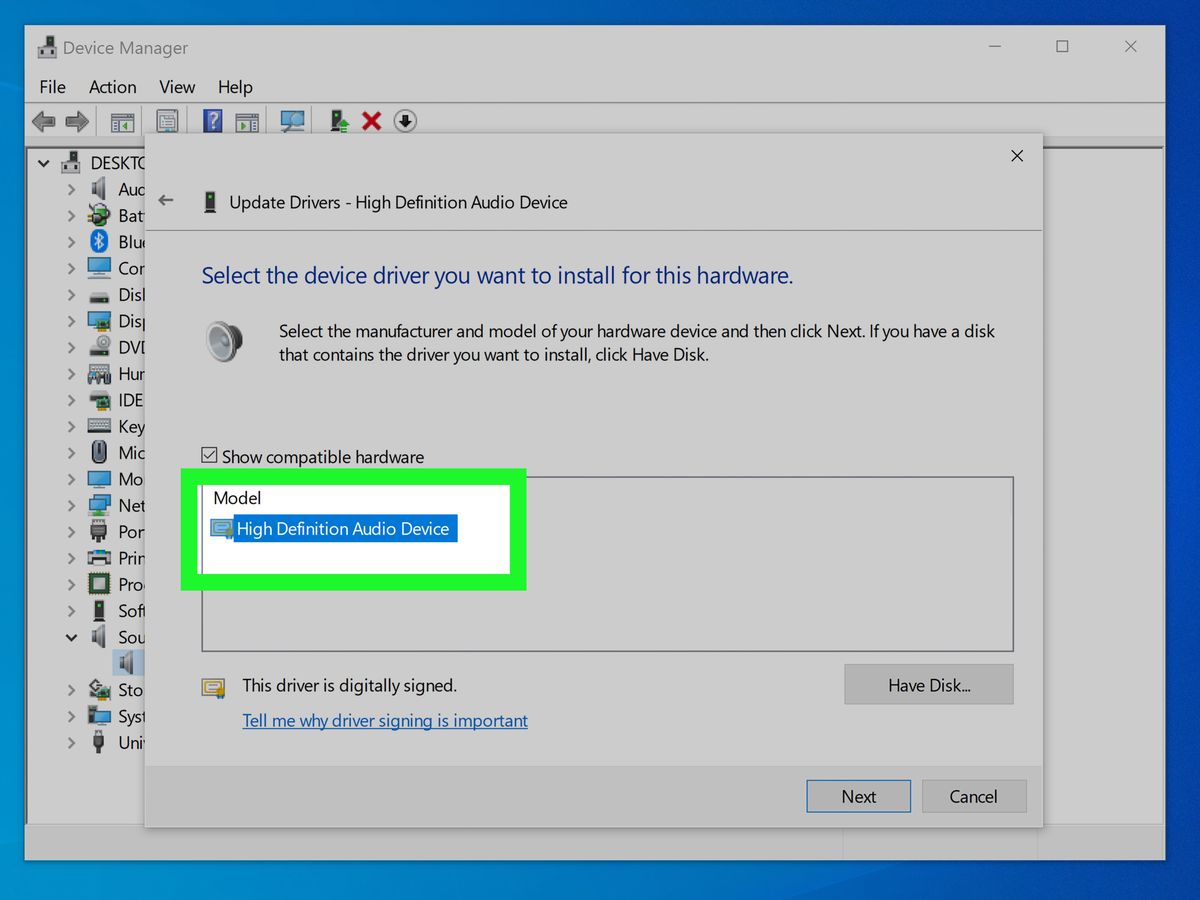
- If you are unable to find the Playback tab, it is possible that your audio drivers are not installed or properly configured. In such cases, you may need to install or update your audio drivers before proceeding.
By following these steps, you will be able to open the Playback Devices window and view all the available playback devices, including the ones that are currently disabled. This will allow you to easily enable the desired playback device in the next step.
Now that you have opened the Playback Devices window, let’s move on to the next step of enabling a playback device.
Step 3: Enabling a Playback Device
Once you have the Playback Devices window open, you can proceed to enable a specific device for audio playback. Follow these steps to enable a playback device:
- In the Playback tab, locate the device you want to enable.
- Right-click on the device and select “Enable” from the context menu.
- The enabled device will now appear with a green checkmark next to it, indicating that it is the default playback device.
- If you don’t see the device you want to enable, make sure to check the “Show Disabled Devices” option, as explained in the previous step.
Enabling a playback device allows audio to be played through that specific device. It ensures that the sound is not being routed to a different disconnected or disabled device.
In some cases, you may encounter multiple playback devices, such as speakers, headphones, or HDMI output. Windows 7 allows you to switch between devices easily by enabling or disabling them based on your preference.
Now that you have successfully enabled a playback device, let’s proceed to the next step of setting it as the default device for audio output in Windows 7.
Step 4: Setting a Playback Device as Default
After enabling a playback device, the next step is to set it as the default device for audio output in Windows 7. This ensures that any sound produced by your computer is routed to the selected device. Here’s how you can set a playback device as the default:
- In the Playback tab of the Sound window, locate the device you want to set as the default playback device.
- Right-click on the device and select “Set as Default Device” from the context menu.
- The selected device will now have a green checkmark and the label “Default Device” next to it, indicating that it will be used for audio output.
Setting a playback device as the default ensures that Windows 7 directs audio output to the correct device. If you have multiple devices connected, such as speakers and headphones, setting the desired device as the default ensures that the audio is played through the intended device.
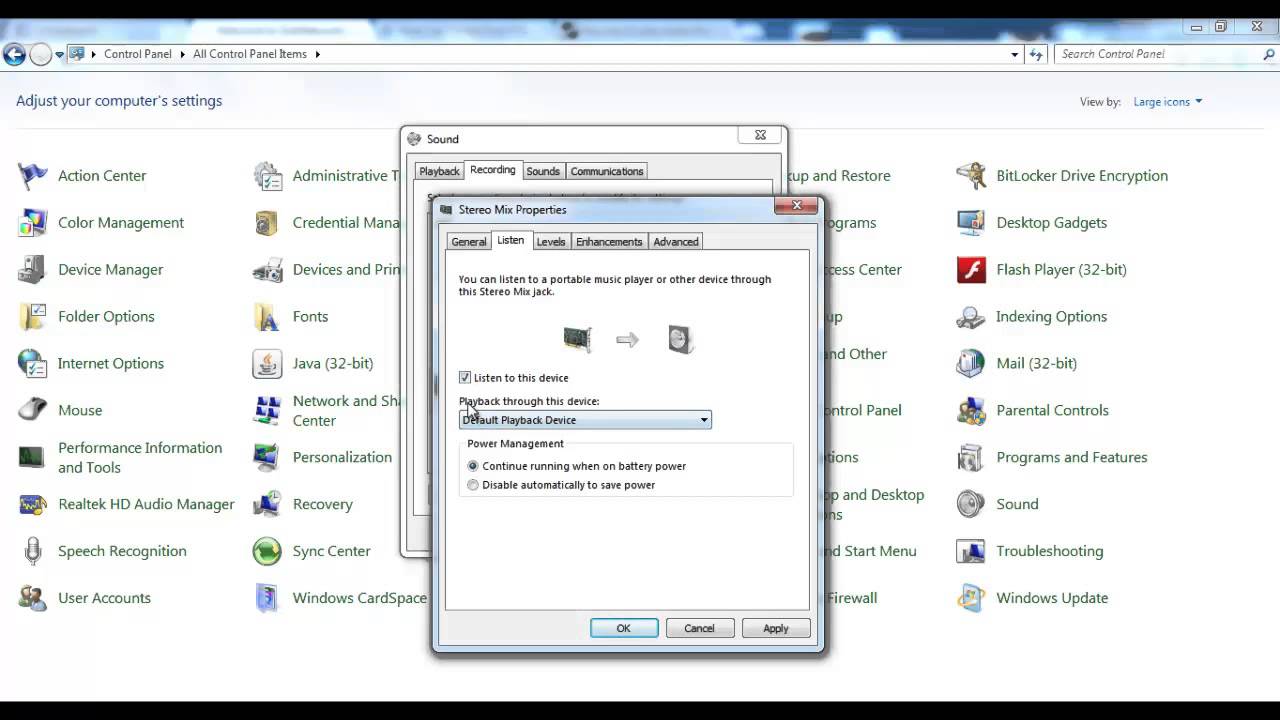
Additionally, Windows 7 allows you to configure other advanced settings for each playback device by selecting “Properties” from the context menu. This allows you to adjust the audio format, levels, and other device-specific settings to further enhance your listening experience.
Now that you have set a playback device as the default, let’s move on to the final step of testing the playback device to ensure everything is working correctly.
Step 5: Testing the Playback Device
After enabling and setting a playback device as the default in Windows 7, it is essential to test the device to ensure that the audio is functioning correctly. Follow these steps to test the playback device:
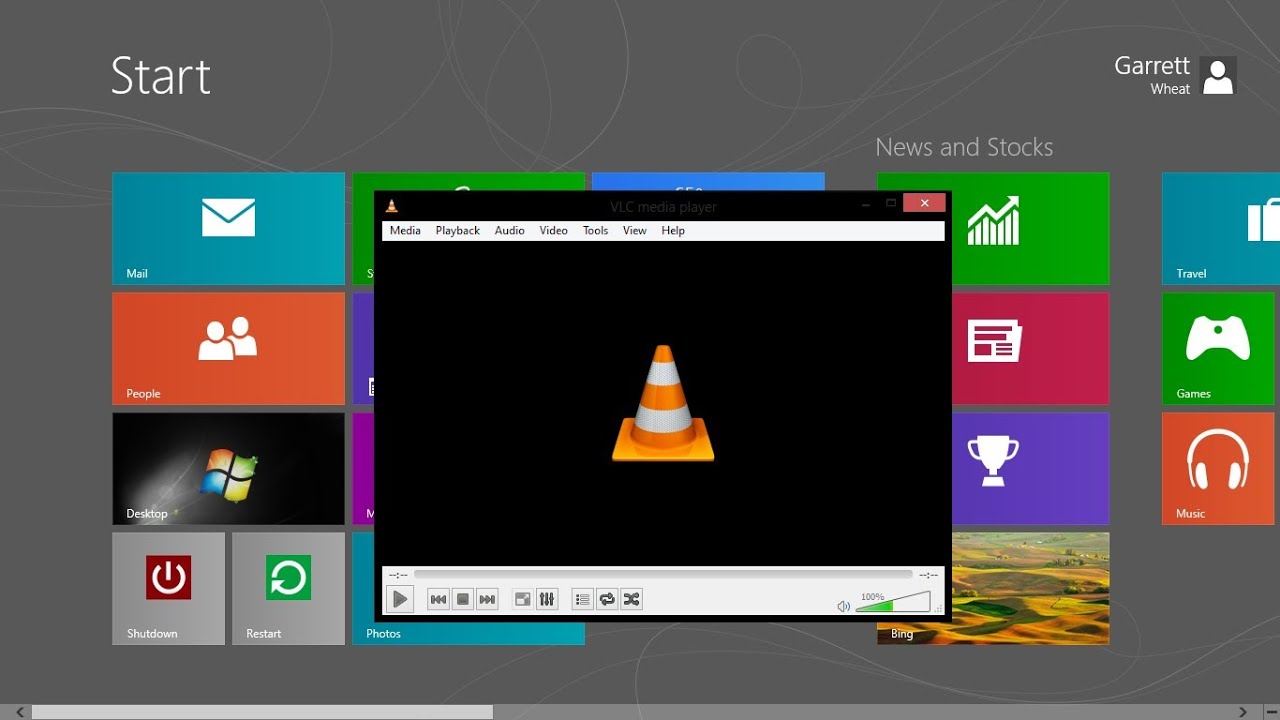
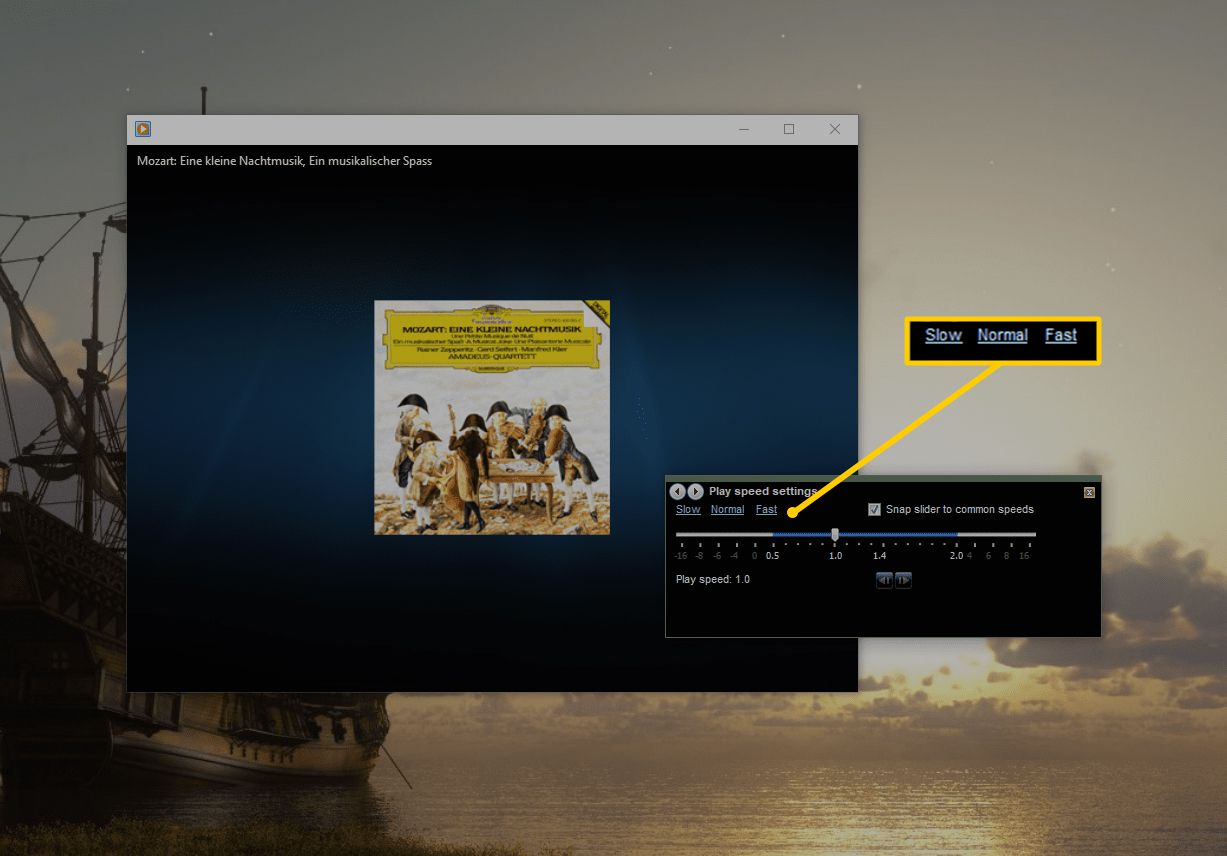
- Open a media player or any application that produces sound, such as a video or audio file.
- Play the media file and listen for the audio output.
- If you can hear the sound through the selected playback device, congratulations! Your playback device is working correctly.
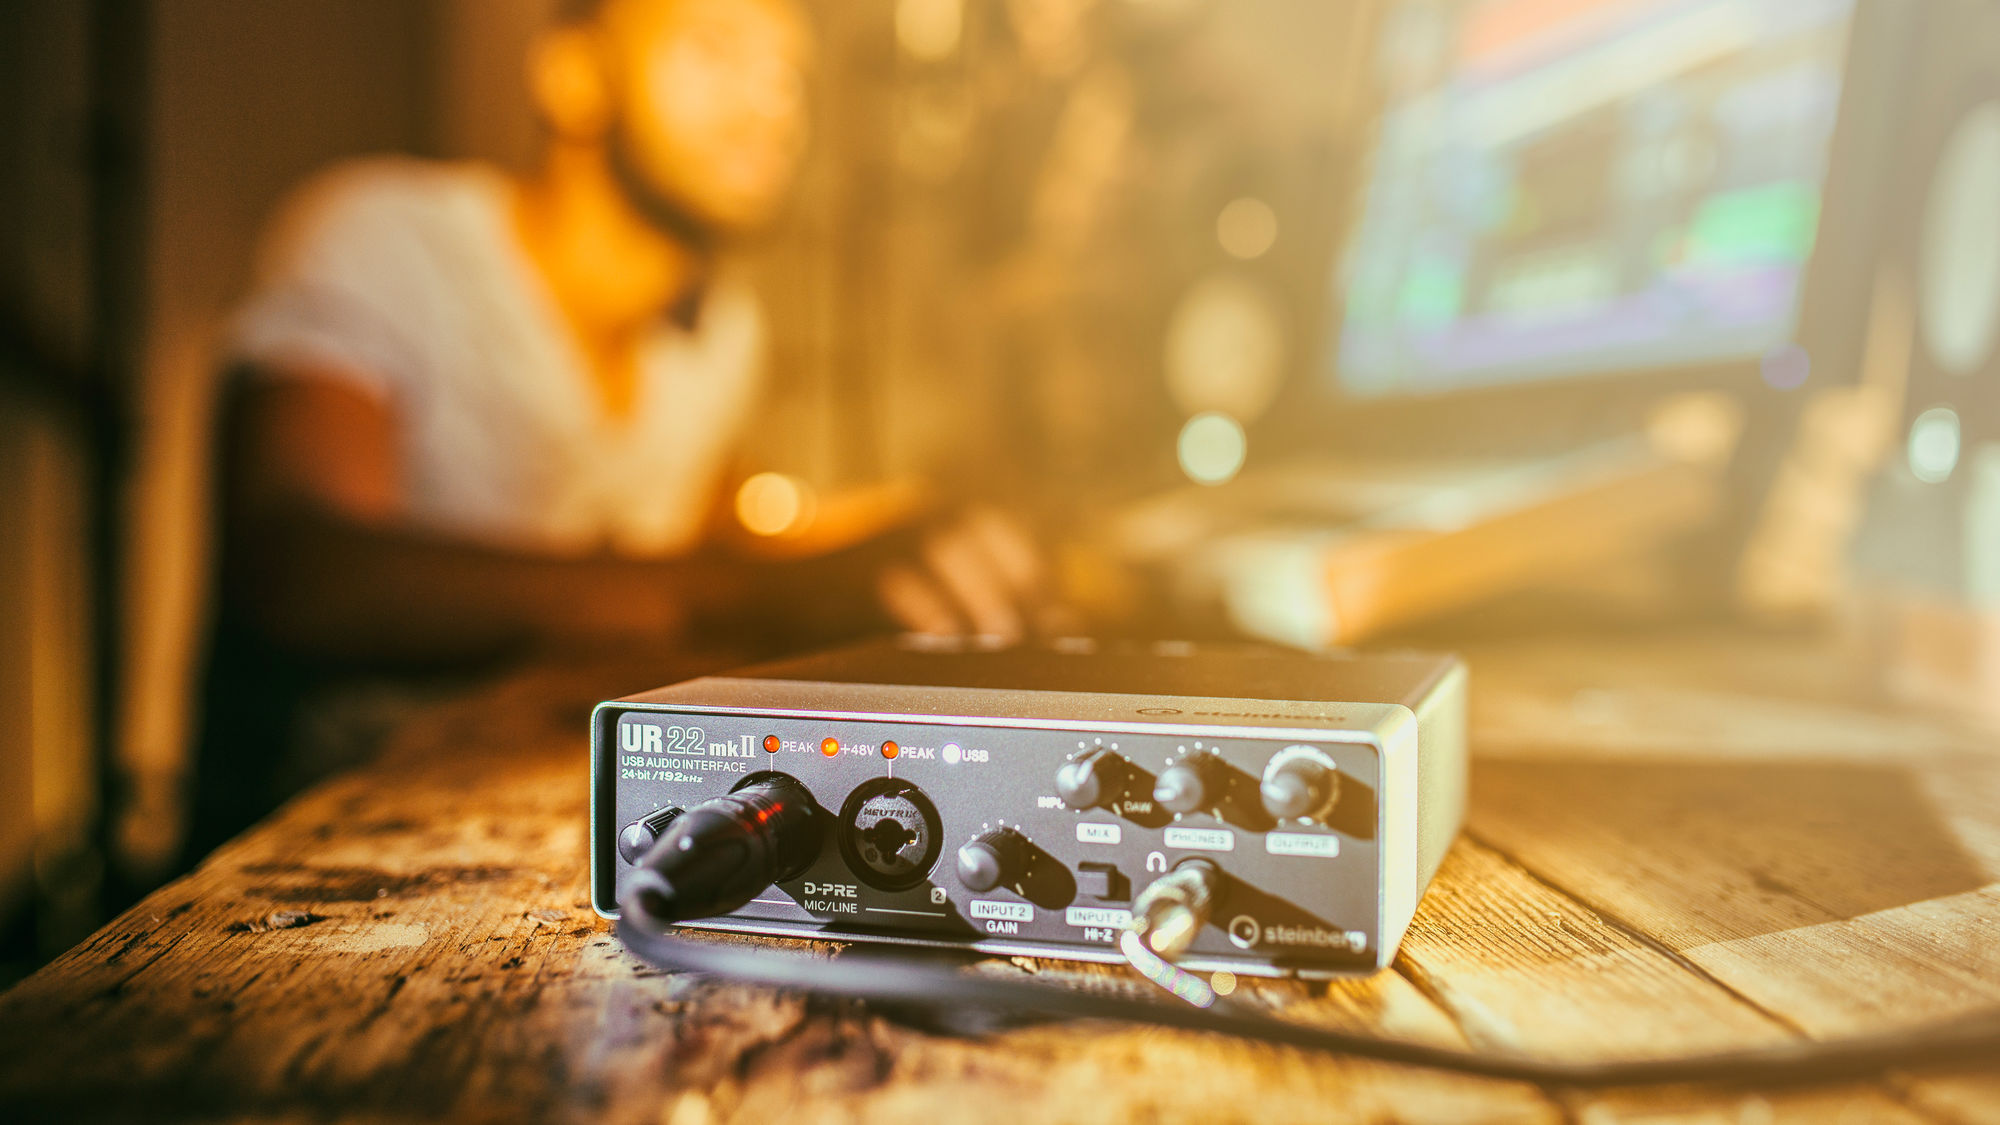
- If you cannot hear any sound, double-check that the selected playback device is connected properly and powered on.
- If you are still experiencing issues with audio playback, you may need to troubleshoot further or consider updating your audio drivers.
Testing the playback device is crucial to ensure that everything is functioning as expected. It allows you to verify that the audio output is routed correctly to the enabled and default device. If you encounter any issues during the testing process, you can always revisit the previous steps to verify the settings or make necessary adjustments.
Remember that if you frequently switch between playback devices or connect and disconnect audio devices, you may need to repeat this process to enable, set, and test each playback device accordingly.
Congratulations! You have successfully enabled, set, and tested a playback device in Windows 7. By following these steps, you can ensure that you have the right audio output settings for an immersive audio experience while using your computer.
Now, enjoy your audio playback through the enabled playback device and have a remarkable audio experience on your Windows 7 system!
Conclusion
Enabling playback devices in Windows 7 is a straightforward process that allows you to enjoy high-quality audio output through your desired devices. Whether you’re using speakers, headphones, or any other audio output device, following the steps outlined in this guide will help you optimize your audio experience on Windows 7.
We started by accessing the Sound settings and opening the Playback Devices window. From there, we enabled a specific device for playback and set it as the default device. Finally, we tested the playback device to ensure that the audio was functioning correctly.
By enabling and configuring the proper playback device, you can ensure that audio output is directed to the correct device, resulting in an immersive and enjoyable multimedia experience.
Remember, if you encounter any issues with audio playback or if you frequently switch between devices, you can always revisit these steps to adjust the settings accordingly.
Now that you have the knowledge and understanding of how to enable playback devices in Windows 7, you can confidently set up and manage your audio output devices with ease.
Thank you for reading this guide, and we hope it has been helpful in enhancing your audio experience on Windows 7!

