Home>Production & Technology>Noise Cancellation>How To Turn Off Noise Cancellation Logitech C510

Noise Cancellation
How To Turn Off Noise Cancellation Logitech C510
Published: November 4, 2023
Learn how to disable noise cancellation on your Logitech C510 webcam and enjoy a clearer audio experience. Find step-by-step instructions for turning off noise cancellation.
(Many of the links in this article redirect to a specific reviewed product. Your purchase of these products through affiliate links helps to generate commission for AudioLover.com, at no extra cost. Learn more)
Table of Contents
Introduction
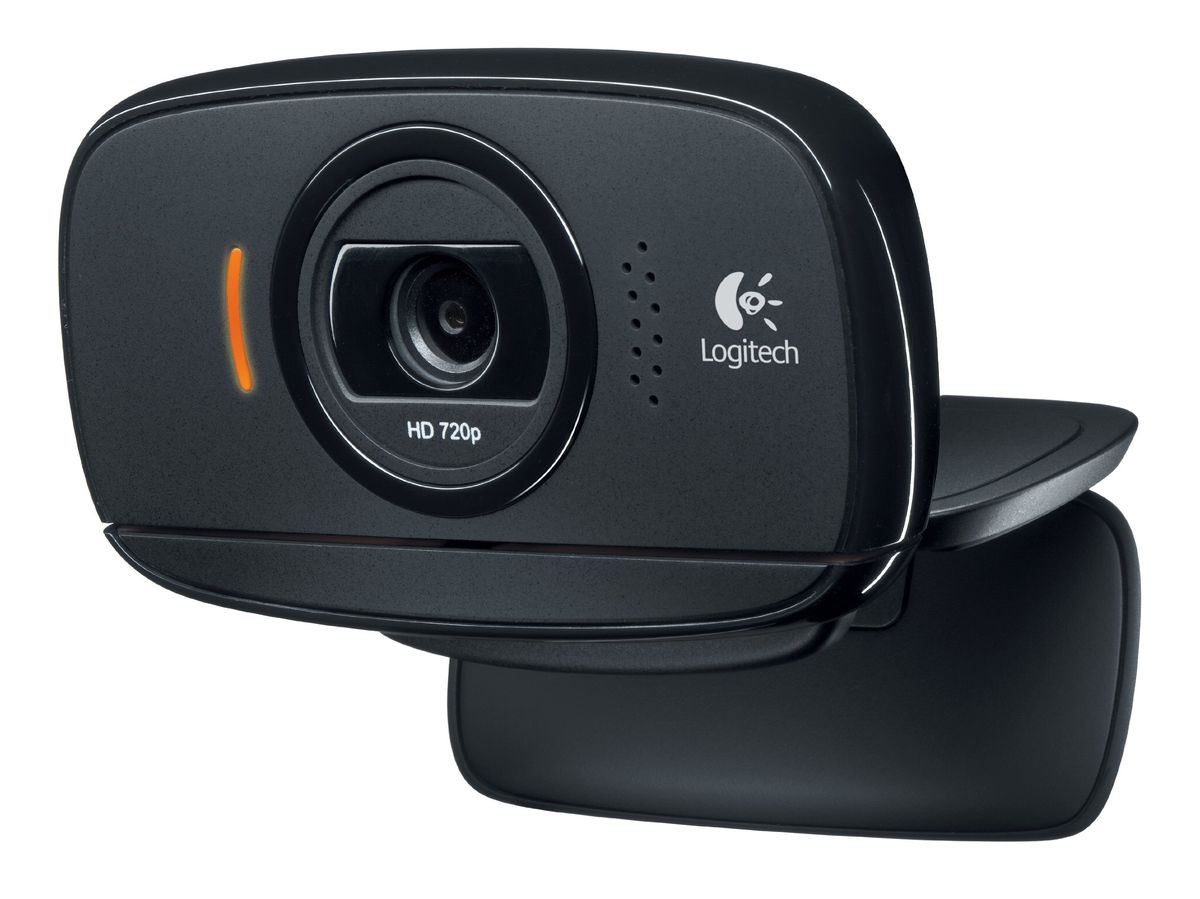
Welcome to our guide on how to turn off noise cancellation on the Logitech C510 webcam. The Logitech C510 is a popular choice for video conferencing, streaming, and recording purposes due to its excellent video quality and built-in noise cancellation feature. While noise cancellation can be useful in certain situations, there may be times when you prefer to disable it to capture ambient sounds or to prevent audio distortion.
Whether you’re looking to record a live concert, include background sounds in your video content, or simply prefer the original, unprocessed audio, we will provide step-by-step instructions on how to disable noise cancellation on your Logitech C510 webcam. By following these instructions, you’ll be able to customize your audio settings and achieve the desired sound quality for your specific needs.
Before we dive into the process, it’s important to note that the steps to disable noise cancellation may vary slightly depending on the software you use to control your webcam settings. In this guide, we’ll focus on the Logitech Webcam Software, which is commonly used with Logitech webcams. If you’re using a different software, the overall process should be similar, but the specific menus and options may differ.
Now, without further ado, let’s get started with our step-by-step guide on how to turn off noise cancellation on your Logitech C510 webcam!
Step 1: Accessing the Logitech C510 Settings
The first step in turning off noise cancellation on your Logitech C510 webcam is to access the webcam settings. To do this, follow these simple instructions:
- Ensure that your Logitech C510 webcam is connected to your computer.
- Open the Logitech Webcam Software on your computer. If you don’t have the software installed, you can download it from the Logitech website.
- Once the software is open, locate the webcam settings. This can usually be found by clicking on the gear or options icon in the software’s interface.
- Click on the webcam settings to open the configuration menu.
- You should now see a range of customization options for your Logitech C510 webcam.
Please note that the exact steps to access the settings may vary slightly depending on the version of the Logitech Webcam Software you are using. However, the general process remains the same.
Once you have successfully accessed the webcam settings, you are ready to proceed to the next step!
Step 2: Locating the Noise Cancellation Feature
After accessing the Logitech C510 webcam settings, the next step is to locate the noise cancellation feature. Follow these steps to find the noise cancellation option:
- Within the webcam settings menu, look for a section that pertains to audio or microphone settings. This is where you’ll likely find the noise cancellation feature.
- Click on the audio or microphone settings to expand the options if they are not already visible.
- Scan through the available options to locate any settings related to noise cancellation, noise reduction, or audio enhancement.
- The noise cancellation feature may be indicated by an on/off toggle switch or a slider that can be adjusted to control the level of noise cancellation.
Please keep in mind that the location and terminology of the noise cancellation feature may vary depending on the version of the Logitech Webcam Software you are using. However, it is typically found within the audio or microphone settings section.
If you are having trouble locating the noise cancellation feature, refer to the user manual or online documentation provided by Logitech for more specific instructions for your particular software version.
Once you have successfully identified the noise cancellation option, you can proceed to the next step to disable it.
Step 3: Disabling the Noise Cancellation
Once you have located the noise cancellation feature in the Logitech C510 webcam settings, you can proceed to disable it. Follow these steps to turn off the noise cancellation:
- If the noise cancellation option is represented by an on/off toggle switch, simply click on the switch to turn it off. The switch may change its position or color to indicate that noise cancellation is now disabled.
- If the noise cancellation option is a slider, move the slider to the minimum or lowest position to disable the noise cancellation. This setting ensures that the webcam does not actively filter out background noise.
- Once you have disabled the noise cancellation, make sure to save the changes by clicking on the “Apply” or “Save” button within the webcam settings menu.
Remember that the specific steps to disable noise cancellation may vary depending on the version of the Logitech Webcam Software you are using. However, the general concept of locating and adjusting the noise cancellation feature remains the same across different versions.
It’s important to note that some webcams, including the Logitech C510, may have additional audio enhancement features such as echo cancellation or automatic gain control. If desired, you can explore these settings within the webcam software to further customize your audio experience.
Now that you have successfully disabled the noise cancellation, it’s time to move on to the final step to test the changes and ensure that noise cancellation is indeed turned off.
Step 4: Testing the Changes
Now that you have disabled the noise cancellation feature on your Logitech C510 webcam, it’s time to test the changes and ensure that the noise cancellation is indeed turned off. Follow these steps to test the changes:
- Open a video conferencing or recording application on your computer that utilizes the Logitech C510 webcam.
- Start a video call or recording to begin capturing audio.
- During the call or recording, pay attention to the audio quality and listen for any background noise or ambient sounds that are now being picked up by the microphone. If you can clearly hear these additional sounds, it indicates that the noise cancellation feature has been successfully disabled.
- If you’re still experiencing audio issues or are unable to pick up any additional sounds, revisit the webcam settings and ensure that noise cancellation is indeed turned off. Make any necessary adjustments or try restarting the recording application.
It’s important to note that disabling noise cancellation may result in a pickup of background noise or other audio disturbances. If you encounter excessive noise, you may need to explore other audio settings or use external audio devices, such as a dedicated microphone, to achieve the desired audio quality.
By testing the changes after disabling noise cancellation, you can confirm that the feature is turned off and make any necessary adjustments to achieve the desired audio quality for your video conferencing, streaming, or recording needs.
Congratulations! You have successfully completed the process of turning off noise cancellation on your Logitech C510 webcam. Enjoy the flexibility of capturing the soundscape around you and customizing your audio settings to suit your preferences!
Conclusion
In this guide, we have walked you through the process of turning off noise cancellation on the Logitech C510 webcam. By following the step-by-step instructions, you can customize your audio settings and capture the ambient sounds or preserve the authenticity of your audio recordings.
We first started by accessing the Logitech C510 webcam settings and then locating the noise cancellation feature within the software. By disabling the noise cancellation, you can allow background sounds to be picked up by the microphone.
After disabling the noise cancellation, we advised you to test the changes by initiating a video call or recording. This step helps you ensure that noise cancellation is indeed turned off and that any desired background sounds are being captured.
However, keep in mind that disabling noise cancellation may result in an increase in background noise or audio disturbances. It’s essential to find the right balance to achieve the desired audio quality for your specific needs. You may need to explore other audio settings or consider using external audio devices, such as a dedicated microphone, to further enhance your audio recordings.
We hope that this guide has been helpful in enabling you to disable noise cancellation on your Logitech C510 webcam. Enjoy the flexibility and control over your audio settings, enhancing your video conferencing, streaming, or recording experiences.
Remember to consult the user manual or online documentation provided by Logitech for any specific instructions related to your particular software version. Continue exploring the various features and settings of your Logitech C510 webcam to maximize its potential.
Thank you for choosing Logitech C510, and we wish you the best in your video conferencing and recording endeavors!

