Home>Devices & Equipment>Earbuds>How Do You Fix Skullcandy Earbuds When Only One Works?

Earbuds
How Do You Fix Skullcandy Earbuds When Only One Works?
Modified: January 22, 2024
Discover how to fix Skullcandy earbuds when only one side works and revamp your audio experience. Step-by-step solutions for troubleshooting earbuds and restoring full functionality.
(Many of the links in this article redirect to a specific reviewed product. Your purchase of these products through affiliate links helps to generate commission for AudioLover.com, at no extra cost. Learn more)
Table of Contents
Introduction
Whether you’re a music lover, podcast enthusiast, or someone who simply enjoys the convenience of hands-free audio, a good pair of earbuds can greatly enhance your listening experience. However, it can be frustrating when only one earbud is working while the other remains silent.
This common issue can occur for several reasons, including physical damage, debris accumulation, or software malfunctions. The good news is that many cases of earbud malfunction can be easily resolved, allowing you to get back to enjoying your favorite tunes in stereo sound.
In this article, we will explore some common reasons why earbuds may stop working on one side and discuss how to fix them. We’ll cover steps such as checking for physical damage, cleaning the earbuds, adjusting the audio balance, resetting the earbuds, updating firmware (if applicable), and contacting Skullcandy support for further assistance.
So, if you’re currently dealing with the frustrating issue of only one earbud working, keep reading for some helpful troubleshooting tips and solutions to get your earbuds back to full functionality.
Common Reasons for Earbud Malfunction
When your earbuds are not working as expected, it’s essential to understand the potential causes of the issue. Here are some common reasons for earbud malfunction:
- Physical damage: One of the most frequent causes of earbud malfunction is physical damage. This can happen due to accidental drops, rough handling, or even regular wear and tear. Physical damage can affect the internal wiring, connectivity ports, or the structure of the earbuds, leading to audio issues.
- Debris accumulation: Another reason for one earbud working and the other one not is the accumulation of debris in the earpiece. Sweat, earwax, and dust particles can build up over time, clogging the sound output and causing distortion or loss of audio in one of the earbuds.
- Software issues: Sometimes, earbud malfunction can be attributed to software-related problems. This is particularly true for wireless earbuds that rely on firmware to function properly. Outdated firmware or software glitches can lead to connectivity issues, resulting in one earbud not working as expected.
- Audio balance settings: In some cases, the audio balance settings on your device may be causing one earbud to appear muted. If the audio balance is skewed towards one side, it can give the impression that only one earbud is working, while the other remains silent.
- Faulty connection: Poor or faulty connections can also lead to one earbud not working. Loose or damaged cables, connectors, or Bluetooth connections can disrupt the audio signal, resulting in audio only playing through one earbud.
By understanding these common reasons for earbud malfunction, you can now proceed to troubleshoot and fix the issue. In the following sections, we will explore step-by-step solutions to address each of these potential problems effectively.
Checking for Physical Damage
When faced with the issue of one earbud not working, it’s crucial to start by examining the earbuds for any signs of physical damage. Here are the steps you can follow:
- Inspect the cables: Examine the cables of your earbuds for any visible damage, such as cuts, frayed wires, or loose connections. If you notice any issues, it might be necessary to replace the cables or seek professional repair.
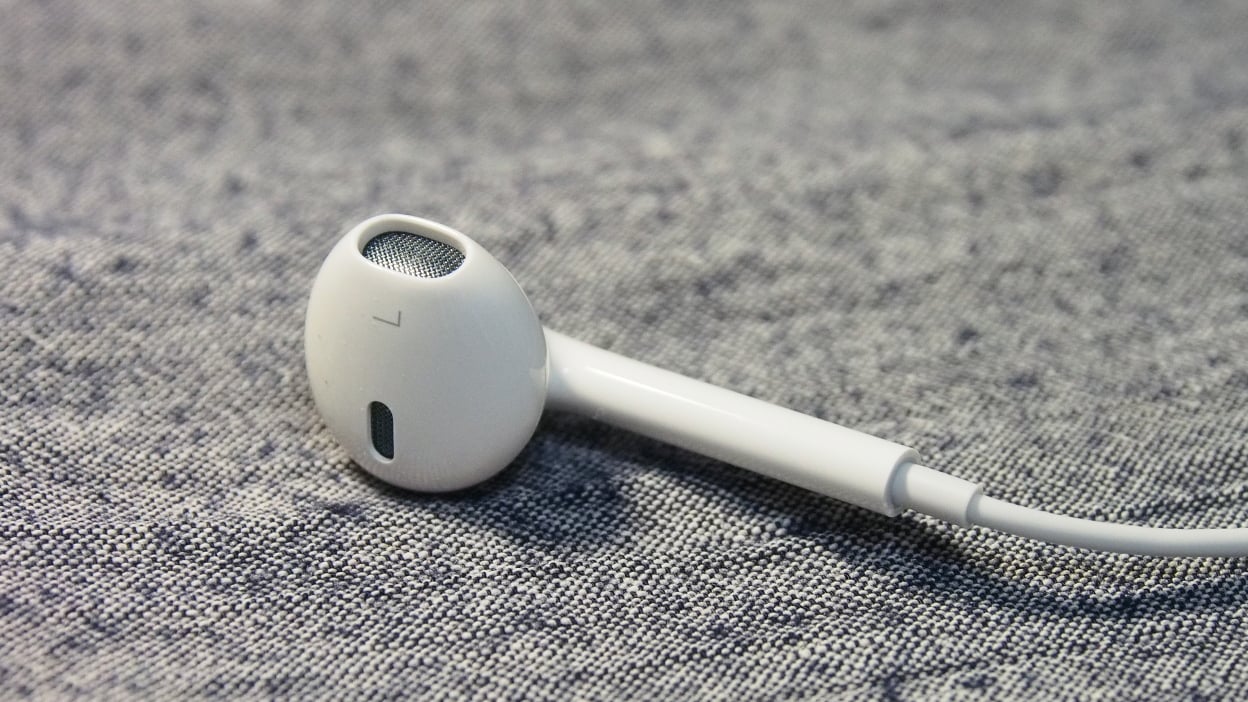
- Check the earpiece: Take a close look at the earpiece itself, both the outer housing and the sound nozzle. Look for any cracks, dents, or loose components. These damages can impact the audio output and cause one earbud to stop working.
- Inspect the connector: If your earbuds have a connector, such as a 3.5mm jack or USB-C, check it for any signs of damage. Bent or damaged connectors can lead to poor connectivity and audio issues.
- Test with another device: To ensure that the issue is not with your device or headphone jack, try connecting your earbuds to a different device. If the problem persists, it’s more likely that the earbuds themselves are experiencing the issue.
- Consult professional assistance: If you find any significant physical damage or are unsure about how to proceed, it’s best to reach out to the manufacturer’s customer support or an authorized repair center. They can provide further guidance on how to repair or replace the damaged components.
Checking for physical damage is a critical first step in troubleshooting one-working earbud issues. By identifying and addressing any visible damage, you can potentially resolve the problem and restore both earbuds to full functionality.
Cleaning the Earbuds
Accumulated debris and dirt can often be the culprit behind one earbud not working. Cleaning your earbuds regularly can help maintain optimal sound quality and prevent audio issues. Here’s how you can clean your earbuds:
- Remove the ear tips: If your earbuds have detachable ear tips, remove them gently from each earbud. These tips are usually made of silicone or foam and can be washed separately.
- Clean the ear tips: Soak the ear tips in warm, soapy water and gently scrub them using a soft toothbrush. Rinse them thoroughly and let them air dry completely before reattaching them to the earbuds.
- Clean the earpiece: Take a soft, lint-free cloth or a cotton swab and dampen it with isopropyl alcohol or a mild cleaning solution. Gently wipe the exterior of the earbuds, paying special attention to the sound nozzle where the audio is emitted. Be careful not to apply excessive pressure or immerse the earbuds in liquid.
- Clear out debris: Inspect the sound nozzle and remove any visible debris or earwax buildup using a clean, soft toothbrush or a toothpick. Be gentle to avoid damaging the delicate components of the earbuds.
- Let them dry: After cleaning, allow the earbuds to air dry completely before using them again. Make sure there is no moisture remaining, as it can cause damage to the electronics.
Note: It’s essential to refer to the manufacturer’s guidelines on cleaning your specific earbud model. Some earbuds may have additional instructions or specific cleaning recommendations.
Regularly cleaning your earbuds can help prevent blockages and ensure optimal audio performance. By removing debris and earwax buildup, you may be able to resolve the issue of one earbud not working and restore balanced sound to both sides.
Adjusting the Audio Balance
If you’re experiencing the issue of one earbud working while the other remains silent, it’s worth checking your device’s audio balance settings. Sometimes, the audio balance can be unintentionally skewed, leading to the perception that one earbud is not working. Here’s how you can adjust the audio balance:
- Check device settings: Navigate to the sound or audio settings on your device. Look for an option that controls the audio balance or the left-right audio output.
- Balance adjustment: If you find an audio balance adjustment option, make sure it is centered or set equally in the middle. If it’s skewed towards one side, adjust it to the center position to ensure balanced audio output in both earbuds.
- Test with other devices: To rule out device-specific settings, try connecting your earbuds to a different device and see if the issue persists. If both earbuds work fine on another device, it suggests that the audio balance setting on your original device may need adjustment.
By adjusting the audio balance to a centered position, you can ensure that the audio signal is evenly distributed between both earbuds. This simple step may resolve the problem of one earbud not working and restore a balanced audio experience.
Resetting the Earbuds
If you’ve checked for physical damage and cleaned your earbuds, but still encounter the issue of one earbud not working, trying a reset can be a useful troubleshooting step. Resetting your earbuds can help resolve software glitches or connectivity issues. Here’s how you can reset your earbuds:
- Refer to the user manual: Consult the user manual or manufacturer’s website to find specific instructions on how to reset your earbuds. Different models may have different reset methods.
- Perform a soft reset: In many cases, a soft reset can be performed by simply powering off your earbuds, disconnecting them from any devices, and then turning them back on again. This can help refresh the connection and resolve minor software issues.
- Perform a factory reset: If a soft reset doesn’t resolve the problem, you may need to perform a factory reset. This will restore the earbuds to their original factory settings, erasing any customizations or saved preferences. The process for a factory reset will depend on your specific earbud model. Typically, it involves pressing a combination of buttons or using a specific app or software provided by the manufacturer.
- Reconnect and test: After performing a reset, reconnect your earbuds to your device and test them to see if both sides are working properly. If the issue persists, you can proceed to the next troubleshooting step.
Resetting your earbuds can often help resolve software-related issues and restore proper functionality. However, it’s important to note that performing a factory reset will delete any saved settings, so you may need to reconfigure your preferences after the reset.
Updating Firmware (if applicable)
If you’re using wireless earbuds or earbuds that rely on firmware to function, ensuring that the firmware is up to date can help resolve compatibility issues and improve overall performance. Here’s how you can check for and update the firmware on your earbuds:
- Check manufacturer’s website or app: Visit the manufacturer’s website or check their app (if available) for any firmware update notifications or instructions. Look for the specific model of your earbuds and any firmware updates that may be listed.
- Download and install firmware updates: If there is a firmware update available, follow the instructions provided by the manufacturer to download and install it on your device. This process may require connecting your earbuds to a computer or using the manufacturer’s app to initiate the update.
- Follow the update process: Each manufacturer may have a different update process, so it’s important to carefully follow the instructions provided. This may involve connecting your earbuds to a computer, ensuring a stable internet connection, and allowing the update to complete uninterrupted.
- Test the earbuds after updating: Once the firmware update is complete, reconnect your earbuds to your device and test them to see if the issue of one earbud not working has been resolved. If the issue persists, you may need to proceed with other troubleshooting steps or contact customer support.
Updating the firmware of your earbuds can often fix software or compatibility-related issues that may cause audio problems. It’s important to stay up to date with the latest firmware releases provided by the manufacturer to ensure optimal performance and functionality of your earbuds.
Contacting Skullcandy Support
If you have tried all the troubleshooting steps mentioned earlier and are still experiencing issues with your Skullcandy earbuds, it may be time to reach out to Skullcandy’s customer support team. They have dedicated support representatives who can help you further diagnose and resolve the problem. Here’s how you can contact Skullcandy support:
- Visit the Skullcandy website: Go to the official Skullcandy website and navigate to the ‘Support’ or ‘Contact’ section. Look for their contact information, such as a phone number or email address.
- Phone support: If there is a phone number provided, you can call their support line to speak directly with a representative. Be ready to provide information about your earbud model, purchase details, and a detailed description of the issue you’re facing.
- Email support: If an email address is provided, you can send a detailed description of your issue along with any relevant information. Make sure to include your contact information so that Skullcandy can reach out to you with a solution or further instructions.
- Online chat or support form: Some companies offer online chat support or a support form on their website. Check if Skullcandy provides these options and utilize them to communicate your issue.
- Provide necessary details: When contacting Skullcandy support, be prepared to provide them with information about your earbuds, such as the model name, purchase date, and any troubleshooting steps you have already attempted. The more details you can provide, the easier it will be for the support team to assist you effectively.
Skullcandy’s customer support team is there to help you find a solution to your earbud issues. Don’t hesitate to reach out to them if you have exhausted all other options or if you believe there may be a hardware or software problem that requires professional assistance.
Conclusion
Experiencing the frustration of only one earbud working while the other remains silent is a common issue for many earbud users. However, with the right troubleshooting steps, you can often resolve the problem and get both earbuds working again.
Throughout this article, we explored some common reasons for earbud malfunction, including physical damage, debris accumulation, software issues, audio balance settings, and faulty connections. We discussed steps such as checking for physical damage, cleaning the earbuds, adjusting the audio balance, resetting the earbuds, updating firmware, and contacting Skullcandy support.
By thoroughly inspecting your earbuds for physical damage, cleaning them regularly, adjusting the audio balance, and resetting or updating their software, you can often restore full functionality to your earbuds. In more complex cases, contacting the manufacturer’s customer support team, such as Skullcandy support, can provide further assistance and guidance.
Remember, each earbud model may have specific troubleshooting steps or instructions, so it’s essential to refer to the manufacturer’s guidelines and user manual for accurate information.
Now armed with the knowledge from this article, you can confidently tackle the issue of one earbud not working and enjoy your favorite music, podcasts, and audio content with balanced sound through both earbuds.

