Home>Devices & Equipment>Earbuds>How To Connect Skullcandy Earbuds To IPhone
Earbuds
How To Connect Skullcandy Earbuds To IPhone
Modified: January 22, 2024
Learn how to connect Skullcandy earbuds to your iPhone effortlessly. Follow our step-by-step guide and enjoy your favorite music and podcasts on the go with these high-quality earbuds.
(Many of the links in this article redirect to a specific reviewed product. Your purchase of these products through affiliate links helps to generate commission for AudioLover.com, at no extra cost. Learn more)
Table of Contents
Introduction
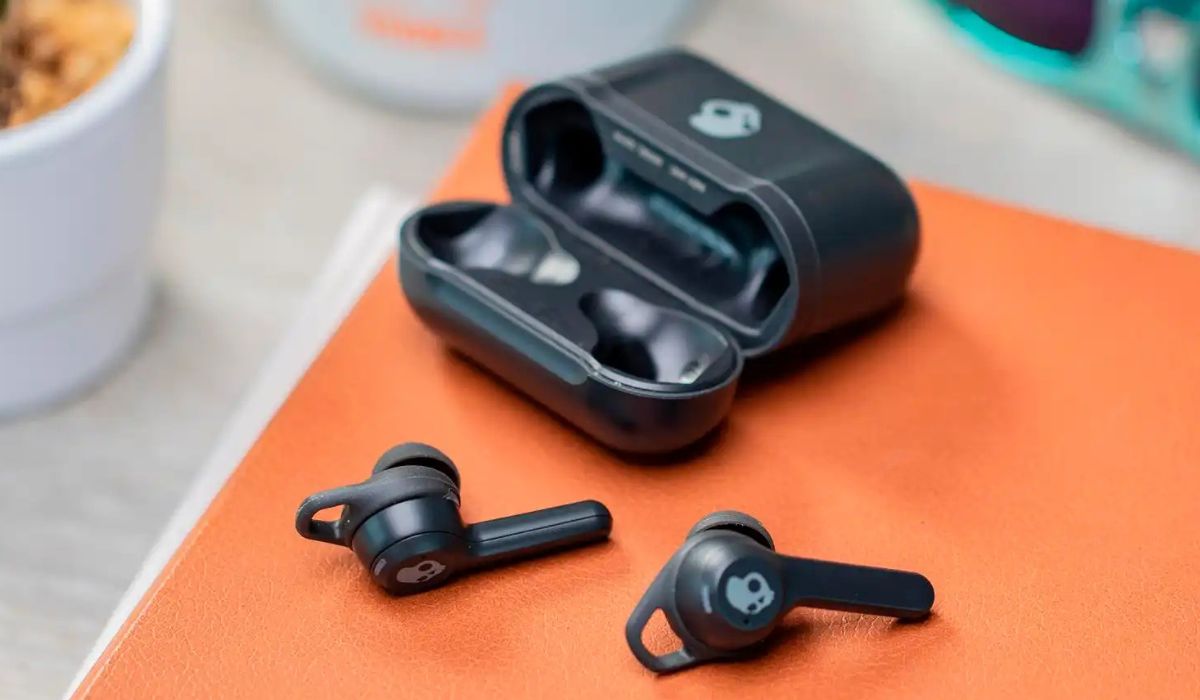
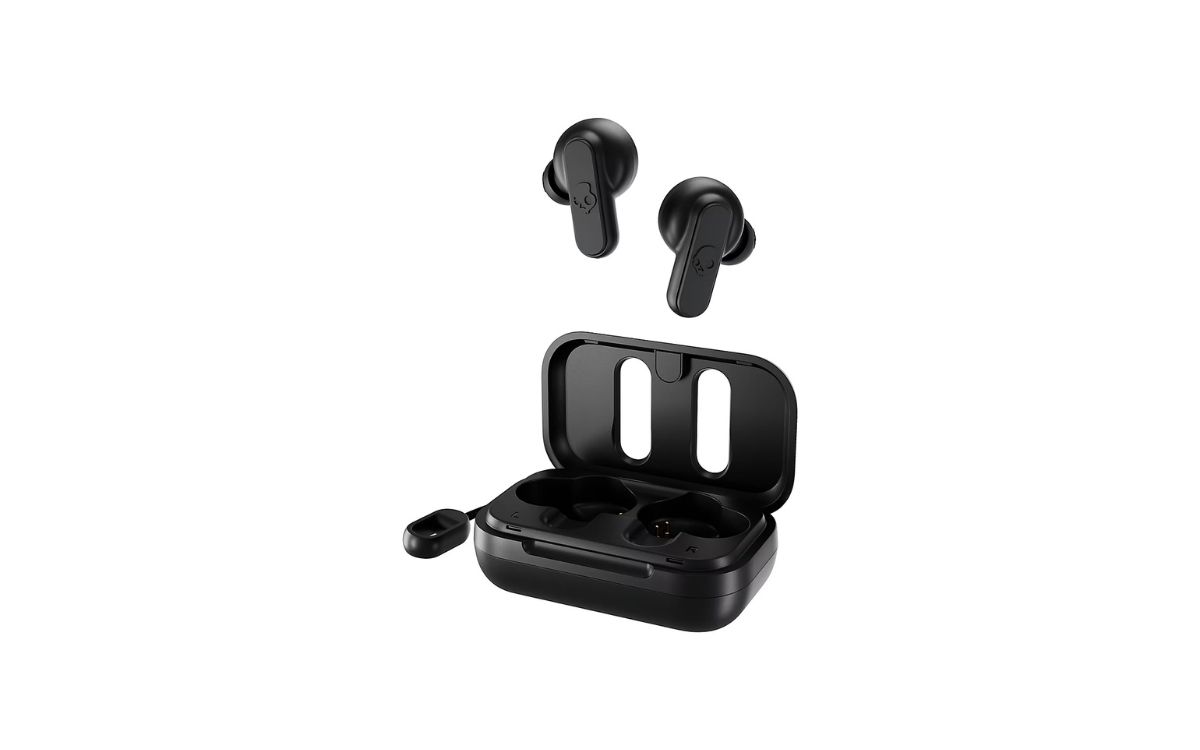
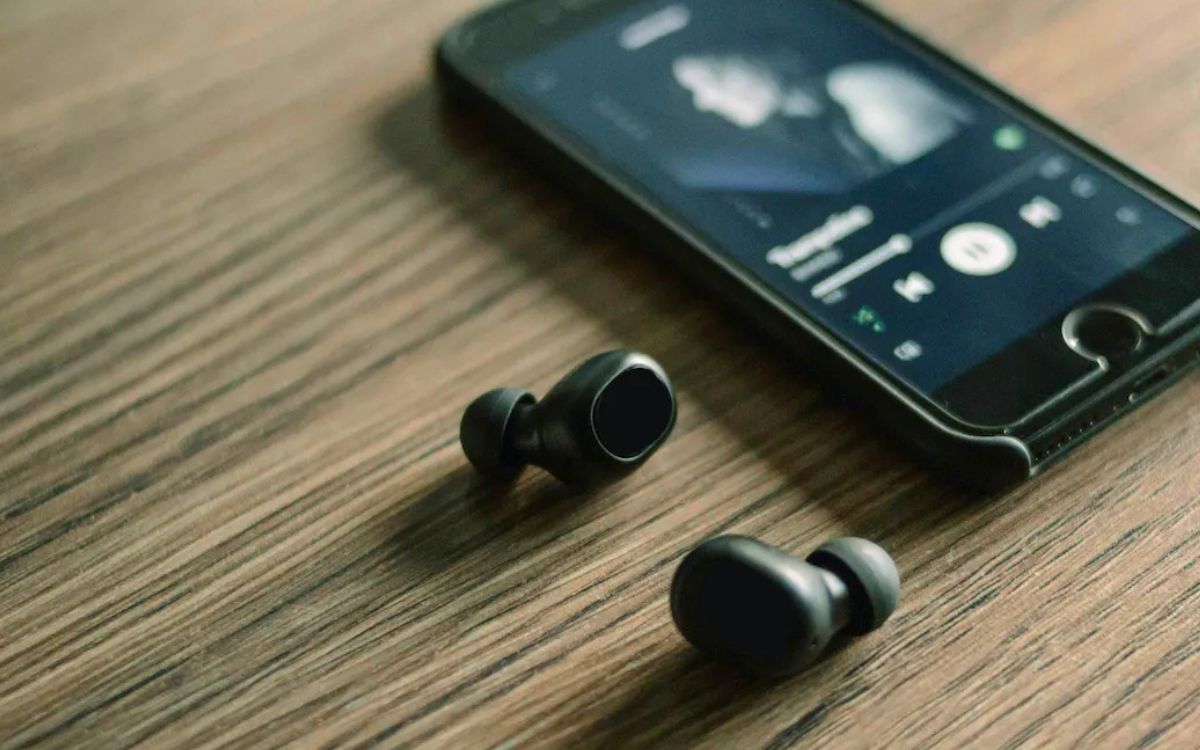
Skullcandy earbuds have become a popular choice for music enthusiasts who crave high-quality audio and sleek, stylish design. These compact and wireless earbuds offer the perfect combination of convenience and superior sound performance. Whether you’re a fan of rock, hip-hop, or classical music, connecting your Skullcandy earbuds to your iPhone will enhance your listening experience and give you the freedom to enjoy your favorite tunes without the hassle of wires.
In this guide, we will walk you through the step-by-step process of connecting your Skullcandy earbuds to your iPhone. By following these simple instructions, you’ll have your earbuds connected and ready to play your favorite songs in no time.
Before we dive into the steps, it’s worth mentioning that the specific instructions may vary slightly depending on the model of Skullcandy earbuds you own. However, the general process remains the same for most Skullcandy earbuds.
So, without further ado, let’s get started with the first step to connect your Skullcandy earbuds to your iPhone!
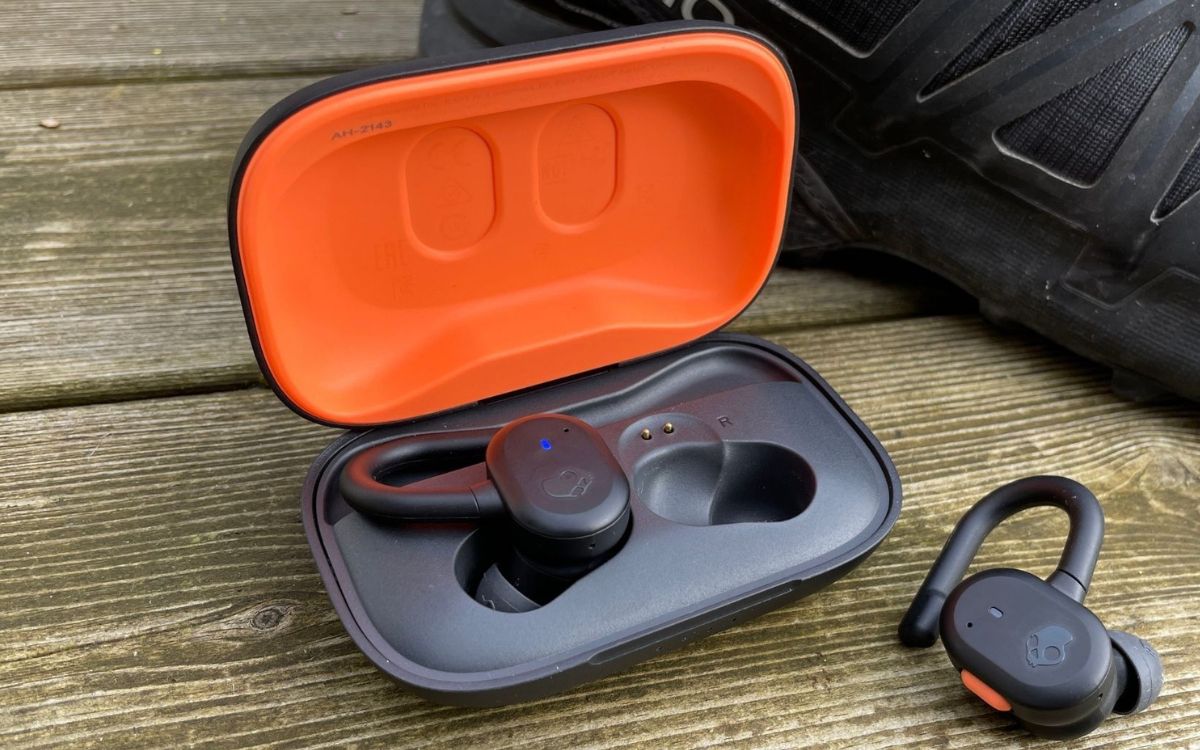
Step 1: Prepare Your Skullcandy Earbuds
Before connecting your Skullcandy earbuds to your iPhone, it’s important to ensure that they are ready for pairing. Here are a few simple steps to prepare your earbuds:
- Charge Your Earbuds: Make sure your Skullcandy earbuds have enough battery power. Connect them to a power source using the provided charging cable and let them charge fully. This step is crucial as low battery power can affect the pairing process.
- Turn on the Earbuds: Once your Skullcandy earbuds are fully charged, power them on by pressing the power button. Typically, this can be done by holding down the power button for a few seconds until the LED indicator light starts flashing.
- Reset the Earbuds (if needed): If you have used your earbuds with another device previously and are experiencing difficulties in connecting them to your iPhone, it might be necessary to reset them. Consult the user manual or website of Skullcandy for specific instructions on how to reset your particular model of earbuds.
- Ensure Bluetooth is Enabled: Check if your iPhone’s Bluetooth feature is turned on. To do this, open the Settings app on your iPhone, tap on “Bluetooth,” and toggle the switch to the “On” position. This will enable your device to search for nearby Bluetooth devices, including your Skullcandy earbuds.
Once you have completed these preparations, you’re now ready to move on to the next step: enabling Bluetooth on your iPhone.
Step 2: Enable Bluetooth on Your iPhone
In order to connect your Skullcandy earbuds to your iPhone, you’ll need to ensure that Bluetooth is enabled on your device. Enabling Bluetooth is a straightforward process:
- Unlock your iPhone: Begin by waking up your iPhone and unlocking the screen. This will allow you to access the device’s settings.
- Open Settings: Locate and tap on the “Settings” app on your iPhone’s home screen. It may be in a different location depending on your device’s configuration, so take a moment to find the app icon.
- Select Bluetooth: Within the Settings app, locate and tap on the “Bluetooth” option. This will take you to the Bluetooth settings menu.
- Toggle Bluetooth On: On the Bluetooth settings menu, you will see a switch labeled “Bluetooth” at the top. Tap on the switch to toggle it on. When enabled, the switch will turn green, indicating that Bluetooth is now active on your iPhone.
- Wait for Devices to Appear: After enabling Bluetooth, your iPhone will start scanning for nearby Bluetooth devices. This may take a few seconds. You should see a list of devices that are currently available for pairing.
With Bluetooth enabled on your iPhone, you’re now ready to prepare your Skullcandy earbuds for pairing. Let’s move on to the next step to learn how to put your earbuds in pairing mode.
Step 3: Put Your Skullcandy Earbuds in Pairing Mode
In order to connect your Skullcandy earbuds to your iPhone, you will need to put them in pairing mode. Pairing mode allows your earbuds to be visible to other devices, including your iPhone, and establishes a connection between them. Here’s how to put your Skullcandy earbuds in pairing mode:
- Turn off Your Earbuds: If your Skullcandy earbuds are already on, make sure to turn them off by pressing and holding the power button until the LED indicator light turns off. This will ensure that they are ready to enter pairing mode.
- Activate Pairing Mode: Once your earbuds are off, press and hold the power button or a dedicated pairing button (if available) on the earbuds. Hold the button until you see the LED indicator light start flashing, indicating that your Skullcandy earbuds are now in pairing mode. The flashing light may be a specific color or pattern, depending on the model. Consult your earbuds’ user manual for the correct pairing mode indicator.
- Wait for the Earbuds to be Discoverable: After activating pairing mode, your Skullcandy earbuds are now discoverable by other devices, including your iPhone. Keep the earbuds in close proximity to your iPhone during the pairing process.
With your Skullcandy earbuds in pairing mode, it’s time to move on to the next step and connect them to your iPhone.
Step 4: Connect the Skullcandy Earbuds to Your iPhone
Now that your Skullcandy earbuds are in pairing mode, it’s time to connect them to your iPhone. Follow these simple steps to establish a connection:
- Open Bluetooth Settings: On your iPhone, go to the “Settings” app and tap on “Bluetooth.”
- Find your Skullcandy Earbuds: Under the “Other Devices” section, you should see your Skullcandy earbuds listed. The name of your earbuds may vary depending on the model. Tap on the name to initiate the pairing.
- Complete the Pairing Process: Once you tap on the name of your Skullcandy earbuds, the pairing process will begin. Follow any on-screen prompts to confirm the connection. This may involve entering a passcode or accepting a pairing request.
- Wait for the Connection: After completing the pairing process, wait for your iPhone to establish a connection with your Skullcandy earbuds. This may take a few seconds. Once connected, you should see a confirmation message or an indicator that shows the successful connection.
- Test the Connection: To ensure that the connection is successful, play some music or audio on your iPhone. The sound should now be routed through your Skullcandy earbuds. Adjust the volume using the controls on your earbuds or on your iPhone as needed.
Congratulations! You have successfully connected your Skullcandy earbuds to your iPhone. Now you can enjoy your favorite music, podcasts, or any audio content wirelessly through your earbuds.
If you have any issues with the connection, try restarting both your earbuds and your iPhone and repeat the above steps. Additionally, make sure your Skullcandy earbuds are fully charged and that you are within the Bluetooth range of your iPhone.
Now that the connection is established, let’s proceed to the final step to test the quality of the connection.
Step 5: Test the Connection
After connecting your Skullcandy earbuds to your iPhone, it’s important to test the connection to ensure everything is working properly. Follow these steps to test the quality of the connection:
- Play Music: Open your preferred music app on your iPhone and select a song or playlist to play.
- Check Audio Output: Verify that the audio output is being routed through your Skullcandy earbuds. You should hear the music playing through the earbuds and not through the iPhone’s speakers.
- Assess Sound Quality: Pay attention to the sound quality. Skullcandy earbuds are known for their excellent audio performance, so you should experience clear and immersive sound without any distortion or interference.
- Test Controls: Test the controls on your Skullcandy earbuds to ensure they are functioning correctly. This may include adjusting the volume, skipping tracks, or answering calls if your earbuds have built-in controls.
- Move Around: While testing the connection, move around to different areas within the Bluetooth range of your iPhone. This will help you determine if the connection remains stable and does not drop or experience any interruptions.
If you encounter any issues or the connection is not satisfactory, try the following troubleshooting steps:
- Restart Your Devices: Turn off your Skullcandy earbuds and your iPhone, then turn them back on. This simple step can sometimes resolve connection issues.
- Re-Connect the Earbuds: Go to the Bluetooth settings on your iPhone and disconnect your Skullcandy earbuds. Then, repeat the pairing process outlined in Step 4 to establish a fresh connection.
- Update Firmware: Visit the Skullcandy website or consult the user manual to determine if there are any firmware updates available for your earbuds. Updating the firmware can often improve the performance and stability of the connection.
- Contact Support: If you have tried the above steps and are still experiencing difficulties with the connection, reach out to Skullcandy’s customer support for further assistance. They can provide additional troubleshooting steps or guide you through any specific issues.
By following these steps and conducting a thorough test of the connection, you can ensure that your Skullcandy earbuds are fully functional and delivering an immersive audio experience on your iPhone.
Now that you have successfully connected and tested your Skullcandy earbuds, you can enjoy an enhanced and wire-free audio experience whenever you listen to music, watch videos, or make calls on your iPhone. Happy listening!
Conclusion
Connecting your Skullcandy earbuds to your iPhone is a simple process that allows you to enjoy your favorite music and audio content wirelessly. By following the steps outlined in this guide, you can establish a seamless connection and experience the superior sound quality that Skullcandy earbuds offer.
First, make sure your Skullcandy earbuds are fully charged and ready for pairing. Enable Bluetooth on your iPhone and put your earbuds in pairing mode. Once in pairing mode, open the Bluetooth settings on your iPhone and connect to your earbuds. Verify the connection by playing music and testing the controls on your earbuds.
If you encounter any issues during the connection process or experience poor audio quality, remember to troubleshoot by restarting your devices, re-connecting the earbuds, or updating the firmware. In case the problem persists, reach out to Skullcandy’s customer support for assistance.
By successfully connecting your Skullcandy earbuds to your iPhone, you can enjoy the freedom of wireless audio and immerse yourself in the music without the hassle of tangled wires. Whether you’re working out, commuting, or simply relaxing, your Skullcandy earbuds will provide a comfortable and high-quality audio experience.
Remember to take care of your earbuds by keeping them clean and storing them in a protective case when not in use. This will help prolong their lifespan and maintain their performance.
So, go ahead and connect your Skullcandy earbuds to your iPhone following the steps outlined in this guide. Experience the joy of wireless audio and elevate your listening experience to new heights!