Home>Events & Info>Ballet>How To Tie A Ballet Skirt
Ballet
How To Tie A Ballet Skirt
Modified: January 22, 2024
Learn how to tie a ballet skirt with our step-by-step guide. Perfect for ballet dancers looking for a secure and comfortable fit.
(Many of the links in this article redirect to a specific reviewed product. Your purchase of these products through affiliate links helps to generate commission for AudioLover.com, at no extra cost. Learn more)
Table of Contents
Introduction
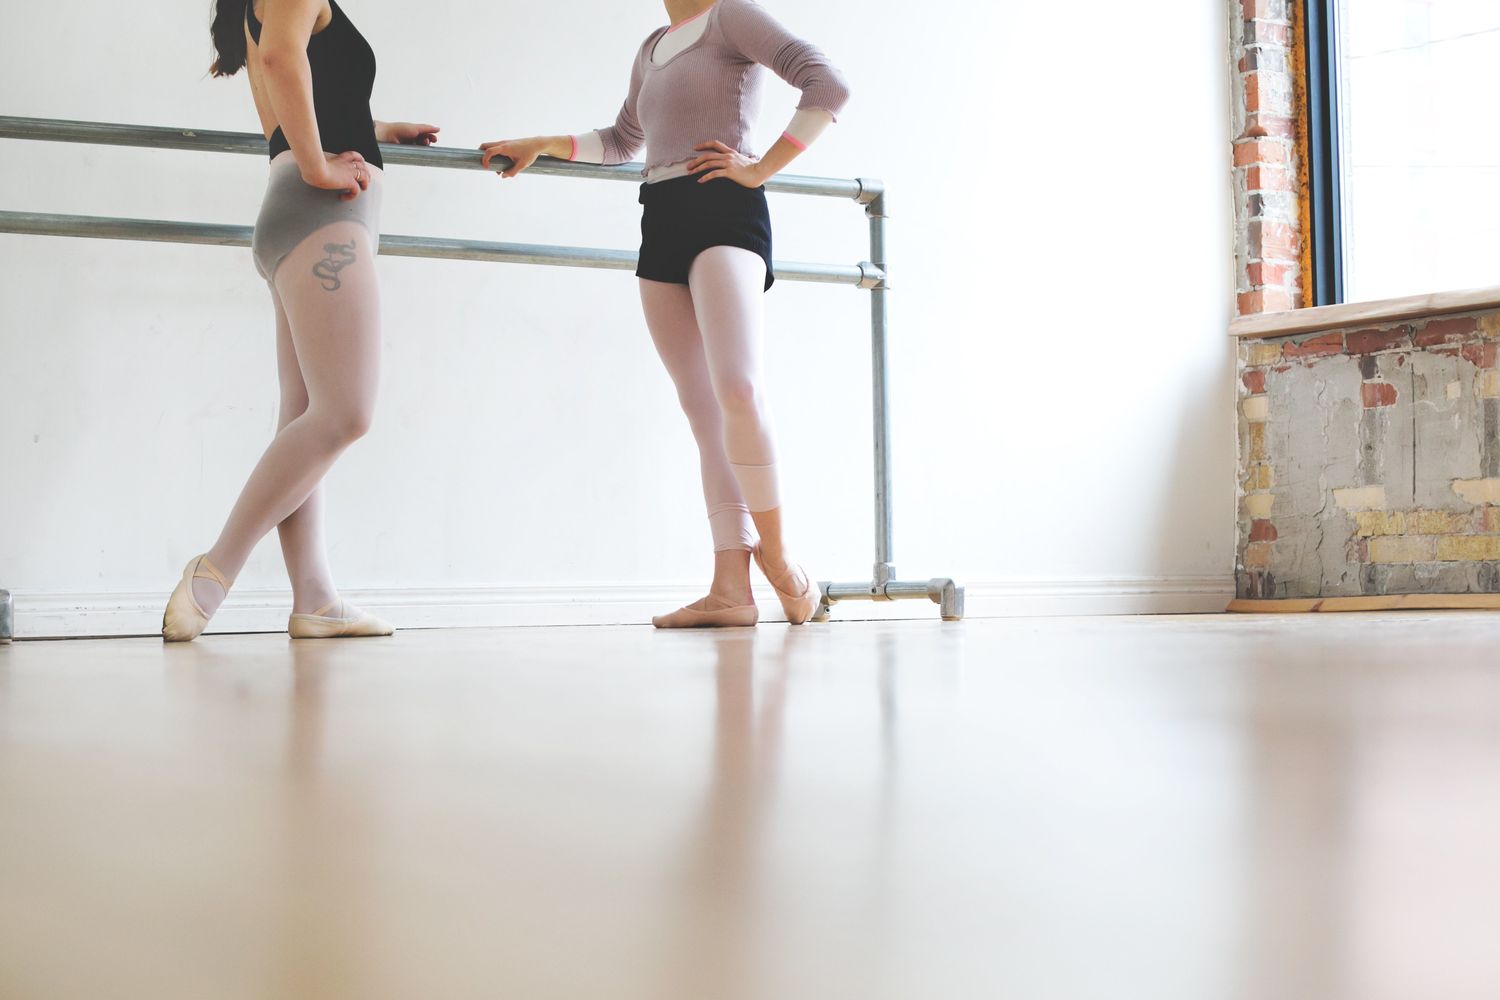
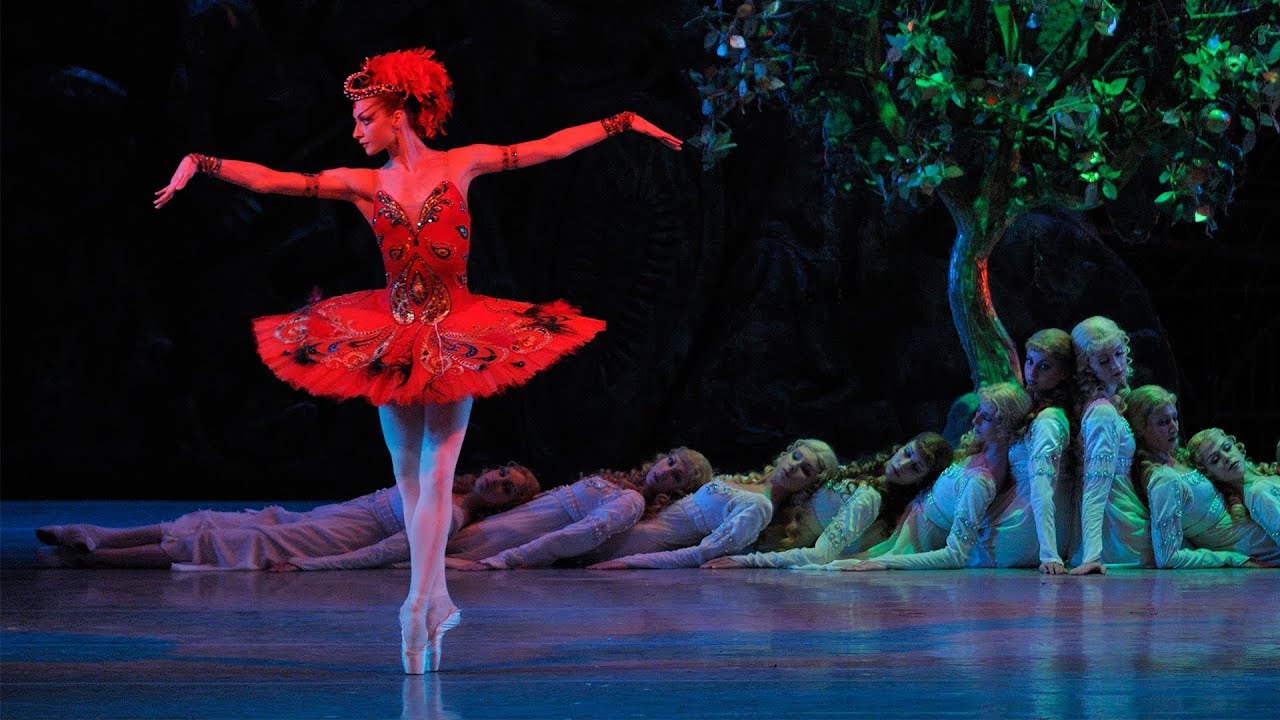
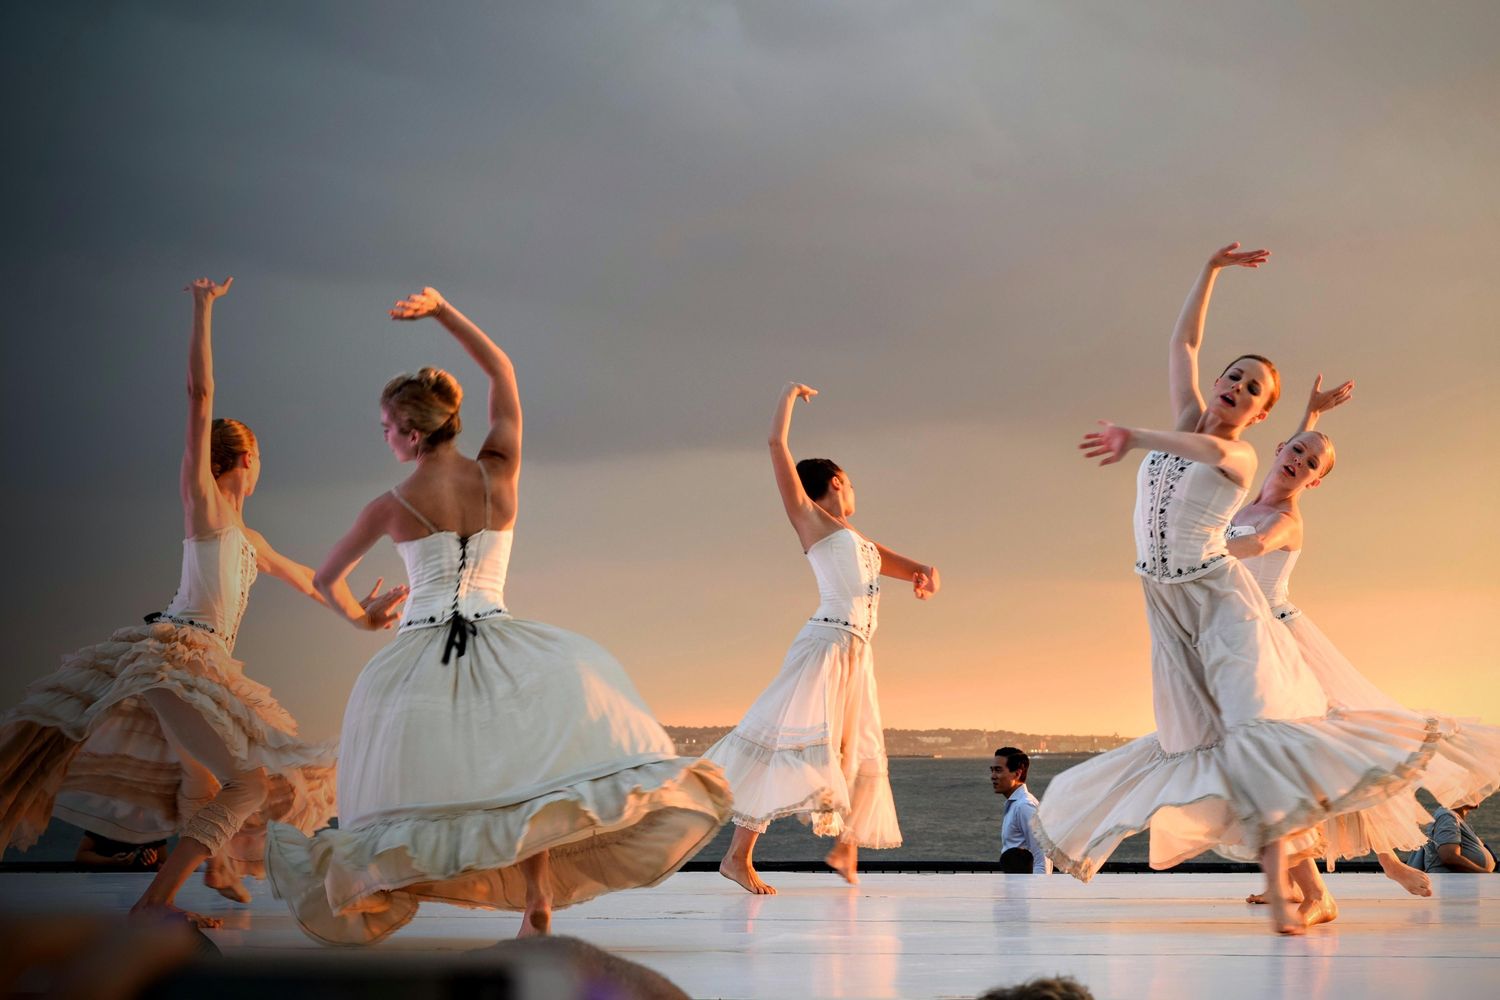
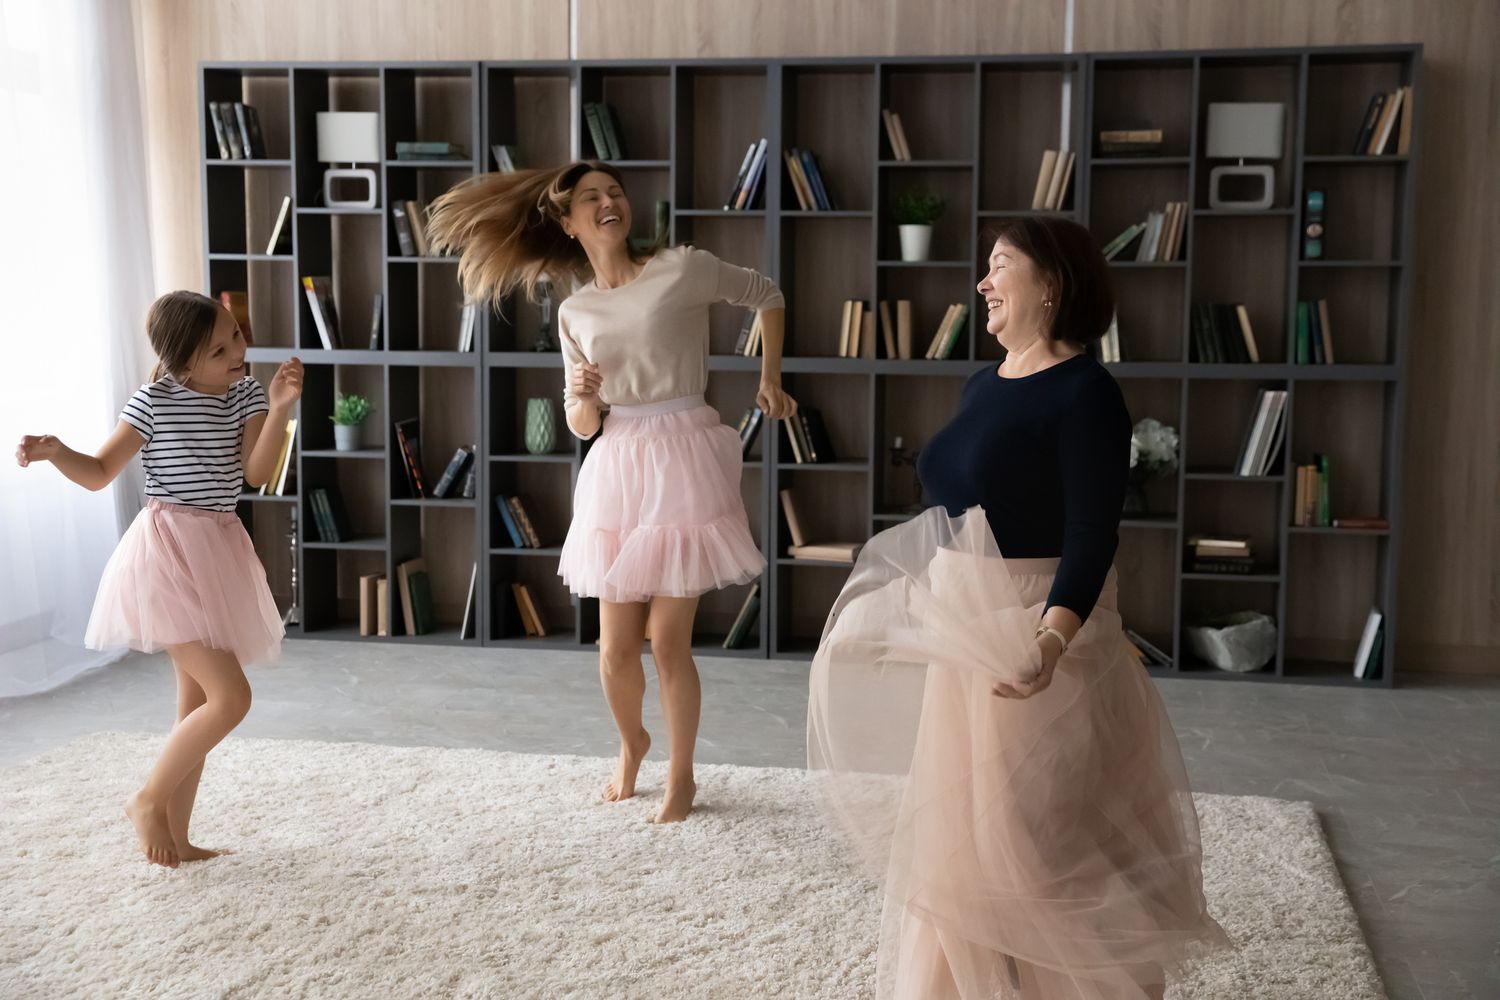
Whether you’re a seasoned ballerina or a dance enthusiast, there’s no denying the beauty and elegance of a ballet skirt. These flowing garments add grace and style to any dance performance, allowing the dancer to express their movements with ethereal fluidity. However, tying a ballet skirt properly is essential to ensure it stays secure throughout the performance. In this article, we will guide you through the steps of tying a ballet skirt, so you can achieve the perfect fit while exuding confidence on stage.
Before we dive into the details, it’s important to note that there are various types of ballet skirts, each with its own unique style and method of tying. For the purpose of this article, we will focus on tying a traditional wrap-style ballet skirt, which is one of the most common and versatile options.
So, whether you’re a dancer preparing for an upcoming performance or simply curious about the art of ballet, let’s explore the step-by-step process of tying a ballet skirt, ensuring you are ready to take the stage with poise and elegance.
Step 1: Preparing the Ballet Skirt
Before you can begin tying your ballet skirt, it’s important to make sure it is properly prepared. Here are the necessary steps:
- Choose the right skirt: Select a ballet skirt that fits you well and complements your dance attire. There are various lengths and styles available, including short and long skirts, as well as those with multiple layers for added volume.
- Smooth out any wrinkles: Lay the skirt flat on a clean surface and gently smooth out any wrinkles or creases. This ensures a neat and polished appearance when wearing the skirt.
- Check the ties: Take note of the ties or ribbons attached to the skirt. These are used to secure the skirt around your waist. Make sure they are in good condition and securely attached to the skirt to avoid any mishaps during your performance.
Once you have prepared your ballet skirt, you’re ready to move on to the next step of tying it securely around your waist. Remember, taking the time to properly prepare your skirt will result in a comfortable and visually pleasing fit, allowing you to focus on your dance without any distractions.
Step 2: Wrapping the Skirt around the Waist
Now that you have prepared your ballet skirt, it’s time to wrap it around your waist. Follow these steps:
- Stand upright: Stand in a relaxed posture, ensuring your back is straight and your core is engaged. This will help you maintain balance throughout the process.
- Hold the skirt: Take hold of the skirt with both hands, positioning it at the back of your waist with the ties hanging down in front of you.
- Overlap the ends: Cross the right tie over the left tie, creating an overlap at the front of your waist. The amount of overlap can vary depending on personal preference and skirt length, but a general guideline is to create a modest overlap of around 2-3 inches.
- Secure the ties behind your waist: Take the ties around to the back of your waist and tie them in a double knot. Make sure the knot is tight enough to keep the skirt in place, but not overly tight so as to restrict your movement or cause discomfort.
It’s important to note that while tying the skirt, it’s useful to have a mirror or someone to assist you, ensuring that the skirt is symmetrical and evenly wrapped around your waist. Adjust the positioning and tightness of the skirt as needed to achieve a comfortable fit that allows for freedom of movement.
Now that your ballet skirt is securely wrapped around your waist, it’s time to move on to the next step – creating a secure knot to keep the skirt in place throughout your performance.
Step 3: Creating a Secure Knot
Once you have wrapped the ballet skirt around your waist and positioned the ties at the back, it’s important to create a secure knot to ensure that the skirt stays in place during your dance routine. Follow these steps to create a secure knot:
- Hold the ties: Take hold of both ties and bring them to the front of your waist.
- Cross the ties: Cross the left tie over the right tie, creating an X shape in the front.
- Bring the left tie through: Take the left tie and bring it through the loop created by the X shape.
- Pull tight: Gently pull both ties to tighten the knot. Ensure that the skirt feels secure but not overly tight to allow for movement and comfort.
Creating a secure knot is crucial in preventing the ballet skirt from coming undone while you are performing intricate dance movements. Take a moment to check that the knot feels secure and that the ties are neatly positioned at the back of your waist.
It’s important to remember that everyone’s preference for knot placement may vary. Some dancers may prefer the knot to be positioned at the center, while others may prefer it slightly to the side. Experiment with different placements to find what works best for you.
Now that you have created a secure knot, it’s time to move on to the next step: adjusting the length of the skirt to ensure it complements your movements and overall look.
Step 4: Adjusting the Skirt Length
Adjusting the length of your ballet skirt is essential to achieve the desired aesthetic and functionality. Follow these steps to ensure your skirt length is flattering and appropriate:
- Stand in front of a mirror: Position yourself in front of a mirror, allowing you to assess the length and overall appearance of the skirt.
- Measure the skirt: If necessary, measure the skirt by lifting the front layers slightly to see the underlying layers. This will give you a better idea of the skirt’s overall length and how it falls on your body.
- Adjust the length: Depending on your preference and the specific requirements of your dance routine, you may need to shorten or lengthen the skirt. To shorten the skirt, simply fold the layers under at the desired length. Be sure to check the back as well to ensure symmetry. If you need to lengthen the skirt, gently pull the layers down to create a longer appearance.
- Secure any adjustments: Once you have determined the ideal length, secure any adjustments by using fabric tape or discreet safety pins. This will prevent the skirt from shifting during your performance.
Keep in mind that the length of your ballet skirt can greatly impact your movements and the overall visual effect as you dance. Make sure the length is appropriate for the style of dance and the choreography you will be performing.
By taking the time to adjust the skirt length, you can ensure that it enhances your movements and assists in conveying the artistry and grace of ballet.
With the skirt length properly adjusted, you’re now ready to add the finishing touches and complete your ballet look.
Step 5: Adding Finishing Touches
As you near the end of the process of tying your ballet skirt, it’s time to add those final touches that can elevate your overall look and make you feel confident and ready for the stage. Follow these steps to add the finishing touches:
- Smooth out the skirt: Take a moment to smooth out any wrinkles or folds in the skirt. This will ensure a polished appearance and enhance the visual appeal of your ensemble.
- Check the waistline: Make sure the waistline of the skirt is aligned and sitting at the desired height on your waist. Adjust as needed to achieve a comfortable and flattering fit.
- Add accessories (optional): Depending on personal preference and the requirements of your performance, you may choose to enhance your ballet look with accessories such as a decorative waist belt or a matching ribbon tied around the waist. These small details can add an extra touch of elegance and individuality to your ensemble.
- Take a final look: Step back and take a final look in the mirror to ensure that everything is in place and visually pleasing. Make any last-minute adjustments as necessary.
By focusing on these finishing touches, you can create a cohesive and polished ballet look that inspires confidence and captivates the audience. Remember that the details matter, and the effort you put into perfecting your appearance will be reflected in your performance.
With the finishing touches added, you are now ready to showcase your ballet skills with grace and confidence. So step onto the stage and let your talent shine!
Conclusion
Tying a ballet skirt may seem like a small detail in the grand scheme of a dance performance, but it plays a significant role in enhancing your overall look and allowing you to move with grace and confidence. By following the steps outlined in this article, you can ensure that your ballet skirt is securely tied and comfortably positioned, allowing you to focus on your performance without any wardrobe distractions.
Remember, the key to tying a ballet skirt lies in proper preparation, precise wrapping, creating a secure knot, adjusting the length as needed, and adding those final finishing touches. Pay attention to every detail, from the smoothness of the fabric to the placement of the knot. By doing so, you can achieve a polished and professional ballet look that complements your movements and showcases your artistry.
Whether you’re a professional dancer or just starting your ballet journey, mastering the art of tying a ballet skirt is an essential skill. Take the time to practice and experiment with different techniques to find what works best for you and your unique style.
In the end, tying a ballet skirt is not just about functionality, but also about expressing your individuality and creating a visual impact on stage. Embrace the beauty and elegance of ballet, and let your skirt become an extension of your artistry and passion.
So, the next time you step onto the stage, take pride in the way you tie your ballet skirt, knowing that every detail is thoughtfully considered. It’s time to showcase your talent, captivate the audience, and leave a lasting impression with your graceful movements and perfectly tied ballet skirt.