Home>Instruments>Guitar>How To Tie Classical Guitar Strings
Guitar
How To Tie Classical Guitar Strings
Published: February 14, 2024
Learn how to tie classical guitar strings with our step-by-step guide. Keep your guitar in perfect tune with our expert tips and techniques.
(Many of the links in this article redirect to a specific reviewed product. Your purchase of these products through affiliate links helps to generate commission for AudioLover.com, at no extra cost. Learn more)
Table of Contents
Introduction
Introduction
Tying classical guitar strings is an essential skill for any guitarist. Whether you're a beginner or a seasoned player, restringing your guitar is a task that will inevitably arise. While it may seem daunting at first, with the right guidance and practice, you can master this process and keep your instrument in top playing condition.
Restringing a classical guitar involves several steps, including preparing the guitar, inserting the string, tying the string, and tuning it to the correct pitch. Each step is crucial to ensuring that the string is securely attached and produces the desired sound. By following a systematic approach and paying attention to the details, you can effectively restring your classical guitar and enjoy a rich, resonant tone.
In this comprehensive guide, we will walk you through the process of tying classical guitar strings, providing clear instructions and valuable tips to help you achieve optimal results. Whether you're a classical guitar enthusiast or simply looking to expand your musical repertoire, mastering this fundamental skill will enhance your playing experience and contribute to the longevity of your instrument. So, let's dive in and learn how to tie classical guitar strings with confidence and precision.
Step 1: Prepare the Guitar
Before you begin the process of tying classical guitar strings, it’s essential to prepare your instrument to ensure a smooth and effective restringing experience. Here are the key steps to prepare your guitar:
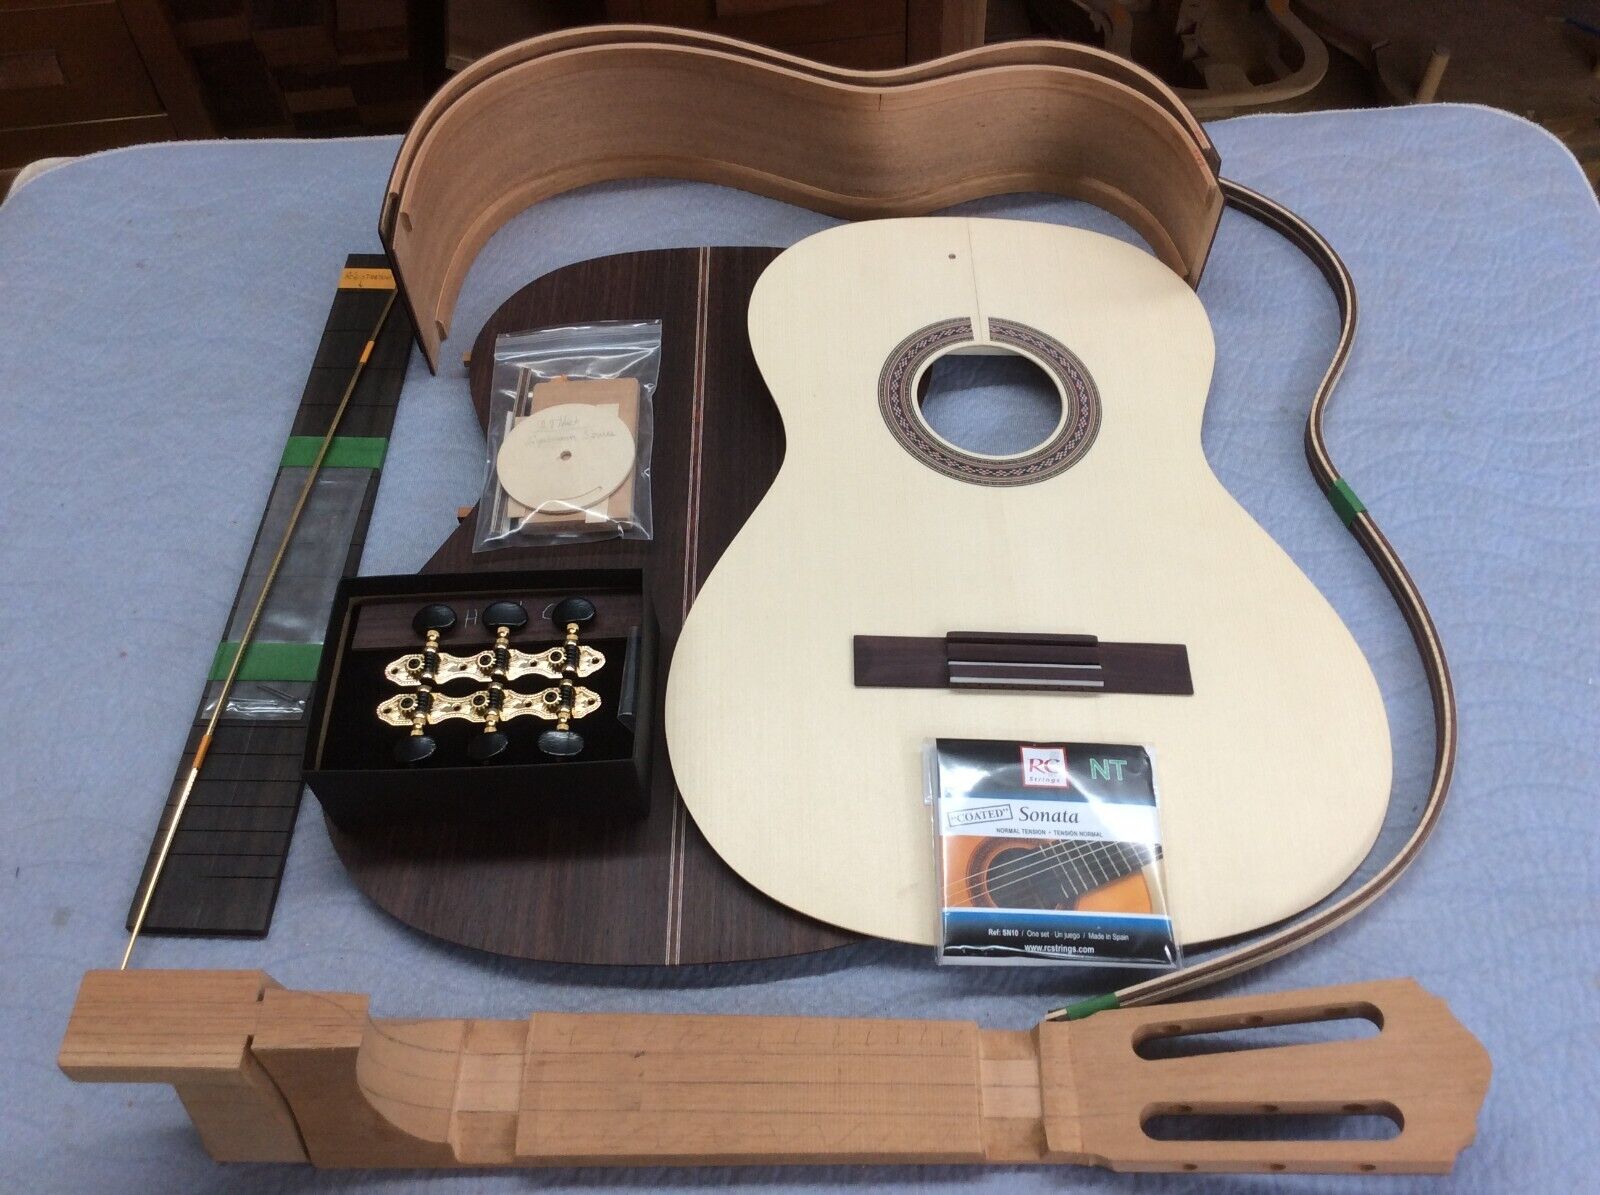
- Gather the necessary tools: To restring your classical guitar, you will need a few essential tools, including new strings, a string winder (optional but helpful), a pair of wire cutters, and a tuner. Having these tools on hand will streamline the restringing process and ensure that you can complete each step with ease.
- Secure the guitar: Find a comfortable and well-lit workspace where you can securely place your guitar. Using a stable surface, such as a workbench or table, will provide the stability needed to work on your instrument without any unnecessary movement or potential damage.
- Remove the old strings: Carefully unwind and remove the old strings from the guitar. Use the wire cutters to snip the strings near the bridge, and then unwind them from the tuning pegs. Take care to avoid any sudden movements that could scratch the guitar’s finish or cause the strings to snap unexpectedly.
- Clean the guitar: With the old strings removed, take this opportunity to clean the fretboard and the area around the bridge. Use a soft, lint-free cloth to remove any accumulated dust, dirt, or residue. This will not only enhance the appearance of your guitar but also prevent any debris from interfering with the restringing process.
By following these preparatory steps, you will set the stage for a successful restringing process and ensure that your guitar is ready to receive its new set of strings. Taking the time to gather the necessary tools, secure your guitar, and clean the instrument will contribute to a seamless and enjoyable restringing experience.
Step 2: Insert the String
Once your guitar is prepared, the next step in tying classical guitar strings is to insert the new string into the appropriate position on the instrument. Follow these guidelines to effectively insert the string:
- Identify the correct string: Classical guitars typically have three treble strings and three bass strings. Ensure that you are selecting the correct string for the corresponding position on the guitar. The packaging of the strings should indicate which string is which, typically denoted by the string gauge or note name.
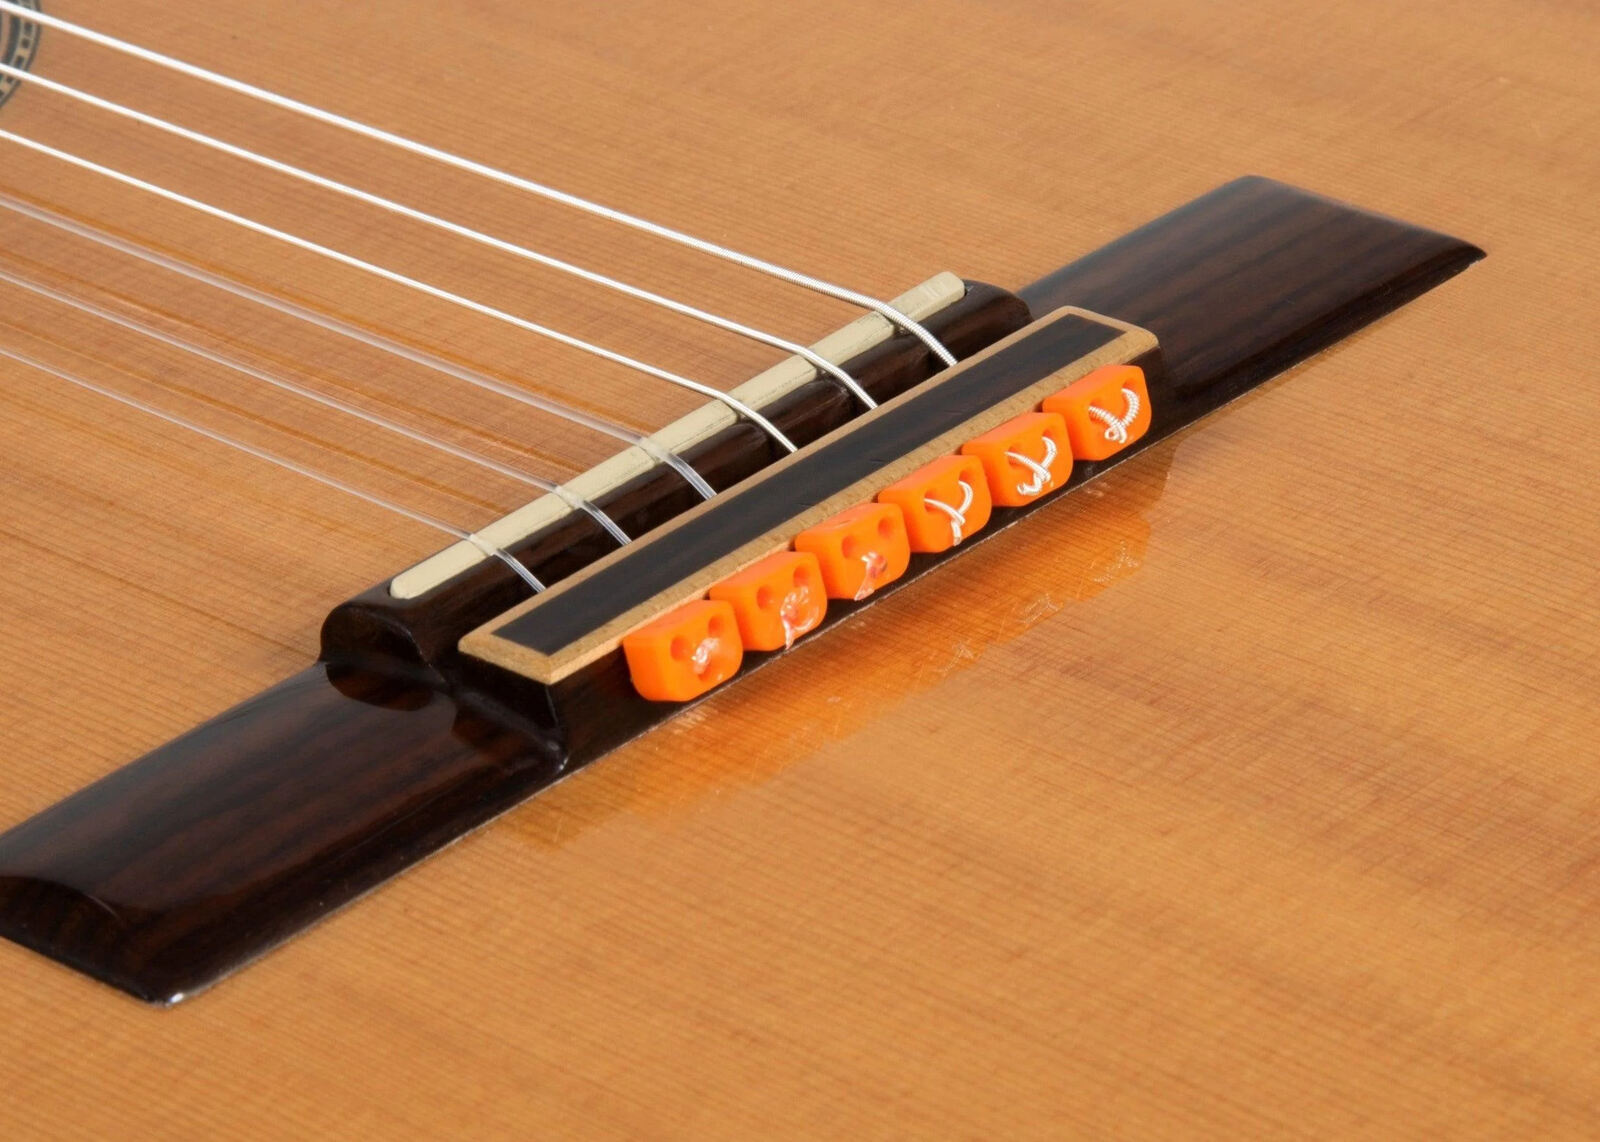
- Insert the string through the bridge: Starting with the sixth (low E) string, insert the end of the string with the ball end through the bridge hole. Pull the string through until the ball end is secure against the bridge, ensuring that there is no slack in the string.
- Guide the string to the tuning peg: Once the string is inserted through the bridge, carefully guide it along the fretboard and over the nut to the corresponding tuning peg. Take care to avoid any unnecessary kinks or bends in the string as you position it for winding.
- Leave ample excess at the tuning peg: Allow enough excess string at the tuning peg to ensure that you can wind the string neatly without running out of slack. A general rule of thumb is to leave approximately three inches of excess string beyond the tuning peg.
By following these steps, you will effectively insert the new string onto your classical guitar, setting the stage for the next crucial phase: tying the string securely to ensure optimal performance and stability.
Step 3: Tie the String
After successfully inserting the new string, the next critical step in tying classical guitar strings is securing the string to the tuning peg. This process ensures that the string remains taut and in tune, contributing to the overall stability and playability of the instrument. Follow these essential steps to tie the string securely:
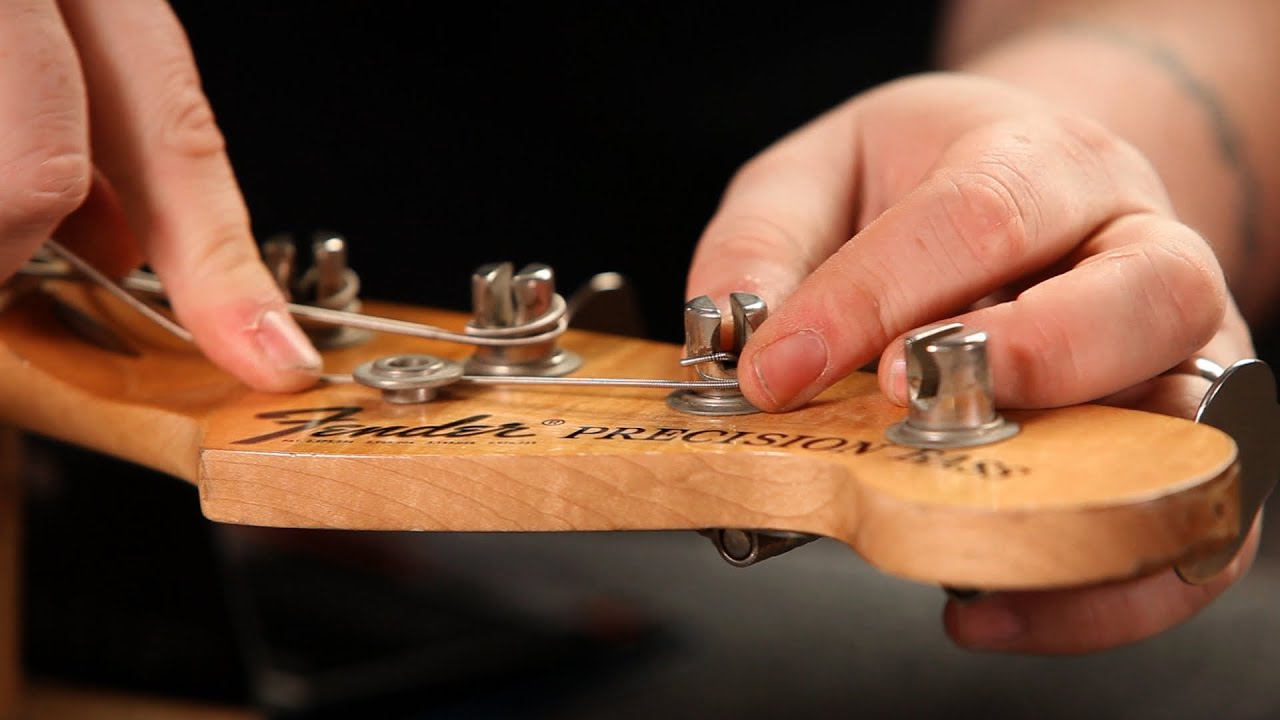
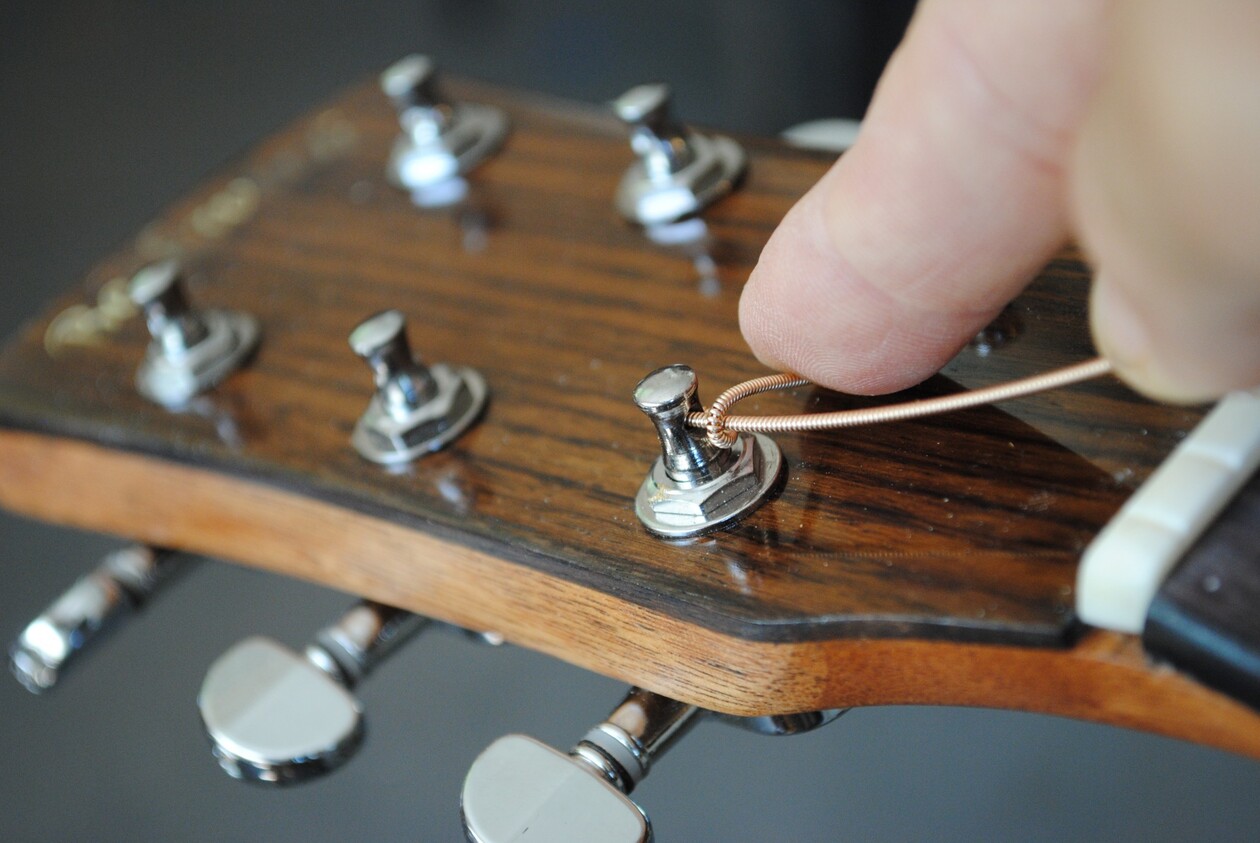
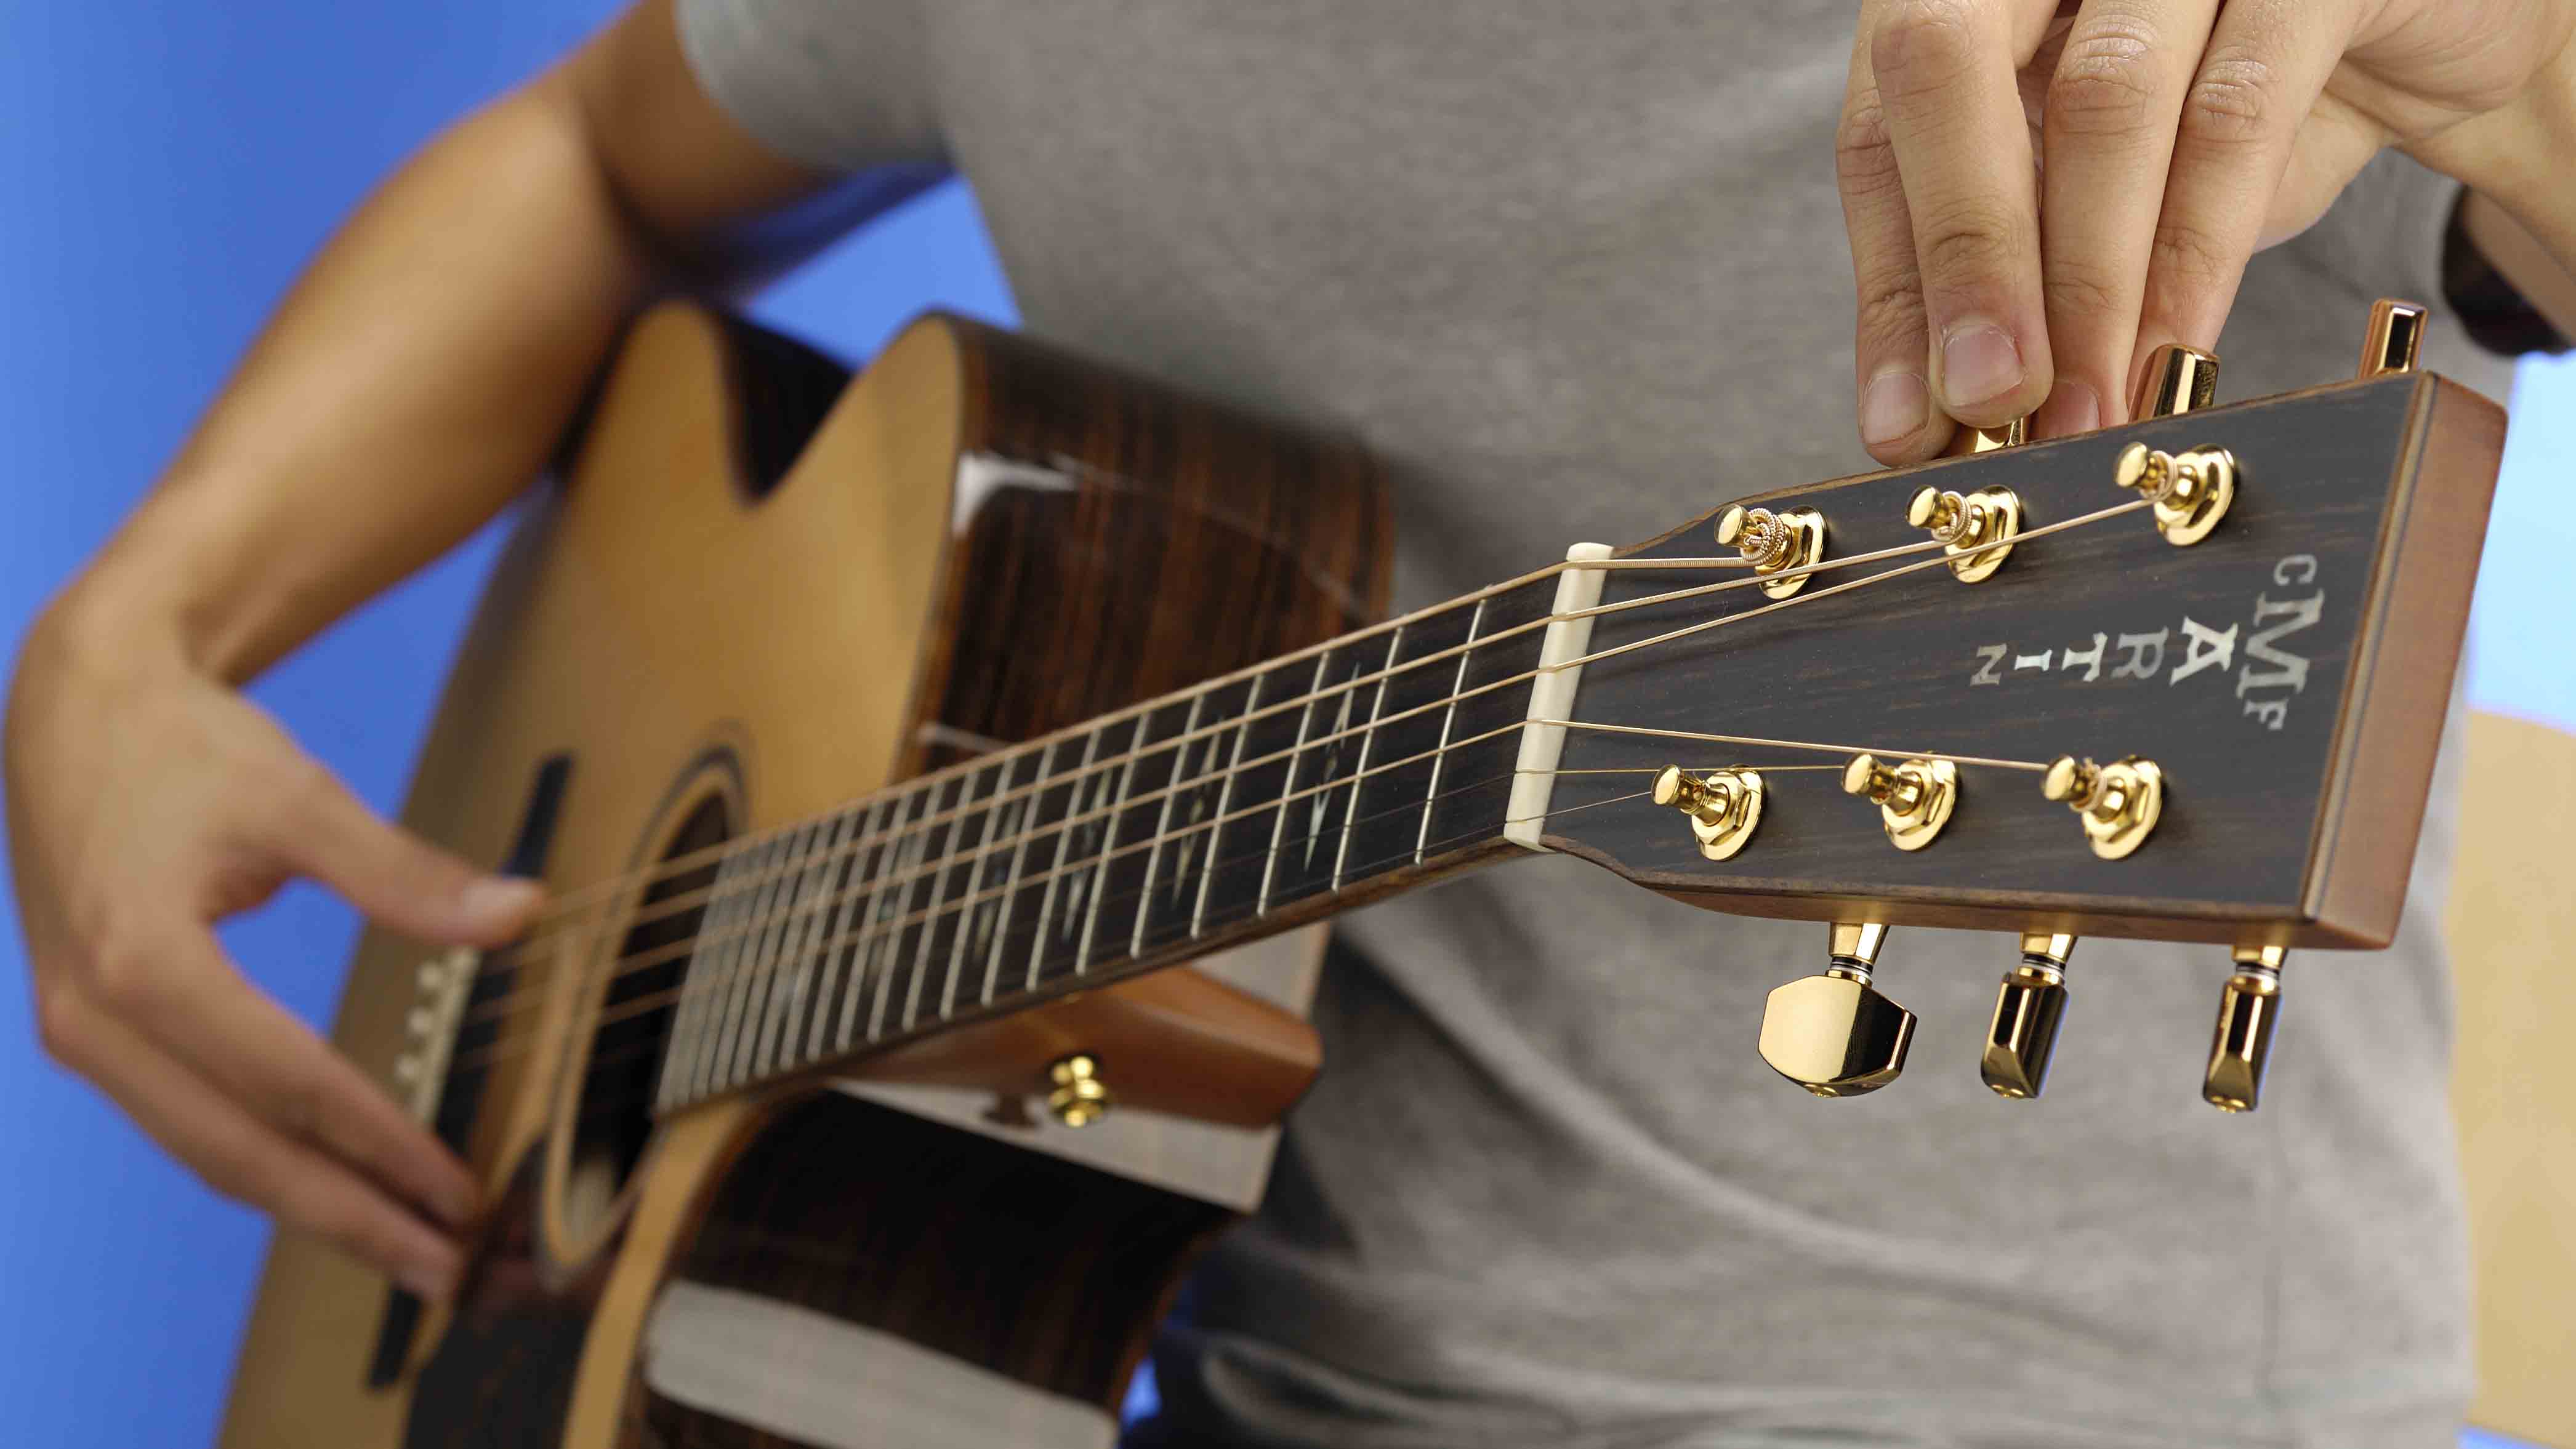
- Create a secure anchor point: Begin by looping the excess string around the tuning peg, leaving a slight amount of slack to work with. This initial loop will serve as an anchor point for the subsequent winding of the string.
- Begin winding the string: With the string anchored to the tuning peg, start winding the excess string around the peg in a clockwise direction. Ensure that each winding is neat and tight, gradually taking up the slack and securing the string in place.
- Maintain tension as you wind: As you continue winding the string, use your free hand to guide the string and maintain tension, ensuring that the winds are snug against each other and the string remains taut. This will prevent any slippage or looseness in the winding, promoting stability and tuning accuracy.
- Leave a small amount of slack: Once the string is securely wound around the tuning peg, leave a small amount of slack to accommodate any minor adjustments during the tuning process. This slight slack will allow for fine-tuning without placing excessive strain on the string.
By following these steps, you will effectively tie the new string to the tuning peg, setting the stage for the final phase of the restringing process: tuning the string to the correct pitch for optimal sound quality and playability.
Step 4: Tune the String
Once the new string is securely tied to the tuning peg, the final step in tying classical guitar strings is to tune the string to the correct pitch. Proper tuning is essential to ensure that the string produces the desired notes and harmonizes with the other strings on the instrument. Follow these important guidelines to effectively tune the string:
- Use a tuner for accuracy: Utilize a guitar tuner to ensure precise tuning of the new string. A tuner will provide visual and auditory feedback, guiding you to adjust the string’s tension until it reaches the correct pitch. This step is crucial for achieving optimal sound quality and maintaining proper intonation.
- Turn the tuning peg gradually: As you begin tuning the string, turn the corresponding tuning peg gradually to increase or decrease the tension. Use the tuner to monitor the pitch and make precise adjustments, ensuring that the string reaches the intended notes without over-tightening or causing undue stress on the string.
- Check for stability and consistency: As you tune the string, listen for stability and consistency in the sound. Ensure that the string maintains its pitch without wavering or slipping out of tune, indicating that it is securely fastened and ready for playing.
- Repeat the process for each string: After successfully tuning the newly tied string, repeat the entire process for each remaining string on the classical guitar. Pay careful attention to each string’s pitch and ensure that they harmonize with one another to create a balanced and resonant tonal quality.
By following these steps, you will effectively tune the newly tied string to the correct pitch, completing the restringing process and preparing your classical guitar for optimal performance and musical expression.
Conclusion
Congratulations! You’ve successfully learned how to tie classical guitar strings, a fundamental skill that will serve you well in maintaining your instrument’s playability and tonal quality. By following the systematic steps outlined in this guide, you’ve gained the knowledge and confidence to restring your classical guitar with precision and care.
Restringing your guitar is not only a practical task but also an opportunity to connect with your instrument on a deeper level. As you carefully prepare the guitar, insert the strings, tie them securely, and tune them to perfection, you’re actively contributing to the instrument’s longevity and ensuring that it continues to resonate with rich, vibrant tones.
Remember, the restringing process is a valuable opportunity to familiarize yourself with the intricacies of your classical guitar, allowing you to appreciate its craftsmanship and unique sonic capabilities. Whether you’re a seasoned guitarist or just beginning your musical journey, mastering the art of restringing will enhance your playing experience and deepen your connection to the instrument.
As you continue to explore the world of classical guitar, don’t hesitate to revisit this guide whenever you need a refresher on tying strings. With practice and dedication, you’ll refine your restringing skills and develop a keen understanding of how to optimize your guitar’s performance.
Now, armed with the knowledge and expertise to tie classical guitar strings, you can embark on your musical endeavors with confidence, knowing that your instrument is well cared for and ready to produce beautiful, resonant melodies.