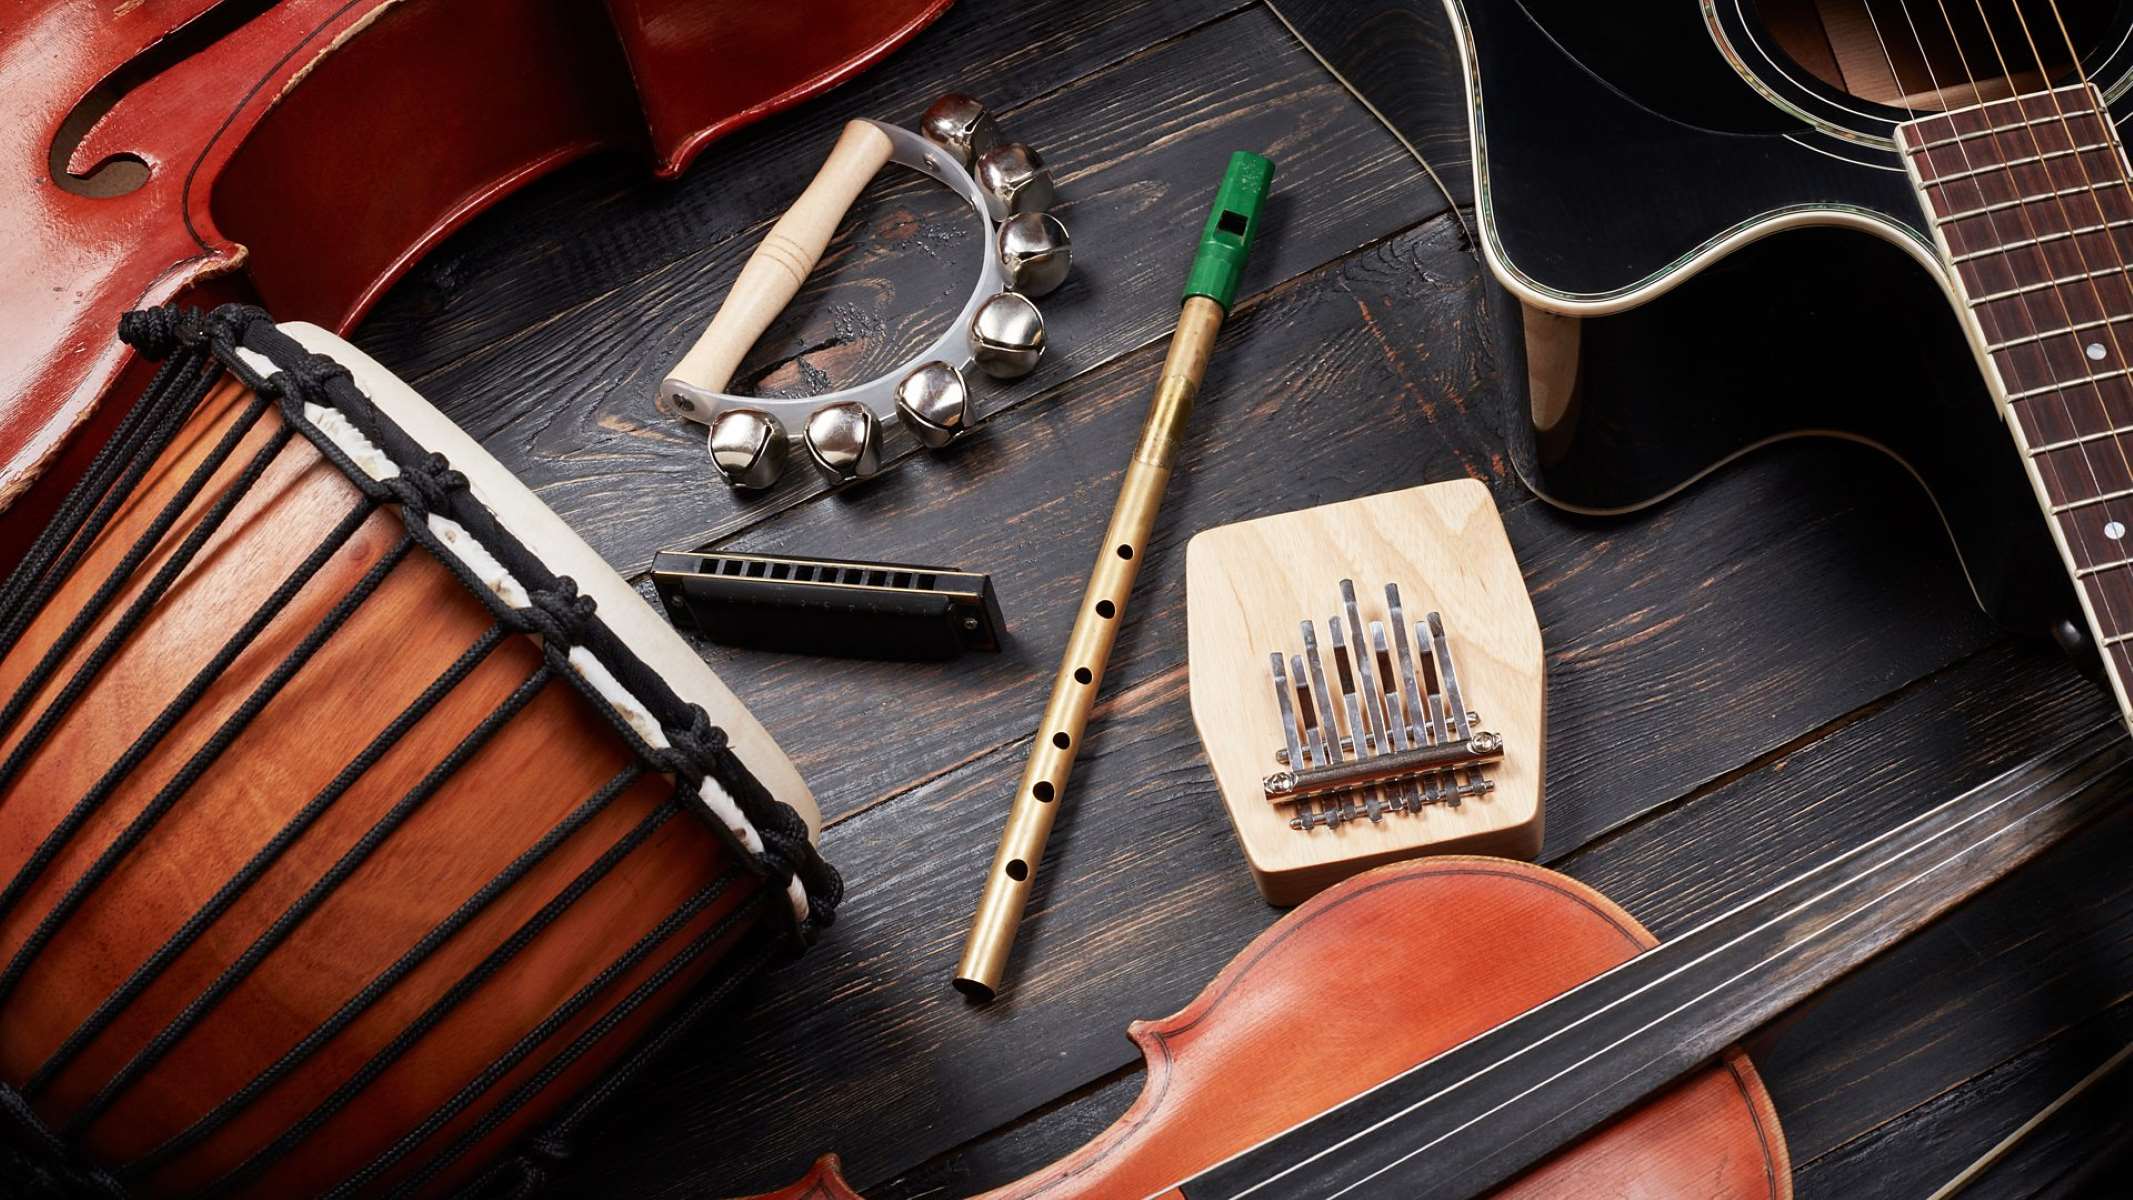
Folk
How To Make A Folk Harp
Published: November 4, 2023
Learn how to make a beautiful folk harp from scratch and discover the art of playing this traditional instrument. Join our comprehensive step-by-step guide today!
(Many of the links in this article redirect to a specific reviewed product. Your purchase of these products through affiliate links helps to generate commission for AudioLover.com, at no extra cost. Learn more)
Table of Contents
Introduction
Welcome to the world of folk harps! If you’ve ever been captivated by the enchanting sound of a harp and wished you could play one yourself, then building your own folk harp might be the perfect project for you. Whether you’re an experienced woodworker or a complete novice, constructing a folk harp can be a rewarding and fulfilling endeavor that allows you to create a beautiful instrument that reflects your personal style.
A folk harp, also known as a lever harp or Celtic harp, is a smaller, more portable version of the classical pedal harp. It typically has a range of 22 to 36 strings and is favored by folk musicians for its versatility and ease of playing. Building your own folk harp not only allows you to customize its appearance and sound, but also provides a deeper connection to the instrument as you invest time and effort into its creation.
In this guide, we will walk you through the step-by-step process of constructing your own folk harp. We’ll cover everything from choosing the materials to adding the finishing touches, so you’ll have all the information you need to embark on this exciting journey. Whether you plan to use the harp for personal enjoyment or to showcase your musical talent, building a folk harp is a fulfilling way to immerse yourself in the rich tradition of this ancient instrument.
So, if you’re ready to unleash your creativity and dive into the world of folk harp construction, let’s get started!
Choosing the Materials
When it comes to building a folk harp, selecting the right materials is crucial for both the sound and the overall durability of the instrument. Let’s take a look at the key materials you’ll need:
1. Wood: The body of the harp is typically made from hardwood such as maple, cherry, or walnut. These woods are known for their stability and resonant qualities. Choose a high-quality, well-seasoned piece of wood that is free from knots and defects.
2. Soundboard: The soundboard is responsible for amplifying the vibrations of the strings. Spruce is the most commonly used wood for the soundboard due to its excellent acoustic properties. Look for soundboards with consistent grain patterns and minimal defects.
3. Strings: The choice of strings depends on the desired sound and tension. Nylon strings are commonly used for folk harps due to their affordability and versatility. Gut strings can also be used for a more traditional sound, but they require more maintenance. Consider the gauge and tension of the strings to achieve the desired pitch range and playability.
4. Levers (Optional): If you plan to add levers to your harp for easy key changes, choose high-quality levers made from materials like brass or stainless steel. These levers should be smooth and reliable in order to accurately change the pitch of the strings.
5. Hardware: You’ll need various hardware such as tuning pins, eyelets, and bridge pins to secure the strings and adjust their tension. Opt for durable and corrosion-resistant materials to ensure the longevity of your instrument.
Remember to consider your budget, the availability of materials, and your personal preferences when choosing the materials for your folk harp. Don’t hesitate to seek advice from experienced harp builders or consult reputable online resources to help you make informed decisions.
Now that you have a good understanding of the materials required, it’s time to move on to the next step: building the frame of your folk harp.
Building the Frame
Now that you have selected the materials for your folk harp, it’s time to start constructing the frame. The frame provides the structural support and shape for the instrument. Follow these steps to build the frame of your folk harp:
- Measure and cut the wooden pieces for the frame according to your chosen harp design. The main components of the frame include the pillar, the neck, and the base. The pillar acts as the backbone of the harp, while the neck extends horizontally from the pillar and holds the strings. The base provides stability and support.
- Shape the pieces using a band saw or a coping saw. Pay attention to the curves and angles to ensure a visually appealing and harmonious design. Smooth the edges and surfaces using sandpaper for a polished finish.
- Assemble the frame by joining the pieces together. Apply wood glue to the connecting joints and use clamps to hold them in place while the glue dries. Ensure that the frame is aligned and square before moving on to the next step.
- Let the glue fully dry according to the manufacturer’s instructions. This usually takes several hours or overnight.
- Once the frame is dry, reinforce the joints by driving wood screws through the connecting points. This will provide additional stability and strength to the frame.
- Inspect the frame for any imperfections or rough edges. Use a chisel or sandpaper to smooth out any uneven surfaces or sharp corners. This will make the frame more comfortable to handle and play.
Building the frame requires precision and careful attention to detail. Take your time to ensure that the pieces are accurately cut and properly joined together. Double-check the alignment and stability of the frame before moving on to the next step.
With the frame constructed, you’re now ready to move on to the next stage of building your folk harp: attaching the soundboard.
Attaching the Soundboard
Attaching the soundboard to the frame is a critical step in the construction of your folk harp. The soundboard not only provides structural support but also acts as a resonator, amplifying the vibrations of the strings. Follow these steps to attach the soundboard to your harp frame:
- Prepare the soundboard by cutting it to the desired shape and size. Ensure that the soundboard fits snugly against the frame without any gaps or overhangs.
- Apply a thin layer of wood glue to the underside of the soundboard. Use a brush or a roller to evenly spread the glue across the surface.
- Carefully place the soundboard onto the frame, aligning it with the neck and the base. Press down firmly to ensure good adhesive contact between the soundboard and the frame.
- Secure the soundboard in place using clamps. Place the clamps along the edges of the soundboard, applying gentle but even pressure. Adjust the clamps as needed to maintain alignment and prevent warping or bowing of the soundboard.
- Allow the glue to fully dry according to the manufacturer’s instructions. This usually takes several hours or overnight.
- Once the glue is completely dry, remove the clamps and inspect the bond between the soundboard and the frame. Ensure that there are no gaps or areas of separation.
- If desired, use a chisel or sandpaper to trim any excess soundboard that extends beyond the edges of the frame. This will create a clean and polished look.
Attaching the soundboard requires careful precision and attention to detail. Take your time to ensure that the soundboard is securely attached and properly aligned with the frame. The quality of the bond between the soundboard and the frame will greatly impact the resonance and overall sound of your folk harp.
With the soundboard successfully attached, you’re now ready to move on to the next step in the construction process: adding the strings.
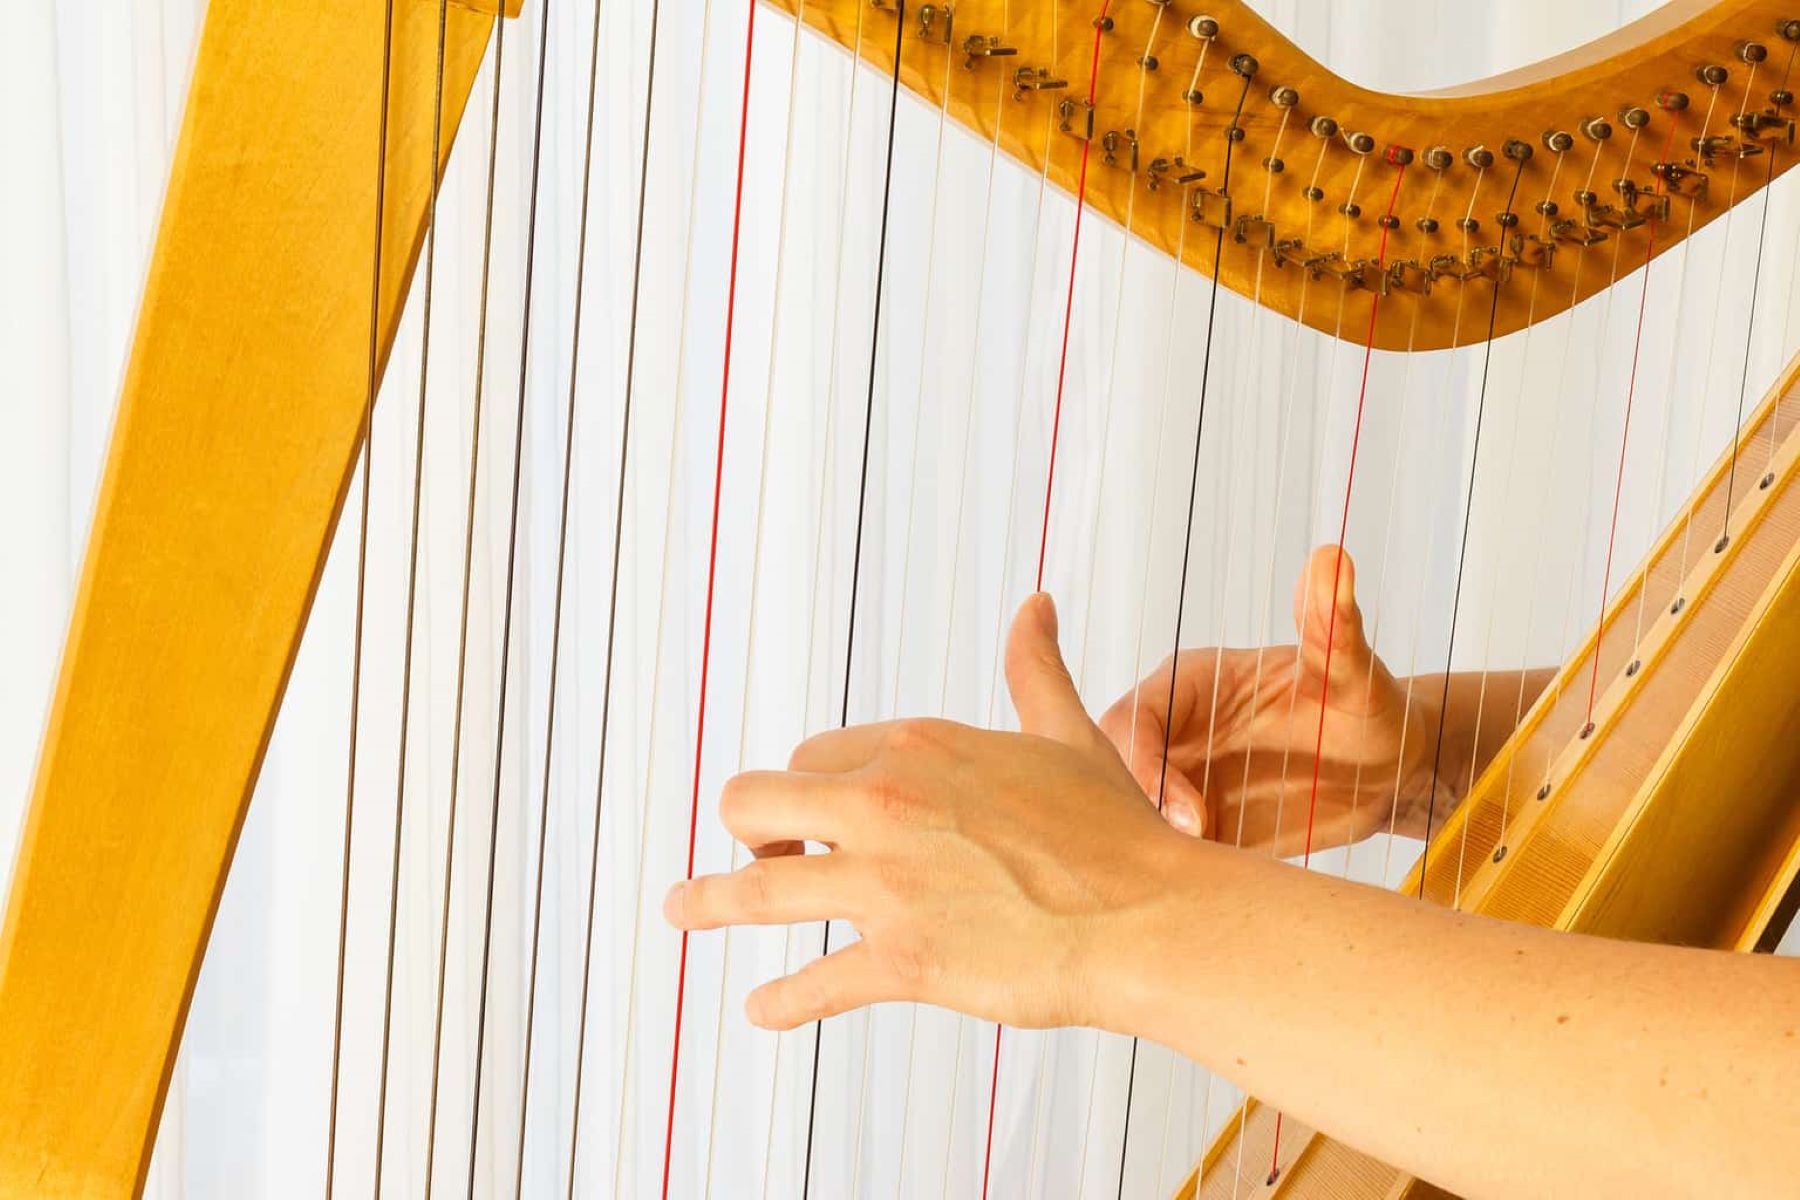
Adding the Strings
The strings are the heart and soul of your folk harp, producing the beautiful melodies and harmonies that make it come alive. Adding the strings requires careful attention to detail and precision. Follow these steps to properly add the strings to your folk harp:
- Start by determining the correct placement and spacing of the strings. Consult the harp design or a reference guide to ensure the strings are positioned correctly along the neck of the harp.
- Begin with the lowest note and work your way up. Thread the string through the appropriate eyelet or hole in the soundboard and then wrap it around the corresponding tuning pin.
- Start winding the string around the tuning pin, ensuring that each wrap is neat and tight. Use a tuning key or wrench to turn the tuning pin and tighten the string. This will increase the tension and raise the pitch of the string.
- Repeat this process for each string, moving from the lowest note to the highest note. Take your time to properly tune and adjust the tension of each string before moving on to the next one.
- Once all the strings are added and tuned, test each string by plucking it gently and listening for the desired pitch. Adjust the tension as needed to achieve the correct tone.
- Pay attention to string spacing and ensure that the strings are evenly spaced along the neck. This will make it easier to play and prevent any string interference.
- After all the strings are in place and properly tuned, give them a slight stretch by gently pulling on each string. This will help stabilize the tuning and reduce the likelihood of the strings going out of tune quickly.
- Finally, check the overall tension of the strings and make any necessary adjustments to achieve the desired tension and playability.
Adding the strings can be a delicate process, so take your time and be patient. Properly tuning and adjusting the tension of each string will ensure that your folk harp produces beautiful, harmonious sounds.
With the strings in place, you’re now ready to move on to the next step: installing the levers (optional).
Installing the Levers (Optional)
If you want to enhance the versatility of your folk harp and make it easier to play in different keys, you can choose to install levers. Levers, also known as sharping levers or blade levers, allow you to change the pitch of the strings while playing. Here’s how to install levers on your folk harp:
- Select the appropriate lever design for your harp. There are different types available, including flip-up, cam, and blade levers. Choose a style that suits your playing style and aesthetic preference.
- Identify the proper location for each lever along the neck of the harp. This will depend on the specific note or string you want to sharpen. Consult a harp design or instructional guide for reference.
- Mark the desired lever placement with a pencil or marker on the neck of the harp. Ensure that the marks are symmetrical and well-aligned for a professional appearance.
- Drill small holes at the marked locations to accommodate the levers. Use a drill bit that is slightly larger than the diameter of the levers.
- Gently tap the levers into the drilled holes, ensuring they are securely in place. If necessary, apply a small amount of wood glue to provide extra stability.
- Test each lever to ensure it moves smoothly and accurately changes the pitch of the corresponding string. Make any adjustments as needed to ensure proper operation.
- Once all the levers are installed and functioning correctly, secure them in place using small screws or bolts. Ensure that the screws are tight but not overly tightened to avoid damaging the wood.
- Inspect the levers and strings to ensure they are not rubbing against each other, causing unwanted buzzing or interference. Make any necessary adjustments to prevent this issue.
- Finally, tune the harp and test the functionality of the levers by playing different melodies and changing keys. Familiarize yourself with the operation and range of each lever.
Installing levers can greatly enhance the versatility and playability of your folk harp. It allows you to easily modulate between keys while playing, expanding your ability to perform a wider range of music.
With the levers installed, you’re now ready to move on to the final step in constructing your folk harp: adding the finishing touches.
Finishing Touches
Adding the finishing touches to your folk harp not only enhances its visual appeal but also protects the wood and ensures its longevity. Here are some steps you can take to give your harp a polished and professional look:
- Sand the entire surface of the harp, including the frame and the soundboard, with fine-grit sandpaper. This will smooth out any rough edges or imperfections.
- Apply a coat of wood stain or varnish to protect and enhance the natural beauty of the wood. Choose a finish that is compatible with the type of wood you are using and follow the manufacturer’s instructions for application.
- Allow the stain or varnish to dry completely before proceeding to the next step. This can take anywhere from a few hours to several days, depending on the product and environmental conditions.
- Once the finish is dry, lightly sand the surface again with fine-grit sandpaper to remove any raised fibers or rough spots. Wipe away any dust with a clean, dry cloth.
- Apply another coat of stain or varnish to further enhance the finish and provide additional protection. Repeat this process until you achieve the desired level of depth and richness in the wood tone.
- Consider adding decorative elements to personalize your harp. This can include carving intricate patterns or motifs into the wood, adding inlays or rosettes, or even painting designs on the soundboard.
- Install any additional hardware, such as tuning pins, bridge pins, or strap buttons, according to the manufacturer’s instructions. Ensure that they are securely attached and function properly.
- Double-check all the screws, bolts, and fittings to ensure they are tightened and secure. This will prevent any rattling or loosening during play.
- Lastly, give your harp a final tuning to ensure all strings are in the correct pitch and the harp is ready to be played.
By adding these finishing touches, you’ll not only protect your folk harp but also showcase your craftsmanship and personal style. Take your time during this stage to ensure a high-quality and professional-looking finished product.
Congratulations! You have completed the construction of your very own folk harp. Now it’s time to start playing and enjoying the beautiful music that this instrument can create.
Conclusion
Congratulations on successfully building your own folk harp! The journey of constructing this beautiful and enchanting instrument has not only allowed you to tap into your creative side but also connect with the rich tradition of folk music. From choosing the materials and constructing the frame to attaching the soundboard, adding strings, and even installing levers, every step of the process was an opportunity to immerse yourself in the world of harp making.
By building your own folk harp, you have not only created a unique instrument that reflects your personal style but also developed a deeper appreciation for the craftsmanship required to produce such beautiful music. The time and effort you have invested in building your harp will undoubtedly translate into the joy and satisfaction you experience whenever you play.
Remember to take care of your folk harp by keeping it properly tuned, cleaning it regularly, and storing it in a safe and suitable environment. With proper maintenance, your harp will continue to bring you years of musical enjoyment.
Whether you’re playing for your own pleasure, sharing music with friends and family, or even performing on a larger stage, your folk harp will be a testament to your dedication and passion. So, go ahead and let the beautiful sounds of your handmade instrument fill the air, and enjoy the magical world of folk music that unfolds before you.
Thank you for joining us on this journey of building a folk harp. We hope you find endless fulfillment in playing and creating music with your unique instrument. May your melodies resonate with the echoes of tradition and inspire others to explore the wonders of folk music.