Home>Production & Technology>Acoustic>How To Tighten Tuning Pegs On Acoustic Guitar
Acoustic
How To Tighten Tuning Pegs On Acoustic Guitar
Published: March 12, 2024
Learn how to tighten tuning pegs on your acoustic guitar with our step-by-step guide. Keep your guitar in tune and ready to play with these simple tips.
(Many of the links in this article redirect to a specific reviewed product. Your purchase of these products through affiliate links helps to generate commission for AudioLover.com, at no extra cost. Learn more)
Table of Contents
Introduction
Tuning pegs are a crucial component of an acoustic guitar, playing a pivotal role in maintaining the instrument's pitch and ensuring that it produces the desired sound. Over time, the tuning pegs may become loose, leading to tuning instability and affecting the overall playability of the guitar. Fortunately, tightening the tuning pegs is a simple yet essential skill that every guitarist should master.
In this comprehensive guide, we will delve into the intricacies of tightening tuning pegs on an acoustic guitar. Whether you are a seasoned musician or a novice player, understanding this fundamental aspect of guitar maintenance will empower you to keep your instrument in optimal condition, allowing you to produce beautiful melodies with confidence and precision.
By following the step-by-step instructions outlined in this article, you will gain valuable insights into the process of tightening tuning pegs, equipping you with the knowledge and skills necessary to address this common issue effectively. Additionally, we will explore the tools required for this task, ensuring that you are well-prepared to embark on this maintenance endeavor with confidence.
So, let's embark on this journey to demystify the art of tightening tuning pegs on an acoustic guitar, empowering you to take control of your instrument's performance and sound quality. Whether you are preparing for a live performance, a recording session, or simply seeking to elevate your practice sessions, mastering the art of tightening tuning pegs will undoubtedly enhance your overall guitar-playing experience.
Understanding Tuning Pegs
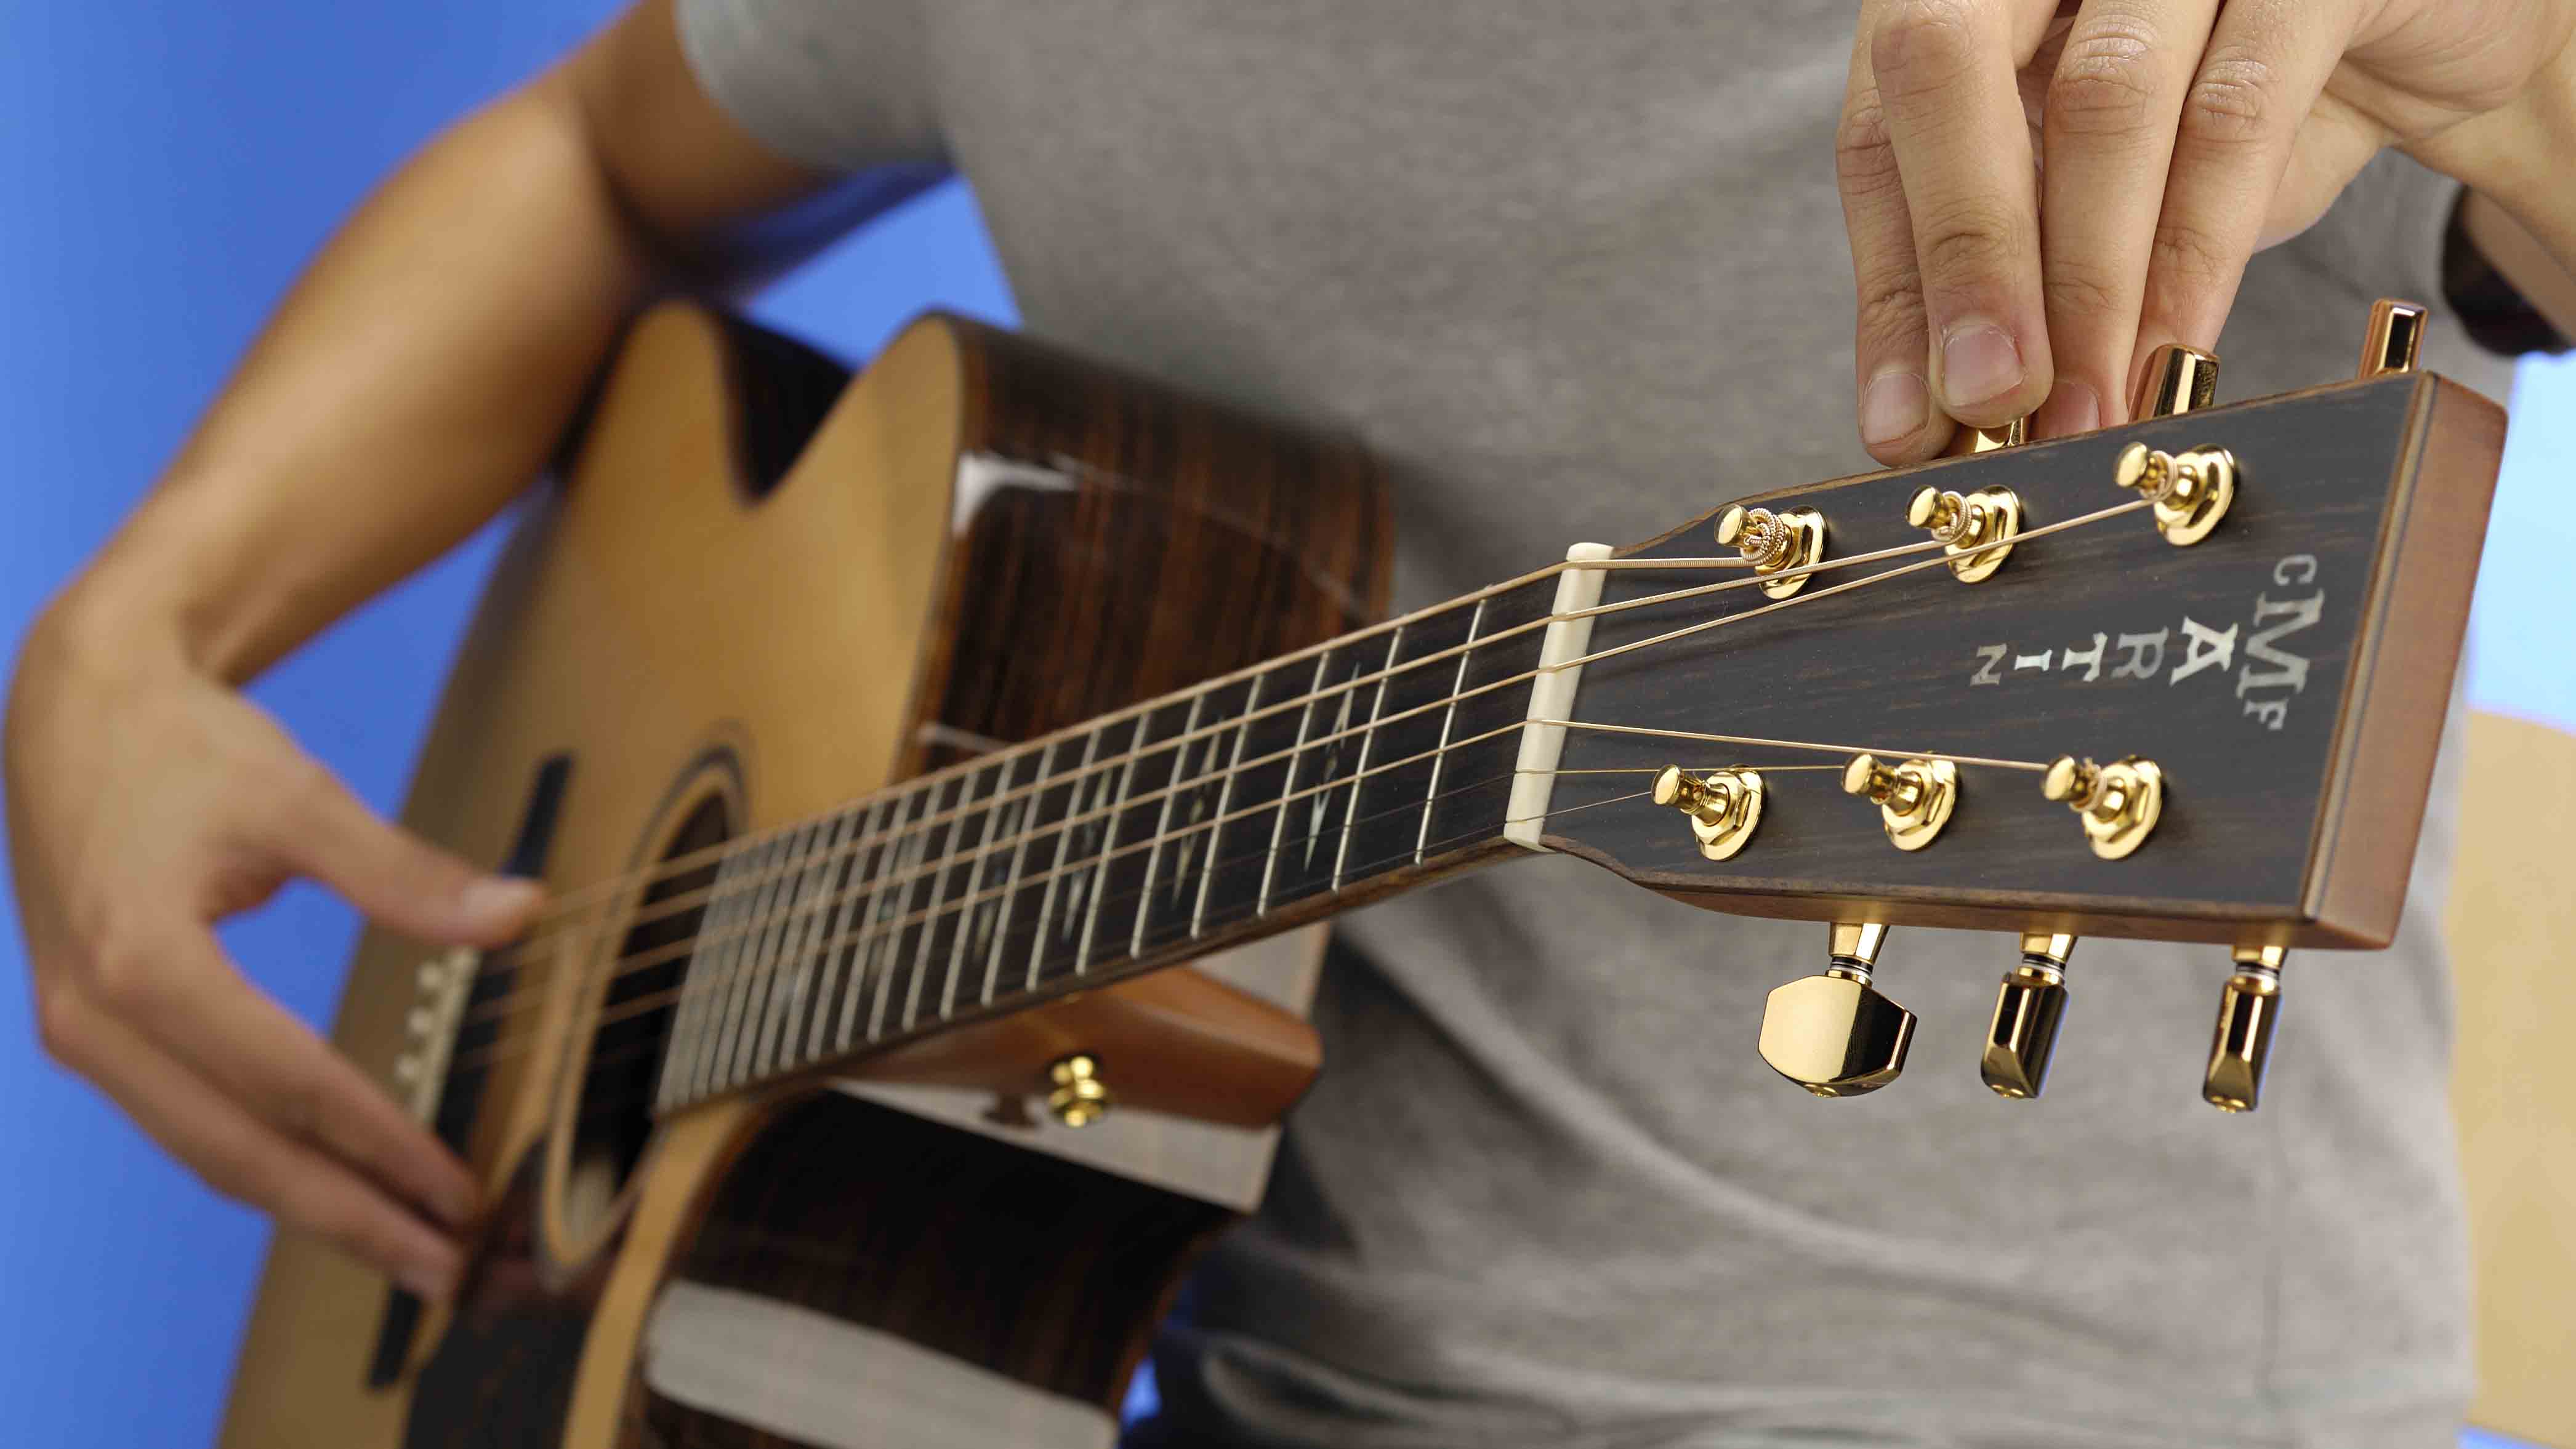
Tuning pegs, also known as machine heads or tuning machines, are essential components of an acoustic guitar that enable players to adjust the tension of the strings, thereby altering the pitch of each string. These small, cylindrical mechanisms are typically located on the headstock of the guitar and play a critical role in maintaining the instrument's tuning stability.
Each tuning peg consists of a gear mechanism that allows for precise adjustments to the tension of the guitar strings. When a player turns the tuning peg, the gear engages with the string's post, enabling the player to tighten or loosen the string as needed. This process directly impacts the pitch of the string, allowing for fine-tuning to achieve the desired notes and chords.
Understanding the anatomy of tuning pegs is essential for guitarists seeking to maintain their instruments effectively. Tuning pegs are designed to securely hold the strings in place while facilitating smooth and accurate adjustments to achieve the desired pitch. Additionally, the gear ratio of the tuning pegs influences the degree of precision when tuning the guitar, with higher gear ratios allowing for finer adjustments.
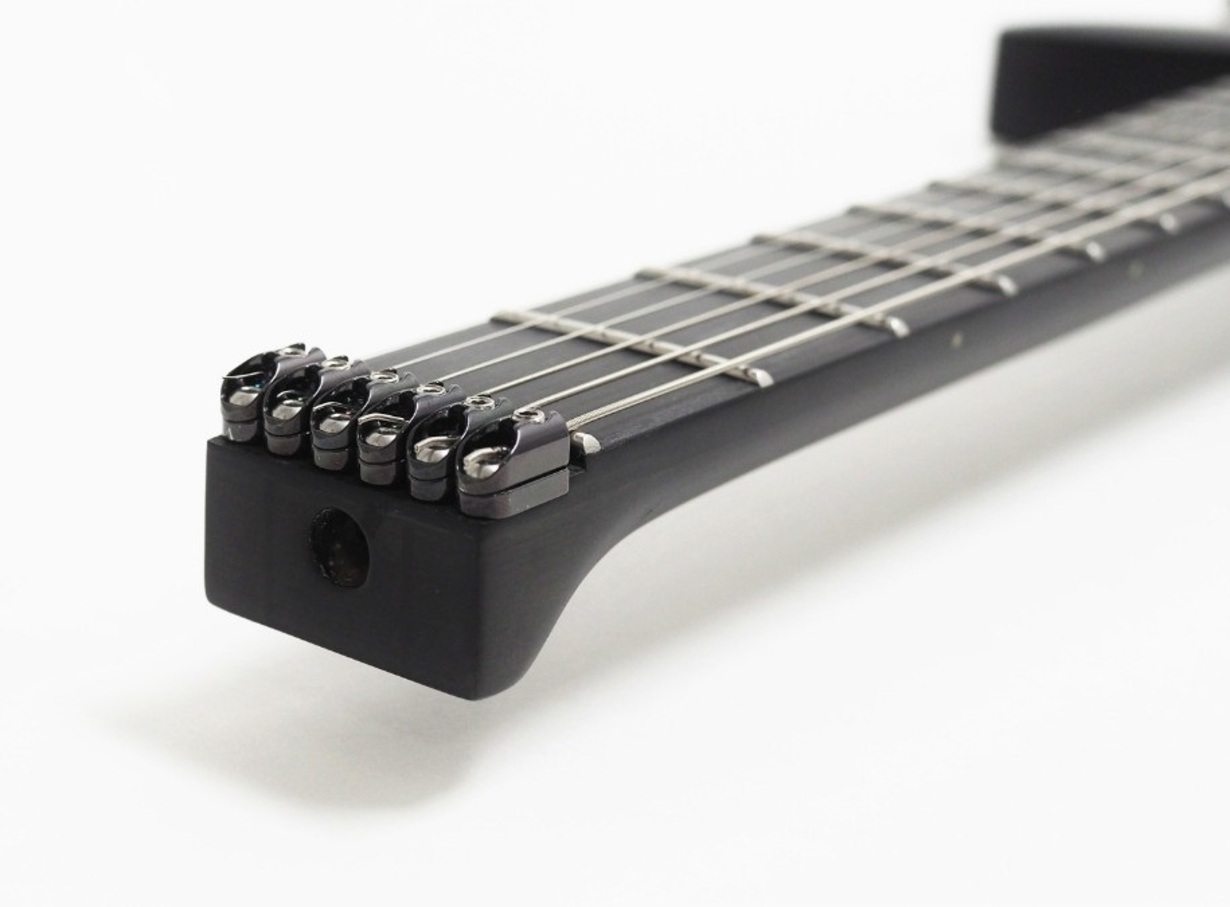
It is important to note that tuning pegs can vary in design and quality, with some guitars featuring standard friction pegs while others are equipped with more advanced geared tuning pegs. Geared tuning pegs offer enhanced precision and stability, making them a popular choice among professional musicians and enthusiasts alike.
Furthermore, understanding the role of tuning pegs in the overall performance of an acoustic guitar is crucial for maintaining optimal playability and sound quality. Loose or malfunctioning tuning pegs can lead to tuning instability, causing the guitar to fall out of tune frequently and impacting the player's ability to produce clear and accurate notes.
In summary, tuning pegs are integral components of an acoustic guitar, allowing players to make precise adjustments to the tension of the strings and maintain the instrument's tuning stability. By familiarizing oneself with the anatomy and function of tuning pegs, guitarists can effectively address tuning issues and ensure that their instruments perform at their best, enabling them to express their musical creativity with confidence and precision.
Tools Needed
Before embarking on the task of tightening the tuning pegs on your acoustic guitar, it is essential to gather the necessary tools to ensure a smooth and efficient maintenance process. Having the right tools at your disposal will not only streamline the task but also contribute to the overall effectiveness of the tuning peg tightening procedure. Here are the essential tools needed for this maintenance endeavor:
-
Screwdriver: A small, precision screwdriver is indispensable for accessing and adjusting the screws or fasteners on the tuning pegs. It is crucial to select a screwdriver that matches the size and type of screws on your guitar's tuning pegs to avoid damaging the components.
-
Peg Winder: A peg winder is a handy tool designed to facilitate the swift and effortless winding of the guitar strings around the tuning pegs. This tool significantly expedites the process of loosening and tightening the strings, making it an invaluable asset for guitar maintenance tasks.
-
Tuner: A reliable electronic tuner is essential for accurately assessing the pitch of the guitar strings before and after tightening the tuning pegs. This tool ensures that the strings are tuned to the correct notes, allowing for precise adjustments to achieve optimal pitch and intonation.
-
Soft Cloth: A soft, lint-free cloth is useful for protecting the guitar's finish and preventing scratches or damage while working on the instrument. It is advisable to have a cloth on hand to gently wipe the guitar and keep it clean throughout the maintenance process.
-
String Cutter: A quality string cutter or wire cutter is essential for trimming the excess string length after tightening the tuning pegs. This tool ensures a neat and tidy finish, preventing the risk of sharp string ends protruding from the headstock.
By assembling these essential tools, you will be well-prepared to undertake the task of tightening the tuning pegs on your acoustic guitar with confidence and precision. These tools not only facilitate the maintenance process but also contribute to the overall care and upkeep of your instrument, ensuring that it remains in optimal playing condition for years to come.
Step 1: Loosening the Strings
Before proceeding with the task of tightening the tuning pegs on your acoustic guitar, it is essential to begin by loosening the strings to create the necessary slack for adjustments. Loosening the strings not only facilitates the tuning peg tightening process but also minimizes the tension on the pegs, allowing for smooth and precise adjustments. Here's a detailed guide on how to effectively loosen the strings of your acoustic guitar:
-
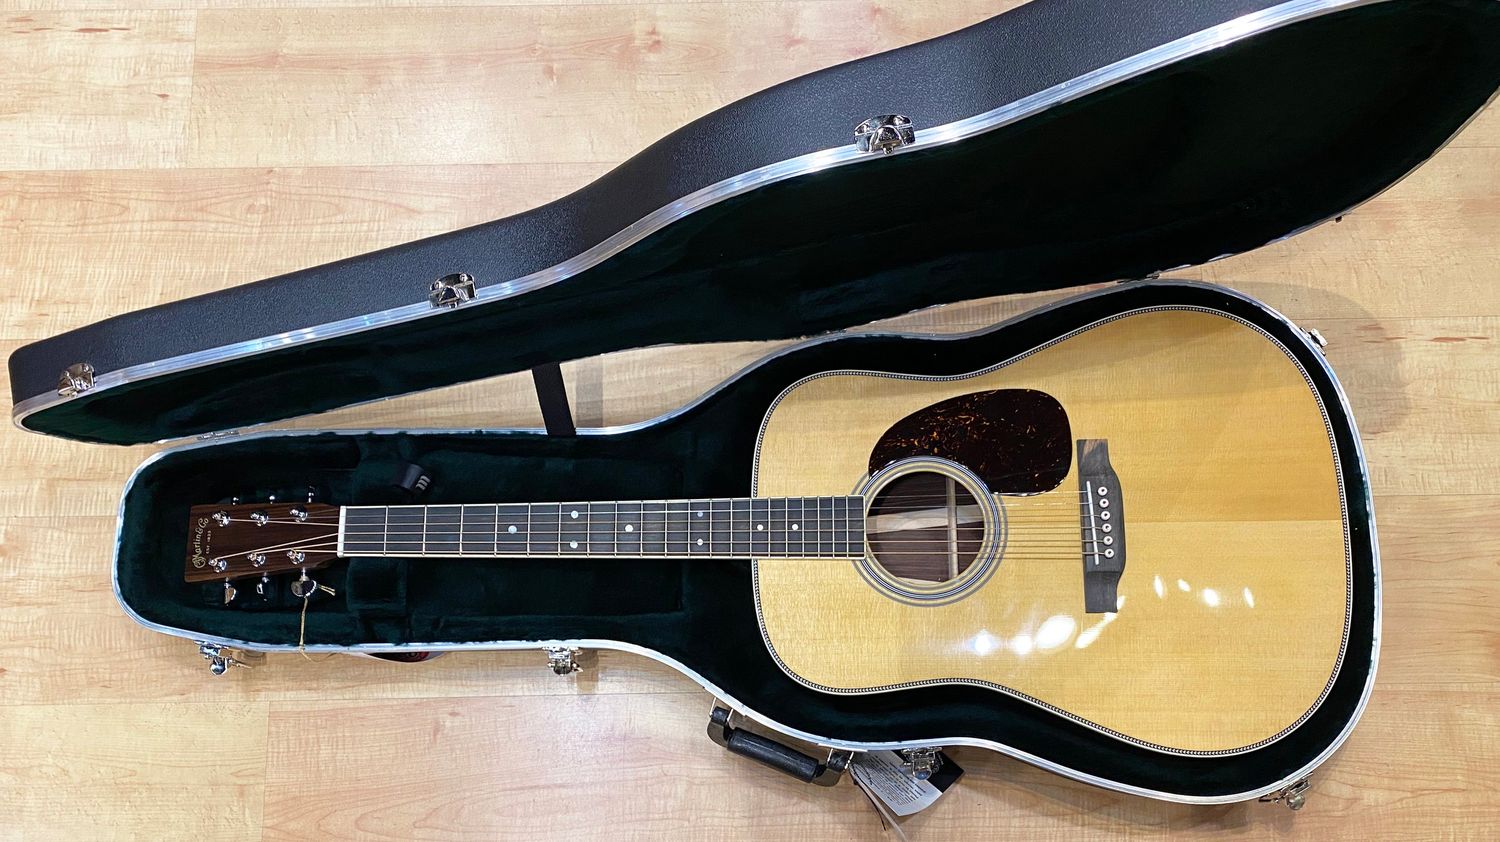
Prepare the Guitar: Find a comfortable and well-lit workspace to begin the maintenance process. It is advisable to place a soft cloth beneath the guitar to protect its finish and prevent any scratches or damage during the procedure.
-
Secure the Guitar: Ensure that the guitar is securely positioned, either by using a guitar stand or by placing it on a stable surface. This stability is crucial for executing the string loosening process with accuracy and ease.
-
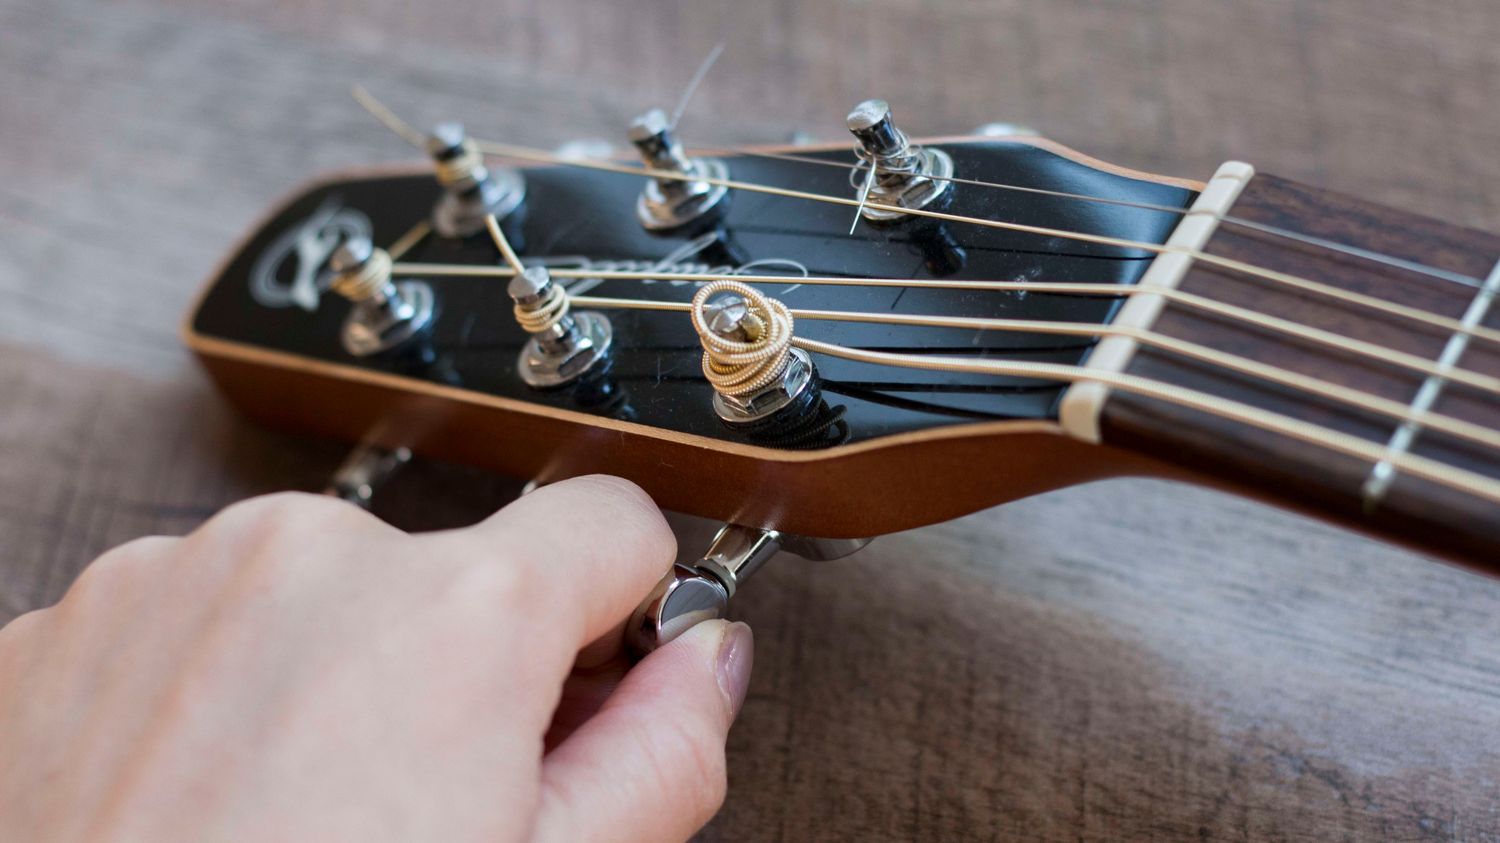
Use the Peg Winder: Begin by placing the peg winder on the tuning peg of the sixth (low E) string. Hold the winder firmly and rotate it counterclockwise to unwind the string from the tuning peg. As you turn the peg winder, the string will gradually loosen, creating slack in the string.
-
Repeat for Each String: Proceed to loosen the remaining strings in the same manner, using the peg winder to unwind each string from its respective tuning peg. Work methodically from the sixth string to the first string (high E), ensuring that each string is sufficiently loosened to allow for smooth adjustments.
-
Trim Excess String Length: Once all the strings have been loosened, use a string cutter to trim the excess string length near the tuning pegs. This step ensures a neat and tidy finish, preventing any protruding string ends that may interfere with the tuning peg tightening process.
By effectively loosening the strings of your acoustic guitar, you have created the necessary slack to proceed with the subsequent steps of tightening the tuning pegs. This preparatory step sets the stage for seamless adjustments and contributes to the overall maintenance and care of your instrument. With the strings loosened and excess length trimmed, you are now ready to embark on the next phase of tightening the tuning pegs, ensuring that your guitar remains in optimal playing condition.
Step 2: Tightening the Tuning Pegs
With the guitar strings adequately loosened, you are now ready to proceed with the crucial step of tightening the tuning pegs on your acoustic guitar. This step is essential for addressing any tuning instability and ensuring that the strings maintain the desired pitch and tension. By following the detailed instructions below, you will gain valuable insights into the process of tightening the tuning pegs, empowering you to effectively enhance the performance and playability of your instrument.
-
Assess the Peg Tension: Begin by gently turning the tuning pegs in a clockwise direction to increase the tension on the strings. It is important to apply gradual and controlled rotations to avoid sudden, drastic changes in string tension, which can lead to tuning issues. As you turn the tuning pegs, pay close attention to the level of resistance and ensure that the strings are gradually tightening.
-
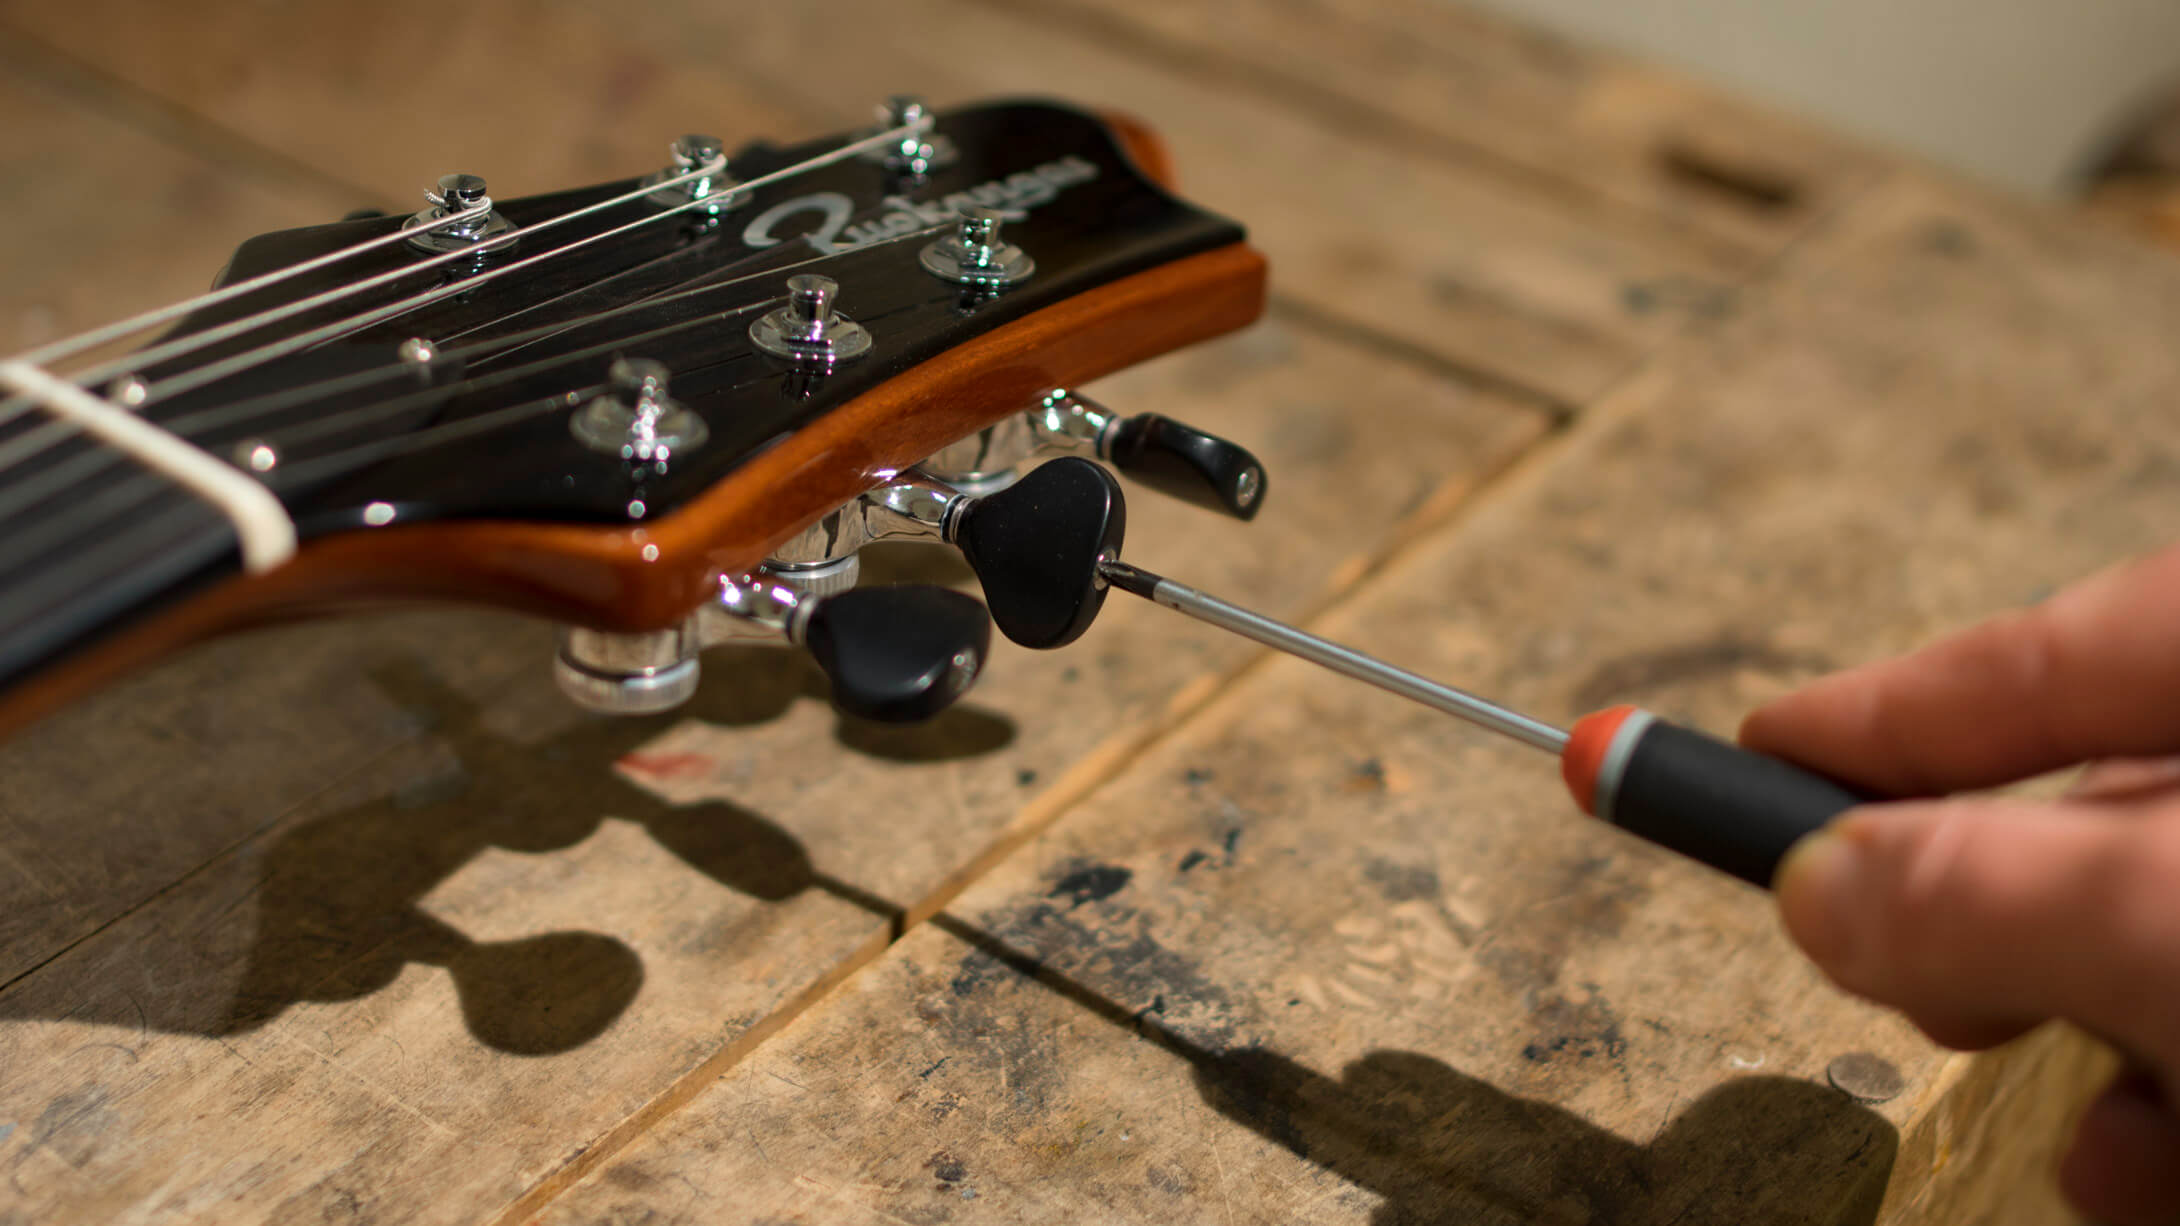
Use Precision Adjustments: Utilize a small, precision screwdriver to make fine adjustments to the tension of the tuning pegs if necessary. Some tuning pegs feature small screws or fasteners that can be adjusted to regulate the tension more precisely. Carefully access the screws and make subtle turns to achieve the desired level of string tension, taking care not to overtighten the strings.
-
Maintain Even Tension: As you tighten the tuning pegs, strive to maintain even tension across all the strings to ensure balanced intonation and consistent tuning stability. Pay attention to the pitch of each string as you make adjustments, aiming for uniform tension and clarity of notes across the fretboard.
-
Check String Alignment: While tightening the tuning pegs, observe the alignment of the strings within the nut and bridge of the guitar. Ensure that the strings are properly seated and aligned to prevent any potential binding or slippage that may affect tuning stability. Adjust the string positioning as needed to maintain optimal alignment throughout the tightening process.
-
Monitor Pitch and Intonation: Throughout the process of tightening the tuning pegs, use a reliable electronic tuner to monitor the pitch and intonation of the strings. This step is crucial for ensuring that the strings are tuned to the correct notes and that the adjustments result in precise and consistent pitch across the fretboard.
By meticulously following these steps, you will effectively tighten the tuning pegs on your acoustic guitar, addressing any tuning issues and enhancing the overall playability of the instrument. This meticulous approach to tuning peg maintenance ensures that your guitar remains in optimal condition, allowing you to express your musical creativity with confidence and precision.
Step 3: Retuning the Guitar
After successfully tightening the tuning pegs on your acoustic guitar, the next crucial step is to retune the instrument to ensure that the strings are set to the correct pitch and intonation. Retuning the guitar is essential for achieving optimal playability and sound quality, allowing you to produce clear and resonant notes across the fretboard. By following the detailed guidelines outlined below, you will effectively navigate the process of retuning your acoustic guitar, culminating in a harmonious and well-balanced sound.
-
Use an Electronic Tuner: Begin by utilizing a reliable electronic tuner to assess the pitch of each string. The tuner provides visual and auditory feedback, allowing you to accurately determine whether the strings are tuned to the correct notes. Ensure that the tuner is set to the standard tuning for a six-string guitar (EADGBE) to facilitate precise adjustments.
-
Tune Each String: Starting with the sixth string (low E), pluck the string and observe the tuner's display to gauge the pitch. If the string is flat or sharp, use the tuning pegs to make gradual adjustments, bringing the string to the correct pitch. Proceed to tune each string in ascending order, ensuring that they are tuned to the appropriate notes.
-
Check Intonation: As you tune each string, pay attention to the intonation and ensure that the notes resonate clearly and sustain evenly across the fretboard. Adjust the tuning as needed to achieve consistent intonation, allowing for smooth transitions between chords and notes.
-
Fine-Tune the Guitar: Once all the strings are tuned to the standard pitch, perform a comprehensive check of the guitar's overall tuning. Use chord shapes, scales, and individual notes to assess the instrument's tuning accuracy, making minor adjustments as necessary to achieve a well-balanced and harmonious sound.
-
Test Playability: After retuning the guitar, take the opportunity to play various chords, scales, and melodies to evaluate the instrument's playability and tonal quality. Pay attention to the clarity of the notes, the sustain of the strings, and the overall responsiveness of the guitar, ensuring that it delivers a satisfying playing experience.
By meticulously following these steps, you will successfully retune your acoustic guitar, allowing the instrument to resonate with clarity and precision. This final phase of the maintenance process ensures that your guitar is ready to deliver exceptional musical performances, whether in a live setting, recording studio, or personal practice sessions. With the tuning pegs tightened and the guitar retuned, you are poised to unleash your musical creativity with confidence and assurance in the instrument's impeccable sound quality.
Conclusion
In conclusion, mastering the art of tightening tuning pegs on an acoustic guitar is a fundamental skill that empowers guitarists to maintain their instruments with precision and care. By understanding the anatomy and function of tuning pegs, musicians can effectively address tuning instability and ensure that their guitars deliver optimal performance and sound quality. The process of tightening tuning pegs involves a meticulous approach, encompassing the loosening of strings, precise adjustments to the peg tension, and comprehensive retuning of the instrument. This comprehensive guide has provided valuable insights into each step of the maintenance process, equipping guitarists with the knowledge and skills necessary to uphold the integrity of their acoustic guitars.
By embarking on the journey to tighten tuning pegs, guitarists demonstrate a commitment to the upkeep and longevity of their instruments. This proactive approach to maintenance not only enhances the playability and sound quality of the guitar but also fosters a deeper connection between the musician and their instrument. As the tuning pegs are tightened and the guitar is retuned, players gain a renewed sense of confidence in their ability to produce clear, resonant notes and express their musical creativity with precision.
Furthermore, the tools required for tightening tuning pegs, including screwdrivers, peg winders, tuners, soft cloths, and string cutters, serve as indispensable allies in the maintenance process. These tools not only streamline the task but also contribute to the overall care and upkeep of the instrument, ensuring that it remains in optimal playing condition for years to come. By assembling these essential tools and mastering the art of tightening tuning pegs, guitarists are poised to elevate their playing experience and unlock the full potential of their acoustic guitars.
In essence, the process of tightening tuning pegs transcends mere maintenance; it embodies a commitment to musical excellence and a deep appreciation for the art of guitar playing. As guitarists navigate the intricacies of tuning peg maintenance, they forge a stronger bond with their instruments, fostering a harmonious partnership that resonates through every chord and melody. With the tuning pegs tightened and the guitar retuned, musicians stand ready to embark on a musical journey filled with creativity, expression, and the joy of producing captivating melodies on their meticulously maintained acoustic guitars.