Home>Production & Technology>Music Theory>How To Make A Giant Horizontal Manuscript Staff Paper For Music Theory Classroom
Music Theory
How To Make A Giant Horizontal Manuscript Staff Paper For Music Theory Classroom
Published: January 30, 2024
Learn how to create a giant horizontal manuscript staff paper for your music theory classroom, perfect for teaching and practicing music notation.
(Many of the links in this article redirect to a specific reviewed product. Your purchase of these products through affiliate links helps to generate commission for AudioLover.com, at no extra cost. Learn more)
Table of Contents
Introduction
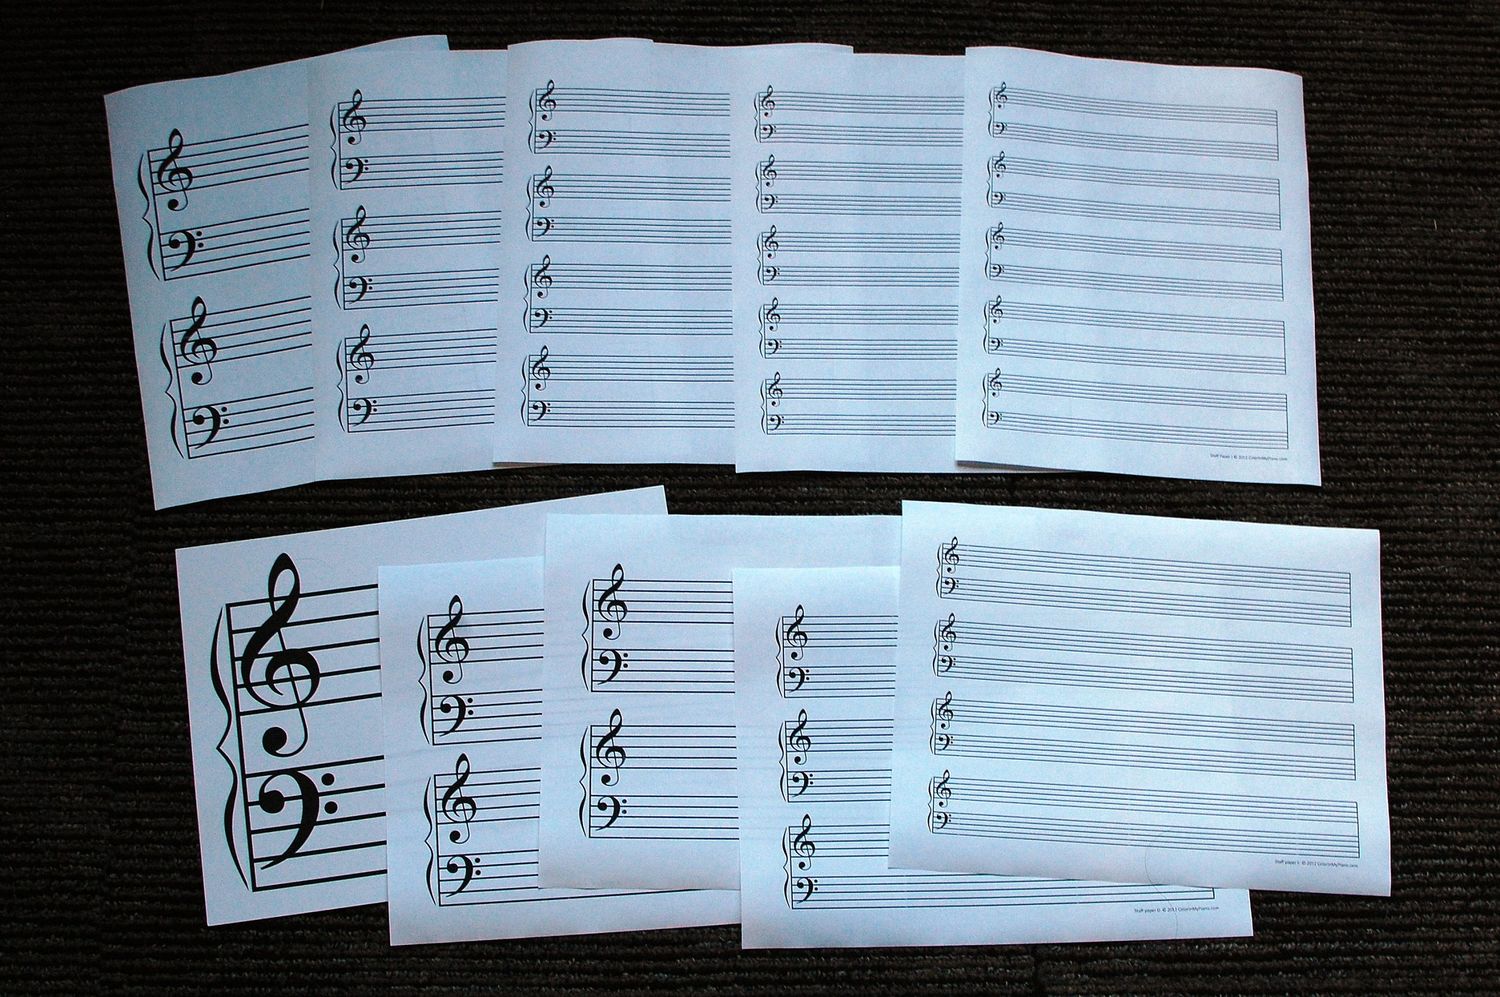
Welcome to the world of music theory! Whether you’re a student, a teacher, or simply a music enthusiast, understanding the intricacies of music theory is essential for developing a deeper appreciation for the art of music. One of the foundational aspects of music theory is the staff paper, a blank sheet of paper on which musical notes and symbols are written to represent melodies, harmonies, and rhythms.
While there are plenty of printable staff paper templates available online, sometimes you need something larger and more visible for classroom settings or group activities. That’s where a giant horizontal manuscript staff paper comes in handy. It provides ample space for writing and analyzing musical ideas, making it an excellent tool for music theory classrooms.
In this article, we will guide you through the process of creating your very own giant horizontal manuscript staff paper. By following these simple steps, you’ll have a visually appealing and functional tool that will aid in teaching and learning music theory.
Before we dive into the process, let’s take a moment to gather the materials you’ll need for this project.
Materials Needed
Before you begin creating your giant horizontal manuscript staff paper, make sure you have the following materials on hand:
- A large piece of poster board or chart paper
- A ruler or straightedge
- A pencil
- A black marker or pen
- Optional: Colored markers or pens for decorative purposes
These materials are readily available at your local stationery or art supply store. The poster board or chart paper should be large enough to create a horizontal layout for ample writing space. You can choose a size that suits your needs, but it’s recommended to go for an A2 or larger size to ensure easy legibility, especially in classroom settings.
The ruler or straightedge will be used to draw straight and even lines, while the pencil will allow you to outline the staff lines before finalizing them with a marker or pen. The black marker or pen should be a bold and vibrant color that contrasts well with the poster board or chart paper. This will ensure that the staff lines and musical symbols stand out clearly.
Lastly, if you wish to add a touch of creativity to your giant horizontal manuscript staff paper, consider having some colored markers or pens on hand. These can be used to add decorative elements or highlight specific musical concepts, making the staff paper visually appealing and engaging.
Once you have gathered all the necessary materials, you are ready to move on to the next step: preparing the paper.
Step 1: Choosing the Right Paper
Choosing the right paper for your giant horizontal manuscript staff paper is crucial to ensure optimal visibility and usability. As mentioned earlier, a large piece of poster board or chart paper is the ideal choice for this project.
When selecting the poster board or chart paper, consider the size that will best suit your needs. If you plan to use the staff paper in a music theory classroom, opt for a size that allows for easy readability from a distance. A2 or larger sizes are recommended for this purpose.
Additionally, pay attention to the thickness and quality of the paper. A thicker paper will be more durable and less likely to tear or get damaged with regular use. Look for a poster board or chart paper that is designed for drawing or writing purposes, as these tend to have a smooth surface that allows for smooth pen or marker strokes.
In terms of color, choose a poster board or chart paper that provides a good contrast with the color of the lines and symbols you’ll be drawing. A white or light-colored paper with dark lines works well for most purposes. It is important to ensure that the lines and symbols stand out clearly against the background.
By selecting the right paper, you are setting the foundation for a giant horizontal manuscript staff paper that is visually appealing, easy to read, and practical for classroom use. Once you have chosen the paper, let’s move on to the next step: preparing the paper.
Step 2: Preparing the Paper
Now that you have selected the appropriate poster board or chart paper for your giant horizontal manuscript staff paper, it’s time to prepare the paper for drawing the staff lines.
Start by laying the poster board or chart paper on a flat surface, making sure it is free from any wrinkles or creases. Smooth out any imperfections to ensure a clean canvas for your staff lines.
Next, use the ruler or straightedge to create a horizontal line across the paper. This line will serve as the starting point for drawing the staff lines. Ensure that the line is straight and extends across the entire width of the paper.
Once you have drawn the horizontal line, it’s time to determine the spacing between the staff lines. The standard spacing between staff lines is usually about one centimeter. However, you can adjust the spacing based on your preferences or the specific requirements of the music theory activities you’ll be conducting. Use the ruler or straightedge to measure and mark the spacing evenly along the horizontal line.
After marking the spacing, draw parallel lines across the paper, perpendicular to the horizontal line. These lines will form the staff lines on which the musical notes and symbols will be placed. Ensure that the lines are straight and evenly spaced, using the ruler or straightedge to guide your drawing.
Once you have drawn all the staff lines, take a moment to review their alignment and spacing. Make any necessary adjustments to ensure that the lines are straight and evenly spaced from top to bottom.
With the paper prepared and the staff lines in place, you are now ready to move on to the next step: drawing the staff lines.
Step 3: Drawing the Staff Lines
Now that you have prepared the paper with the horizontal line and marked the spacing for the staff lines, it’s time to draw the staff lines themselves.
Starting from the bottom of the paper, use your ruler or straightedge to draw a horizontal line that intersects each of the marked points. These lines should be parallel to each other and extend across the entire width of the paper.
As you draw each line, ensure that it is straight and evenly spaced from the lines above and below it. Consistency in line thickness and spacing is crucial for the readability of the staff paper.
Typically, a standard staff contains five horizontal lines. However, depending on your musical needs, you may choose to draw more or fewer lines. For example, if you are focusing on more advanced music theory concepts or need additional space for notations, you might consider drawing seven or eight lines.
Remember to keep the spacing between the lines even throughout the entire length of the paper. This consistency will make it easier to read and write musical notes and symbols accurately.
Once you have drawn all the staff lines, take a moment to review their alignment, thickness, and spacing. Make any necessary adjustments to ensure that they are clean, straight, and evenly spaced.
Now that your giant horizontal manuscript staff paper is adorned with perfectly drawn staff lines, it’s time to move on to the next step: adding the clef and time signature.
Step 4: Adding the Clef and Time Signature
With the staff lines in place on your giant horizontal manuscript staff paper, it’s time to add the clef and time signature. These musical symbols are essential for indicating the tonal center and time organization of the music written on the staff.
Start by deciding which clef you want to use. The most common clefs are the treble clef (G-clef) for high-pitched instruments and voices, and the bass clef (F-clef) for low-pitched instruments and voices. Place the appropriate clef at the beginning of the staff, just to the left of the first staff line.
Once you have determined the clef, draw it neatly and clearly on the staff, ensuring that it is centered and positioned correctly. Take care to maintain the correct proportions and shape of the clef symbol.
Next, it’s time to add the time signature. The time signature indicates the number of beats in each measure and the type of note that receives one beat. Common time signatures include 4/4, 3/4, and 6/8, among others.
Place the time signature immediately after the clef at the beginning of the staff. The top number of the time signature indicates the number of beats per measure, while the bottom number determines the note duration that represents one beat.
Write the time signature neatly, making sure it is positioned correctly and in proportion to the size of the staff. The time signature should be easily visible and readable for the musicians using the staff paper.
With the clef and time signature added, your giant horizontal manuscript staff paper is now equipped with the necessary symbols to indicate the tonal center and time organization of the music. In the next step, we’ll focus on labeling the measures.
Step 5: Labeling the Measures
Labeling the measures on your giant horizontal manuscript staff paper is an important step in organizing the music and providing a clear structure. Measures are the segments within the staff lines that contain a specific number of beats based on the time signature.
To label the measures, start by determining the desired number of beats per measure based on the time signature. For example, in a common 4/4 time signature, there are typically four beats per measure.
Using your ruler or straightedge, draw vertical lines from the top to the bottom of the staff, separating it into equal segments based on the determined number of beats per measure. Each segment will represent one measure of music.
Ensure that the vertical lines are straight and evenly spaced, maintaining consistent width from top to bottom. This will help musicians easily identify and follow the measures while reading or writing music on the staff paper.
Once you have drawn the vertical lines, label them with numbers at the beginning of each measure. Start with the number 1 at the first measure and continue sequentially across the staff.
Place the measure numbers slightly to the left of the vertical lines, ensuring they are clearly visible and distinguishable from the other markings on the staff. Consider using a slightly larger font size or a bold marker to make the numbers easily readable, especially in larger classroom settings.
Labeling the measures on your giant horizontal manuscript staff paper provides a clear indication of the musical organization and allows musicians to navigate through the music more effectively. With the measures labeled, it’s time to move on to the next step: marking the ledger lines.
Step 6: Marking the Ledger Lines
As you work with your giant horizontal manuscript staff paper, you may encounter musical notes that extend beyond the standard five staff lines. In such cases, ledger lines are used to extend the staff and provide additional space for these notes.
To mark the ledger lines, start by identifying the note that requires an extension beyond the staff lines. Determine if the note should be placed above or below the staff.
If the note is above the staff, draw a short vertical line through the top staff line and continue it by drawing a horizontal line that extends to the right. The length of the line depends on how many ledger lines are required. Repeat this process for each additional ledger line needed.
If the note is below the staff, draw a short vertical line through the bottom staff line and extend it with a horizontal line to the right. Again, the length of the line depends on the number of ledger lines required, and you should repeat the process for each additional line needed.
When drawing the ledger lines, ensure that they are parallel to the staff lines and evenly spaced. Use your ruler or straightedge to maintain straight lines and consistent spacing throughout.
It’s important to note that ledger lines should be marked with proper care and attention to detail, as they play a significant role in accurately representing the pitch of the notes that extend beyond the staff.
By marking the ledger lines on your giant horizontal manuscript staff paper, you provide valuable space for representing higher or lower notes and ensure that the musical notation remains clear and easy to read. With the ledger lines in place, let’s move on to the next step: adding barlines.
Step 7: Adding Barlines
Barlines are essential notations that divide the music into organized sections called measures. They help musicians read and interpret the rhythmic structure of a piece of music. Adding barlines to your giant horizontal manuscript staff paper will further enhance its functionality and clarity.
To add barlines, start at the beginning of each measure and draw a vertical line that extends from the top to the bottom of the staff. Ensure that the barlines are perpendicular to the staff lines and evenly spaced.
The number of beats within each measure, as determined by the time signature, should guide the placement of the barlines. For example, in a 4/4 time signature, the barlines are typically drawn every four beats.
It is important to maintain consistent spacing between the barlines to ensure the readability of the music. Use your ruler or straightedge to help you draw straight and evenly spaced lines.
Additionally, it is common to draw a double barline to indicate the end of a section or piece of music. This double barline consists of two parallel vertical lines and is placed at the end of the final measure. It serves as a visual cue to help musicians easily identify the end of a musical section.
As you add the barlines, take care to make them clearly distinguishable from the other notations on the staff. Consider using a slightly thicker or darker marker or pen to ensure that the barlines stand out.
Adding barlines to your giant horizontal manuscript staff paper will help guide musicians in reading and interpreting the rhythmic structure of the music. With the barlines in place, we can move on to the final step: decorating the manuscript to make it visually engaging.
Step 8: Decorating the Manuscript
Now that your giant horizontal manuscript staff paper is complete with staff lines, clef, time signature, measures, ledger lines, and barlines, it’s time to add some visual appeal by decorating the manuscript.
While the primary focus of the staff paper is functionality and readability, adding decorative elements can enhance engagement and make the manuscript more visually enticing.
Consider using colored markers or pens to add decorative accents to the staff paper. You can incorporate colors in various ways, such as highlighting important musical concepts, marking specific sections, or simply adding designs and patterns to make the manuscript visually interesting.
For example, you can use different colors to distinguish between different sections or instruments in a piece of music. This can be particularly useful in educational settings where students need to identify and analyze different musical parts.
Another idea is to use colored markers or pens to highlight important musical symbols or terms. This can draw attention to specific elements of the music, aiding in the learning and understanding of musical notation.
When adding decorative elements, be mindful not to overcrowd the staff paper or distract from the music itself. Use the decorations sparingly and strategically so that they complement the manuscript without overpowering it.
Remember, the main purpose of the staff paper is to provide a clear and functional space for writing and reading music. Decorations should serve to enhance the experience without compromising its usability.
By adding decorative touches to your giant horizontal manuscript staff paper, you create a visually engaging learning tool that captures attention and encourages exploration of music theory concepts. With the manuscript now decorated, you have successfully completed this DIY project!
Conclusion
Congratulations! You have now successfully created your own giant horizontal manuscript staff paper, a valuable tool for teaching and learning music theory. By following the steps outlined in this article, you have created a visually appealing and functional resource that provides ample space for writing, analyzing, and exploring musical ideas.
Remember, choosing the right paper size and quality, preparing the paper with straight and evenly spaced staff lines, adding the clef and time signature, labeling the measures, marking the ledger lines, adding barlines, and even incorporating decorative elements have all contributed to the creation of this valuable resource.
Whether you plan to use this giant horizontal manuscript staff paper in a music theory classroom, for group activities, or simply for your own musical exploration, it will undoubtedly enhance your understanding and appreciation of music theory.
With its large size and ample space, this custom staff paper allows you to write down melodies, harmonies, and rhythms with clarity and precision. It provides a visual representation of music that aids in the study of musical concepts, training the eye to recognize patterns and relationships.
Don’t be afraid to experiment and explore different musical ideas on your giant manuscript. Use colored markers or pens to highlight important elements, or even create your own shorthand notations to make the manuscript uniquely yours.
Remember to keep your giant horizontal manuscript staff paper in a safe and accessible place, ready for your next music theory session or creative endeavor. It will serve as a valuable resource for years to come, aiding in your musical journey.
So go ahead and embrace the world of music theory with your giant manuscript staff paper. Unlock the artistic possibilities, expand your knowledge, and let your creativity flourish through the power of written music. Happy music making!