Home>Devices & Equipment>Car Audio>What Does A Car Audio Capacitor Do

Car Audio
What Does A Car Audio Capacitor Do
Published: February 5, 2024
Learn how a car audio capacitor improves the performance of your car audio system, increases power output, and reduces audio distortion. Enhance your car audio experience with a high-quality car audio capacitor.
(Many of the links in this article redirect to a specific reviewed product. Your purchase of these products through affiliate links helps to generate commission for AudioLover.com, at no extra cost. Learn more)
Table of Contents
- Introduction
- What is a Car Audio Capacitor?
- How Does a Car Audio Capacitor Work?
- Benefits of Using a Car Audio Capacitor
- Factors to Consider Before Installing a Car Audio Capacitor
- Step-by-Step Guide to Installing a Car Audio Capacitor
- Common Mistakes to Avoid When Installing a Car Audio Capacitor
- Frequently Asked Questions (FAQs) about Car Audio Capacitors
- Conclusion
Introduction
Welcome to the world of car audio, where every journey becomes a symphony of sound. Whether you’re a music lover, audiophile, or just someone who enjoys a clear and immersive audio experience while driving, car audio systems are an essential part of enhancing your on-road entertainment. And when it comes to upgrading your car’s audio, there’s one component that often gets overlooked but plays a critical role in delivering optimal performance – the car audio capacitor.
In this article, we will delve deep into the world of car audio capacitors, exploring what they are, how they work, and the benefits they provide. We’ll also discuss important factors to consider before installing a car audio capacitor and provide a step-by-step guide for proper installation.
If you’re ready to take your car audio system to the next level, then read on to discover the wonders of car audio capacitors and how they can revolutionize your driving experience.
What is a Car Audio Capacitor?
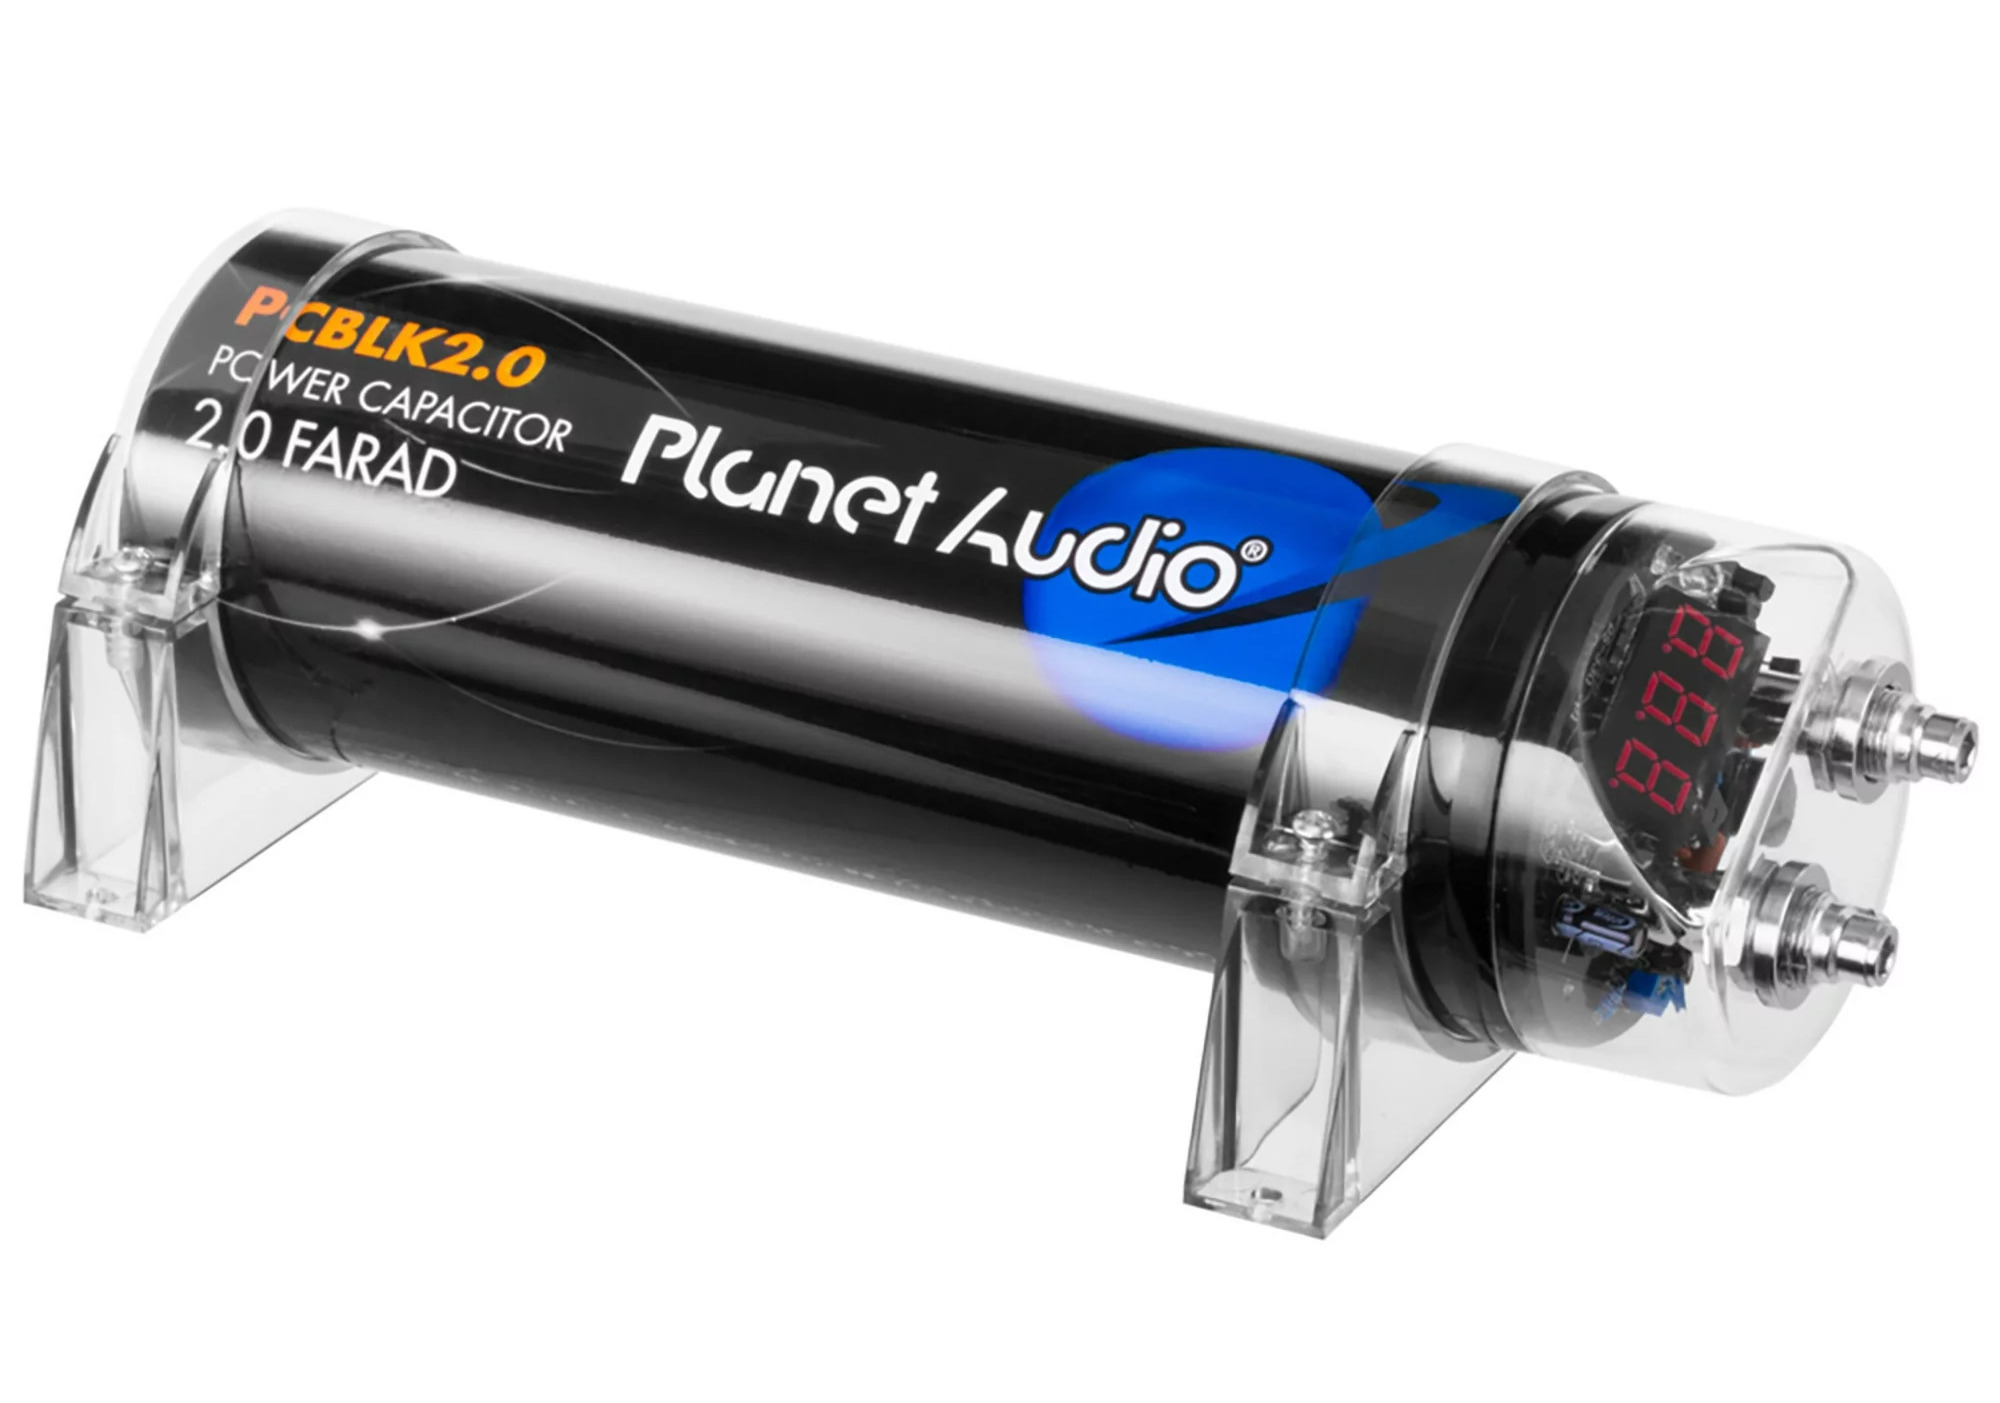
A car audio capacitor is an electronic component that acts as a power storage device in your car’s audio system. While your car’s battery is the primary source of power, a capacitor provides an additional surge of energy when needed, ensuring a stable and consistent power supply to your amplifier.
When you turn up the volume or hit a heavy bass note, your amplifier requires a sudden burst of power to meet the demand. However, your car’s battery alone may not be able to provide this quick surge of energy, leading to a drop in voltage and potentially causing distortion or damaged components in your audio system.
That’s where the car audio capacitor comes into play. It acts as a buffer between the amplifier and the car’s electrical system, supplying the extra power needed during peak demands. By storing electrical energy, the capacitor can quickly discharge it to meet the amplifier’s requirements, preventing voltage drops and ensuring smooth, distortion-free sound reproduction.
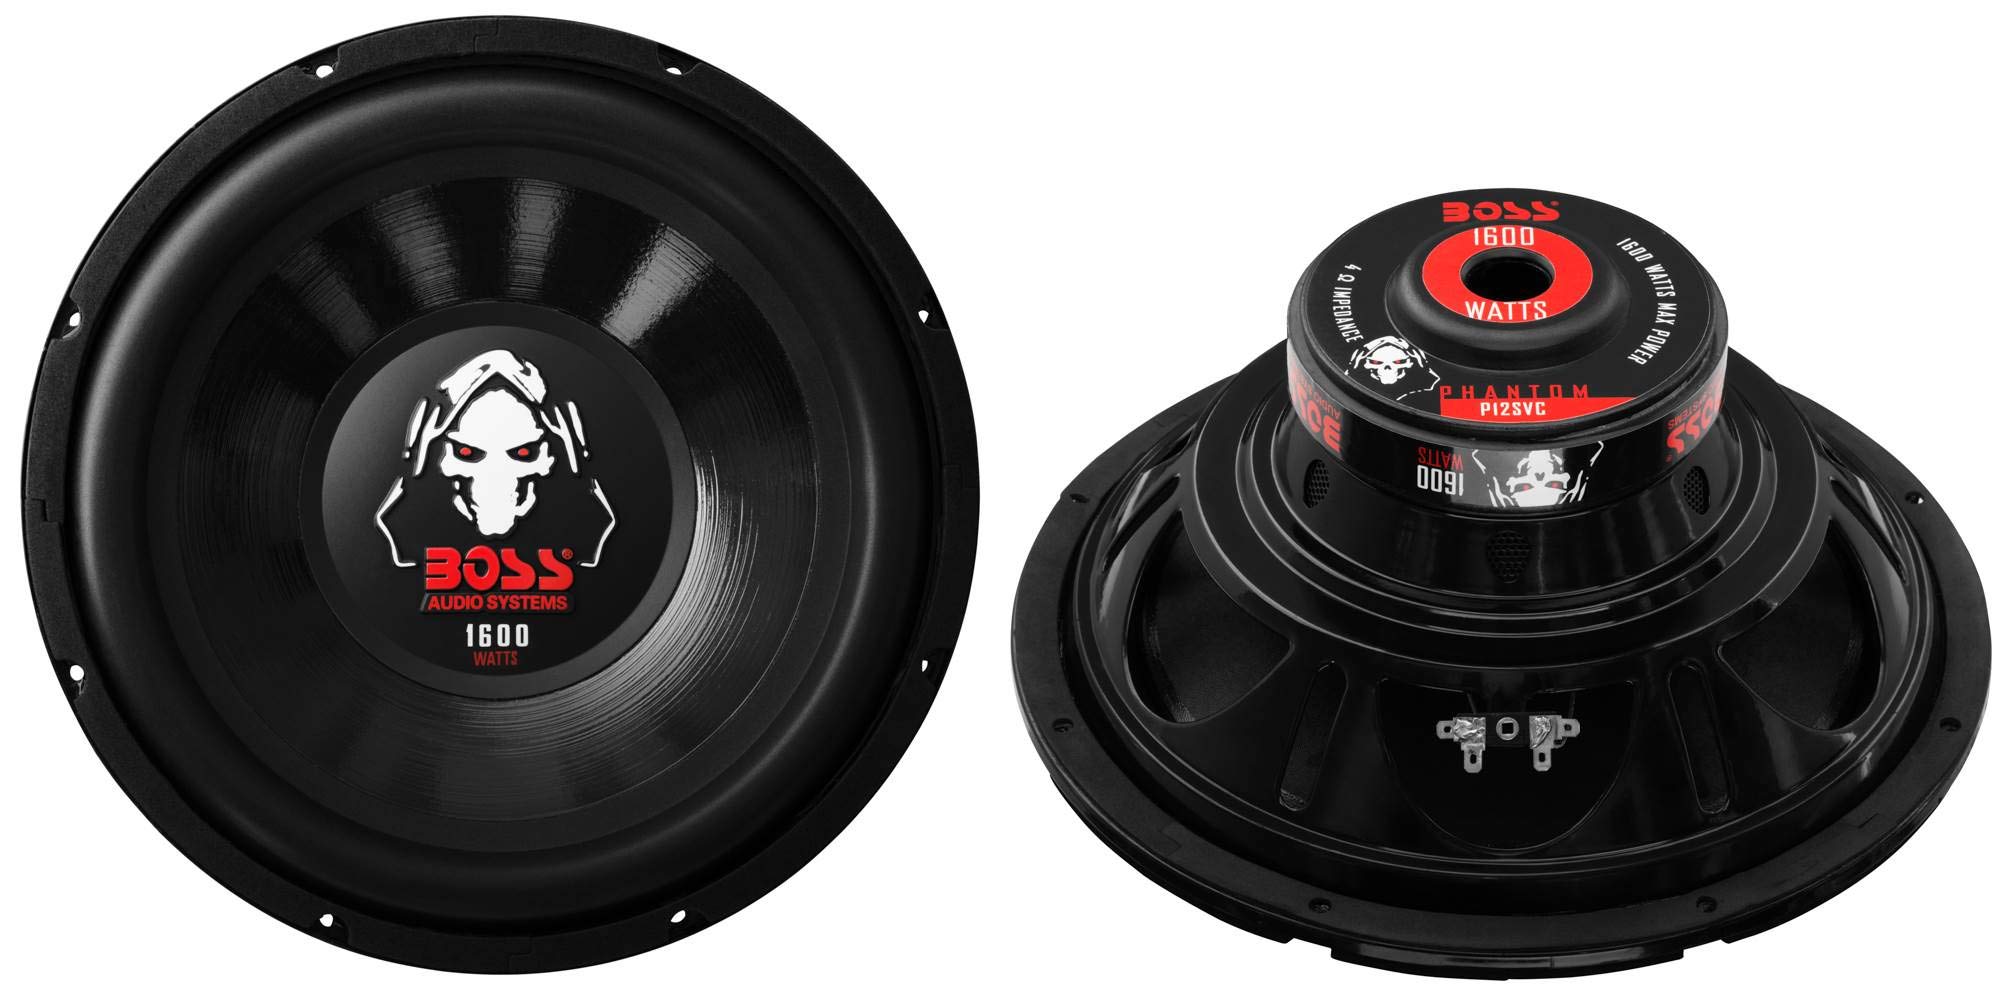
Car audio capacitors are primarily used in systems with high-wattage amplifiers or subwoofers that demand significant power. These capacitors have the capacity to store a large amount of electrical energy, allowing them to discharge it quickly and efficiently. They come in various sizes and capacitance ratings, allowing you to choose the one that best suits your audio system’s needs.
Overall, a car audio capacitor acts as a reliable power reservoir, helping to alleviate strain on your car’s electrical system, providing cleaner power to your amplifier, and enhancing the overall performance and longevity of your car audio system.
How Does a Car Audio Capacitor Work?
To understand how a car audio capacitor works, let’s dive into the world of electrical circuits and energy storage. At its core, a capacitor consists of two metal plates separated by an insulating material, known as a dielectric. In the case of a car audio capacitor, the dielectric is typically made of a material like ceramic, electrolytic, or film.
When a voltage is applied to the capacitor, one plate becomes positively charged, while the other plate becomes negatively charged. This creates an electric field between the plates, storing electrical energy in the form of charge imbalance.
When the voltage in the circuit drops or there is a sudden surge in demand, the capacitor discharges its stored energy to compensate for the temporary shortfall. Acting as a buffer, it provides an immediate boost of power to the amplifier, minimizing voltage drops and ensuring the smooth operation of the audio system.
Car audio capacitors are equipped with a built-in resistor or charging circuitry to prevent sudden discharges that can damage the capacitor or the electrical system. This charging circuit allows the capacitor to recharge whenever there is a surplus of power available, ensuring that it is always ready to meet the demands of the amplifier.
It’s important to note that car audio capacitors have their limitations. They are designed to handle short-term power surges and fluctuations, but they cannot replace a faulty or insufficient electrical system in your vehicle. If you are experiencing ongoing voltage issues or power deficiencies, it’s crucial to address the underlying problem rather than relying solely on a capacitor to compensate for the shortcomings.
Overall, a car audio capacitor acts as an intermediary power source, providing quick bursts of energy to your amplifier and minimizing voltage drops. By doing so, it helps to improve the stability and performance of your car audio system, allowing you to enjoy crisp and undistorted sound while driving.
Benefits of Using a Car Audio Capacitor
Using a car audio capacitor can bring about several benefits to your car audio system. Let’s explore some of the key advantages:
- Improved Power Delivery: One of the primary benefits of using a capacitor is the improved power delivery to your amplifier. By storing electrical energy and providing quick bursts of power, the capacitor ensures that your amplifier receives a stable and consistent power supply, minimizing voltage drops and potential distortion.
- Enhanced Bass Response: High-wattage amplifiers and subwoofers require substantial power to reproduce deep bass frequencies accurately. With a car audio capacitor, you can ensure that these power-hungry components receive the necessary energy during intense bass passages, resulting in clearer and more impactful bass response.
- Reduced Electrical Strain: Without a capacitor, your car’s electrical system may experience strain when supplying sudden spikes of power required by amplifiers. This strain can lead to voltage fluctuations and potential damage to various audio components. By using a capacitor, you alleviate this strain, prolonging the lifespan of your car’s electrical system.
- Cleaner Sound Quality: By providing a stable power supply, a car audio capacitor helps to improve the overall sound quality of your audio system. It minimizes signal distortion and ensures that your music playback remains clear and unaffected by voltage drops or electrical interference.
- Enhanced Amplifier Performance: A capacitor acts as a buffer between your amplifier and the vehicle’s electrical system. By providing the necessary power boost, it allows your amplifier to perform at its best, delivering optimized power output and preventing performance limitations caused by voltage drops.
In summary, using a car audio capacitor brings various benefits, including improved power delivery, enhanced bass response, reduced electrical strain, cleaner sound quality, and enhanced amplifier performance. These advantages contribute to a more immersive and enjoyable auditory experience while driving.
Factors to Consider Before Installing a Car Audio Capacitor
Before diving into the installation process, there are several factors you should consider to ensure that installing a car audio capacitor is the right decision for your specific car audio system. Let’s explore these factors:
- Power Demand: Assess the power demand of your audio system, including the amplifier and subwoofers. High-wattage systems with powerful amplifiers and multiple subwoofers are more likely to benefit from a car audio capacitor compared to lower-powered systems.
- Voltage Drops: If you frequently experience voltage drops or notice a drop in audio quality during intense bass passages, a car audio capacitor may help in stabilizing the voltage and ensuring consistent power delivery.
- Electrical System: Evaluate the condition of your car’s electrical system. If you suspect that your car’s battery or alternator is weak, it’s important to address those issues before installing a capacitor. A capacitor is not a solution for a faulty electrical system and should not be used to compensate for underlying problems.
- Available Space: Consider the available space in your car for installing a capacitor. Some capacitors can be bulky, so ensure that you have enough space in your vehicle to accommodate the capacitor without obstructing other components or creating safety hazards.
- Budget: Set a budget for your car audio upgrade. Capacitors come in a range of prices, so determine how much you are willing to invest based on your specific needs and requirements.
- Professional Installation: Assess your own skill level and comfort with car audio installations. If you are not experienced or confident in your abilities, it may be best to have a professional handle the installation to ensure it is done correctly and safely.
Considering these factors will help you determine if installing a car audio capacitor is the right decision for your audio system. It’s important to make an informed decision based on your specific needs, ensuring that a capacitor will truly enhance the performance of your car audio system.
Step-by-Step Guide to Installing a Car Audio Capacitor
Installing a car audio capacitor is a manageable task that can significantly enhance the performance of your car audio system. Follow these step-by-step instructions to ensure a successful installation:
- Gather the necessary tools: Before you begin, gather the tools you will need for the installation, including a wrench, screwdriver, wire cutters, wire strippers, electrical tape, and zip ties.
- Disconnect the negative battery terminal: Start by disconnecting the negative battery terminal to prevent any accidental electrical discharges during the installation process.
- Identify a suitable mounting location: Choose a suitable location to mount the capacitor, ensuring that it is secure and easily accessible. Keep in mind the available space, as well as the proximity to the amplifier and battery.
- Mount the capacitor: Use the appropriate mounting hardware to securely fasten the capacitor in the chosen location. Make sure it is properly grounded to avoid any interference or electrical issues.
- Connect the power cable: Run a power cable from the positive terminal of the car battery to the positive terminal of the capacitor. Ensure that the cable is properly sized for the power demands of your audio system and use appropriate connectors for a secure connection.
- Connect the ground cable: Attach a ground cable from the negative terminal of the capacitor to a solid ground point on the vehicle’s chassis. This will provide a direct path for electrical grounding.
- Connect the remote turn-on lead: Connect the remote turn-on lead from the amplifier to the remote terminal on the capacitor. This ensures that the capacitor is activated whenever the amplifier receives a signal.
- Connect the amplifier power cable: Connect the amplifier power cable to the positive terminal of the capacitor. Use appropriate connectors for a secure and reliable connection.
- Reconnect the negative battery terminal: Once all the connections are made, reconnect the negative battery terminal and ensure it is tightened securely.
- Test the audio system: Turn on your car audio system and test its performance. Verify that the capacitor is providing stable power to the amplifier and that there is a noticeable improvement in sound quality.
It is important to note that these instructions are a general guideline, and you should refer to the specific instructions provided by the manufacturer of your car audio capacitor for any additional steps or considerations.
By following this step-by-step guide, you can successfully install a car audio capacitor and experience enhanced power delivery and improved sound quality in your car audio system. If you are unsure or uncomfortable with any part of the installation process, it is always recommended to seek assistance from a professional car audio installer.
Common Mistakes to Avoid When Installing a Car Audio Capacitor
While installing a car audio capacitor can elevate your car audio experience, there are some common mistakes that you should avoid to ensure a successful installation and optimal performance. Here are some mistakes to watch out for:
- Ignoring the electrical system: One major mistake is installing a capacitor without addressing underlying electrical system issues. It’s crucial to ensure that your car’s battery and alternator are in good condition and capable of handling the power demands of your audio system.
- Choosing the wrong size capacitor: Be mindful of selecting a capacitor with an appropriate capacitance rating for your amplifier’s power needs. Installing an undersized capacitor may not provide the desired power surge, while installing an oversized capacitor may result in excessive charging and potential damage to the electrical system.
- Poor wiring connections: Another common mistake is making inadequate or loose wiring connections. Ensure that all connections are properly crimped, tightened, and insulated to prevent short circuits, voltage drops, or signal interference.
- Insufficient grounding: Proper grounding is essential for the capacitor to function effectively. Avoid connecting the ground cable to a weak or unreliable grounding point. Instead, choose a solid, unpainted metal area on the vehicle’s chassis for a reliable ground connection.
- Incorrect capacitor placement: Installing the capacitor in an improper location can cause inconvenience or safety hazards. Avoid mounting the capacitor in areas that block airflow or interfere with other vehicle components. Ensure it is securely mounted and positioned away from heat sources.
- Skipping the capacitor’s charging process: Capacitors need to be charged before their initial use. Neglecting the charging process can cause the capacitor to function improperly or even fail. Follow the manufacturer’s instructions regarding charging time and procedures.
- Not considering the long-term power needs: It’s important to consider future upgrades or changes to your car audio system before installing a capacitor. If you plan to add more powerful amplifiers or additional subwoofers in the future, make sure to choose a capacitor that can accommodate the increased power demands.
- Not seeking professional assistance when needed: If you have limited experience or are unsure about any aspect of the installation, it is advisable to seek professional help. Improper installation may lead to potential damage to the electrical system, void warranties, or even pose safety risks.
By being aware of these common mistakes, you can ensure a smooth and successful installation of your car audio capacitor, maximizing its benefits and avoiding any potential issues down the road.
Frequently Asked Questions (FAQs) about Car Audio Capacitors
Here are some commonly asked questions about car audio capacitors:
- Do I really need a car audio capacitor?
- How do I determine the right size capacitor for my system?
- Where should I mount the car audio capacitor?
- Can I install a car audio capacitor myself?
- Can a capacitor fix a weak car battery or alternator?
- Do capacitors have any negative effects on my vehicle’s electrical system?
- How long does it take to charge a car audio capacitor?
- Can I use multiple capacitors in my car audio system?
The need for a car audio capacitor depends on the power demands of your audio system. If you experience voltage drops or distortion during peak audio passages, a capacitor can help stabilize the voltage and ensure consistent power delivery to your amplifier.
You need to consider the power requirements of your amplifier and subwoofers. Look for capacitors with capacitance ratings suitable for your system’s power needs. Generally, higher-wattage systems require capacitors with larger capacitance ratings.
Choose a location that is secure and easily accessible. Keep in mind the available space and proximity to the amplifier and battery. Ensure that the capacitor is properly grounded and away from heat sources.
If you have experience with car audio installations and are comfortable working with electrical systems, you can install a car audio capacitor yourself. However, if you are unsure or lack experience, it is recommended to seek professional assistance to ensure a proper and safe installation.
No, a car audio capacitor cannot fix issues with a weak battery or alternator. It is not a solution for a faulty electrical system. Ensure that your car’s electrical system is in good condition before considering the installation of a capacitor.
A properly installed car audio capacitor should not have any negative effects on your vehicle’s electrical system. However, it is essential to choose the appropriate capacitor for your system’s needs and ensure proper grounding and wiring connections to avoid any potential issues.
The charging time for a car audio capacitor varies depending on its size and the specific manufacturer’s instructions. Typically, it can take several minutes to a couple of hours to fully charge a capacitor.
Yes, it is possible to use multiple capacitors in a car audio system. This can be beneficial if you have a high-powered system with substantial power demands. However, it’s important to ensure that each capacitor is properly sized and connected to handle the power requirements.
If you have any additional questions or concerns about car audio capacitors, it’s always advisable to consult with a knowledgeable professional who can provide guidance based on your specific audio system and vehicle.
Conclusion
In conclusion, a car audio capacitor is a valuable addition to your car audio system, providing a reliable power storage solution that enhances performance and prevents voltage drops. By acting as a buffer, it ensures stable power delivery to your amplifier, resulting in cleaner sound reproduction, improved bass response, and reduced strain on your vehicle’s electrical system.
Before installing a car audio capacitor, consider factors such as your power demands, voltage fluctuations, and the condition of your electrical system. Choose a capacitor that suits your amplifier’s power requirements and ensure proper grounding, wiring connections, and placement for optimal functionality.
By following a step-by-step installation guide and avoiding common mistakes, you can successfully integrate a car audio capacitor into your system and experience noticeable improvements in sound quality and amplifier performance. However, if you lack experience or are uncertain about any aspect of the installation process, it is recommended to seek professional assistance to ensure a safe and proper installation.
Remember to select the right size capacitor for your system, consider future upgrades, and adhere to manufacturer instructions for charging and maintenance. By doing so, you can enjoy a more immersive and enjoyable audio experience during your journeys.
Whether you’re a music lover, audiophile, or simply enjoy high-quality audio while on the road, a car audio capacitor can amplify your driving experience by delivering power and clarity to your sound system. Upgrade your car audio system with a capacitor and embark on a journey filled with rich, immersive sound.


