Home>Devices & Equipment>Car Audio>How To Wire Car Audio Capacitor
Car Audio
How To Wire Car Audio Capacitor
Published: February 5, 2024
Learn how to wire a car audio capacitor properly for improved sound quality and efficiency. Find step-by-step instructions and expert tips to enhance your car audio experience.
(Many of the links in this article redirect to a specific reviewed product. Your purchase of these products through affiliate links helps to generate commission for AudioLover.com, at no extra cost. Learn more)
Table of Contents
- Introduction
- Step 1: Gather the necessary tools and materials
- Step 2: Locate the optimal placement for the capacitor
- Step 3: Disconnect the car’s battery
- Step 4: Mount the capacitor
- Step 5: Identify the positive and negative terminals
- Step 6: Connect the capacitor to the car’s electrical system
- Step 7: Reconnect the car’s battery
- Step 8: Test the car audio system
- Conclusion
Introduction
Welcome to the world of car audio, where your driving experience can be transformed by powerful sound systems that deliver crystal-clear audio and thumping bass. One essential component that can significantly enhance your car audio setup is a car audio capacitor. In this guide, we will walk you through the process of wiring a car audio capacitor, ensuring that you get the most out of your system.
A car audio capacitor is a device designed to store and release electrical energy to supplement the power demands of your car’s audio system. It helps to stabilize voltage and prevent fluctuations, ensuring that your amplifier receives the necessary power for optimal performance. By providing a stable power supply, a capacitor can improve the sound quality and overall efficiency of your car’s audio system, especially when dealing with sudden power surges or demanding bass notes.
Wiring a car audio capacitor may seem like a daunting task, but with the right tools and a little knowledge, it can be a straightforward process. By following the steps outlined in this guide, you can ensure a safe and efficient installation, allowing you to enjoy your car audio system to its fullest potential.
We will cover everything from gathering the necessary tools and materials to disconnecting the car battery, mounting the capacitor, connecting it to the car’s electrical system, and testing the audio system for optimal performance. Whether you are a seasoned car audio enthusiast or a beginner looking to upgrade your audio setup, this guide will provide you with the essential information to wire a car audio capacitor with confidence.
So, let’s get started by gathering the tools and materials you will need for this installation process.
Step 1: Gather the necessary tools and materials
Before you begin the process of wiring a car audio capacitor, it’s important to ensure that you have all the necessary tools and materials on hand. Here’s a list of items that you will need:
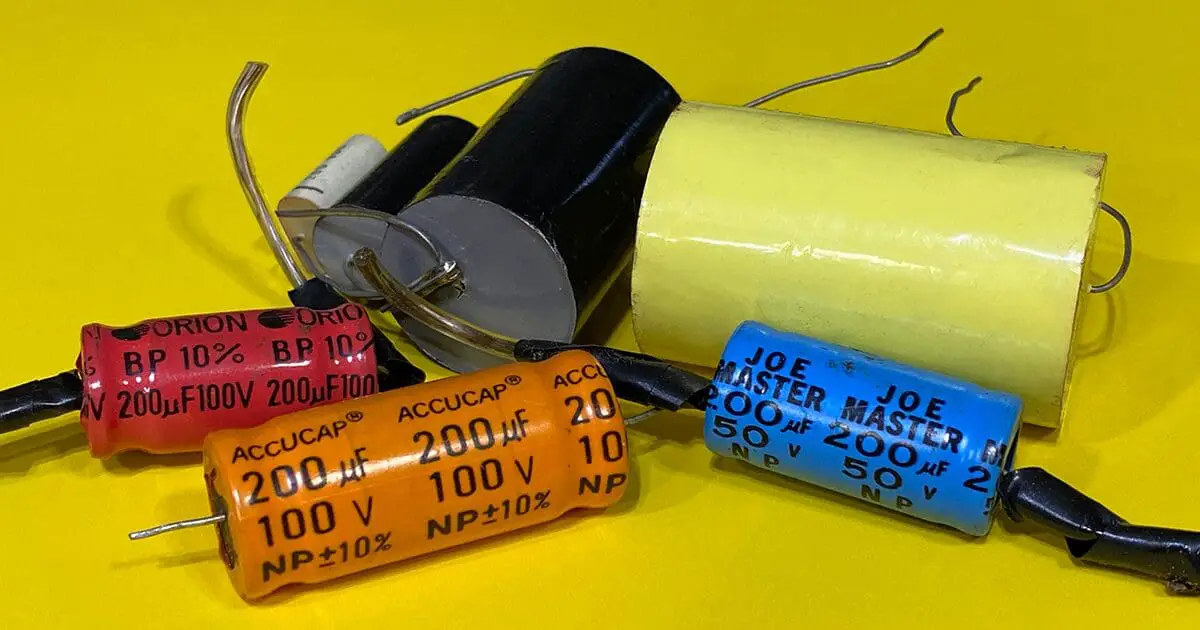
- Car audio capacitor – Choose a capacitor with the appropriate capacitance and voltage rating based on your car audio system’s power requirements.
- Wire cutters/strippers – These tools will be essential for cutting and stripping the wires during the installation process.
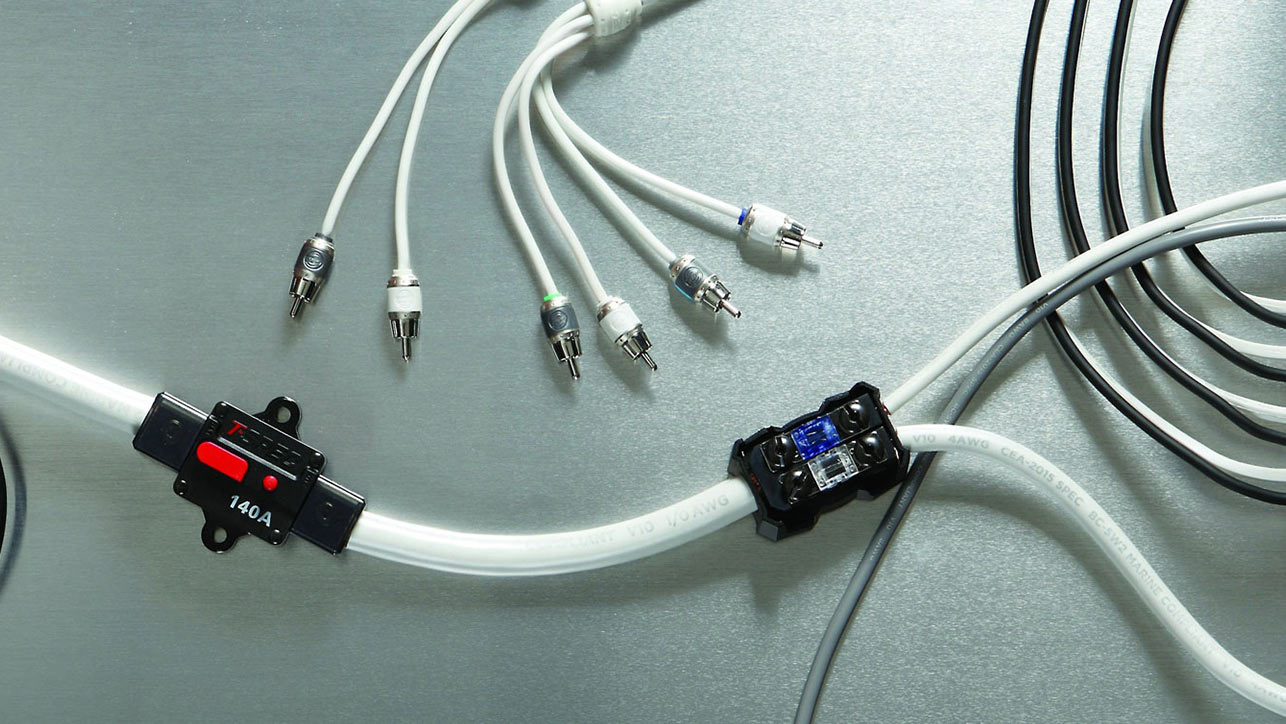
- Wire crimpers – You’ll need these tools to crimp connectors onto the wires for secure connections.
- Electrical tape – This will be used to insulate and protect the wire connections.
- Ring terminals – These terminals will be used to connect the capacitor to the car’s electrical system. Ensure that the ring terminal size matches the capacitor’s terminal size.
- Zip ties – These will come in handy for securing and organizing the wires during the installation process.
- Socket set/wrench – You’ll need these tools to disconnect and reconnect the car battery.
- Wire connectors – These connectors will be used to join wires together securely.
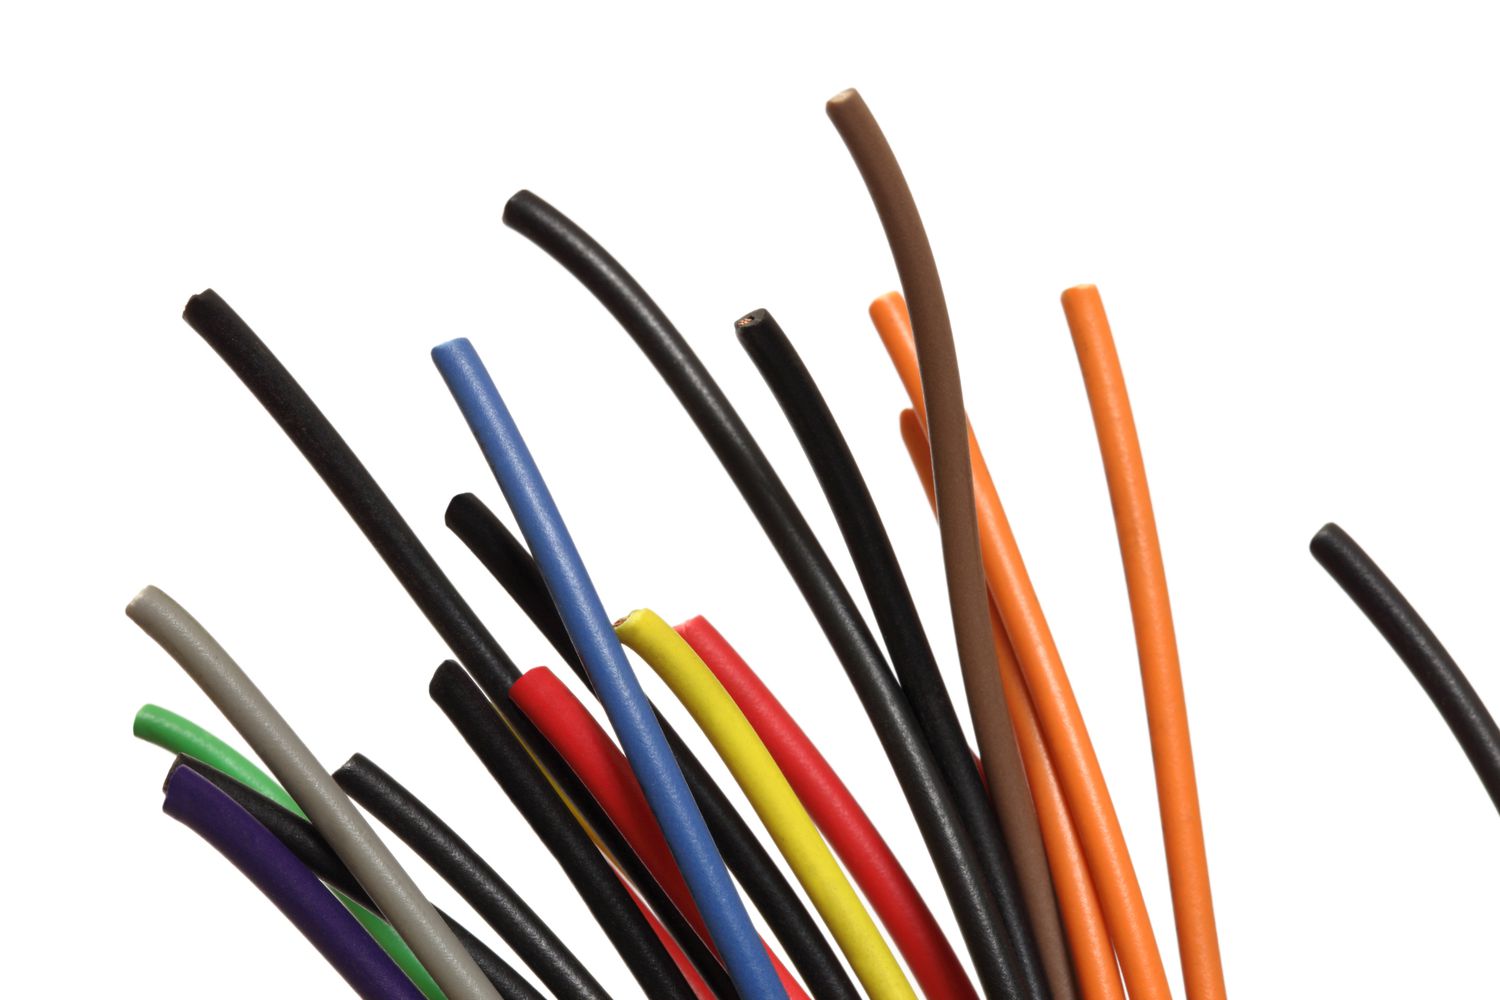
- Electrical wire – The gauge of the wire should be appropriate for the current flowing through it. Consult the capacitor’s manual or a professional for the right gauge.
Having these tools and materials readily available will allow for a smoother and more efficient installation process. It’s always better to be prepared before starting any project to avoid delays or unnecessary complications.
Once you have gathered all the necessary tools and materials, it’s time to move on to the next step: locating the optimal placement for the capacitor.
Step 2: Locate the optimal placement for the capacitor
The next step in wiring a car audio capacitor is to find the best location to install it in your vehicle. The ideal spot for the capacitor will depend on factors such as available space, accessibility, and proximity to the amplifier and battery.
Here are some key considerations to keep in mind when determining the optimal placement for your car audio capacitor:
- Space: Look for a location that provides enough space to accommodate the capacitor without interfering with other components or creating a safety hazard. Consider the dimensions of the capacitor and ensure that there is ample clearance.
- Accessibility: Choose a location that allows for easy access when connecting or disconnecting the capacitor. This will come in handy during future maintenance or modifications.
- Proximity to the amplifier and battery: Try to position the capacitor as close as possible to the amplifier and battery. This helps minimize the length of the power cable connections, reducing the risk of power loss or interference.
- Vibration and heat: Avoid mounting the capacitor in areas that experience excessive vibration, such as near the engine or subwoofers. Also, avoid locations with excessive heat, as high temperatures can affect the capacitor’s performance.
Some common locations for mounting a car audio capacitor include the trunk, under a seat, or in the engine bay. Evaluate these areas in your vehicle and determine which one suits your needs best.
Once you have identified the optimal placement for the capacitor, it’s time to move on to the next step: disconnecting the car’s battery.
Step 3: Disconnect the car’s battery
Before proceeding with the installation of the car audio capacitor, it is crucial to disconnect the car’s battery to ensure safety and prevent any accidental electrical damage. Here’s how you can disconnect the car’s battery:
- Gather the necessary tools: Before disconnecting the battery, ensure that you have the appropriate tools ready. A socket set or wrench will be needed to loosen the nuts on the battery terminals.
- Identify the negative terminal: Locate the negative terminal on the car’s battery. It is usually marked with a minus (-) sign, and the cable connected to it is typically black.
- Disconnect the negative terminal: Using the appropriate tool, loosen the nut on the negative terminal and carefully remove the cable. Be cautious not to touch any metal surfaces or the positive terminal to avoid any accidental electrical contact.
- Secure the negative cable: Once the negative terminal is disconnected, ensure that it is secured and cannot make contact with the battery or any other metal surfaces. This will prevent any risk of electrical shorts or accidental reconnection.
- Repeat the process for the positive terminal (optional): If you want to take extra precautions and ensure complete electrical isolation, you can also disconnect the positive terminal using the same steps as above.
By disconnecting the car’s battery, you minimize the risk of electrical shocks or damage to the car’s electrical system. This step provides a safe environment to proceed with the installation of the car audio capacitor.
Now that the car’s battery is disconnected, you are ready to move on to the next step: mounting the capacitor.
Step 4: Mount the capacitor
With the car’s battery safely disconnected, it’s time to mount the car audio capacitor in the chosen location. Mounting the capacitor securely is important to ensure stability and prevent any unwanted movement or damage during vehicle operation. Here’s how you can proceed with mounting the capacitor:
- Prepare the mounting location: Clean the surface where you plan to mount the capacitor to remove any dirt, debris, or grease. This will ensure a secure bond with the mounting surface.
- Secure the capacitor: Use the appropriate mounting hardware, such as screws or brackets, to secure the capacitor in place. Make sure the mounting is tight and will not loosen over time or under vibrations.
- Consider using adhesive: If the chosen mounting location allows, you can also use adhesive materials such as automotive-grade double-sided tape or adhesive pads to provide additional stability and prevent any movement.
- Position the capacitor: Mount the capacitor in a way that allows proper airflow and minimizes exposure to excessive heat. Avoid mounting it near heat sources or in direct sunlight, as this can affect the capacitor’s performance.
When mounting the capacitor, consider the accessibility for future maintenance or replacement. It’s important to ensure that the mounting location doesn’t obstruct any nearby components or hinder any necessary repairs or modifications.
Once the capacitor is securely mounted, you can proceed to the next step: identifying the positive and negative terminals of the capacitor.
Step 5: Identify the positive and negative terminals
Before proceeding with the wiring of the car audio capacitor, it is essential to identify the positive and negative terminals of the capacitor. This ensures that you make the correct connections and prevent any potential damage to the capacitor or the car’s electrical system. Here’s how you can identify the positive and negative terminals:
- Refer to the capacitor’s markings: Most car audio capacitors have clear markings indicating which terminal is positive (+) and which is negative (-). Look for these markings on the capacitor body or the terminal itself. The positive terminal is usually marked with a plus (+) sign, and the negative terminal may be marked with a minus (-) sign or be labeled as “GND” (ground).
- Colors of the terminals: In some cases, the positive terminal might have a red color, while the negative terminal has a black color. Check if the capacitor follows this color-coding convention.
- Consult the capacitor’s manual: If you’re unsure about the markings or colors on the capacitor, refer to the user manual or documentation that came with the capacitor. It will provide specific information regarding the positive and negative terminals.
It is crucial to correctly identify the positive and negative terminals to ensure proper wiring and prevent any electrical issues. Making a wrong connection can lead to damage to the capacitor, the car’s electrical system, and potentially create safety hazards.
Once you have identified the positive and negative terminals of the capacitor, you can proceed to the next step: connecting the capacitor to the car’s electrical system.
Step 6: Connect the capacitor to the car’s electrical system
Now that you have properly identified the positive and negative terminals of the car audio capacitor, it’s time to connect it to the car’s electrical system. This step ensures that the capacitor receives the necessary power and becomes an integral part of your car audio setup. Here’s how you can connect the capacitor:
- Prepare the power cable: Cut a length of electrical wire that is long enough to reach from the positive terminal of the car battery to the positive terminal of the capacitor. Use wire cutters/strippers to remove insulation from both ends of the wire.
- Connect the power cable to the positive terminal of the capacitor: Use a ring terminal that matches the size of the capacitor’s positive terminal. Crimp the ring terminal onto one end of the power cable securely. Then, attach the ring terminal to the positive terminal of the capacitor by tightening the terminal’s screw or nut.
- Route the power cable: Carefully route the power cable from the positive terminal of the capacitor towards the positive terminal of the car’s battery. Make sure to avoid any sharp edges, moving parts, or areas that generate excessive heat.
- Connect the power cable to the positive terminal of the car battery: Use a wrench or socket set to loosen the nut on the positive terminal of the car battery. Slide the ring terminal of the power cable onto the positive battery post, and then tighten the nut securely.
- Secure the connections: To ensure a secure and reliable connection, use wire connectors or crimp connectors to join any necessary wires together. Use electrical tape to insulate and protect these connections, preventing any accidental shorts or electrical issues.
It is crucial to ensure that all connections are secure and free from any loose wires or exposed metal. A loose or faulty connection can lead to poor performance or even damage to the car audio system or the capacitor itself.
With the capacitor properly connected to the car’s electrical system, you can now proceed to the next step: reconnecting the car’s battery.
Step 7: Reconnect the car’s battery
Now that you have successfully connected the car audio capacitor to the car’s electrical system, it’s time to reconnect the car’s battery. Reconnecting the battery is a crucial step as it restores power to the vehicle and allows you to test the functionality of your car audio system. Follow these steps to reconnect the car’s battery:
- Ensure all connections are secure: Before reconnecting the battery, double-check that all the wires and connections associated with the capacitor are securely attached and free from any potential hazards, such as loose strands or exposed metal.
- Identify the positive and negative terminals: Locate the positive and negative terminals of the car battery. The positive terminal is typically marked with a plus (+) sign, while the negative terminal is marked with a minus (-) sign.
- Reconnect the positive cable: Take the positive cable (usually red in color) and attach it to the positive terminal of the car battery. Ensure that the connection is tight and secure by tightening the nut or bolt holding the cable in place.
- Repeat for the negative cable: Take the negative cable (usually black in color) and attach it to the negative terminal of the car battery. Again, ensure that the connection is tight and secure.
- Double-check the connections: After reconnecting the battery, visually inspect the connections to ensure that they are properly secured and free from any loose wires or corrosion. This is essential to maintain a reliable electrical connection.
Reconnecting the car’s battery restores power to your vehicle, allowing you to test the functionality of your car audio system with the newly installed capacitor. However, it is important to exercise caution and be aware of any potential electrical issues during testing.
With the car’s battery successfully reconnected, you can move on to the final step in the process: testing the car audio system.
Step 8: Test the car audio system
After completing the installation of the car audio capacitor and reconnecting the car’s battery, it’s time to test the functionality of your car audio system. Testing will help ensure that the capacitor is functioning correctly and that your audio system is delivering optimal sound performance. Follow these steps to test the car audio system:
- Turn on the car audio system: Start your car and turn on the car audio system. Make sure that the volume is set to a safe and comfortable level.
- Listen for any changes in sound quality: Pay attention to the sound output from your car audio system. You should notice an improvement in sound quality, especially in terms of bass response and overall clarity. A properly installed capacitor helps stabilize voltage and provide the necessary power for your audio system, resulting in enhanced audio performance.
- Monitor voltage levels: Monitor the voltage levels on your car audio system’s display or using a separate voltmeter if available. The voltage should remain stable even during demanding bass notes or power surges. If you notice any significant drops or fluctuations in voltage, it could indicate an issue with the capacitor or the overall electrical system.
- Adjust settings if necessary: If you notice any distortion, imbalance, or other issues with the sound, you may need to adjust the amplifier or other audio settings to optimize the performance. Consult the user manual or reach out to an audio specialist for guidance on fine-tuning your car audio system.
It’s important to remember that the car audio capacitor is just one component of the audio system, and its impact on sound quality may vary depending on the specific setup. Additionally, the effects of the capacitor may be more noticeable in systems that have a higher power demand or when playing music with heavy bass content.
If you encounter any persistent issues or have doubts about the performance of your car audio system, it’s recommended to consult with a professional car audio technician. They can provide additional guidance and ensure that your system is optimized for the best audio experience.
Congratulations! By successfully testing your car audio system, you have completed the process of wiring a car audio capacitor. Enjoy your enhanced audio experience on the road!
Conclusion
Wiring a car audio capacitor can significantly improve the performance of your car audio system, delivering enhanced sound quality and stability. By following the step-by-step guide outlined in this article, you have learned how to wire a car audio capacitor and optimize your audio setup.
Starting with gathering the necessary tools and materials, you ensured that you had everything needed for a smooth installation process. Locating the optimal placement for the capacitor and mounting it securely in your vehicle set the foundation for a successful installation. Identifying the positive and negative terminals of the capacitor allowed for the proper connection to the car’s electrical system.
After connecting the capacitor and carefully reattaching the car’s battery, you took the critical step of testing your car audio system. Listening for changes in sound quality and monitoring voltage levels helped ensure the proper functioning of the capacitor and optimal performance of your audio system.
Remember, safety is paramount throughout the entire installation process. Always take care to disconnect the car’s battery and follow proper safety precautions to avoid electrical accidents.
By successfully completing the installation and testing of the car audio capacitor, you can now enjoy a new level of audio experience while driving. The capacitor’s ability to stabilize voltage and supply additional power helps overcome power surges and ensures your audio system operates at its peak performance.
If you have any lingering questions or concerns, it is advisable to consult with a professional car audio technician who can provide expert guidance and support. They can assist you in optimizing your audio system, making any necessary adjustments, and answering any specific queries you may have.
Now, sit back, relax, and enjoy your favorite music with an enhanced car audio system, thanks to the installation of your car audio capacitor!