Home>Devices & Equipment>Earbuds>How To Pair Brookstone Earbuds

Earbuds
How To Pair Brookstone Earbuds
Published: November 14, 2023
Learn how to pair Brookstone Earbuds effortlessly and enjoy wireless audio on-the-go. Enhance your listening experience with these high-quality Earbuds.
(Many of the links in this article redirect to a specific reviewed product. Your purchase of these products through affiliate links helps to generate commission for AudioLover.com, at no extra cost. Learn more)
Table of Contents
Introduction
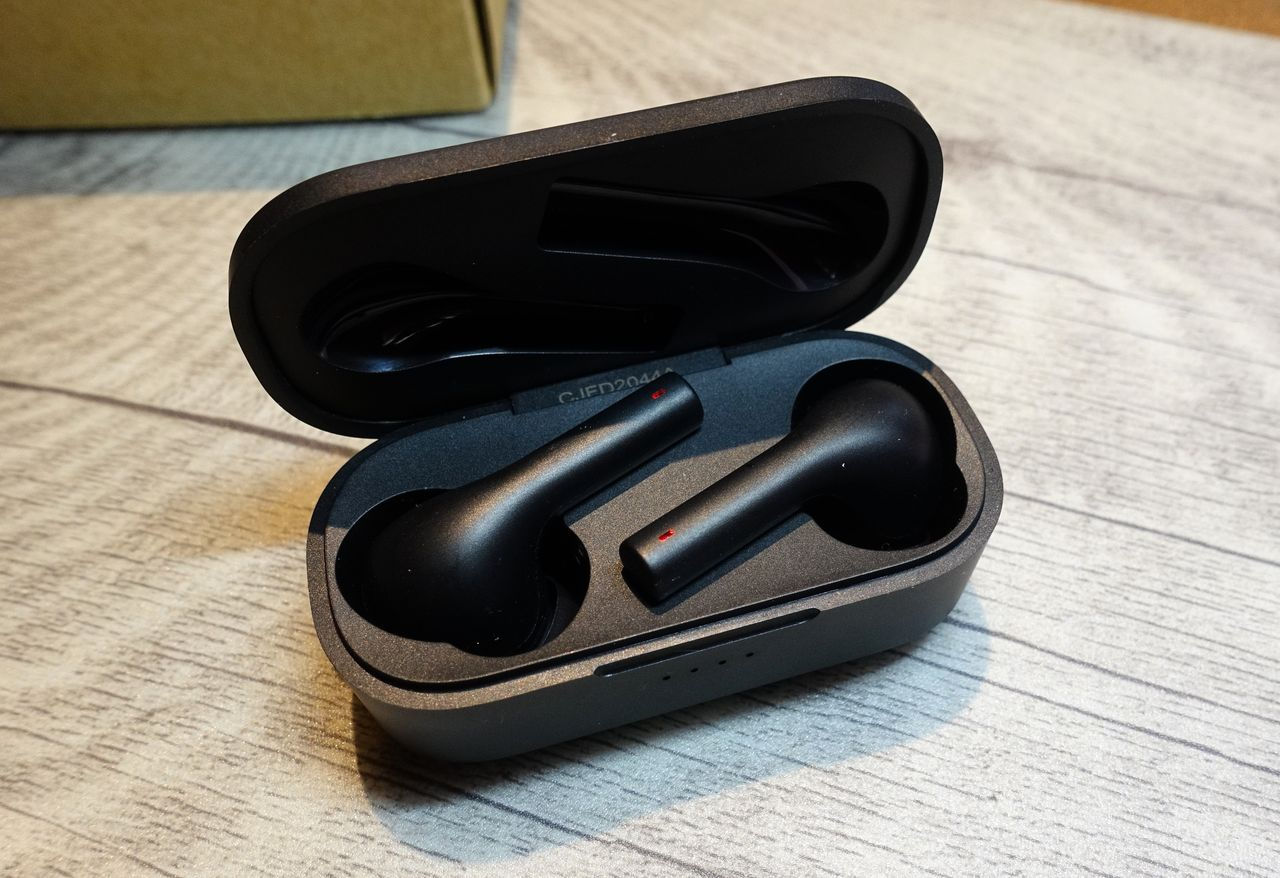
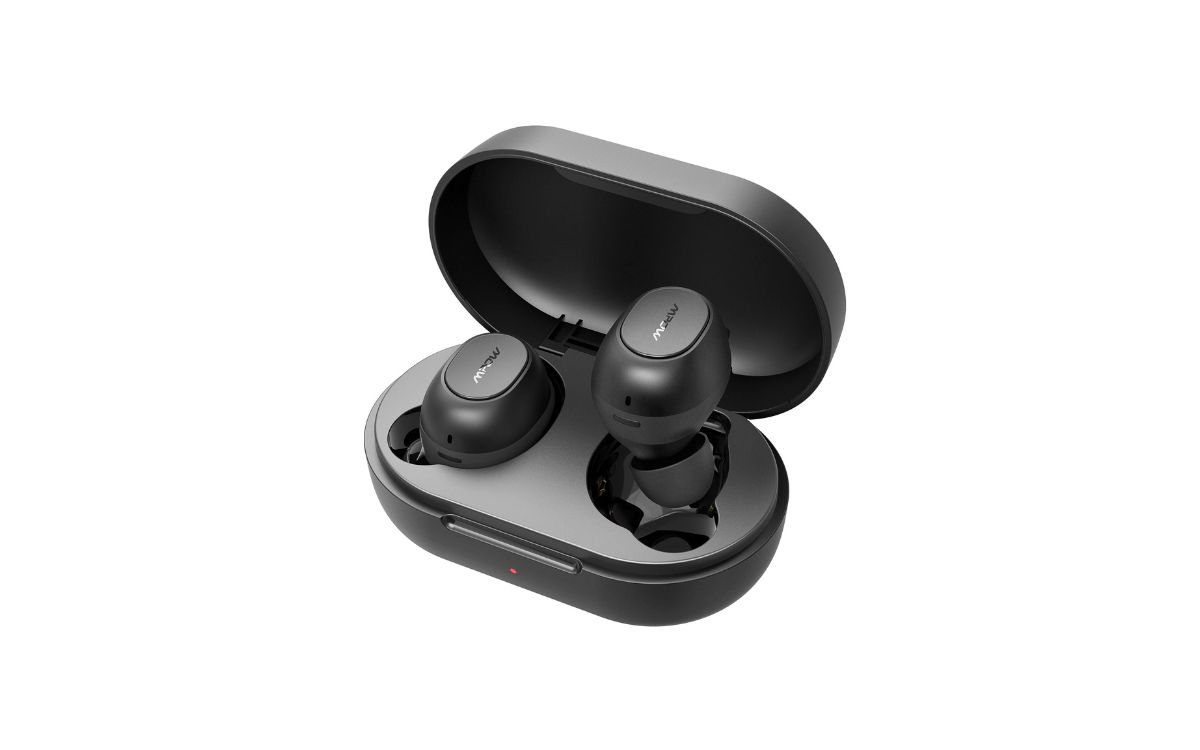
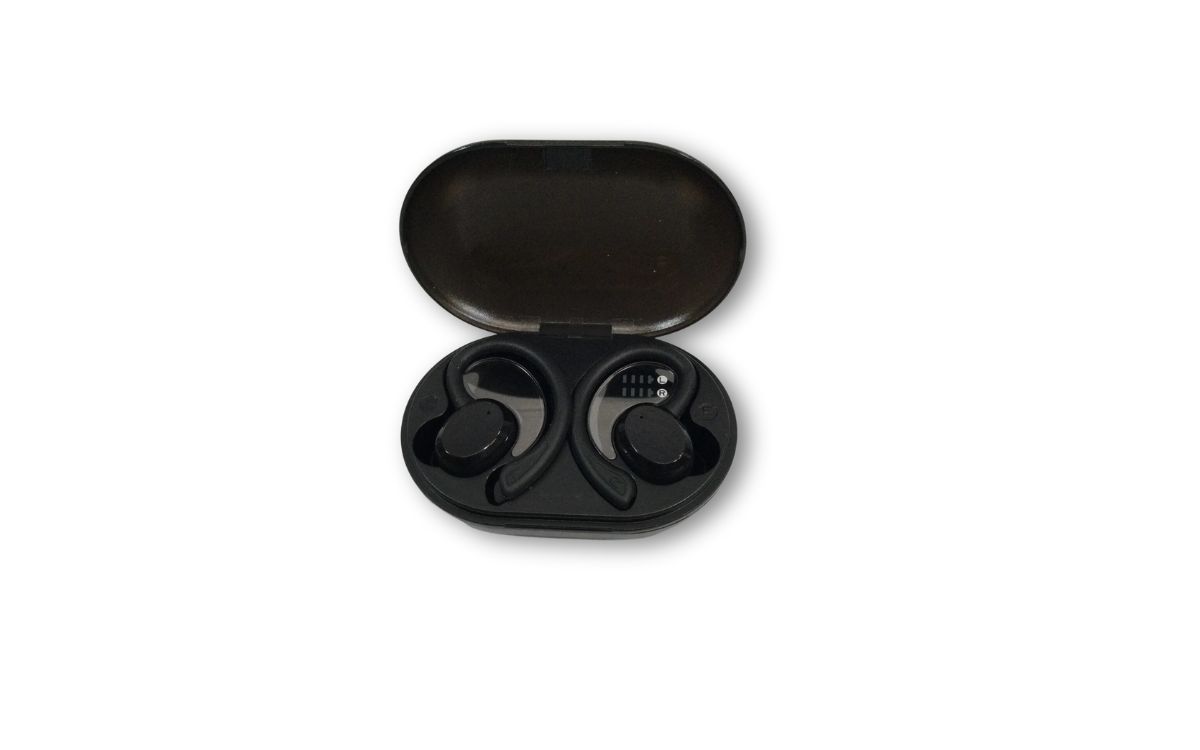
Welcome to the world of Brookstone Earbuds! These sleek and stylish wireless earbuds provide a seamless listening experience, allowing you to enjoy your favorite music, podcasts, or calls with ease. With their advanced Bluetooth technology, Brookstone Earbuds offer convenience and flexibility, allowing you to move freely without the hassle of tangled wires.
Whether you’re a fitness enthusiast looking for a reliable audio companion during workouts or a music lover seeking immersive sound quality on the go, pairing your Brookstone Earbuds with your device is the first step to unlocking their full potential.
In this article, we will guide you through the step-by-step process of pairing your Brookstone Earbuds, ensuring a hassle-free experience. So, let’s dive in and get your earbuds ready to connect!
Before we begin, it’s important to note that the exact pairing process may vary slightly depending on the specific model of your Brookstone Earbuds. However, the general steps outlined in this guide will provide you with a solid foundation to successfully pair your earbuds with most devices.
Step 1: Check the Bluetooth compatibility of your device
Before attempting to pair your Brookstone Earbuds with your device, it is crucial to ensure that your device is Bluetooth compatible. Bluetooth is a wireless technology that allows devices to connect and communicate with each other wirelessly.
Most modern smartphones, tablets, laptops, and even some smart TVs come equipped with Bluetooth capabilities. To check if your device has Bluetooth, follow these simple steps:
- For iPhone or iPad users:
- Go to the Settings app on your device.
- Look for the “Bluetooth” option. If it is present, your device is Bluetooth compatible.
- For Android users:
- Open the Settings app on your device.
- Look for the “Connections” or “Network & Internet” option and tap on it.
- Check if there is a “Bluetooth” option. If yes, your device supports Bluetooth.
- For Windows and Mac users:
- On Windows, go to the Start menu and open the Settings app. Look for the “Devices” option and click on it. If there is a “Bluetooth & other devices” option, your device is Bluetooth compatible. On Mac, click on the Apple menu, select “System Preferences,” and look for the “Bluetooth” option.
If you are unable to find the Bluetooth option on your device, it may not have Bluetooth capabilities. In such cases, you may need to explore other wireless connection options or consider using a Bluetooth adapter to make your device compatible.
Once you have confirmed that your device supports Bluetooth, you are ready to proceed to the next step: turning on your Brookstone Earbuds.
Step 2: Turn on the Brookstone Earbuds
Now that you’ve confirmed that your device is Bluetooth compatible, it’s time to power on your Brookstone Earbuds. To do so, follow these steps:
- Locate the power button on the earbuds. Depending on the specific model, the power button may be located on the earpiece or on the control module.
- Press and hold the power button for a few seconds until you see a light indicator or hear a power-on chime. This indicates that the earbuds have been successfully turned on and are ready to be paired.
It’s important to note that the power-on process may vary slightly depending on the model of your Brookstone Earbuds. Some earbuds may have automatic power-on capabilities when taken out of the charging case, while others may require manual power-on.
Once your Brookstone Earbuds are powered on, you’re ready to move on to the next step: activating the pairing mode.
Step 3: Activate pairing mode
Before you can connect your Brookstone Earbuds to your device, you’ll need to activate the pairing mode. This allows your earbuds to be detected by your device so that they can establish a Bluetooth connection. To activate the pairing mode, follow these steps:
- Make sure that your Brookstone Earbuds are powered on.
- Locate the pairing button or switch on the earbuds. The location of the pairing button may vary depending on the model.
- Press and hold the pairing button or switch for a few seconds until the indicator light on the earbuds starts flashing or you hear a pairing prompt. This indicates that the earbuds are now in pairing mode.
It’s important to note that the pairing mode activation process may vary depending on the specific model of your Brookstone Earbuds. Some earbuds may automatically enter pairing mode when they are powered on, while others may require manual activation.
Once you have successfully activated the pairing mode, your Brookstone Earbuds are ready to be connected to your device. Now, let’s move on to the next step: connecting the earbuds to your device.
Step 4: Connect the Brookstone Earbuds to your device
With your Brookstone Earbuds in pairing mode, it’s time to connect them to your device. The following steps will guide you through the process:
- On your device, go to the Bluetooth settings. This can typically be found in the Settings menu or in the Control Center.
- Make sure that the Bluetooth on your device is turned on and scanning for nearby devices.
- Look for the name of your Brookstore Earbuds in the list of available devices. The name may vary depending on the specific model of your earbuds.
- Select the name of your Brookstore Earbuds in the Bluetooth devices list to initiate the pairing process.
Once you have selected your Brookstone Earbuds, your device will begin the pairing process. This may take a few seconds, and you may see an on-screen prompt or hear a pairing confirmation sound.
After the pairing process is complete, your Brookstone Earbuds will be connected to your device. You can now enjoy seamless wireless audio, whether you’re listening to music, taking calls, or watching videos.
It’s important to note that the connection process may slightly differ depending on your device’s operating system and the specific model of your Brookstone Earbuds. However, the general steps outlined above should work for most devices.
Now that your Brookstone Earbuds are successfully connected to your device, let’s move on to the final step: testing the connection and adjusting settings.
Step 5: Test the connection and adjust settings
After successfully connecting your Brookstone Earbuds to your device, it’s important to test the connection and make any necessary adjustments to optimize your listening experience. Follow these steps to ensure everything is working as expected:
- Play a piece of audio, such as a song or a video, on your device.
- Listen carefully to ensure that the audio is playing through your Brookstone Earbuds and not through the device’s built-in speakers.
- If you’re experiencing any issues, such as distorted sound or one-sided audio, try the following troubleshooting steps:
- Ensure that your earbuds are properly inserted and snugly fit in your ears.
- Check the volume level on both your device and the earbuds to ensure they are balanced.
- Make sure there are no obstructions or interference between your device and the earbuds.
- Consider resetting your earbuds and repeating the pairing process.
- Once you are satisfied with the connection and audio quality, you can explore additional settings and features offered by your Brookstone Earbuds. These may include:
- Adjusting the equalizer settings to customize the sound profile to your preferences.
- Configuring any available control features, such as touch controls or voice assistant integration.
- Exploring any companion apps or software provided by Brookstone for enhanced functionality.
By testing the connection and adjusting the settings, you can ensure that your Brookstone Earbuds are providing the optimal audio experience for your needs.
Congratulations! You have successfully paired and connected your Brookstone Earbuds to your device. Enjoy the freedom of wireless listening and immerse yourself in your favorite audio content.
If at any point you encounter difficulties or have further questions, refer to the user manual provided by Brookstone or contact their customer support for assistance. Happy listening!
Conclusion
Pairing your Brookstone Earbuds with your device is a simple process that allows you to enjoy wireless audio and the freedom to move without the hassle of tangled wires. By following the steps outlined in this guide, you can easily connect your earbuds to your device and start enjoying your favorite music, podcasts, or calls.
Remember to check the Bluetooth compatibility of your device before attempting to pair your Brookstone Earbuds. Ensure that your device supports Bluetooth and that it is turned on and scanning for nearby devices. Then, power on your earbuds and activate the pairing mode.
Once in pairing mode, you can connect your Brookstone Earbuds to your device by selecting them from the list of available Bluetooth devices. After the successful connection, make sure to test the audio and adjust any settings for the optimal listening experience.
With the connection established, you can enjoy the convenience and flexibility of wireless audio. Whether you’re exercising, commuting, or just relaxing, your Brookstone Earbuds will provide high-quality sound and immersive music experience.
If you encounter any issues during the pairing process or have questions about the features and settings of your Brookstone Earbuds, refer to the user manual or reach out to the Brookstone customer support for assistance.
Now that you’re equipped with the knowledge to pair your Brookstone Earbuds, it’s time to unleash the power of wireless audio and embrace a new level of convenience. Get ready to experience immersive sound and enjoy your favorite content wherever you go!

