Home>Devices & Equipment>Earbuds>How To Pair Lenovo Thinkplus Earbuds
Earbuds
How To Pair Lenovo Thinkplus Earbuds
Published: November 15, 2023
Discover how to pair your Lenovo Thinkplus Earbuds effortlessly and enjoy a wireless listening experience. Follow our step-by-step guide to sync your earbuds with your device.
(Many of the links in this article redirect to a specific reviewed product. Your purchase of these products through affiliate links helps to generate commission for AudioLover.com, at no extra cost. Learn more)
Table of Contents
Introduction
Welcome to the world of Lenovo Thinkplus Earbuds! If you’re looking for a reliable and high-quality pair of earbuds that offer exceptional sound and convenience, you’ve come to the right place. In this article, we will guide you through the process of pairing your Lenovo Thinkplus Earbuds with your device.
Lenovo Thinkplus Earbuds are designed to provide a seamless and immersive audio experience, whether you’re listening to your favorite music, watching a movie, or taking important calls. These earbuds offer advanced features such as noise cancellation, long battery life, and easy connectivity.
Pairing your Lenovo Thinkplus Earbuds with your device is a straightforward process that will allow you to enjoy all the benefits these earbuds have to offer. By connecting them via Bluetooth, you can enjoy wireless freedom and mobility while experiencing crystal-clear sound quality.
In this comprehensive guide, we will take you through each step of the pairing process starting from unboxing your Lenovo Thinkplus Earbuds to troubleshooting common issues. So, let’s get started!
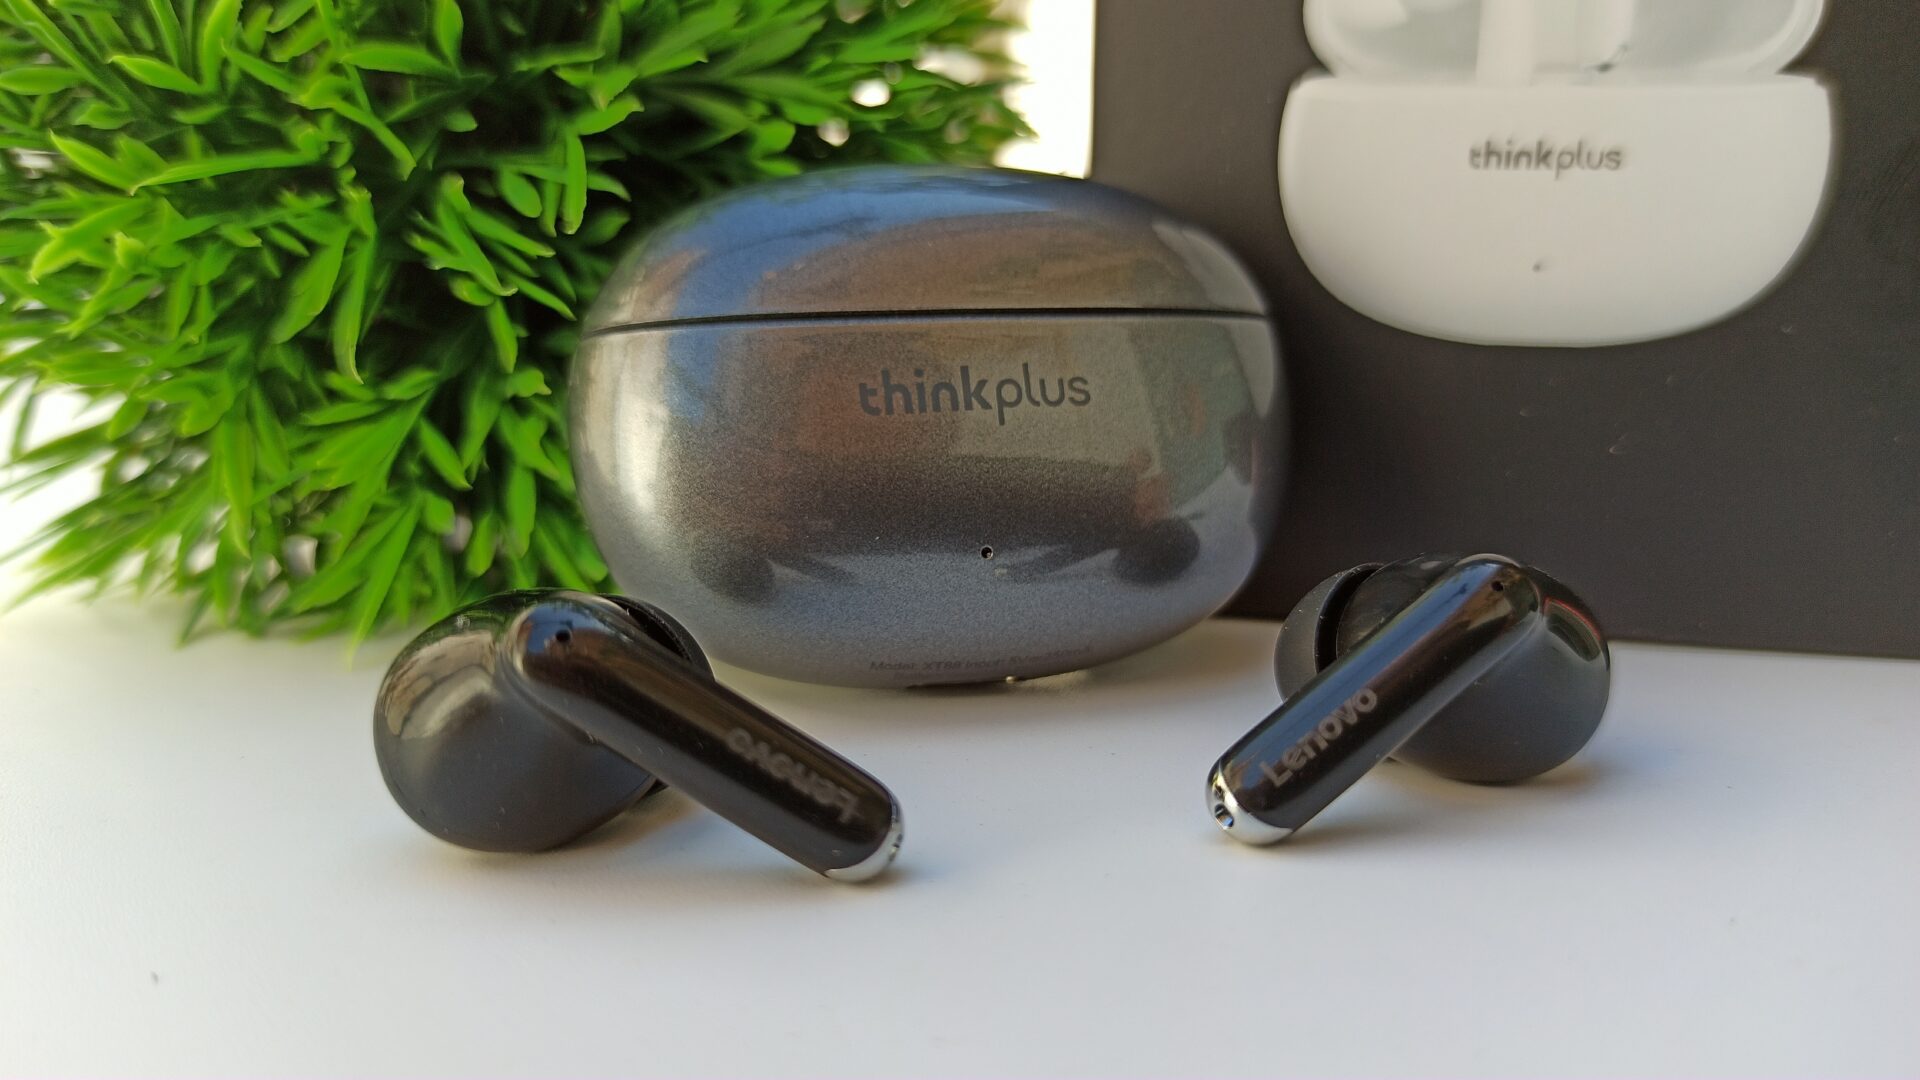
Step 1: Unboxing the Lenovo Thinkplus Earbuds
Congratulations on your new Lenovo Thinkplus Earbuds! Before we delve into the pairing process, let’s begin by unboxing the earbuds. This initial step is crucial to ensure that all the necessary components are intact and ready for use.
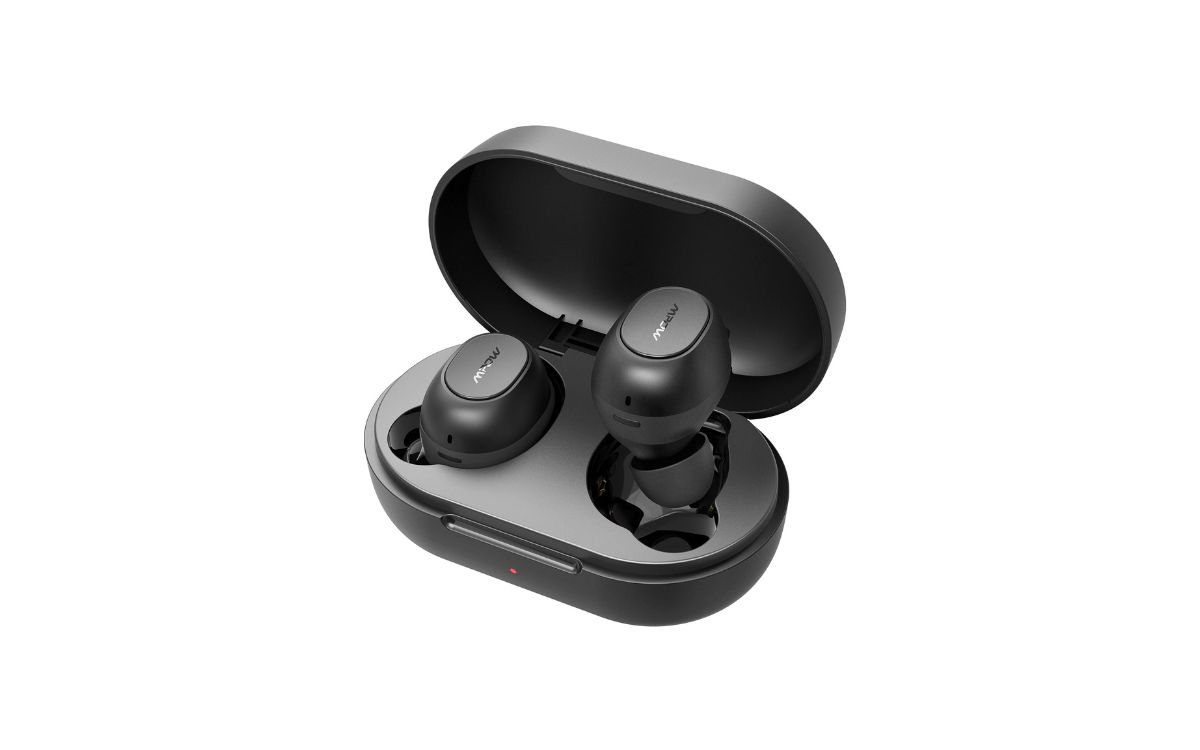
When you first open the box, you’ll find the Lenovo Thinkplus Earbuds snugly nestled inside. Take a moment to appreciate their sleek and compact design. The earbuds are ergonomically designed to provide a comfortable fit, whether you’re using them for a quick workout or an extended listening session.
Beneath the earbuds, you’ll find a compact charging case. This case serves two purposes – it protects the earbuds when they’re not in use and charges them on the go. It’s a lightweight and portable accessory that makes it easy to carry your earbuds wherever you go.
Inside the box, you’ll also find a USB cable for charging the case. This cable can be connected to a power source such as a laptop, wall adapter, or power bank. Additionally, there may be an instruction manual or warranty card included. Make sure to read through the manual for any specific instructions or troubleshooting tips.
Before moving on to the next step, ensure that you’ve carefully removed all the components from the box and taken a moment to familiarize yourself with the design and functionality of the Lenovo Thinkplus Earbuds. Once you’ve done that, you’re ready to move on to the next step: charging the earbuds.
Step 2: Charging the Earbuds
Now that you’ve unboxed your Lenovo Thinkplus Earbuds, it’s time to ensure they have enough power for your listening pleasure. Before you can start using them, it’s crucial to charge the earbuds and the charging case.
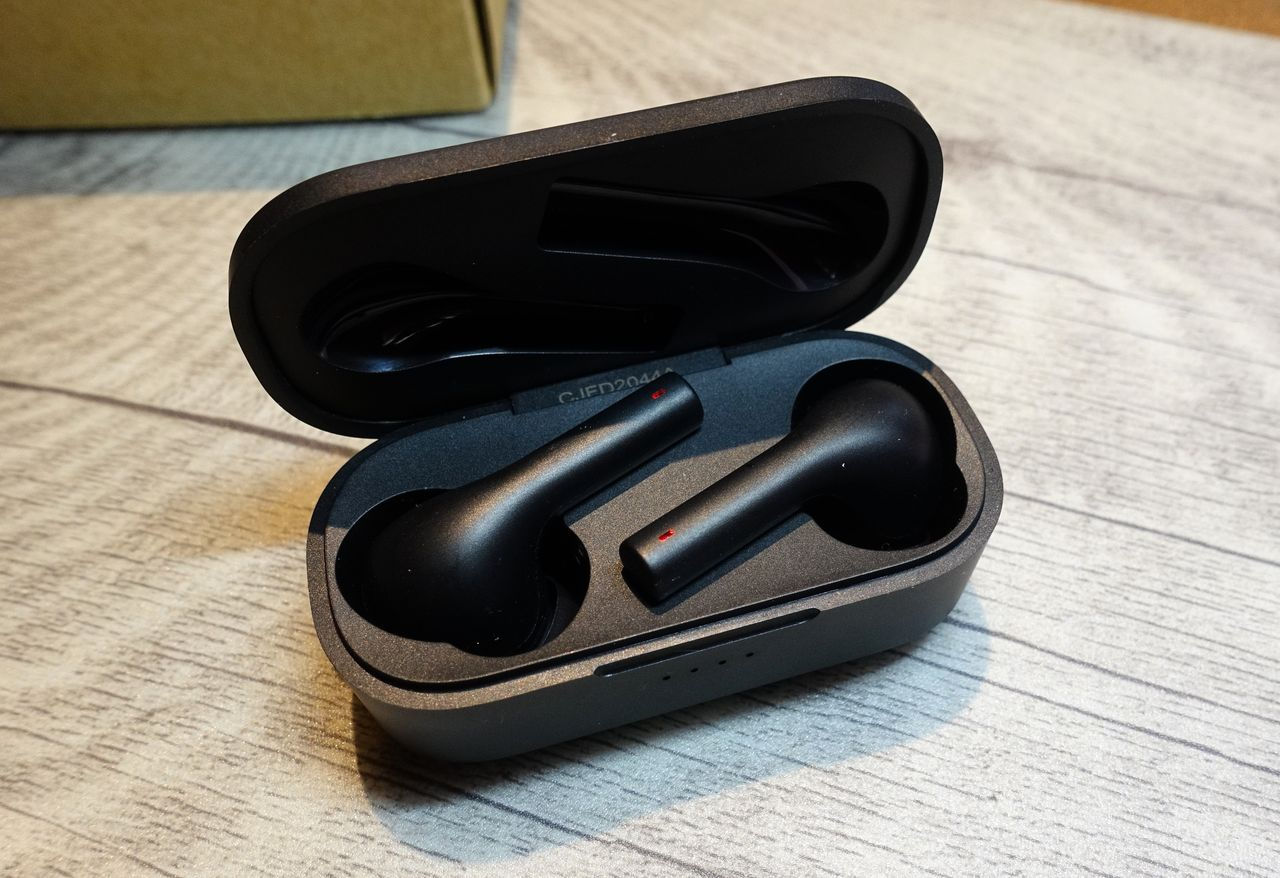
To charge the earbuds, simply place them back into the charging case. Make sure they are properly aligned with the charging pins to ensure a secure connection. The case is equipped with magnets that hold the earbuds in place.
Next, connect the provided USB cable to the charging case and plug the other end into a power source such as a laptop, wall adapter, or power bank. The case will have a small LED indicator that lights up to indicate that it is charging.
Allow the earbuds to charge fully before using them. The charging time may vary depending on the current battery level. Typically, it takes around 1-2 hours for the earbuds to reach a full charge. You can check the progress by observing the LED indicator on the charging case. Once the LED indicator turns solid or stops blinking, it means the earbuds are fully charged and ready to use.
It’s important to note that the charging case itself needs to be charged as well. The case acts as a power bank for the earbuds, ensuring they stay powered even when you’re on the go. Remember to periodically charge the case by connecting it to a power source using the provided USB cable.
By taking the time to properly charge your Lenovo Thinkplus Earbuds, you’ll ensure optimal performance and a longer battery life. Once the earbuds and the case are fully charged, you’re ready to move on to the exciting step of pairing them with your device. Stay tuned!
Step 3: Turning on the Bluetooth on your Device
In order to connect your Lenovo Thinkplus Earbuds to your device, you need to make sure that the Bluetooth feature on your device is turned on. Bluetooth allows for wireless communication between devices, enabling you to enjoy a seamless audio experience with your earbuds.
The process of turning on Bluetooth may vary slightly depending on the operating system of your device, whether it’s a smartphone, tablet, or computer. However, the basic steps are similar across different platforms.
If you’re using a smartphone or tablet, you can typically access the Bluetooth settings by swiping down from the top of the screen to open the notification panel. Look for the Bluetooth icon and tap on it to turn it on. Alternatively, you can go to the device settings and search for the Bluetooth option. Once you find it, toggle the switch to enable Bluetooth.
For computer users, you can usually find the Bluetooth settings by clicking on the Start menu or the Windows button and navigating to the Settings or Control Panel. Look for the Bluetooth option and turn it on. On Mac computers, you can access the Bluetooth settings by clicking on the Apple menu and selecting System Preferences.
Regardless of the device you’re using, make sure that the Bluetooth feature is enabled. It’s important to note that some devices may have additional steps or security measures, such as entering a passcode or scanning for nearby devices. Follow the prompts and instructions on your device to complete the process.
Now that Bluetooth is turned on, you’re one step closer to pairing your Lenovo Thinkplus Earbuds. In the next step, we’ll guide you through the process of pairing the earbuds to your device. Get ready for an immersive audio experience!
Step 4: Pairing the Lenovo Thinkplus Earbuds
With Bluetooth enabled on your device, it’s time to establish a connection between your Lenovo Thinkplus Earbuds and your device. This process is known as pairing, and it allows your device to recognize and communicate with the earbuds.
To begin the pairing process, open the Bluetooth settings on your device. This can usually be done by going to the Settings menu and selecting the Bluetooth option. Once you’re in the Bluetooth settings, you’ll see a list of available devices.
Open the charging case of your Lenovo Thinkplus Earbuds. The LED indicators on the earbuds will start flashing, indicating that they are ready to pair. On your device, look for the name of your earbuds in the list of available devices. It should be something like “Lenovo Thinkplus Earbuds” or a similar name.
Tap on the name of your earbuds in the device list to initiate the pairing process. Your device will then attempt to establish a connection with the earbuds. This may take a few moments, so be patient.
Once the pairing is successful, you will see a confirmation message on your device’s screen. The LED indicators on the earbuds will also stop flashing and remain solid. This indicates that the earbuds are now paired with your device and ready for use.
It’s important to note that sometimes the earbuds may pair automatically with your device if they have been previously connected. However, if this is your first time pairing the earbuds, you may need to manually select them from the list of available devices.
Now that your Lenovo Thinkplus Earbuds are successfully paired with your device, you’re ready to take your audio experience to the next level. In the next step, we’ll guide you on how to connect the earbuds to your device and start enjoying your favorite music, movies, or calls.
Step 5: Connecting the Lenovo Thinkplus Earbuds to your Device
Now that you have successfully paired your Lenovo Thinkplus Earbuds with your device, it’s time to establish a connection and start using them for your audio needs. Connecting the earbuds to your device is a simple and quick process.
To connect the earbuds, ensure that they are out of the charging case and turned on. The LED indicators on the earbuds should be solid or blinking intermittently. If they are not, press and hold the power button on the earbuds or refer to the user manual for specific instructions.
Once the earbuds are on, they will automatically connect to your device if Bluetooth is enabled. You may see a notification or hear an audio cue indicating a successful connection. In some cases, you may need to manually select the earbuds from the Bluetooth settings on your device.
Once the connection is established, your device will recognize the Lenovo Thinkplus Earbuds as the primary audio output. This means that any audio played on your device will be directed to the earbuds, allowing you to enjoy a wireless and immersive audio experience.
It’s important to note that if you’re using the earbuds with a smartphone, you can also take advantage of additional features such as call handling and voice assistant integration. Many Lenovo Thinkplus Earbuds come with built-in microphones and touch controls, allowing you to answer calls, adjust volume, and access voice commands with ease.
To disconnect the earbuds from your device, you can either turn off Bluetooth on your device or place the earbuds back into the charging case. This will automatically disconnect them from your device and put them into a power-saving mode.
With your Lenovo Thinkplus Earbuds now connected to your device, you’re ready to enjoy all the benefits they have to offer. Whether it’s immersing yourself in your favorite tunes or taking important calls, these earbuds will provide you with a superior audio experience.
Step 6: Troubleshooting Common Issues
While pairing and connecting your Lenovo Thinkplus Earbuds to your device is typically a smooth process, you may encounter some common issues along the way. Here are some troubleshooting tips to help you resolve any potential problems:
1. Ensure Bluetooth is enabled:
Make sure that Bluetooth is turned on both on your device and the earbuds. If either one is not enabled, the connection may fail.
2. Check the proximity and obstacles:
Ensure that your device and the earbuds are within a reasonable range for Bluetooth connectivity. Also, be mindful of any obstacles such as walls or electronic devices that may interfere with the signal.
3. Restart your devices:
If you’re experiencing connectivity issues, try restarting both your device and the earbuds. This can sometimes resolve temporary glitches and reset the connection.
4. Update your device’s software:
Check if there are any available software updates for your device. Keeping your device’s software up to date can often improve compatibility with Bluetooth devices and resolve any known issues.
5. Reset the earbuds:
If all else fails, you can try resetting your Lenovo Thinkplus Earbuds. Refer to the user manual for instructions on how to reset the earbuds to their factory settings. Afterward, attempt to pair and connect them again.
6. Contact customer support:
If you have tried all the troubleshooting steps and are still experiencing issues, it may be helpful to reach out to the customer support of Lenovo or the manufacturer of the earbuds. They will be able to provide you with further assistance and guidance.
By following these troubleshooting tips, you should be able to overcome any common issues you encounter while pairing and connecting your Lenovo Thinkplus Earbuds. Remember, patience and perseverance are key, and soon you’ll be back to enjoying your wireless audio experience to the fullest!
Conclusion
Congratulations! You have successfully learned how to pair and connect your Lenovo Thinkplus Earbuds to your device. By following the steps outlined in this guide, you can now enjoy the seamless, wireless audio experience that these earbuds provide.
Remember, the key steps include unboxing the earbuds, charging them and the charging case, turning on Bluetooth on your device, pairing the earbuds, and connecting them to your device. In addition, we provided troubleshooting tips to help you overcome any common issues you may encounter along the way.
With the Lenovo Thinkplus Earbuds, you can now immerse yourself in your favorite music, movies, or calls without the hassle of wires. The advanced features such as noise cancellation, long battery life, and easy connectivity make these earbuds an excellent choice for those seeking convenience and exceptional audio quality.
Remember to periodically charge your earbuds and the charging case to ensure uninterrupted usage. Additionally, take advantage of the features such as call handling and voice assistant integration to make the most out of your Lenovo Thinkplus Earbuds.
If you encounter any further issues or have any questions, don’t hesitate to reach out to the customer support team from Lenovo or the earbuds’ manufacturer. They will be happy to assist you and address any concerns you may have.
Thank you for choosing the Lenovo Thinkplus Earbuds. We hope this guide has been helpful in the pairing and connecting process. Now, sit back, relax, and enjoy the freedom of wireless audio with your new earbuds!