Home>Devices & Equipment>Earbuds>How To Pair Travelocity Earbuds

Earbuds
How To Pair Travelocity Earbuds
Modified: January 22, 2024
Discover how to pair your Travelocity earbuds effortlessly and enjoy an immersive audio experience during your travels. Get step-by-step instructions for connecting earbuds to your devices.
(Many of the links in this article redirect to a specific reviewed product. Your purchase of these products through affiliate links helps to generate commission for AudioLover.com, at no extra cost. Learn more)
Table of Contents
Introduction
Welcome to the world of Travelocity Earbuds! If you’re looking to immerse yourself in high-quality sound while on the go, these earbuds are the perfect companion for you. With their sleek design and advanced features, Travelocity Earbuds offer a superior listening experience for music enthusiasts, audiobook lovers, and podcast enthusiasts alike.
In this article, we will guide you through the process of pairing your Travelocity Earbuds with your device. Whether you own a smartphone, tablet, laptop, or any other Bluetooth-enabled device, the steps outlined here will help you establish a seamless connection in no time.
Before we dive into the pairing process, it’s important to note that Travelocity Earbuds are compatible with a wide range of devices, including both iOS and Android platforms. So, no matter which device you own, you can enjoy the freedom of wireless audio with Travelocity Earbuds.
So, grab your device and let’s get started on the journey to pairing your Travelocity Earbuds!
Step 1: Check the Package Contents
Before you begin pairing your Travelocity Earbuds, it’s essential to make sure you have all the necessary components. Start by checking the package contents to ensure nothing is missing. Here’s what you should expect to find:
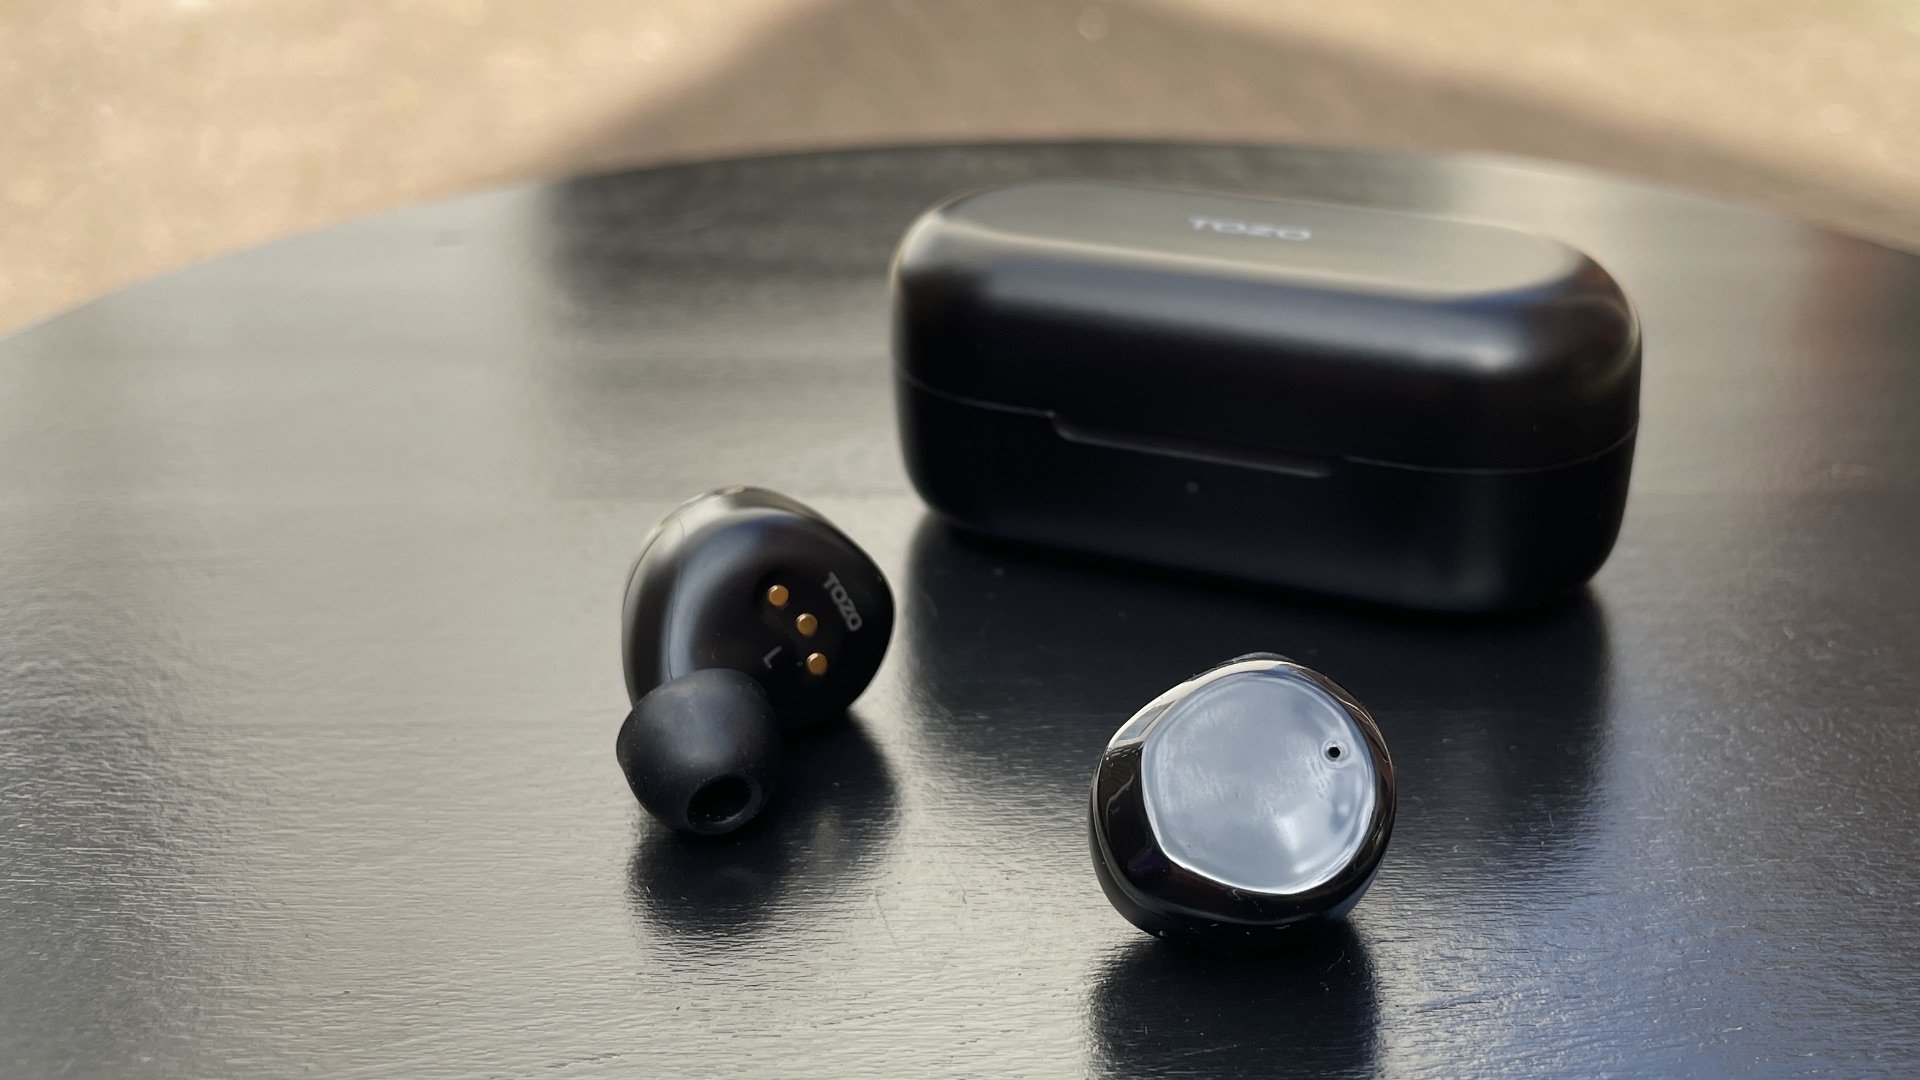
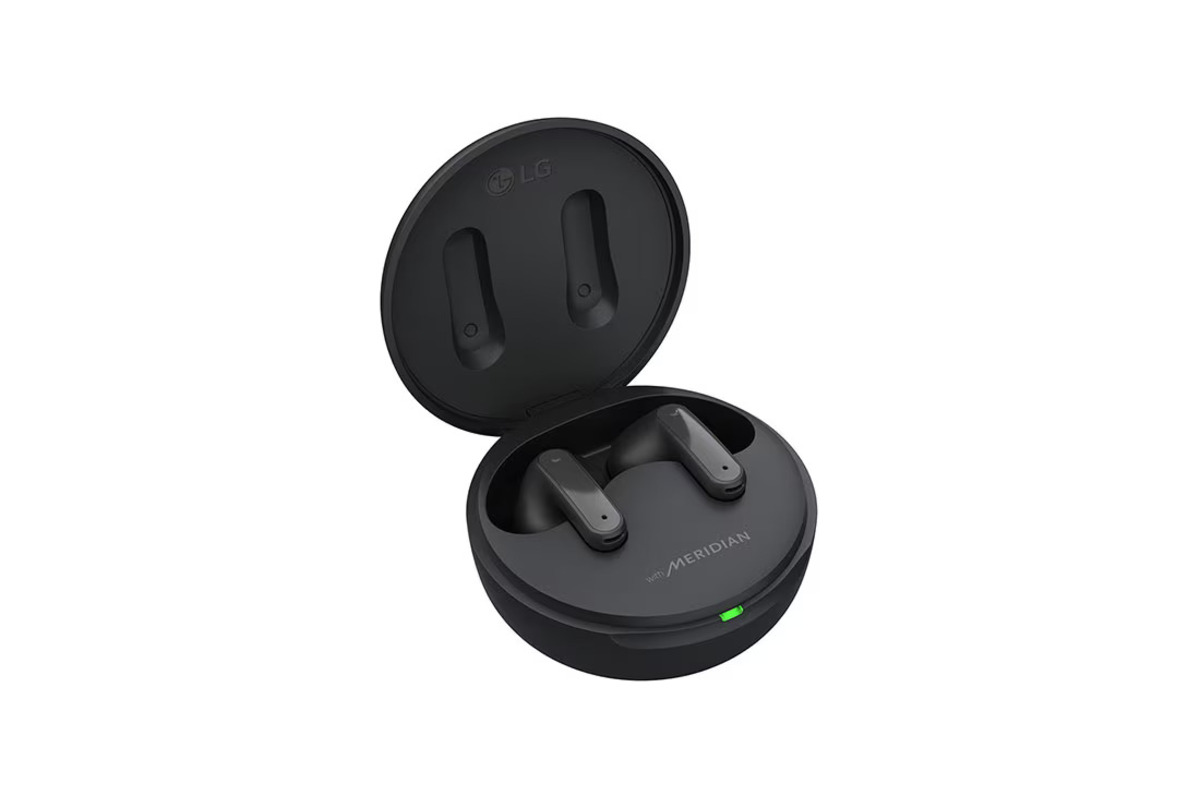
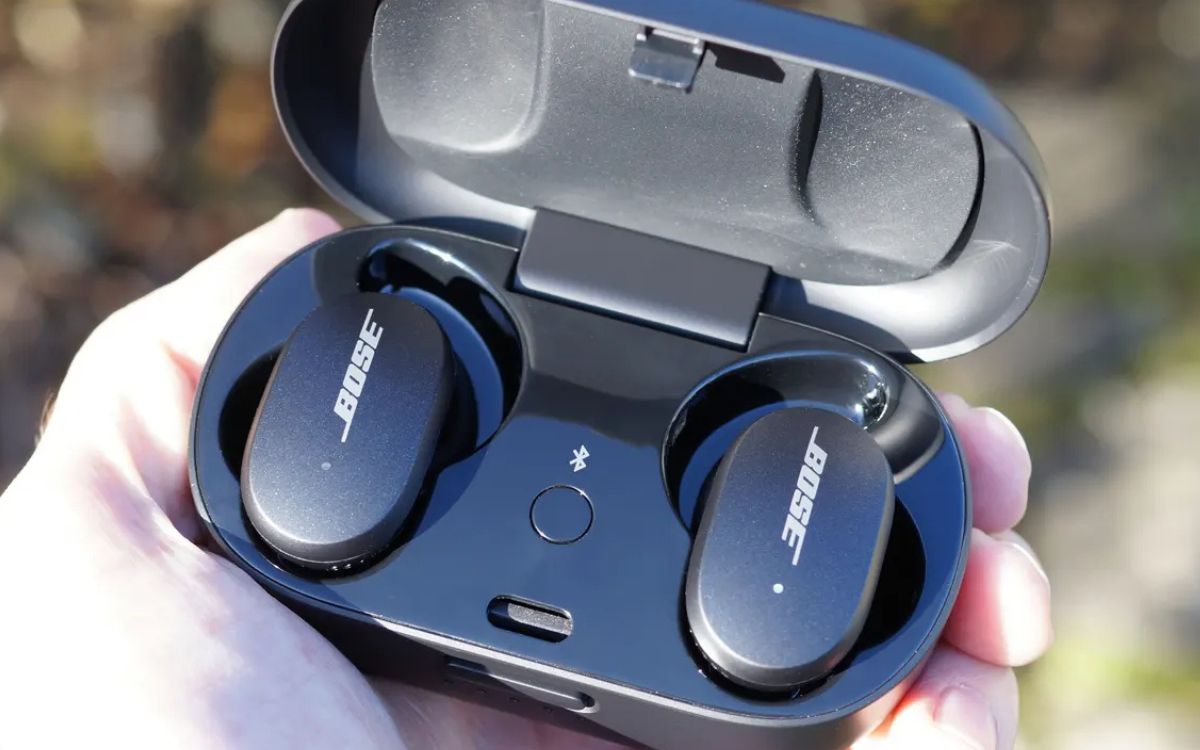
- Travelocity Earbuds: The star of the show, these compact and stylish earbuds deliver high-quality sound.
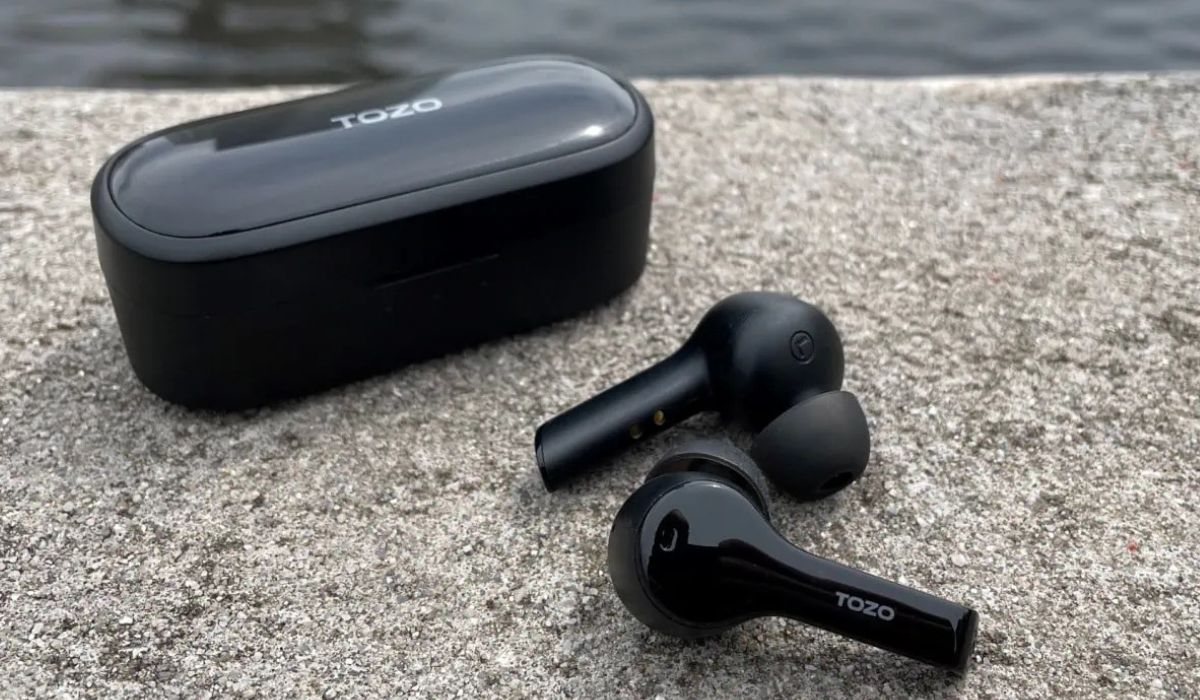
- Charging Case: This sleek and portable case not only protects your earbuds but also charges them on the go.
- USB Charging Cable: A standard USB cable is provided to charge your earbuds and the charging case.
- User Manual: The user manual contains detailed instructions on how to set up and operate your Travelocity Earbuds.
Once you have confirmed that all the items are present, you can proceed to the next step. If anything is missing or damaged, make sure to reach out to Travelocity support for assistance.
Keep in mind that it’s always a good idea to read through the user manual to familiarize yourself with the features and functionalities of your Travelocity Earbuds. The manual will provide you with valuable information on how to use and troubleshoot your earbuds.
Step 2: Ensure the Earbuds are Charged
Before diving into the pairing process, it’s crucial to ensure that your Travelocity Earbuds have enough battery power. This will ensure a smooth and uninterrupted pairing experience. Follow these steps to charge your earbuds:
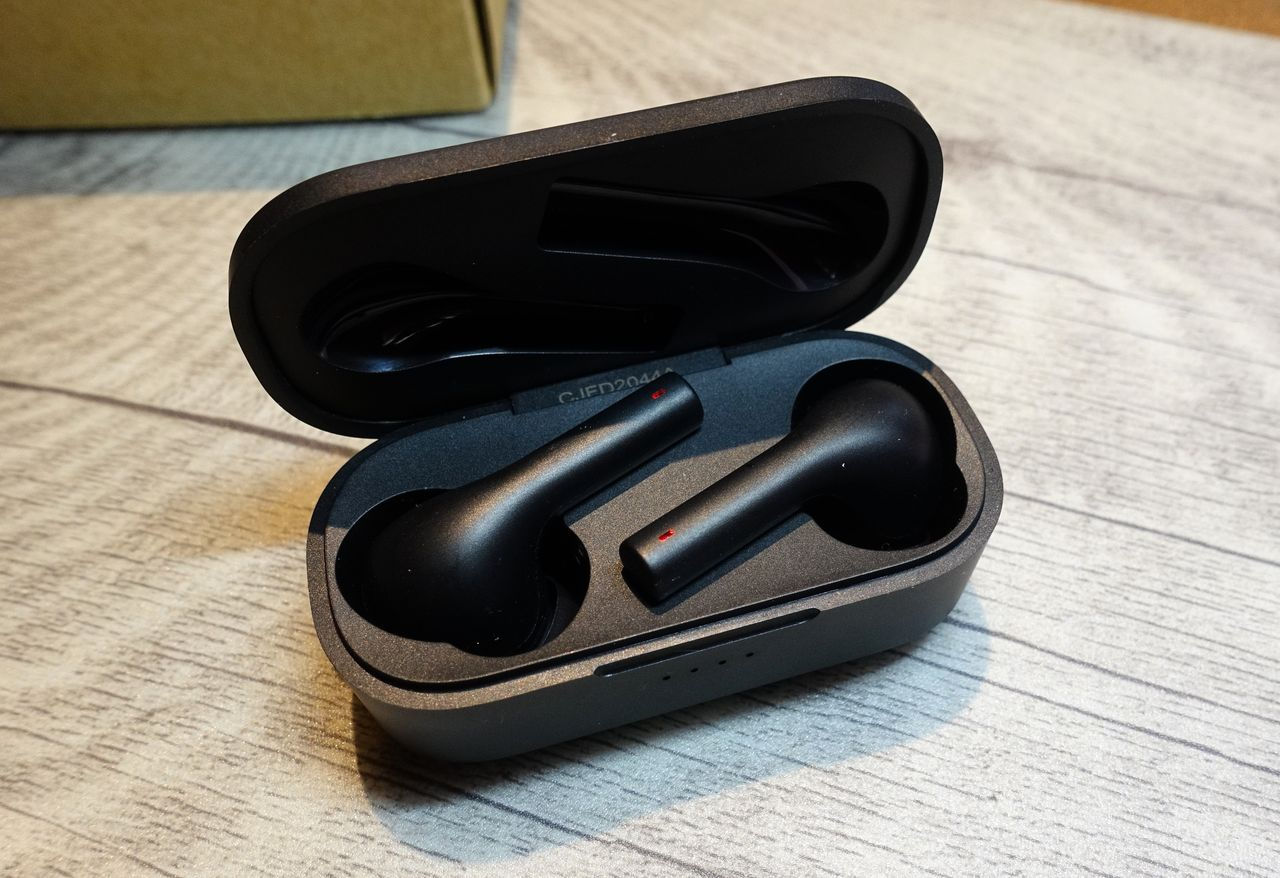
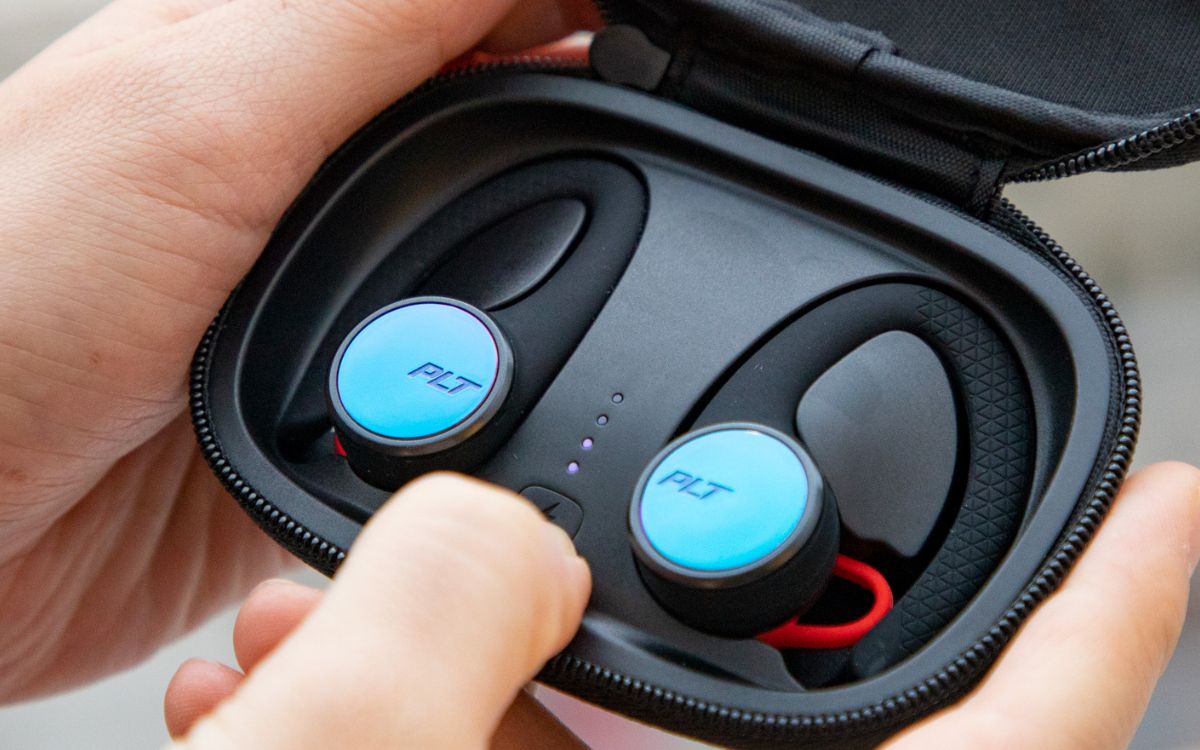
- Open the charging case: Gently open the lid of the charging case to reveal the earbuds’ compartments.
- Check the earbud’s battery level: On the earbuds themselves, you will find small LED indicators. These lights indicate the battery status of each earbud. If the lights are green or solid, it means the earbuds have enough charge. If they are red or blinking, it suggests low battery power.
- Connect the charging cable: Take the included USB charging cable and connect it to the charging port of the case. The other end of the cable can be plugged into either a USB port on your computer or a wall adapter.
- Charge the earbuds: Once the charging cable is connected, ensure that the earbuds are properly positioned in their respective compartments within the case. The LED indicators will light up, indicating that the charging process has begun.
- Monitor the charging progress: Keep an eye on the LED indicators to track the charging progress. The lights will turn solid or green once the earbuds are fully charged. It typically takes around 1-2 hours for the earbuds to reach full charge.
- Disconnect the charging cable: Once fully charged, disconnect the charging cable from the case and close the lid securely.
Ensuring that your Travelocity Earbuds are adequately charged will not only allow for a seamless pairing experience but also provide you with an extended listening time.
Now that your Travelocity Earbuds are charged up and ready to go, it’s time to move on to the next step and start the pairing process.
Step 3: Turn On the Bluetooth on Your Device
In order to connect your Travelocity Earbuds to your device, you need to ensure that the Bluetooth feature on your device is turned on. Follow the steps below to turn on Bluetooth:
- Unlock your device: If your device is locked, enter your passcode or use any biometric authentication method (e.g., fingerprint or face recognition) to unlock it.
- Access the Settings menu: Open the Settings app on your device. The location and appearance of the Settings app may vary depending on your device’s operating system.
- Find and select Bluetooth: Look for the Bluetooth option in the Settings menu. It is usually represented by a Bluetooth icon. Tap on it to enter the Bluetooth settings.
- Enable Bluetooth: On the Bluetooth settings screen, you will see a toggle switch to enable or disable Bluetooth. Slide the toggle switch to the “On” position to turn on Bluetooth.
Once you have successfully turned on Bluetooth on your device, it will start scanning for available Bluetooth devices in the vicinity.
Keep in mind that the exact steps to turn on Bluetooth may vary slightly depending on your device’s operating system and version. If you’re unsure about the process, you can refer to the device’s user manual or do a quick internet search for specific instructions.
Now that Bluetooth is enabled on your device, you’re ready to move on to the next step and put your Travelocity Earbuds into pairing mode.
Step 4: Put the Earbuds in Pairing Mode
In order to establish a connection between your Travelocity Earbuds and your device, you need to put the earbuds in pairing mode. Follow these steps to enter pairing mode:
- Take the earbuds out of the charging case: Open the lid of the charging case and remove the Travelocity Earbuds.
- Ensure the earbuds are turned off: If the earbuds are turned on, press and hold the power button on each earbud until you see the LED lights turn off.
- Put the earbuds in pairing mode: To put the earbuds into pairing mode, press and hold the power button on both earbuds simultaneously for a few seconds. You will see the LED lights on the earbuds start blinking, indicating that they are now in pairing mode.
It’s important to note that the exact method for putting the earbuds into pairing mode may vary depending on the specific model of Travelocity Earbuds you own. Refer to the user manual for your specific model if there are any deviations from the steps mentioned here.
Putting the earbuds into pairing mode allows them to be discoverable by your device and ready to establish a Bluetooth connection.
Now that your Travelocity Earbuds are in pairing mode, let’s proceed to the next step and connect them to your device.
Step 5: Connect the Earbuds to Your Device
Now that your Travelocity Earbuds are in pairing mode, it’s time to connect them to your device. Follow these steps to establish a Bluetooth connection:
- Open the Bluetooth settings on your device: Go back to your device’s settings menu and select the Bluetooth option.
- Scan for available devices: Your device will start scanning for nearby Bluetooth devices. Wait for a moment until you see “Travelocity Earbuds” or a similar name appear in the list of available devices. Depending on your device, you may need to tap on a “Scan” button to initiate the scanning process.
- Select the Travelocity Earbuds: Once you see the name “Travelocity Earbuds” in the list, tap on it to initiate the pairing process.
- Complete the pairing process: Your device will now attempt to connect to the Travelocity Earbuds. During this process, you may be prompted to confirm a passkey or PIN code. Refer to the user manual for your specific model of earbuds for the correct passkey, if required.
- Wait for the connection to be established: Once the pairing process is complete, the LED lights on the earbuds will stop blinking and become solid. This indicates that the connection between your device and the Travelocity Earbuds has been successfully established.
Congratulations! You have successfully connected your Travelocity Earbuds to your device. From now on, whenever your earbuds are in range and Bluetooth is enabled on your device, they will automatically connect.
It’s worth mentioning that some devices may have additional options and settings for managing the connection to your earbuds. These settings can include features like auto-connect, audio routing, and more. Feel free to explore the Bluetooth settings on your device to customize the connectivity options according to your preferences.
Now that you’re connected, it’s time to test the connection and start enjoying your favorite audio content with your Travelocity Earbuds!
Step 6: Test the Connection
Now that you have successfully connected your Travelocity Earbuds to your device, it’s important to test the connection to ensure everything is working as expected. Follow these steps to test the connection:
- Open your preferred audio app: Whether it’s a music streaming app, a podcast app, or any other audio application, open it on your device.
- Select a piece of audio content: Choose a song, podcast episode, or any audio content that you want to listen to.
- Play the audio: Tap on the play button within the app to start playing the audio content.
- Check the audio output: Make sure that the audio is being played through your Travelocity Earbuds and not the device’s built-in speakers. You can confirm this by placing the earbuds in your ears and ensuring that you hear the audio through them.
- Adjust the volume: Use the volume controls on your device or the earbuds themselves to adjust the audio volume to your desired level.
- Test the controls: Depending on the model of your Travelocity Earbuds, you may have control buttons or touch-sensitive panels on the earbuds themselves. Test these controls to play/pause, skip tracks, or activate any other available features.
If you can hear the audio through your Travelocity Earbuds and the controls are working correctly, congratulations! The connection and functionality of your earbuds are properly tested and confirmed.
However, if you encounter any issues during this process, such as the audio not playing or the controls not responding, refer to the troubleshooting tips in the next step to resolve the problem.
Enjoy your audio experience with Travelocity Earbuds!
Step 7: Troubleshooting Tips
While pairing and connecting your Travelocity Earbuds to your device is usually a straightforward process, you may encounter some issues along the way. Here are some troubleshooting tips to help you resolve common problems:
- Make sure your earbuds are in pairing mode: Double-check that your Travelocity Earbuds are correctly in pairing mode and their LED lights are blinking. If not, repeat Step 4 to put them into pairing mode.
- Ensure Bluetooth is enabled: Verify that Bluetooth is turned on and active on your device. If not, go to the Bluetooth settings and toggle it on.
- Try restarting your device: Sometimes, a simple device restart can resolve connectivity issues. Turn off your device, wait for a few seconds, and then turn it back on before attempting the connection process again.
- Check for Bluetooth interference: Ensure that there are no other Bluetooth devices nearby that might be interfering with the connection. Move away from other devices or disable their Bluetooth functionality temporarily.
- Check the earbuds’ battery level: If you’re experiencing connection issues, check the battery level of your Travelocity Earbuds. Low battery levels can impact the stability of the connection. Charge the earbuds fully before attempting to connect again.
- Update your device and earbud firmware: Ensure that both your device and the Travelocity Earbuds have the latest firmware updates installed. Check for updates in the device settings or refer to the user manual for instructions on updating the earbuds’ firmware.
- Reset the earbuds: If all else fails, you can try resetting your Travelocity Earbuds. Refer to the user manual for instructions on how to reset your specific model of earbuds. Keep in mind that resetting the earbuds will erase any saved settings or connections.
If you are still experiencing issues with pairing or connection after following these troubleshooting tips, it may be helpful to contact Travelocity customer support for further assistance. They will be able to provide personalized guidance and help resolve any persistent issues.
With these troubleshooting tips in mind, you can overcome any obstacles that may arise and continue enjoying your audio experience with Travelocity Earbuds.
Conclusion
Congratulations on successfully pairing and connecting your Travelocity Earbuds to your device! You can now enjoy the freedom of wireless audio and immerse yourself in your favorite music, podcasts, and more.
In this article, we walked you through the step-by-step process of pairing your Travelocity Earbuds with your device. We covered checking the package contents, ensuring the earbuds are charged, turning on Bluetooth on your device, putting the earbuds in pairing mode, connecting the earbuds to your device, testing the connection, and troubleshooting common issues.
Remember, every device and model may have slight variations in the pairing process, so it’s always important to refer to the user manual specific to your Travelocity Earbuds. Additionally, don’t hesitate to reach out to Travelocity customer support if you encounter any persistent issues or require further assistance.
Now that your Travelocity Earbuds are connected, take full advantage of their advanced features, superb sound quality, and comfortable fit. Whether you’re working out at the gym, commuting, or simply relaxing at home, these earbuds will provide you with a truly immersive audio experience.
Thank you for choosing Travelocity Earbuds, and we hope you enjoy countless hours of wireless audio bliss!