Home>Instruments>Guitar>How To Make An Electric Guitar
Guitar
How To Make An Electric Guitar
Published: February 13, 2024
Learn how to make an electric guitar from scratch with our step-by-step guide. Discover the essential tools and techniques for crafting your own unique guitar.
(Many of the links in this article redirect to a specific reviewed product. Your purchase of these products through affiliate links helps to generate commission for AudioLover.com, at no extra cost. Learn more)
Table of Contents
Introduction
So, you've decided to take on the exciting challenge of making your own electric guitar. Congratulations! Crafting your own instrument can be an incredibly rewarding experience, allowing you to tailor every aspect to your preferences and style. Whether you're a seasoned woodworker, a passionate musician, or simply a DIY enthusiast, building an electric guitar from scratch is a project that promises a blend of artistry, precision, and technical skill.
In this guide, we will walk through the step-by-step process of creating your very own electric guitar. From selecting the materials and designing the instrument to assembling the components and adding the finishing touches, we'll cover everything you need to know to bring your custom guitar to life.
While the task may seem daunting at first, with the right tools, materials, and a sprinkle of patience, you'll find that crafting an electric guitar is a thoroughly achievable endeavor. Whether you're aiming for a classic, vintage-inspired design or a modern, avant-garde aesthetic, the journey of building your own guitar is an opportunity to express your creativity and passion for music in a tangible, enduring form.
Throughout this guide, we'll delve into the intricate details of the guitar-making process, providing insights, tips, and techniques to help you navigate each stage with confidence. By the end of this journey, you'll not only have a unique, handcrafted instrument at your fingertips but also a profound sense of accomplishment and a deeper understanding of the craftsmanship behind the music you love.
So, roll up your sleeves, gather your tools, and let's embark on this enriching venture into the art of crafting an electric guitar. Get ready to unleash your creativity and bring your musical vision to life in the form of a stunning, custom-built instrument. Let's dive in and make some musical magic!
Tools and Materials
Before diving into the construction of your electric guitar, it’s essential to gather the necessary tools and materials. The following list outlines the basic items you’ll need to embark on this exciting project:
- Wood: Select a high-quality wood for the body of the guitar, such as mahogany, ash, alder, or maple. The choice of wood will significantly impact the instrument’s tone and aesthetics.
- Electric Guitar Kit: Consider purchasing an electric guitar kit, which typically includes the essential components, such as the body, neck, pickups, and hardware. This can streamline the process, especially for first-time builders.
- Tools: You’ll require a range of tools, including a saw, router, chisels, sandpaper, clamps, drill press, and soldering iron. Additionally, specialized luthier tools, such as fretting saws and nut files, may be necessary for certain tasks.
- Electronics and Hardware: Acquire pickups, potentiometers, a bridge, tuning machines, and other hardware components. These elements are crucial for achieving the desired sound and functionality of the guitar.
- Finishing Supplies: Prepare finishing materials such as sanding sealer, wood stain, clear coat, and polishing compounds to give the guitar a professional and durable finish.
- Protective Gear: Safety should always be a priority. Ensure you have safety goggles, gloves, and a respirator for tasks involving woodcutting, sanding, and finishing.
While this list provides a foundational overview, the specific tools and materials required may vary based on the design, style, and complexity of your electric guitar. It’s essential to research and plan meticulously to ensure you have everything you need before commencing the construction process.
By gathering the appropriate tools and materials, you’ll be well-equipped to embark on the journey of creating your custom electric guitar. With these essentials in hand, you’re ready to move on to the next phase: designing the instrument of your dreams.
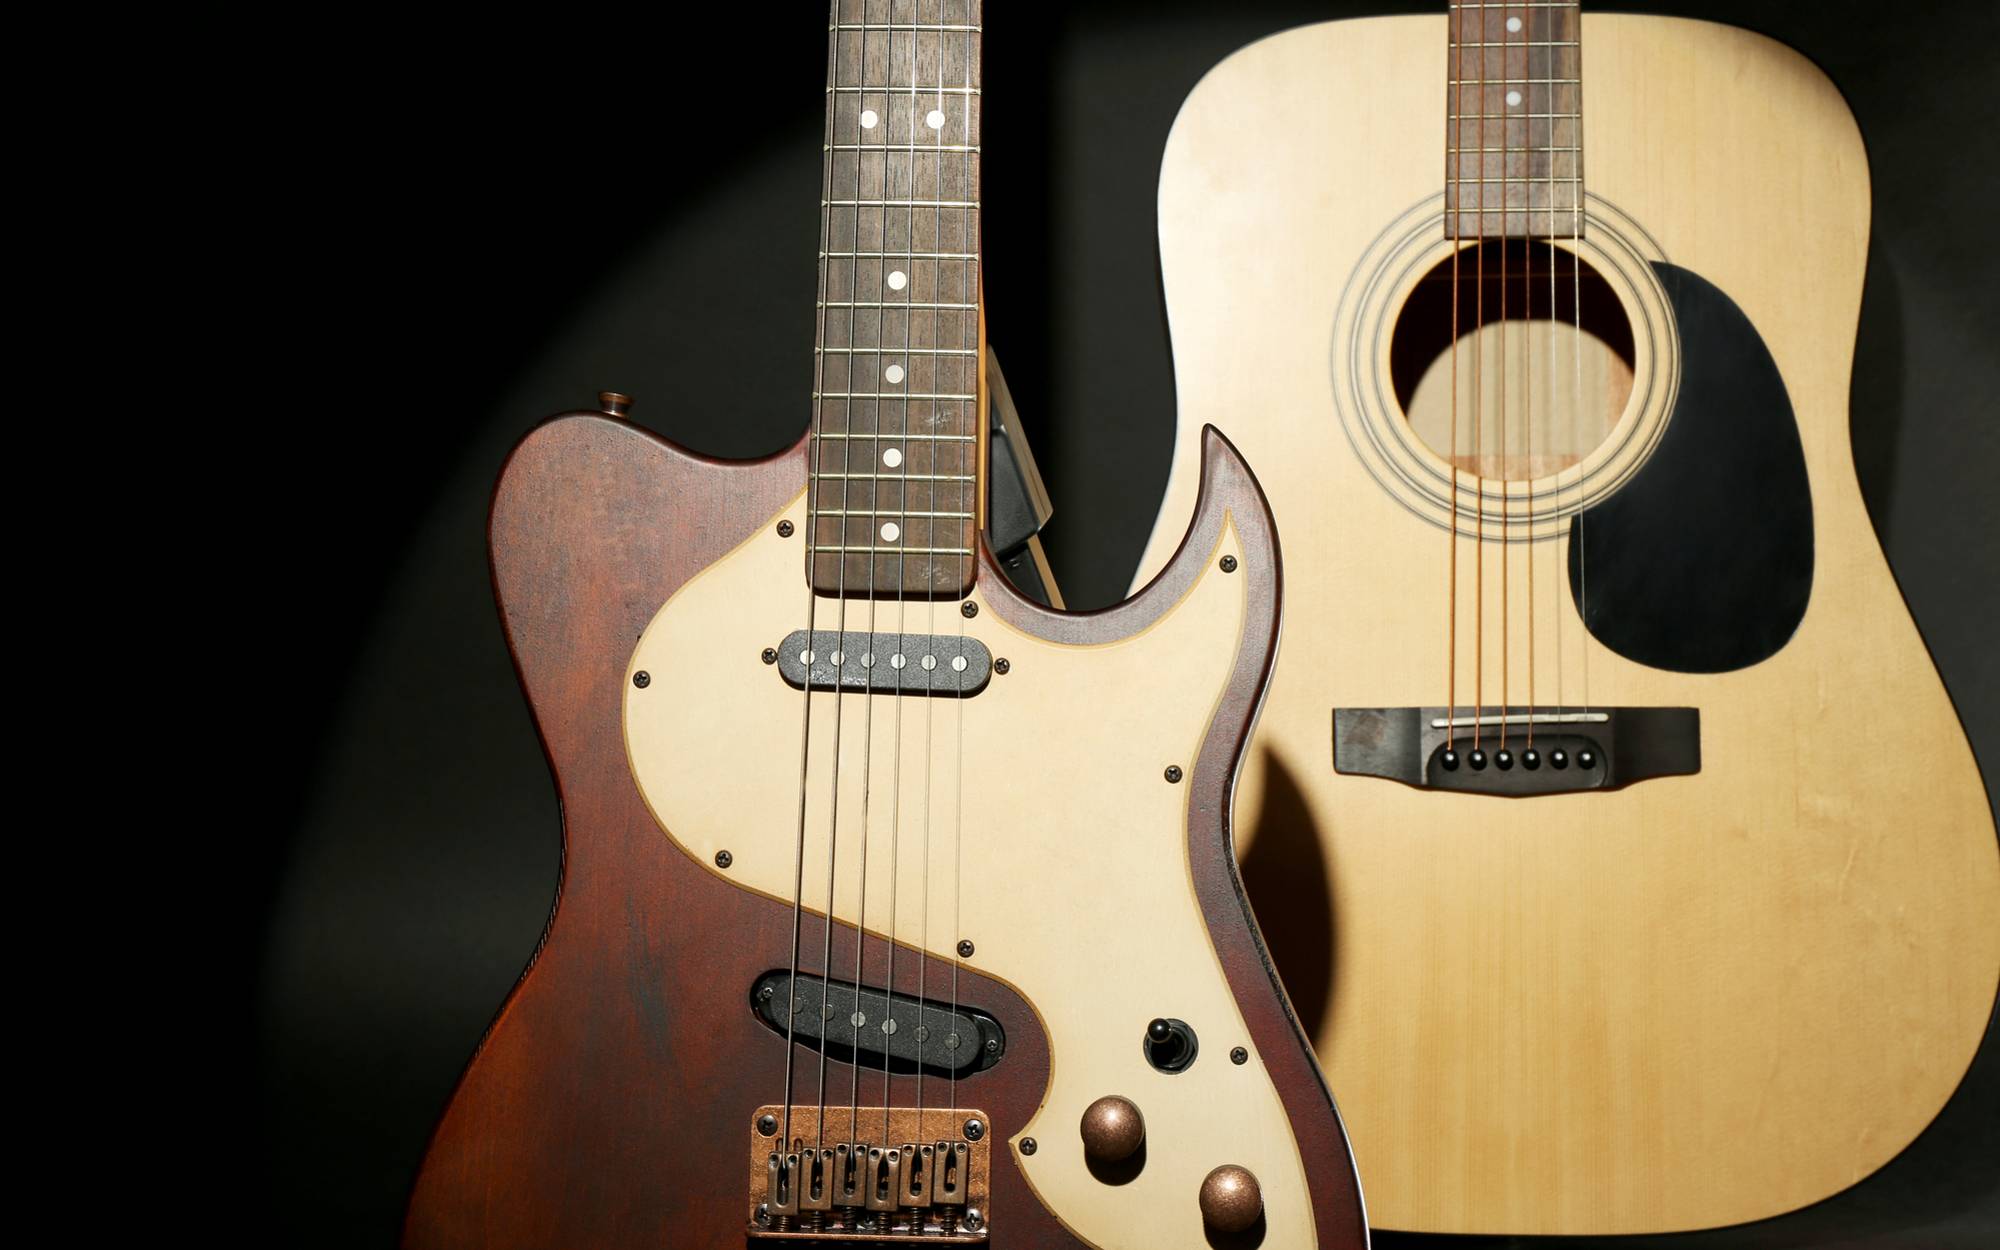
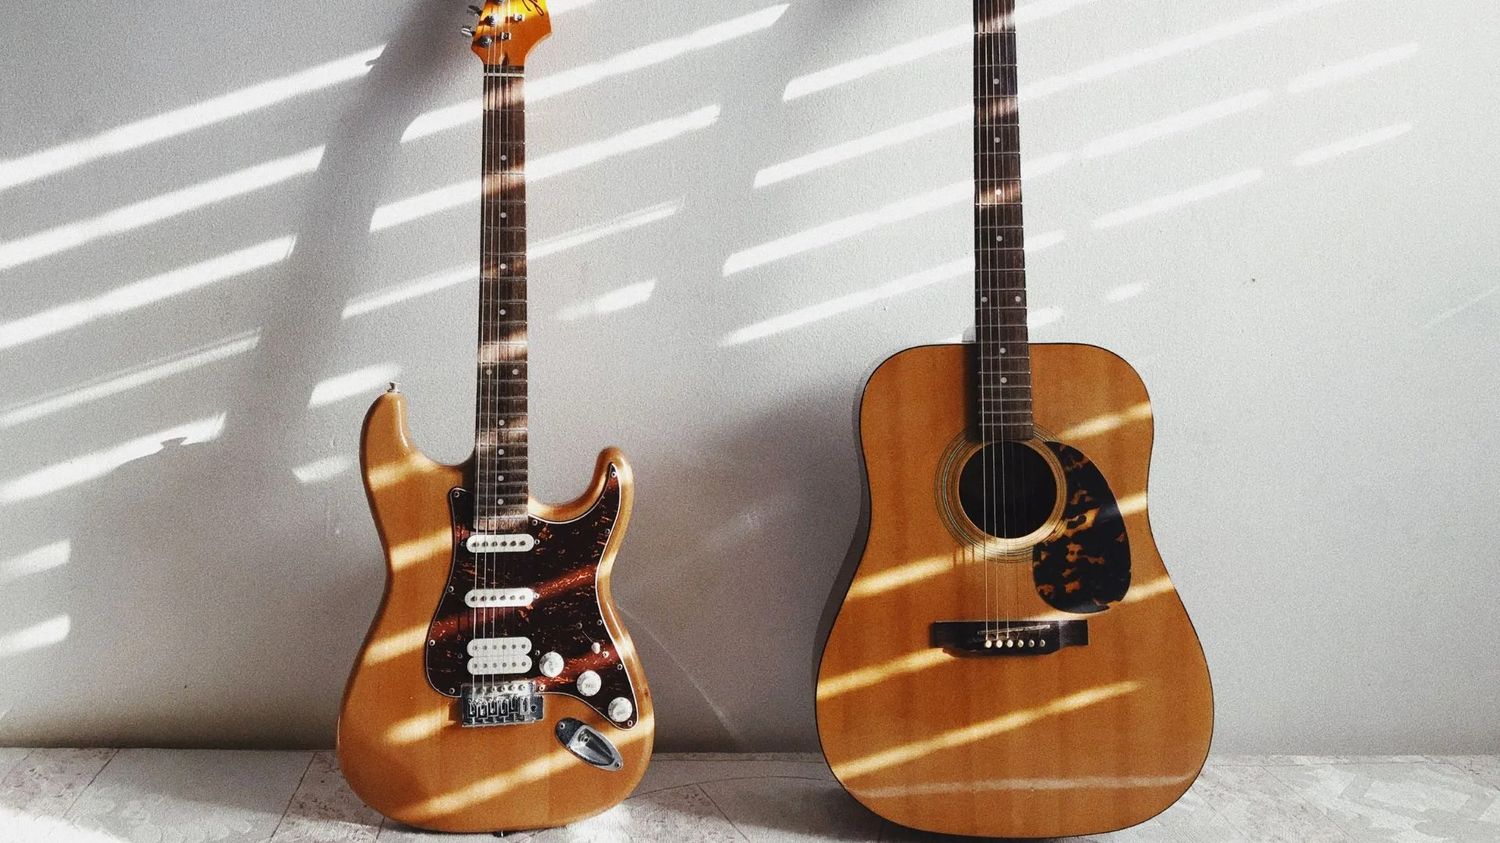
Designing the Guitar
Designing your electric guitar is a pivotal stage that allows you to unleash your creativity and personalize every aspect of the instrument. Whether you aspire to emulate the timeless elegance of a vintage guitar or innovate with a contemporary, avant-garde design, the possibilities are limited only by your imagination. Here are the key steps to consider when designing your custom electric guitar:
- Body Shape: The silhouette of the guitar’s body greatly influences its aesthetics and playability. Whether you prefer a classic single-cutaway design, a sleek double-cutaway shape, or a unique, custom outline, the body shape sets the visual tone for your instrument.
- Neck Profile: The neck profile, including the curvature and dimensions, significantly impacts the feel and comfort of playing the guitar. Consider the fretboard radius, scale length, and the number of frets to tailor the neck to your playing style.
- Headstock Design: The headstock serves as a focal point and can be customized to reflect your personal style. Whether you opt for a traditional 3×3 tuner configuration or a modern inline design, the headstock presents an opportunity for artistic expression.
- Finish and Color: Choose a finish that complements your vision for the guitar. Whether it’s a vibrant solid color, a translucent stain highlighting the wood grain, or a striking metallic finish, the color and finish contribute to the instrument’s visual allure.
- Hardware Selection: From the type of bridge and pickups to the style of tuning machines and control knobs, the hardware elements play a crucial role in defining the guitar’s sound and functionality.
- Custom Inlays and Accents: Consider incorporating custom fretboard inlays, binding, or other decorative elements to imbue the guitar with a personalized touch and visual appeal.
As you embark on the design phase, take the time to sketch your ideas, gather inspiration from existing guitar models, and explore various design elements that resonate with your musical identity. The design process is an opportunity to infuse your instrument with character and charm, ensuring that it not only sounds exceptional but also stands as a unique reflection of your artistic vision.
Once you’ve finalized the design, you’re ready to move on to the next thrilling phase: bringing the guitar’s body to life through meticulous craftsmanship and precision woodworking.
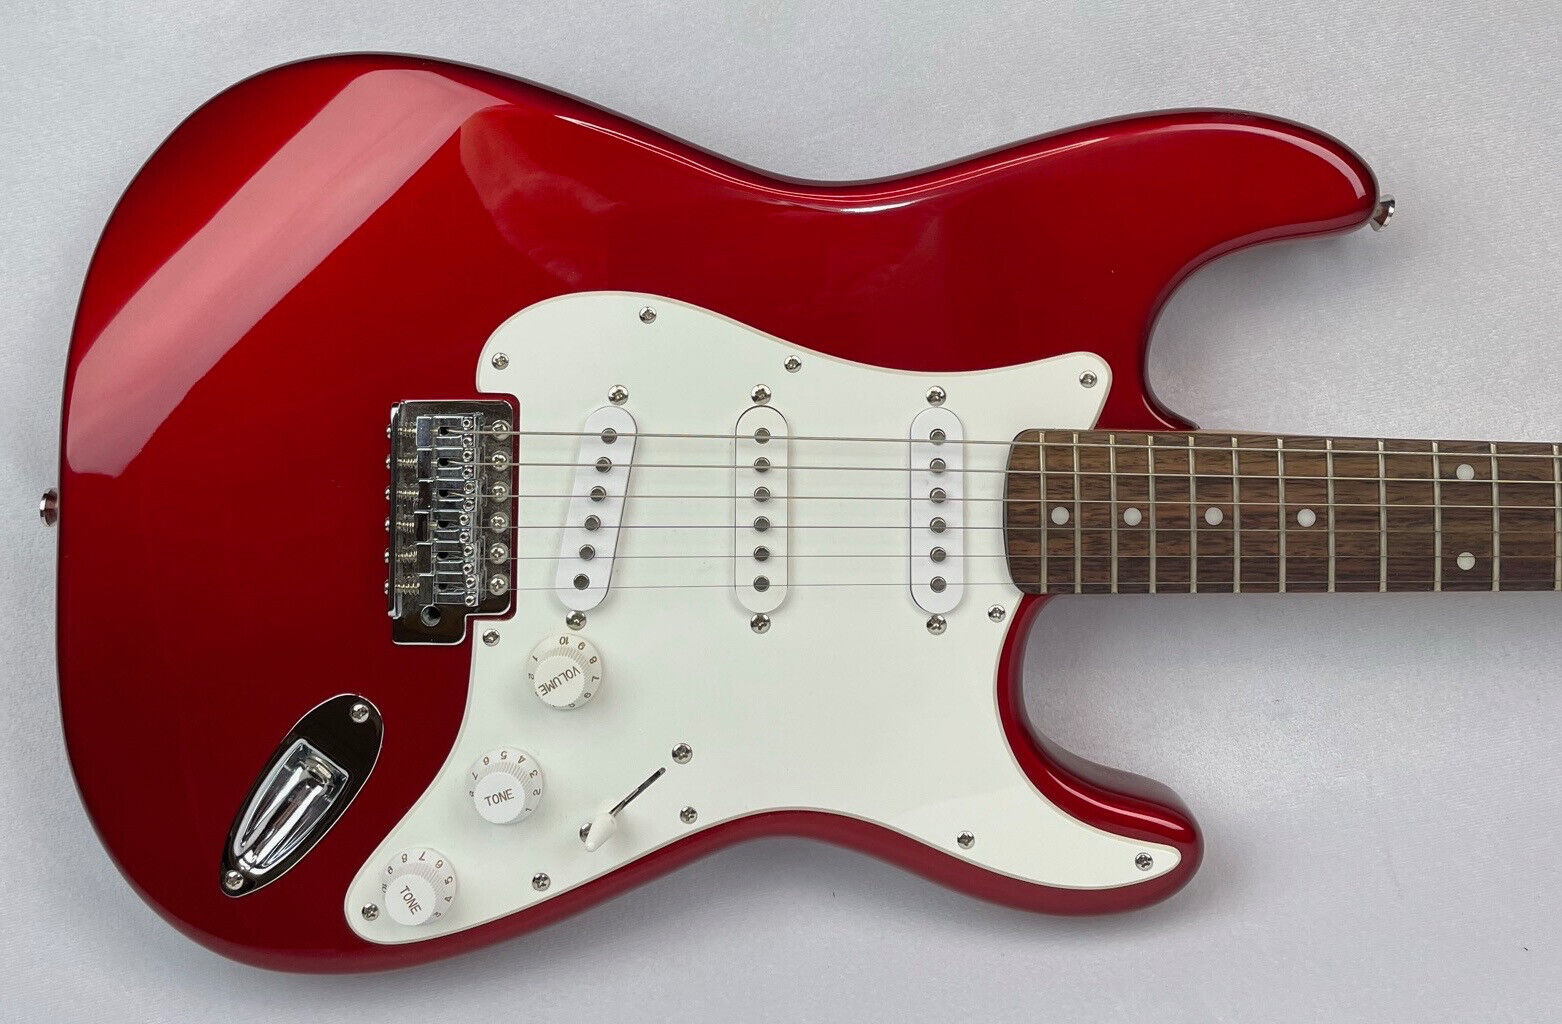
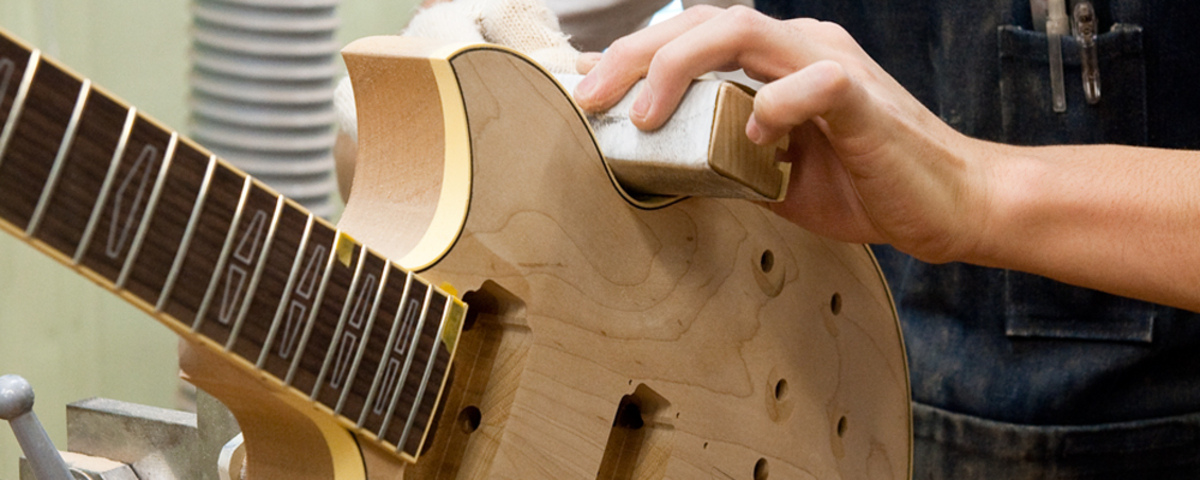
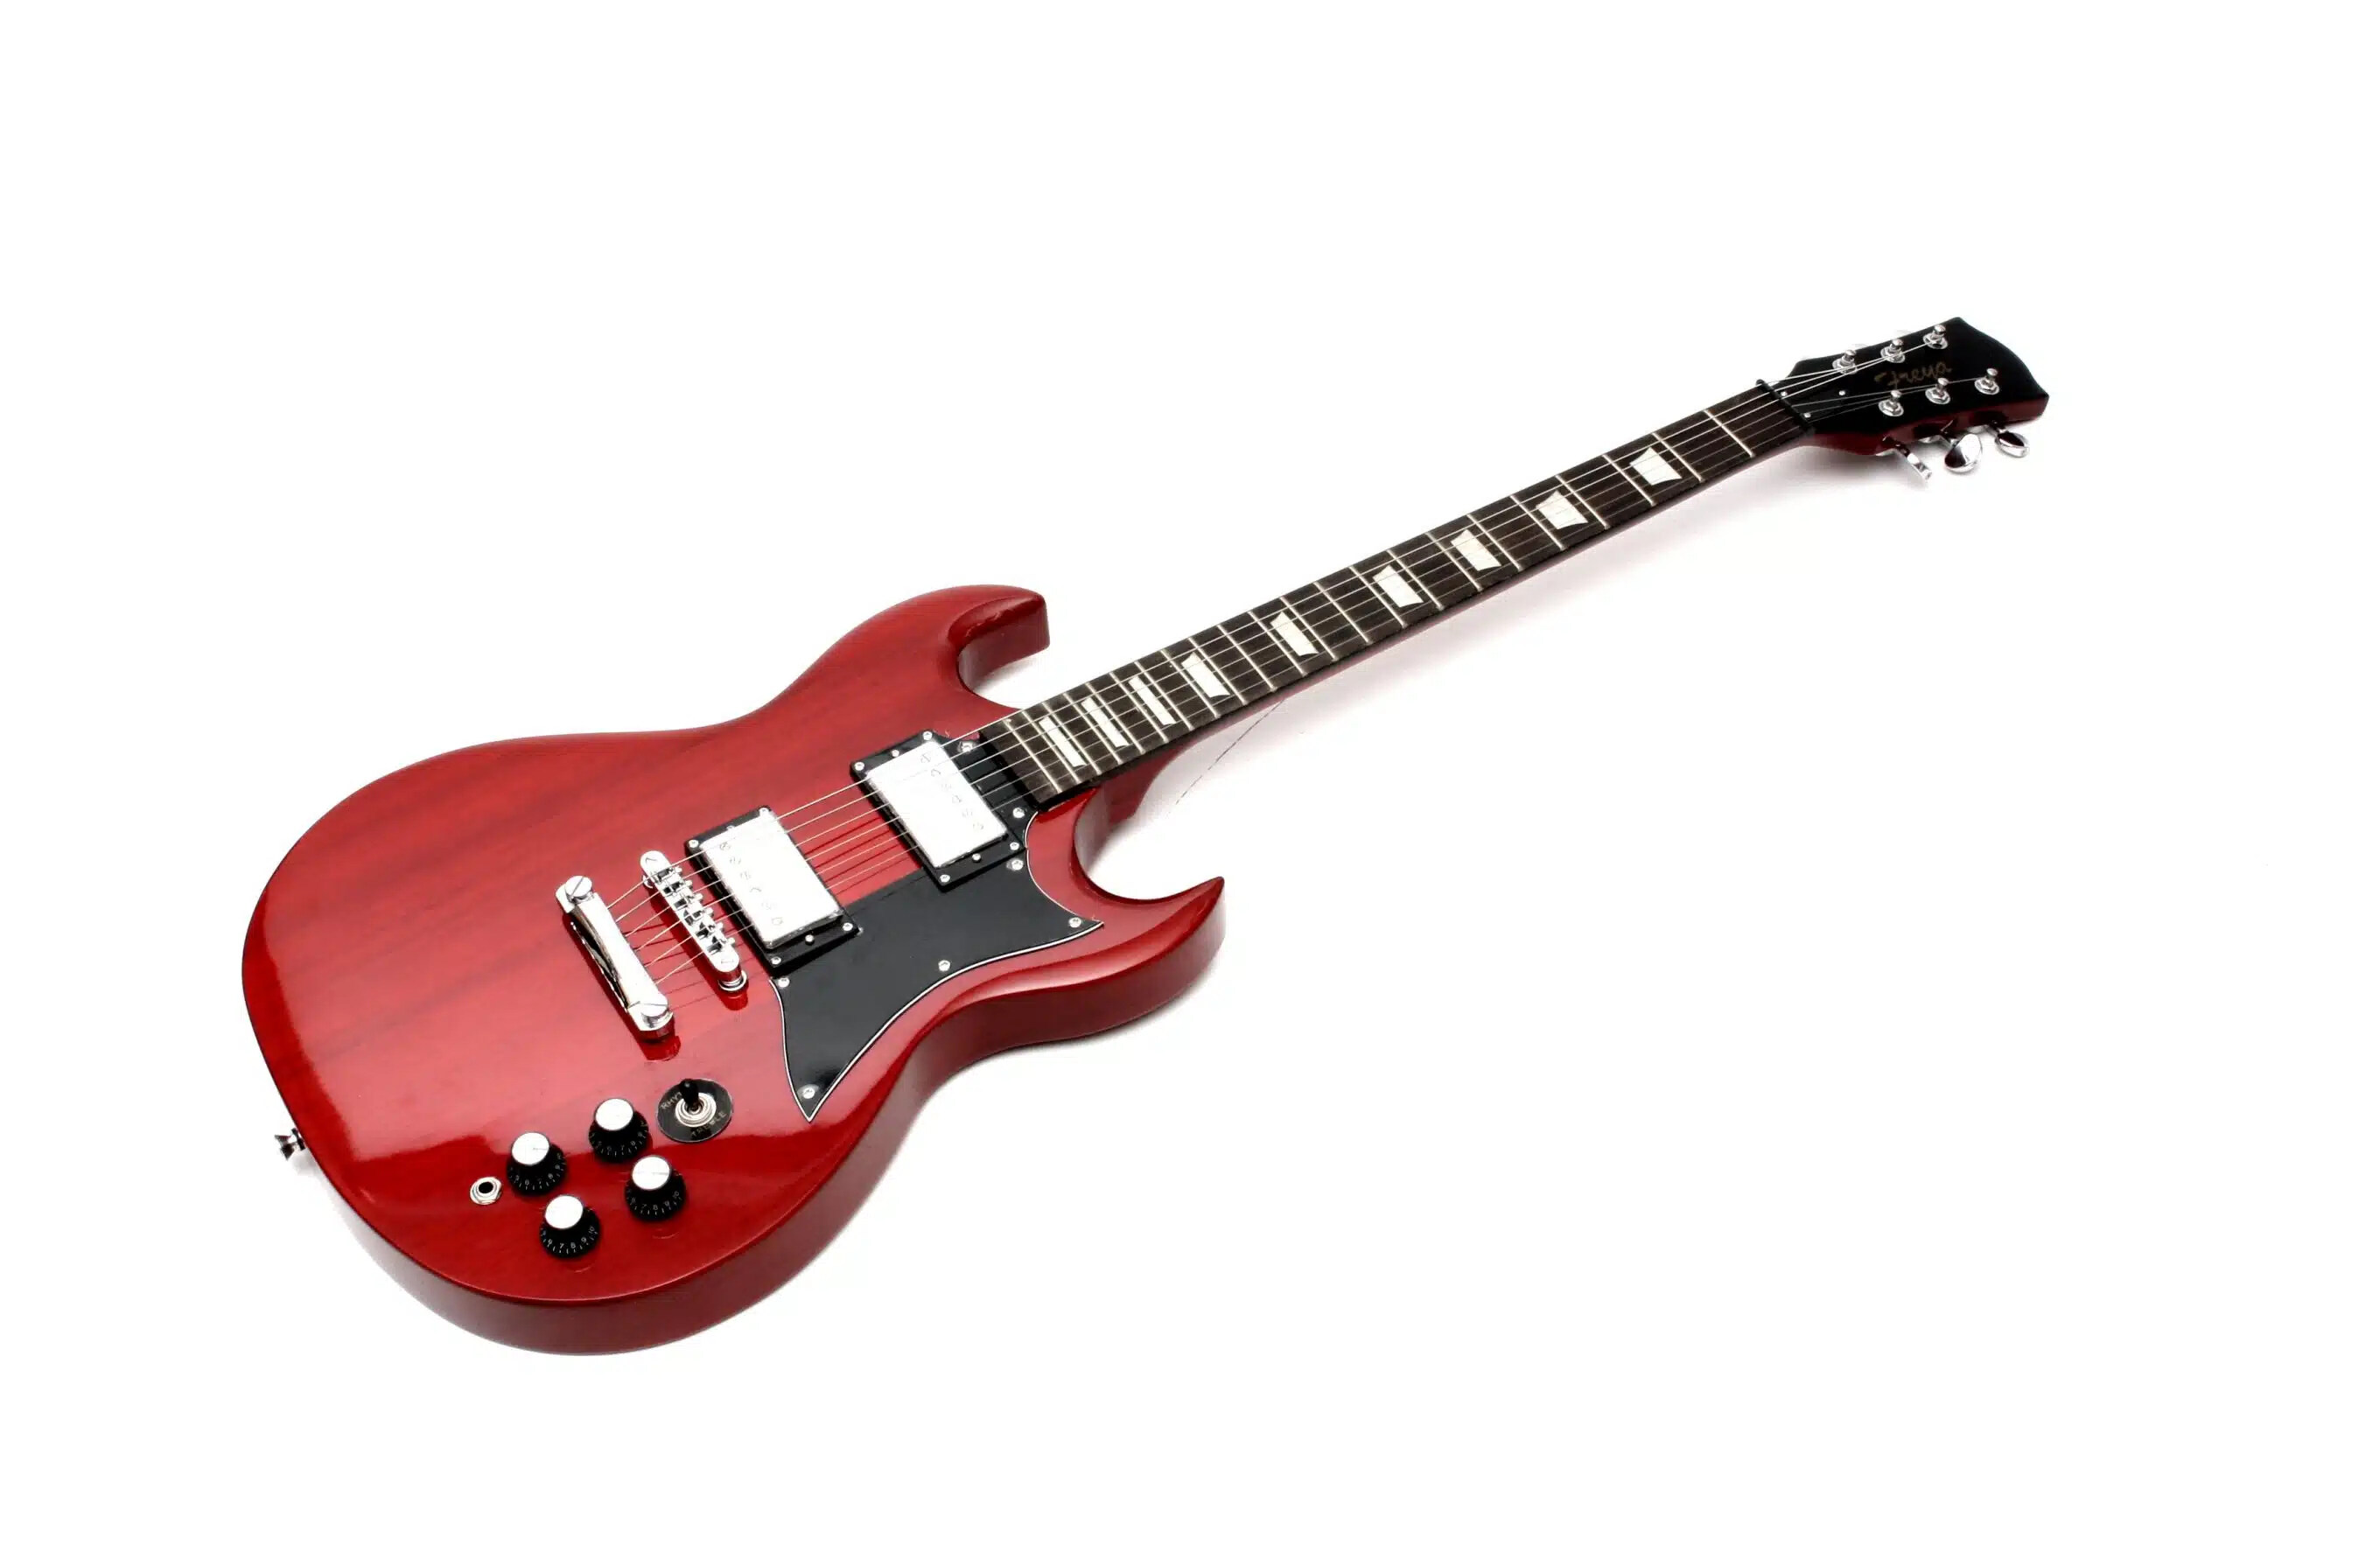
Making the Body
Creating the body of your electric guitar is a significant undertaking that demands precision, attention to detail, and a flair for craftsmanship. The body not only defines the instrument’s visual appeal but also plays a crucial role in shaping its tonal characteristics and resonance. Here’s a comprehensive overview of the steps involved in crafting the body of your custom electric guitar:
- Wood Selection: Choose a high-quality wood that aligns with your tonal preferences and aesthetic vision. Mahogany, ash, alder, and maple are popular choices, each offering distinct tonal properties and visual appeal.
- Template Creation: Begin by creating a template of the desired body shape on sturdy material such as MDF or plywood. This template will serve as a guide for shaping the wood and ensuring uniformity in the design.
- Cutting and Shaping: Use a bandsaw or jigsaw to cut the body outline from the selected wood, leaving some excess material for refining the shape. Employ rasps, files, and sanders to meticulously shape the body, paying close attention to curves, contours, and the overall ergonomics.
- Routing Cavities: Utilize a router to carve out the necessary cavities for the pickups, electronics, and control cavities within the body. Precision is paramount to ensure the components fit snugly and align correctly.
- Neck Pocket and Bridge Holes: Create a precise neck pocket to accommodate the guitar’s neck joint and drill holes for mounting the bridge and tailpiece, ensuring proper alignment and a secure fit.
- Contouring and Sanding: Employ a combination of hand tools and sanders to contour the body edges, smooth out imperfections, and achieve a flawless surface ready for finishing.
Throughout the body-making process, meticulous attention to detail and adherence to the design specifications are crucial. By carefully executing each step, you’ll bring your custom electric guitar’s body to life, culminating in a visually stunning and acoustically resonant foundation for the instrument.
With the body taking shape, the next phase involves installing the electronics and hardware to transform the inert wood into a fully functional and sonically captivating electric guitar.
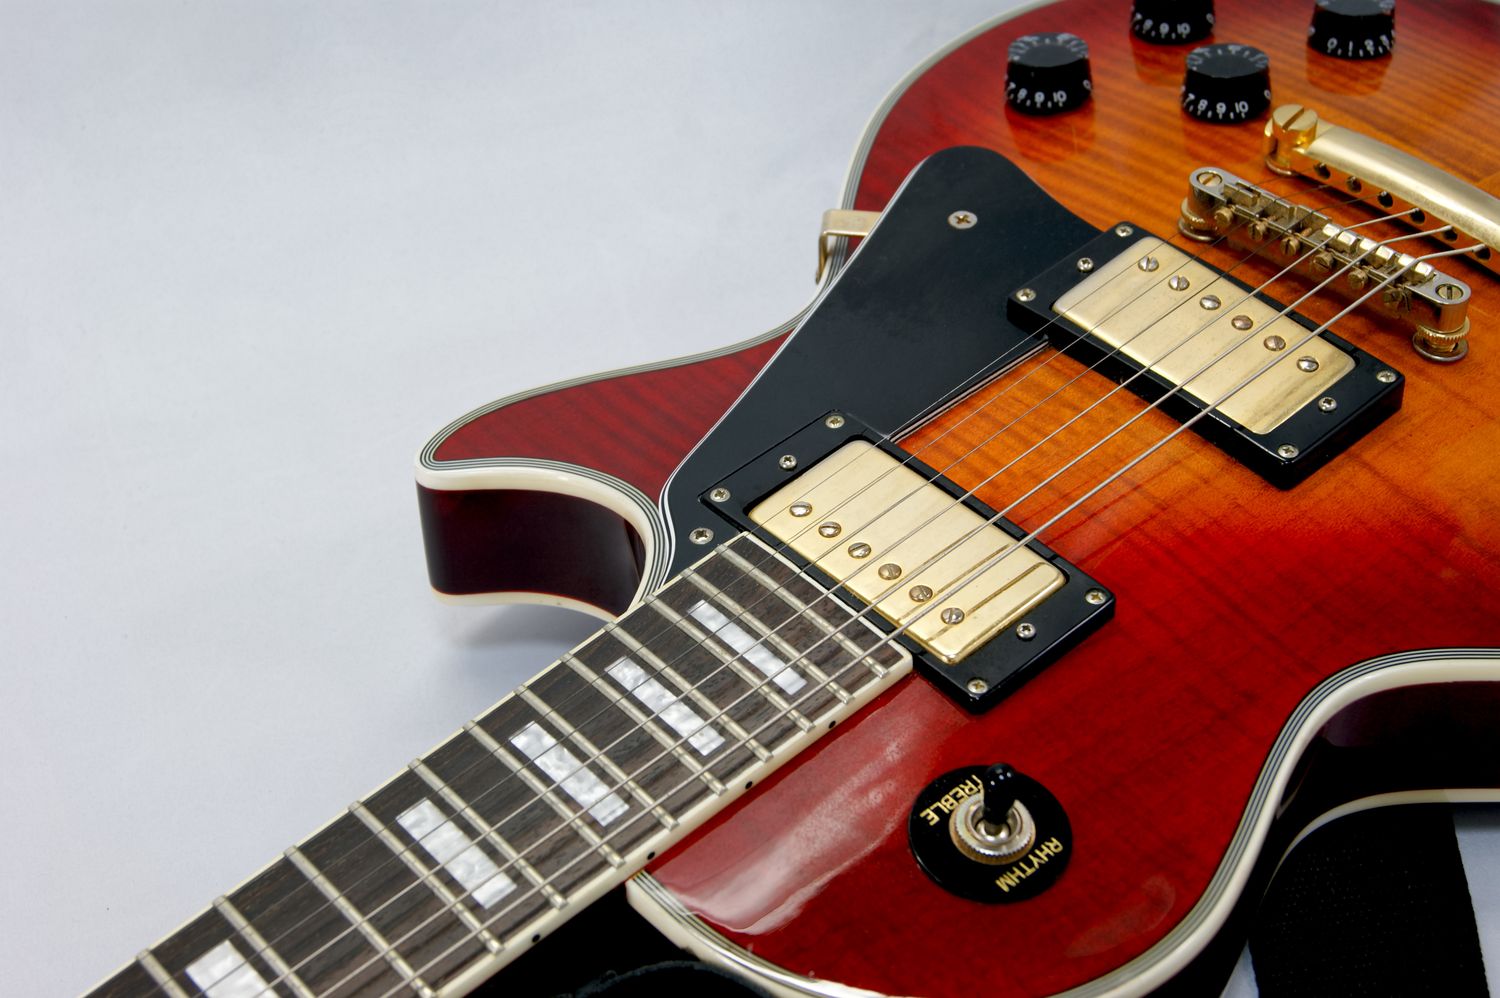
Installing the Electronics
As you progress in the construction of your electric guitar, the installation of electronics plays a pivotal role in shaping the instrument’s sonic character and functionality. From pickups and potentiometers to switches and output jacks, the meticulous placement and wiring of these components are essential for achieving the desired tonal versatility and responsiveness. Here’s a detailed guide to installing the electronics in your custom electric guitar:
- Pickup Placement: Carefully position the pickups in the designated cavities within the body, ensuring optimal alignment and height adjustment for balanced output and tonal clarity.
- Wiring Configuration: Plan and execute the wiring layout, connecting the pickups, volume and tone controls, and selector switch according to the predetermined circuitry. Employ soldering techniques to establish secure and reliable electrical connections.
- Potentiometer and Switch Installation: Mount the potentiometers and selector switch onto the guitar’s body or pickguard, securing them firmly and aligning the control knobs for intuitive operation.
- Output Jack Assembly: Install the output jack securely into the designated cavity, ensuring a snug fit and reliable connection for the instrument cable.
- Shielding and Grounding: Implement shielding materials within the electronic cavities and establish proper grounding to minimize interference and ensure noise-free operation of the guitar’s electronics.
- Functional Testing: Before finalizing the assembly, conduct thorough testing of the electronics to verify the functionality of the pickups, controls, and output, ensuring that the wiring and components operate as intended.
Throughout the installation process, precision, patience, and a methodical approach are paramount. By meticulously positioning, wiring, and testing the electronics, you’ll ensure that your custom electric guitar not only looks stunning but also delivers a versatile and expressive sonic experience.
With the electronics seamlessly integrated into the instrument, the next phase involves attaching the neck, a critical step that influences the guitar’s playability, intonation, and overall performance.
Attaching the Neck
Attaching the neck to the body of your electric guitar is a crucial step that significantly influences the instrument’s playability, stability, and overall tonal characteristics. The seamless integration of the neck ensures proper alignment, optimal string action, and reliable intonation, laying the foundation for a responsive and comfortable playing experience. Here’s a comprehensive overview of the process involved in attaching the neck to your custom electric guitar:
- Neck Compatibility: Ensure that the neck and body are compatible in terms of scale length, neck pocket dimensions, and neck angle to facilitate a snug and precise fit.
- Alignment and Fitting: Carefully position the neck in the designated pocket, ensuring that the alignment is accurate and the neck sits flush against the body, promoting stability and resonance.
- Bolt-on or Set Neck: Depending on the guitar’s design, secure the neck using bolts or screws for bolt-on necks, or employ adhesive and clamping for set neck constructions, ensuring a secure and durable bond.
- Truss Rod Adjustment: If applicable, make any necessary truss rod adjustments to achieve the desired neck relief, promoting optimal string action and playability.
- Fretboard Extension: Verify that the fretboard extends seamlessly over the body, ensuring a smooth transition and comfortable access to higher frets for unrestricted playability.
- Binding and Inlays: If the guitar features binding or fretboard inlays, ensure that they align seamlessly with the body, contributing to the instrument’s aesthetic appeal and visual coherence.
Attaching the neck demands precision, patience, and a meticulous approach to ensure that the foundational connection between the neck and body is robust and harmonious. By executing this phase with care and attention to detail, you’ll set the stage for a guitar that not only sounds exceptional but also feels effortless and inspiring to play.
With the neck securely in place, the next phase involves adding the finishing touches to your custom electric guitar, bringing it to fruition as a stunning, playable work of art.
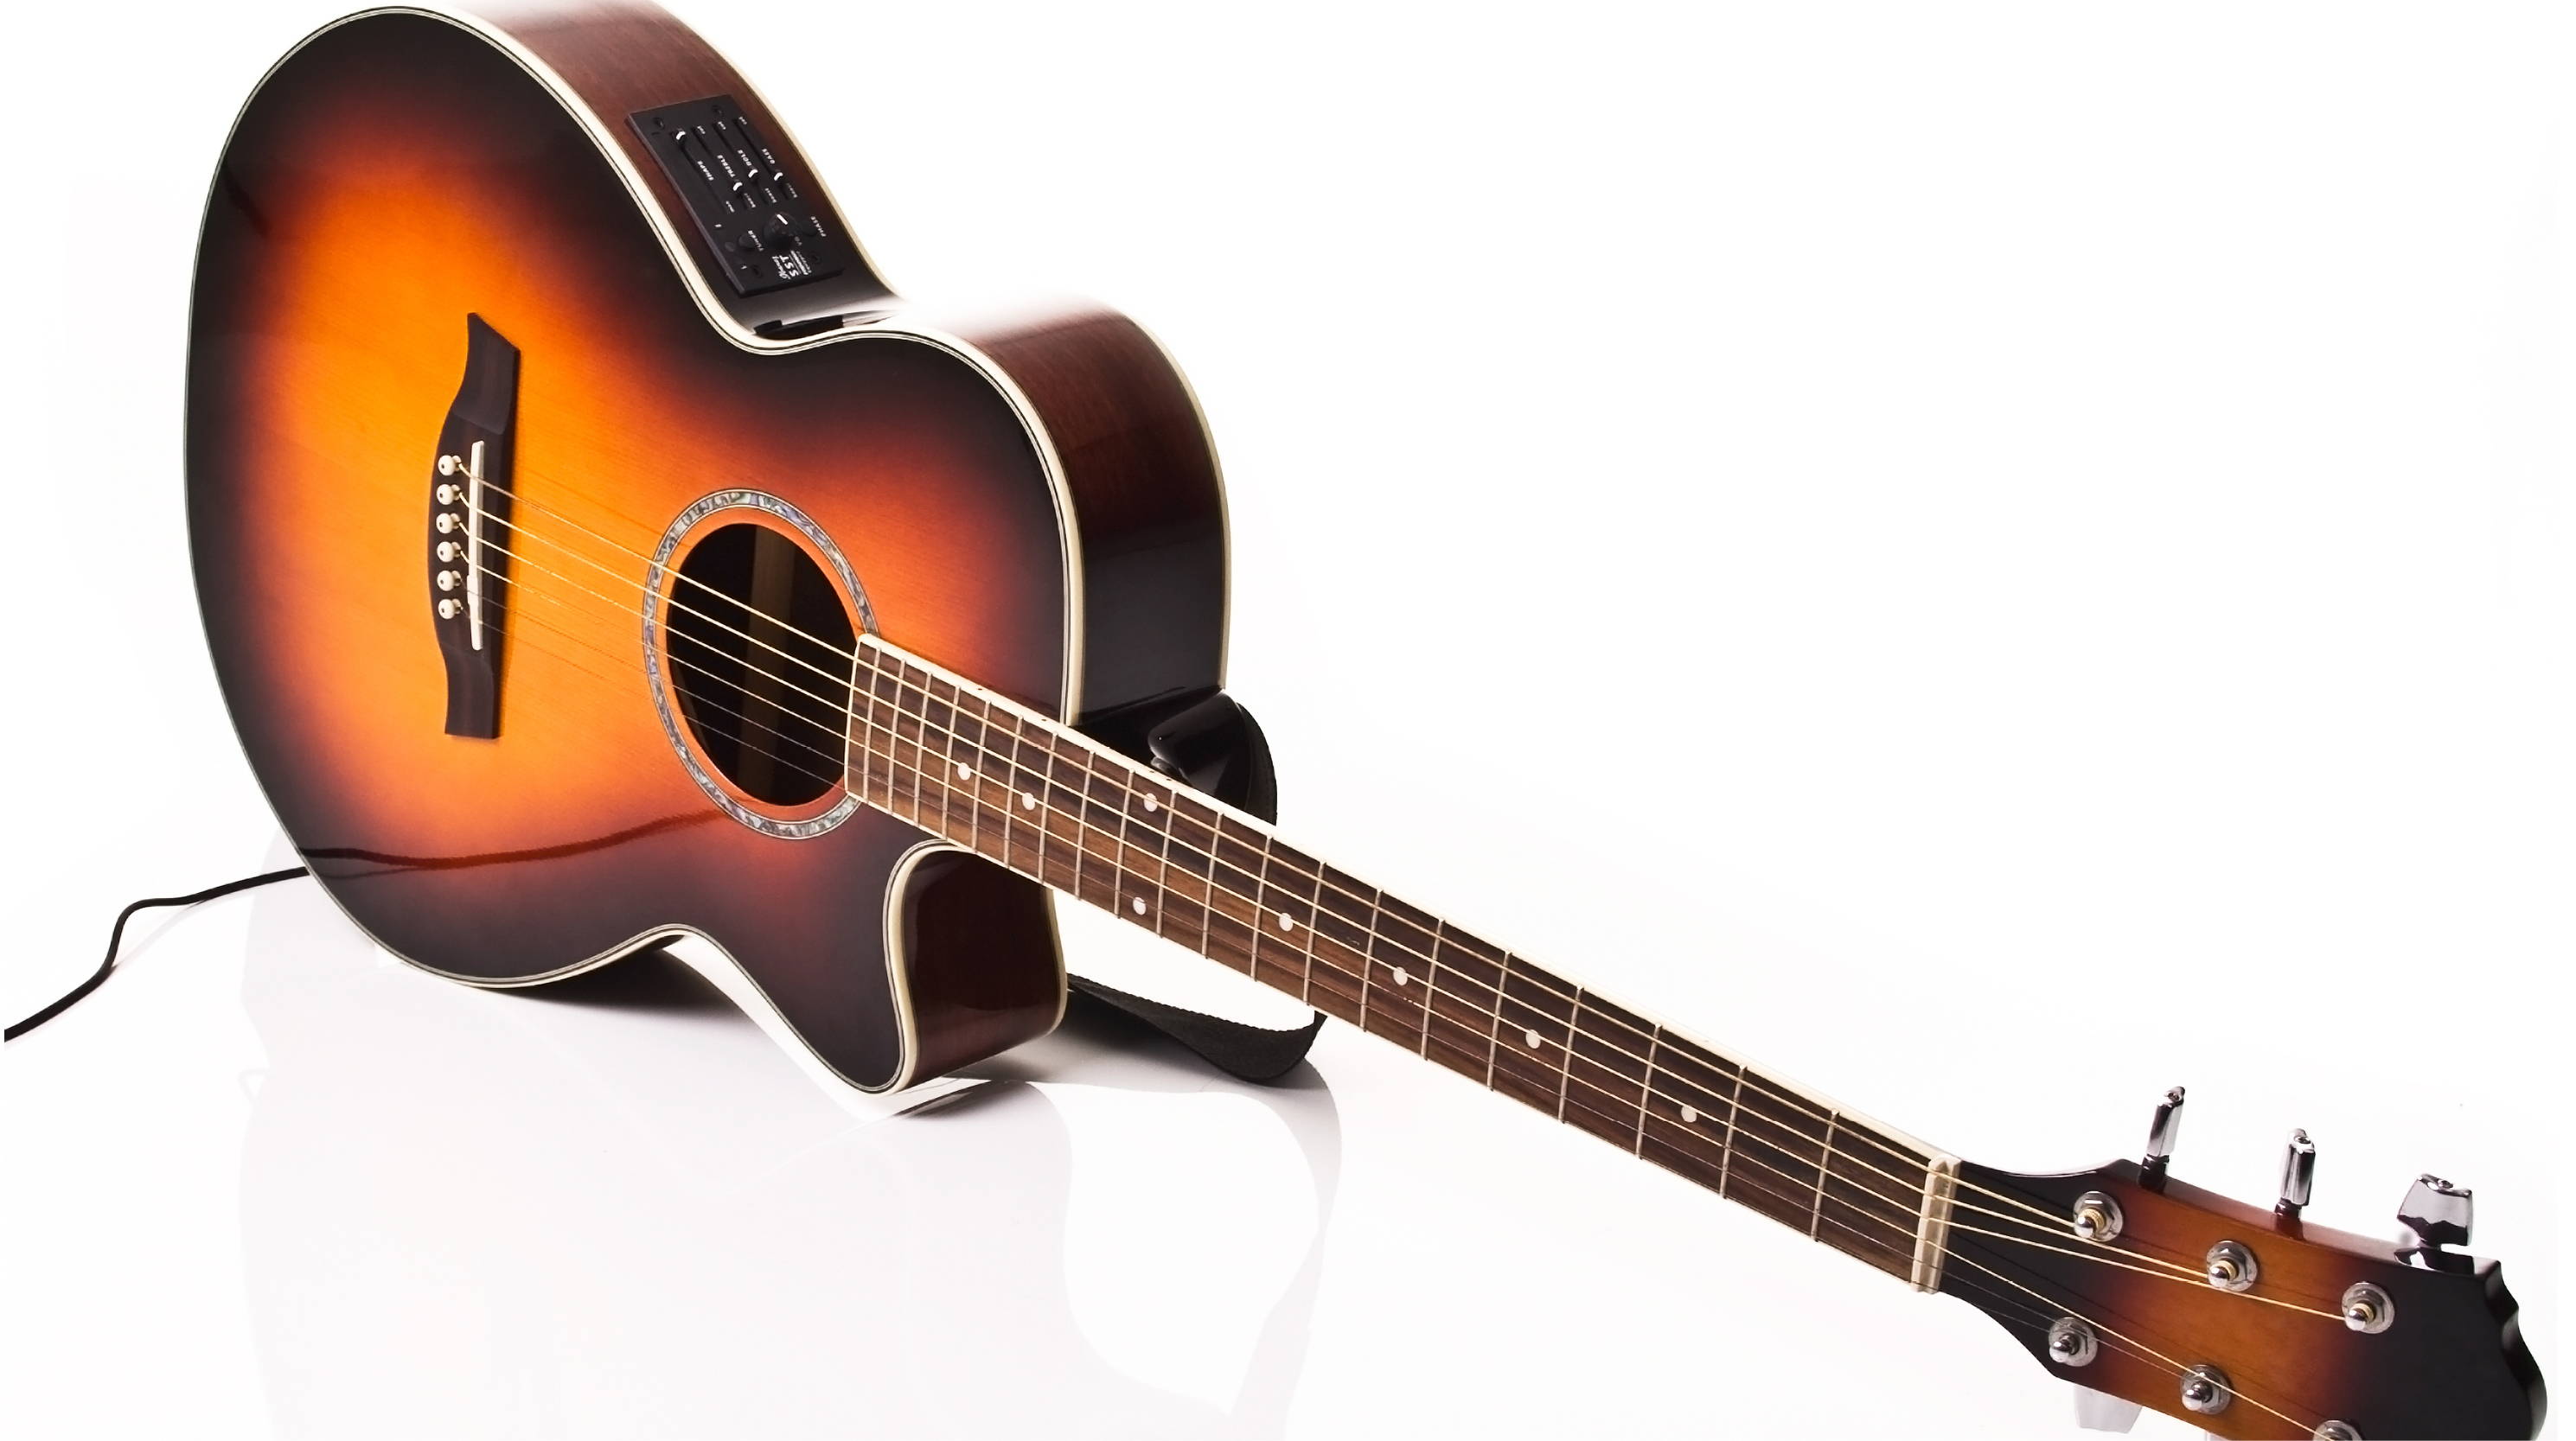
Finishing Touches
As you approach the final stages of crafting your custom electric guitar, the finishing touches play a pivotal role in enhancing the instrument’s visual allure, durability, and overall aesthetic appeal. From applying a flawless finish to installing hardware and setting up the instrument, these concluding steps are essential for transforming the raw components into a polished, fully functional guitar. Here’s a detailed guide to adding the finishing touches to your custom electric guitar:
- Applying the Finish: Whether you opt for a lustrous gloss, a satin sheen, or a natural oil finish, meticulously apply the chosen finish to the guitar’s body, ensuring even coverage and a smooth, blemish-free surface that accentuates the wood’s grain and character.
- Hardware Installation: Mount the bridge, tuning machines, control knobs, and other hardware components onto the guitar, ensuring proper alignment, functionality, and a secure fit to facilitate smooth tuning and reliable operation.
- Setup and Adjustment: Adjust the guitar’s bridge, nut, and truss rod to achieve optimal string action, intonation, and playability. This step is crucial for ensuring that the instrument delivers a comfortable and responsive playing experience.
- Final Inspection: Conduct a comprehensive inspection of the guitar, checking for any imperfections, loose hardware, or setup issues. Address any remaining adjustments or refinements to guarantee that the instrument meets your exacting standards.
- Polishing and Detailing: Complete the finishing process by polishing the guitar’s hardware, cleaning the frets, and detailing the instrument to showcase its craftsmanship and elevate its visual appeal.
As you add the finishing touches, each detail contributes to the overall character and functionality of the guitar, ensuring that it not only sounds exceptional but also exudes a captivating presence and inspires confidence in its performance. By approaching this phase with care and precision, you’ll bring your custom electric guitar to completion as a stunning, handcrafted instrument ready to make music.
With the finishing touches in place, your custom electric guitar is poised to become a cherished companion, resonating with your musical expression and reflecting the artistry and dedication poured into its creation.
Conclusion
Congratulations on completing the exhilarating journey of crafting your very own electric guitar! From the initial design sketches to the meticulous woodworking, precise electronics installation, and the final finishing touches, you’ve embarked on a remarkable odyssey of creativity, craftsmanship, and musical expression. As you stand in awe of the stunning instrument you’ve brought to life, it’s essential to reflect on the profound significance of this accomplishment.
Building a custom electric guitar transcends the mere assembly of wood, metal, and electronics. It’s a testament to your passion for music, your dedication to honing your craft, and your unwavering commitment to creating something truly unique and meaningful. The guitar you’ve crafted is not merely an instrument; it’s a manifestation of your artistic vision, a conduit for your musical voice, and a testament to the boundless creativity that drives you.
As you hold your custom electric guitar in your hands, you’re not just grasping a beautifully crafted object; you’re embracing a tangible symbol of your creativity, perseverance, and the unyielding pursuit of excellence. Every note that resonates from this instrument carries the essence of your dedication and the harmonious fusion of art and craftsmanship.
Whether you’re a seasoned luthier or a first-time builder, the experience of creating a custom electric guitar leaves an indelible mark, shaping not only the instrument itself but also your journey as a musician and artisan. As you embark on the musical adventures that await, let the guitar you’ve crafted be a constant source of inspiration, empowerment, and a reminder of the limitless potential that resides within you.
May the music that emanates from your custom electric guitar be a symphony of your passion, creativity, and unwavering dedication. Embrace the boundless possibilities that this instrument affords, and let its resonant voice echo your unique musical narrative to the world.
So, as the final chord of this incredible journey reverberates, remember that the guitar you’ve created is not just an instrument—it’s a masterpiece, an extension of your soul, and a testament to the transformative power of artistry and craftsmanship. Now, go forth, create, and let your music soar on the wings of the extraordinary instrument you’ve brought to life.