Home>Instruments>Guitar>How To Put Strings On An Electric Guitar

Guitar
How To Put Strings On An Electric Guitar
Modified: February 15, 2024
Learn how to put strings on an electric guitar with our step-by-step guide. Keep your guitar sounding great with proper string maintenance and care.
(Many of the links in this article redirect to a specific reviewed product. Your purchase of these products through affiliate links helps to generate commission for AudioLover.com, at no extra cost. Learn more)
Table of Contents
Introduction
So, you've got a new set of strings for your electric guitar and you're ready to breathe new life into your instrument. Whether you're a seasoned player or just starting out, knowing how to change your guitar strings is an essential skill. Not only does it ensure that your guitar sounds its best, but it also helps maintain the overall health and playability of the instrument.
Changing electric guitar strings may seem like a daunting task, especially for beginners, but fear not – with the right tools, a bit of patience, and the guidance provided here, you'll be well-equipped to tackle this process with confidence.
In this comprehensive guide, we'll walk you through each step of the string-changing process, from gathering the necessary tools to tuning up your freshly strung guitar. By following these steps, you'll not only learn a valuable skill but also gain a deeper understanding of your instrument.
So, grab your electric guitar and let's dive into the process of putting on those fresh, crisp strings that will breathe new life into your music.
Step 1: Gather the Necessary Tools
Before you begin the process of changing the strings on your electric guitar, it’s essential to gather the necessary tools. Here’s what you’ll need:
- New Set of Strings: Ensure that you have the correct set of strings for your electric guitar. Electric guitar strings come in various gauges, so be sure to choose the right set for your playing style and preferences.
- String Winder: A string winder tool makes the process of winding the strings quicker and more efficient. It’s a small, affordable tool that can save you a significant amount of time and effort.
- Wire Cutters: You’ll need a pair of wire cutters to trim the excess string length after stringing your guitar. This ensures that the strings are neatly trimmed and won’t interfere with your playing.
- Tuner: A reliable tuner is essential for ensuring that your guitar is in tune once the new strings are installed. Whether you use a clip-on tuner, pedal tuner, or a tuning app, having a tuner on hand is crucial.
- Clean Cloth: It’s a good idea to have a clean cloth or microfiber towel to wipe down your guitar and remove any dust or debris while changing the strings.
- String Lubricant (Optional): While not essential, some guitarists prefer to use a string lubricant to minimize friction at contact points, such as the nut and bridge, which can help the strings stay in tune more effectively.
By ensuring that you have all the necessary tools at your disposal, you’ll be well-prepared to proceed with the string-changing process smoothly and efficiently.
Step 2: Loosen the Old Strings
Before you can remove the old strings from your electric guitar, it’s crucial to loosen them to relieve the tension. Follow these steps to loosen the old strings:
- Prepare the Guitar: Find a comfortable and stable surface to lay your guitar on, ensuring that it’s well-supported to prevent any accidental damage during the string-changing process.
- Use the Tuning Pegs: Starting with the low E string (the thickest string), begin turning the tuning peg counterclockwise to loosen the tension. You’ll notice the pitch of the string lowering as you do this. Continue loosening the remaining strings in the same manner.
- Loosen the Strings Sufficiently: It’s important to loosen the strings sufficiently to the point where they can be easily removed from the guitar. However, be cautious not to completely unwind the strings from the tuning pegs until you’re ready to remove them entirely.
By loosening the old strings in a controlled manner, you’ll minimize the risk of any sudden release of tension that could potentially damage your guitar. Once the old strings are adequately loosened, you’ll be ready to proceed with their removal.
Step 3: Remove the Old Strings
With the old strings sufficiently loosened, it’s time to remove them from your electric guitar. Follow these steps to safely and effectively remove the old strings:
- Remove the Bridge Pins (Acoustic Guitars): If you have an acoustic-electric guitar with bridge pins, carefully remove the bridge pins to release the ends of the strings. Use a bridge pin puller or a similar tool if needed to gently extract the pins without causing any damage.
- Unwind the Strings from the Tuning Pegs: Starting with the low E string, unwind the string from the tuning peg by turning the peg counterclockwise. Once the string is sufficiently unwound, carefully remove it from the peg. Repeat this process for each string, working your way from the low E string to the high E string.
- Dispose of the Old Strings: Once all the old strings have been removed, dispose of them responsibly. Old guitar strings can be sharp and pose a hazard, so be sure to discard them safely to avoid any accidents.
By following these steps, you’ll safely remove the old strings from your electric guitar, making way for the installation of fresh, new strings. With the old strings out of the way, you’re one step closer to revitalizing your instrument and enhancing its playability and tone.
Step 4: Clean the Guitar
With the old strings removed, this is an opportune time to give your electric guitar a thorough cleaning. Over time, dust, sweat, and grime can accumulate on the instrument, affecting its appearance and potentially impacting its performance. Follow these steps to clean your guitar effectively:
- Remove Dust and Debris: Use a clean, dry cloth to gently wipe down the body, neck, and headstock of the guitar, removing any accumulated dust and debris. Pay attention to hard-to-reach areas around the pickups, bridge, and tuning pegs.
- Clean the Fretboard: If your guitar has a rosewood or ebony fretboard, you can use a small amount of fretboard conditioner or lemon oil on a cloth to clean and condition the wood. Gently rub the conditioner into the fretboard, then wipe off any excess to keep the wood in optimal condition.
- Polish the Body: Using a suitable guitar polish, carefully buff the body of the guitar to restore its luster and shine. Be sure to use a polish that is safe for the guitar’s finish, and avoid applying excessive pressure to prevent any potential damage.
- Clean the Hardware: Take this opportunity to clean the hardware, such as the bridge, pickups, and tuning machines, using a soft cloth. This will help maintain the overall functionality and appearance of these components.
By cleaning your guitar at this stage, you not only enhance its visual appeal but also contribute to its longevity and performance. A well-maintained instrument not only looks great but also plays and sounds better, providing you with an optimal playing experience.
Step 5: Install the New Strings
Now that your electric guitar is clean and free of the old strings, it’s time to install the new set of strings. Follow these steps to properly install the new strings on your guitar:
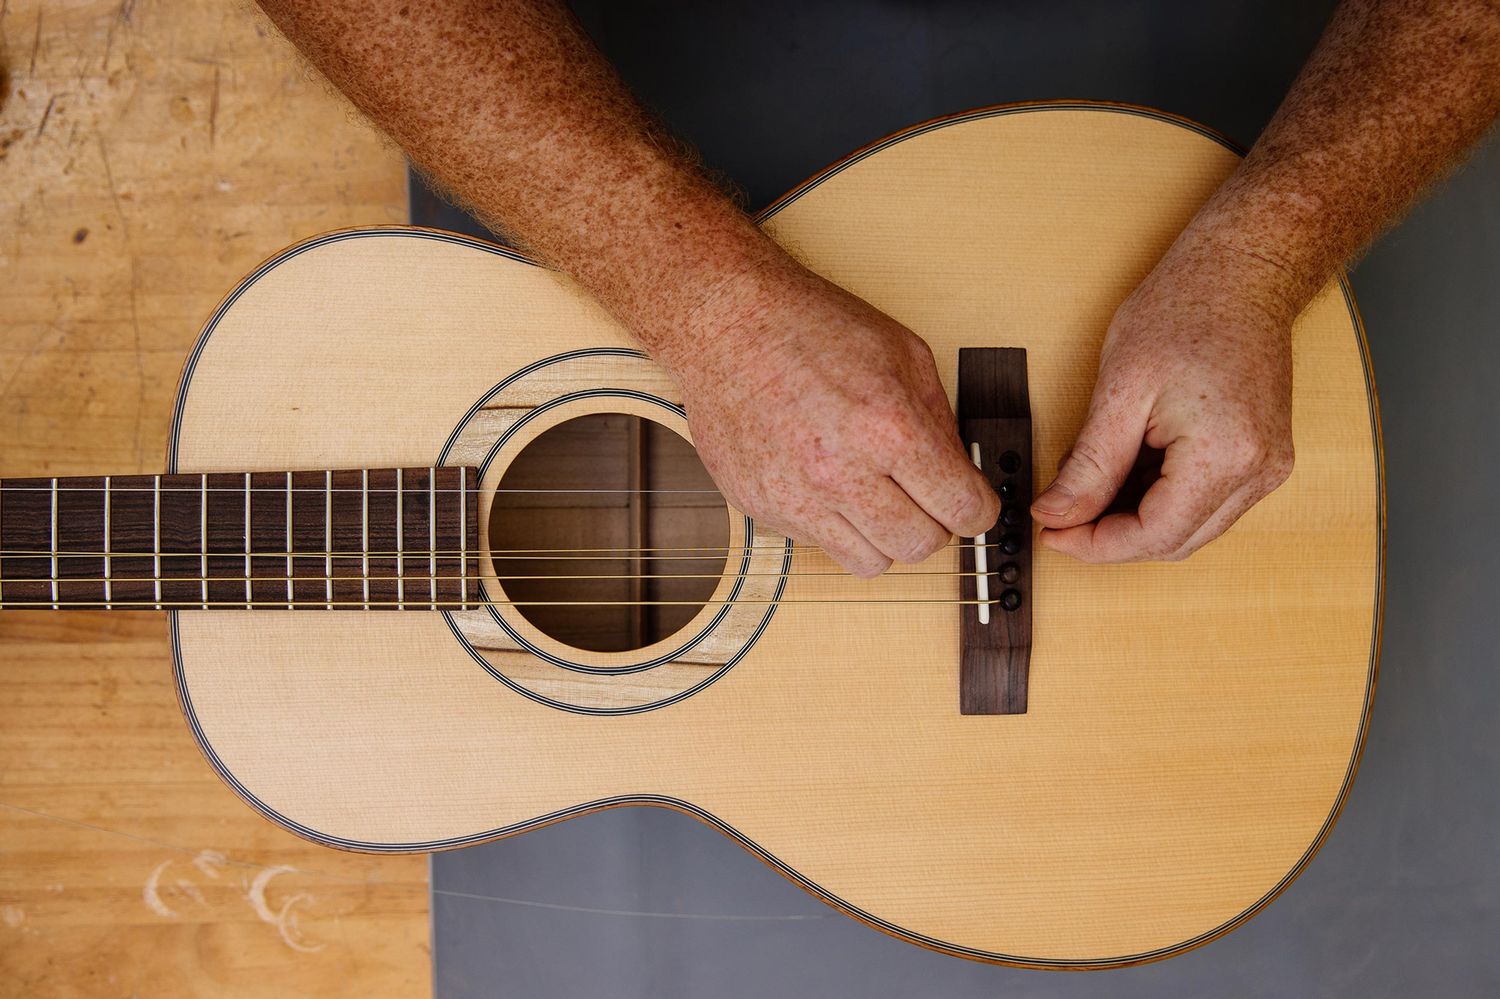
- Feed the Strings Through the Bridge: Starting with the low E string, insert the end of the string through the bridge and pull it until the ball end is secure. For guitars with a stop tailpiece, ensure that the string is inserted into the tailpiece and wrapped underneath.
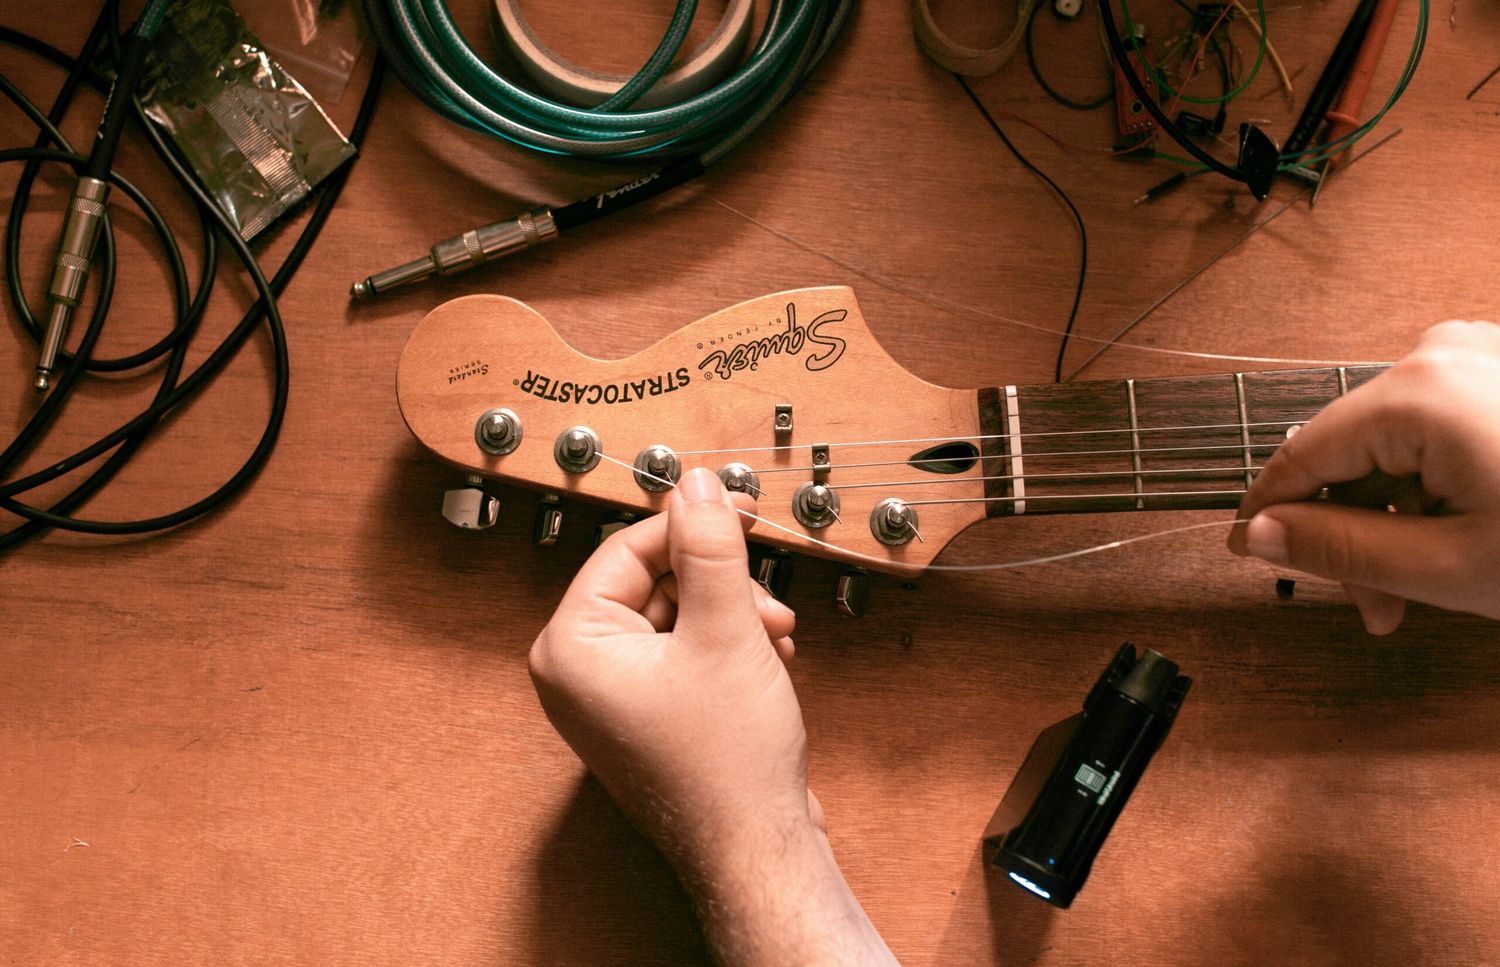
- Secure the Strings to the Tuning Pegs: Pull the string up to the corresponding tuning peg and insert it through the peg hole. Leave a few inches of slack, then begin winding the string onto the peg in the direction that tightens the string when tuned. Use a string winder for efficient winding.
- Repeat for Remaining Strings: Install the remaining strings in the same manner, ensuring that each string is inserted through the bridge and secured to the appropriate tuning peg. Double-check that the strings are properly seated in the nut and bridge slots.
- Trim Excess String Length: Once all the strings are installed and tuned to pitch, use wire cutters to trim the excess string length near the tuning pegs. Leave a small amount of slack to prevent the strings from slipping.
By methodically installing the new strings and ensuring that they are properly secured and wound, you’ll set the stage for optimal tuning stability and playability. With the new strings in place, your electric guitar will be ready for the final step in the process – tuning it to perfection.
Step 6: Tune the Guitar
With the new strings installed, the final crucial step is to tune your electric guitar to ensure that it produces the correct pitches and sounds harmonious. Follow these steps to tune your guitar accurately:
- Use a Tuner: Whether you’re using a clip-on tuner, pedal tuner, or a tuning app, ensure that your tuner is ready for use.
- Tune Each String: Starting with the low E string, pluck the string and observe the tuner’s display. Adjust the tuning peg as needed to bring the string to the correct pitch. Repeat this process for each string, working your way from the low E string to the high E string.
- Check Intonation (Optional): If you have an electric guitar with adjustable intonation, you may want to check and adjust it at this stage to ensure accurate pitch across the fretboard.
- Stretch the Strings: After tuning each string, gently stretch and flex the strings to help them settle and stabilize. This can minimize the amount of retuning required as the new strings adjust to the tension.
- Final Tuning Check: Once you’ve tuned the guitar and allowed the strings to settle, go through each string again to make any necessary final adjustments. This ensures that your guitar is perfectly in tune and ready to play.
By meticulously tuning your guitar and ensuring that each string is accurately pitched, you’ll set the stage for a rewarding playing experience. Proper tuning not only enhances the sound of your guitar but also contributes to the overall enjoyment and satisfaction of playing your instrument.
Conclusion
Congratulations! You’ve successfully changed the strings on your electric guitar, revitalizing its tone and playability. By following the step-by-step guide provided here, you’ve not only acquired a valuable skill but also gained a deeper understanding of your instrument. As you strum the first chords on your newly strung guitar, take a moment to appreciate the transformation you’ve brought about.
Changing your guitar strings is a task that, when done regularly, contributes to the overall health and longevity of your instrument. It ensures that your guitar sounds its best and plays at its optimal level. Additionally, the process of changing strings presents an opportunity to clean and maintain your guitar, further enhancing its condition and performance.
Remember, as you continue to play and enjoy your guitar, regular string maintenance is essential. Be attentive to the condition of your strings, and consider changing them when they show signs of wear or tonal degradation. By doing so, you’ll maintain a consistent and satisfying playing experience.
Now that your electric guitar is equipped with fresh strings and tuned to perfection, it’s time to let your creativity flow and make beautiful music. Whether you’re practicing, performing, or simply jamming with friends, your well-maintained and freshly strung guitar is ready to accompany you on your musical journey.
So, go ahead – strum, pick, and let the melodies resonate. Your newly strung electric guitar is poised to inspire and uplift, and with each note, you’ll appreciate the effort you’ve invested in caring for your instrument.