Home>Instruments>Harmonica>How To Make A Harmonica
Harmonica
How To Make A Harmonica
Published: February 3, 2024
Learn how to make a harmonica from scratch! Step-by-step guide filled with tips and tricks to master this musical instrument. Perfect for beginners.
(Many of the links in this article redirect to a specific reviewed product. Your purchase of these products through affiliate links helps to generate commission for AudioLover.com, at no extra cost. Learn more)
Table of Contents
Introduction
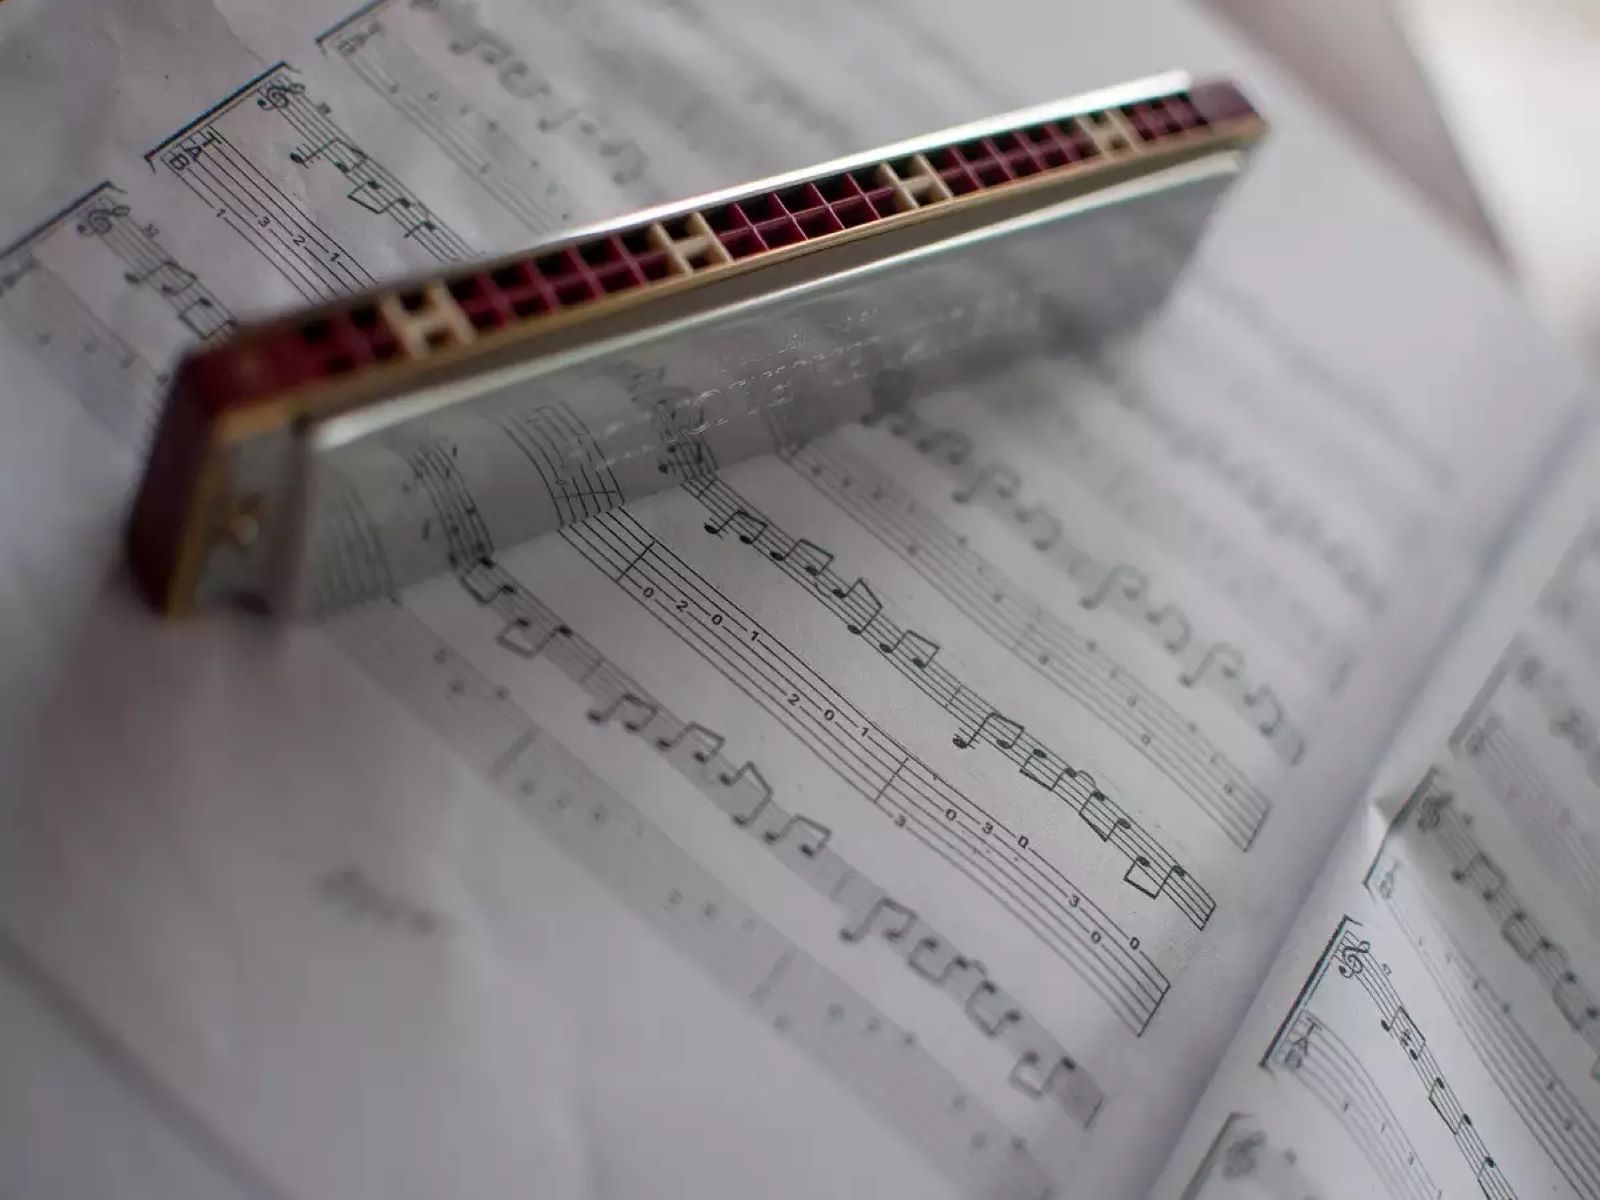
The harmonica is a versatile and beloved musical instrument that has been captivating audiences for centuries. Its distinctive sound and portability make it a popular choice for musicians of all skill levels, from beginners to professionals. If you have a passion for music and a desire to create your own harmonica, then you’ve come to the right place.
In this article, we will guide you through the process of making your own harmonica from scratch. We will go over the materials you will need, the step-by-step instructions, and even provide tips on tuning and testing your homemade instrument. So, let’s roll up our sleeves and dive into the world of harmonica making!
Before we begin, it’s important to note that making a harmonica requires some technical skills and tools. If you’re new to woodworking or crafting, don’t worry. We will simplify the process as much as possible and provide alternatives for certain steps.
By the end of this article, you’ll have a deep understanding of the inner workings of a harmonica, as well as a unique and personalized instrument that you can proudly call your own. So, let’s get started on this harmonious adventure!
Materials Needed
Before embarking on your harmonica-making journey, it’s important to gather all the necessary materials. Here’s a list of items you’ll need to get started:
-
Wood – Select a hardwood such as maple, cherry, or oak. You’ll need enough to create the comb, which is the main body of the harmonica.
-
Reed material – Brass or steel is commonly used for making reeds. You can purchase pre-cut reed stock or use thin metal sheets that are easily bendable.
-
Drill – A drill with various drill bit sizes will be needed for creating the holes in the comb.
-
File – A small file or sandpaper to smooth out edges and refine the shape of the comb.
-
Hot glue gun or wood glue – You’ll need an adhesive to attach the reed plates to the comb.
-
Leeches or tin snips – These tools will be used to cut the reed material to the appropriate length.
-
Needle or pin – A needle or pin will be used to create small holes in the reed material to allow airflow.
-
Tuning tool – A harmonica tuning tool such as a reed wrench or tuner will be necessary for adjusting the pitch of the reeds.
These are the basic materials you’ll need to create a homemade harmonica. However, feel free to get creative and experiment with different materials and designs. For example, you could use plastic or unconventional types of wood for the comb, or even incorporate unique features such as custom engravings or decorative elements.
Once you have gathered all the necessary materials, you’ll be ready to move on to the next step: cutting the comb.
Step 1: Gathering the Materials
Before you can begin making your harmonica, it is essential to gather all the necessary materials. In this step, we will go over each item on the materials list and provide some guidance on where to source them.
The primary material you’ll need for your harmonica is wood to create the comb. Hardwoods such as maple, cherry, or oak are ideal due to their durability and resonance. You can find suitable wood at your local hardware store or specialty wood supplier. Look for pieces that are at least 1/4 inch (6.35 mm) thick to ensure the strength of the comb.
For the reeds, you have a choice between brass or steel. Both materials produce excellent sound, so it ultimately comes down to personal preference. You can purchase pre-cut reed stock from music supply stores or online retailers. Alternatively, you can utilize readily available thin metal sheets that are easily bendable, like brass or stainless steel. These can be found in hobby or craft stores, or even repurposed from old metal containers or cans.
Next, you’ll need a drill with various drill bit sizes to create the small holes in the comb. A standard handheld power drill with drill bits ranging from 1/16 inch to 1/4 inch (1.6 mm to 6.35 mm) will suffice. If you don’t have access to a power drill, you can use a handheld manual drill or even a small rotary tool with a drill bit attachment.
To smooth out the edges and refine the shape of the comb, you’ll need a file or sandpaper. A small file or medium-grit sandpaper will do the job. This will help ensure that the comb is comfortable to hold and play.
To assemble the harmonica, you’ll need an adhesive to attach the reed plates to the comb. A hot glue gun or wood glue will work well for this purpose. Both are readily available at craft stores, hardware stores, or online. Ensure that the glue sets quickly but remains strong and durable.
For cutting the reed material to the appropriate length, you can use leeches or tin snips. Leeches are commonly used in harmonica making due to their precise cutting capabilities. However, tin snips or even strong scissors can also be used effectively. Look for these tools at your local hardware store or online retailer.
A needle or pin will be needed to create small holes in the reed material, allowing airflow and producing sound. You can use a standard sewing needle or a small pin for this purpose. Ensure the needle or pin you choose is sharp and create holes with a diameter of around 1/32 inch (0.8 mm).
Lastly, a harmonica tuning tool is essential for adjusting the pitch of the reeds. A reed wrench or tuner specifically designed for harmonicas will allow you to make precise tuning adjustments. These tools can be found at music supply stores or ordered online.
Once you have gathered all the necessary materials, you’ll be well-prepared to move on to the next step: cutting the comb.
Step 2: Cutting the Comb
Now that you have gathered all the necessary materials, it’s time to start constructing the main body of the harmonica – the comb. The comb serves as the foundation for attaching the reed plates, which are responsible for producing the sound. In this step, we will guide you through the process of cutting and shaping the comb.
-
First, determine the desired size of your harmonica. You can use existing harmonicas as a reference for dimensions, or you can create your own custom size. Generally, harmonicas range from 3 to 6 inches (7.6 to 15.2 cm) in length.
-
Using a pencil or marker, mark the dimensions of the comb on the piece of wood. Ensure that the width of the comb is wide enough to accommodate the reed plates and to provide space for drilling the holes.
-
With the marked dimensions as a guide, use a saw or a band saw to carefully cut the wood into the shape of the comb. Take your time and follow the marked lines as closely as possible to achieve a clean and precise cut. If you don’t have access to power tools, you can use a coping saw or even a small hand saw.
-
Once the comb is roughly cut out, use a file or sandpaper to smooth out the edges and refine the shape. Pay attention to the corners and curves to ensure a comfortable grip when playing the harmonica.
-
After smoothing the edges, test the fit of the reed plates on the comb. Place the reed plates on top of the comb and ensure that they align properly. Make any necessary adjustments to the comb’s shape or size if needed.
-
Finally, use the file or sandpaper to create a slight recess or groove in the comb, where the reeds will sit. This will help position the reeds securely and allow for better airflow.
Remember to work carefully and take your time during this process. The comb is a vital component of the harmonica, and precision in cutting and shaping will ensure the best performance.
Once you are satisfied with the shape and fit of the comb, you’re ready to move on to the next step: drilling the holes.
Step 3: Drilling the Holes
With the comb cut and shaped, it’s time to move on to the next critical step in creating your harmonica: drilling the holes. These holes will allow the air to pass through and produce different notes when the reed plates vibrate. Follow these steps to ensure accurate hole placement and proper airflow.
-
Before drilling, mark the hole positions on the comb. You can use a ruler or a template to ensure consistency. The number and placement of the holes will depend on the type of harmonica you are making. For a standard diatonic harmonica, you will typically drill ten holes, but you can adjust it based on your preference or the desired tuning.
-
Select the appropriate drill bit size for the holes, usually between 1/16 inch to 1/8 inch (1.6 mm to 3.2 mm). Start with a smaller bit size and gradually increase if necessary. Remember, it’s easier to enlarge the hole than to make it smaller.
-
Secure the comb firmly using clamps or a vise to prevent it from moving during the drilling process.
-
Begin drilling the holes in the marked positions on the comb. Apply steady and even pressure while keeping the drill perpendicular to the comb’s surface. Take your time and avoid rushing to ensure clean and accurate holes.
-
If you are new to drilling or if you want extra precision, you can use a drill press as it provides better control and accuracy. Just make sure to adjust the speed and make precise measurements before drilling.
-
After drilling each hole, remove any wood debris or dust to maintain a clear airflow path. You can use compressed air or simply blow away the particles.
It is crucial to drill the holes in the right place and with the correct size to ensure proper sound production. Take your time, double-check the hole placements, and measure carefully before drilling. Practice on a scrap piece of wood first to gain confidence if you are new to drilling.
With the holes drilled, you have completed an essential step in creating your harmonica. Now, it’s time to move on to step 4: creating the reed plates.
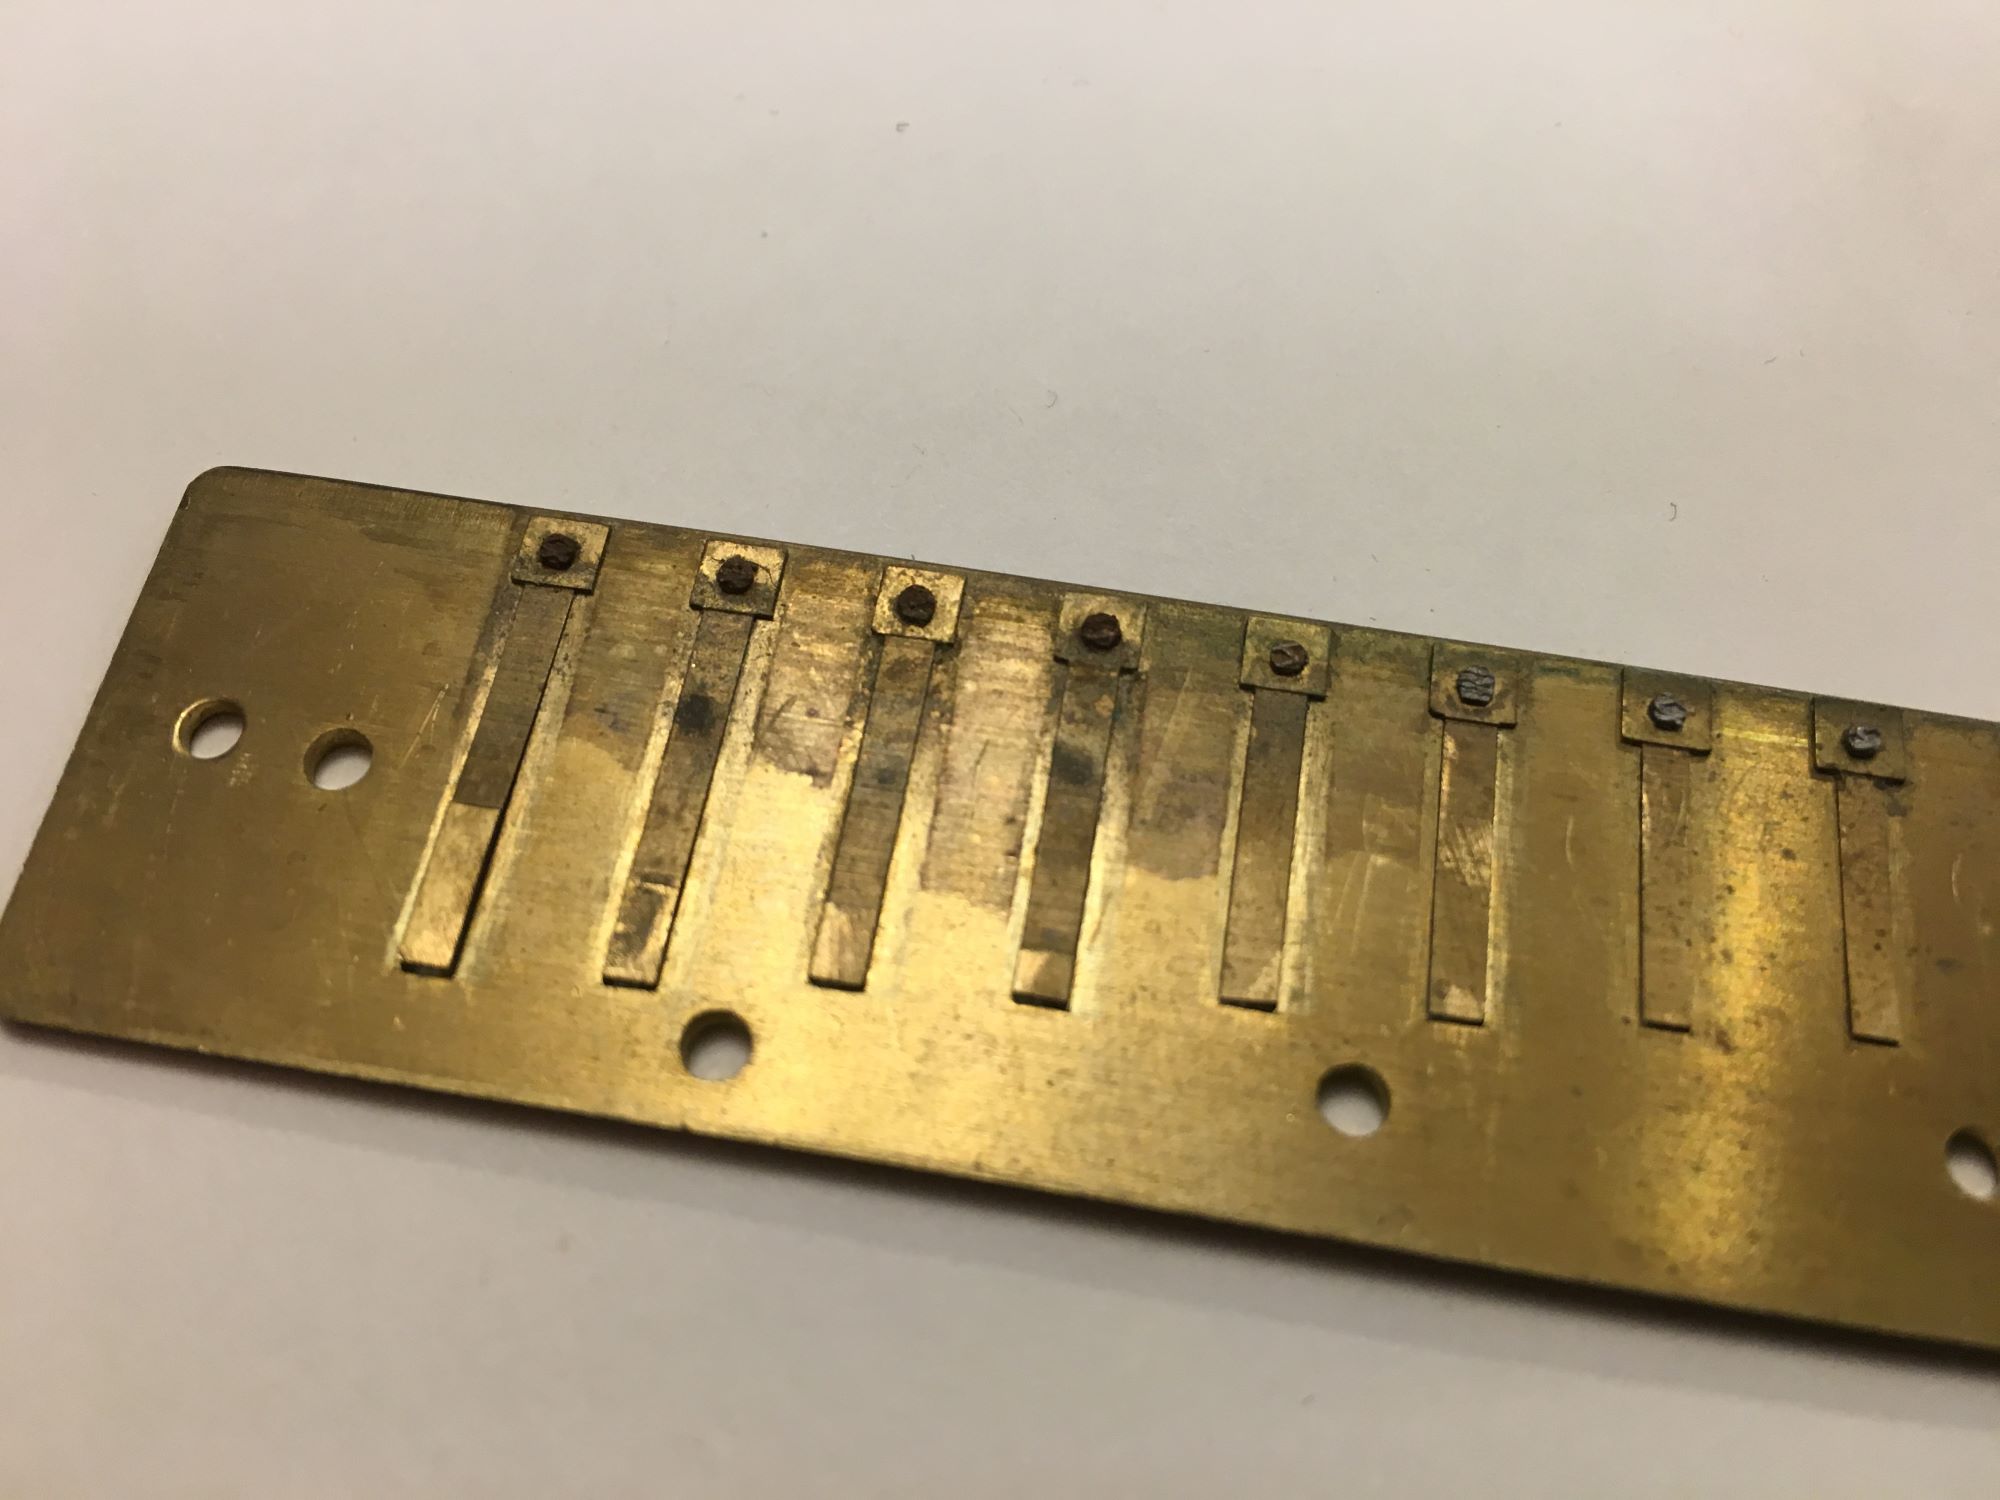
Step 4: Creating the Reed Plates
Now that you have completed the crucial steps of cutting the comb and drilling the holes, it’s time to focus on creating the reed plates. The reed plates are responsible for producing the sound when the air passes through and causes the reeds to vibrate. Follow these steps to make your own reed plates.
-
Begin by cutting the reed material to the appropriate length. Measure and mark the desired length for each reed on the material. The length will depend on the size of your harmonica and the desired pitch range. A good starting point is to cut the reeds to be slightly longer than the holes on the comb.
-
Using leeches, tin snips, or strong scissors, carefully cut along the marked lines to create the individual reeds. Take your time and ensure smooth and clean cuts for optimal sound production.
-
Next, you’ll need to create small holes in the reed material to allow airflow. Place the reeds on a flat and sturdy surface, and using a needle or pin, carefully create a hole near the base of each reed. Take caution not to bend or damage the reeds during this process.
-
After creating the holes, it’s time to shape and refine the reeds. Use a small file or sandpaper to shape the tip of each reed, ensuring it is flat and even. This step is crucial for proper sound production and tone.
-
Check the springiness of the reeds by gently pressing down on each one. They should have a slight bend and spring back into position when released. If a reed is too rigid or too loose, you can carefully adjust the tension by slightly bending it with your fingers.
-
Once the reeds are cut, shaped, and tested, it’s time to attach them to the comb. Apply a small amount of hot glue or wood glue to the recess or groove in the comb and carefully place each reed in its corresponding hole. Ensure that the reeds are centered and aligned properly for optimal sound.
Creating the reed plates requires precision and attention to detail, as they are the heart of the harmonica’s sound production. Take your time to cut, shape, and attach the reeds properly to achieve the best possible results.
With the reed plates in place, you have completed a significant step in building your harmonica. We’re now ready to move on to step 5: assembling the harmonica.
Step 5: Assembling the Harmonica
Now that you have the comb with drilled holes and reed plates attached, it’s time to assemble your harmonica. The assembly step brings all the components together to create a functional musical instrument. Follow these steps to ensure a successful harmonica assembly.
-
First, evaluate the fit of the reed plates on the comb. Make any necessary adjustments to ensure that the reed plates sit snugly and securely on the comb. You can use a small amount of hot glue or wood glue to hold the reed plates in place, applying it around the edges of the reed plates where they meet the comb.
-
Once the reed plates are attached, ensure that the airflow is unobstructed and that the reeds are properly aligned with the holes in the comb. You can gently tap the comb to make sure all the reeds move freely.
-
Next, if desired, you can customize the harmonica by applying a finish or coating to the comb. This step is optional but can add visual appeal and protection to the wood. Choose a finish suitable for wood and follow the manufacturer’s instructions.
-
Allow sufficient time for the glue and finish to dry according to the manufacturer’s instructions. This ensures that the reed plates are securely attached to the comb and that the harmonica is ready for playing.
Assembling the harmonica requires attention to detail and careful alignment of the reed plates with the comb. Take your time to make sure everything is in place before moving on to the final step: testing and tuning the harmonica.
With the harmonica assembled, you’re almost ready to start playing your own homemade instrument. In the next step, you’ll learn how to test and tune the harmonica to ensure optimal sound and playability.
Step 6: Testing and Tuning the Harmonica
Now that you’ve successfully assembled your harmonica, it’s time to test and tune it to ensure that it produces the desired sound and plays in tune. Testing and tuning are essential for achieving optimal playability and tone. Follow these steps to fine-tune your harmonica:
-
Begin by blowing into each hole of the harmonica and listening for sound. Make sure all the reeds produce a clear and distinct sound. Adjust the reeds as needed by gently bending them with a tuning tool or your fingers. The goal is to achieve a balanced sound across all the notes.
-
Check for any air leaks by placing your lips or fingers partially over the holes while blowing. If you feel a leak, identify the source and seal it with a small amount of hot glue or wood glue. Be careful not to over-apply the glue, as it can interfere with the reed’s movement.
-
Use a chromatic tuner or a reliable tuning app to check the pitch of each note. Compare the pitch to the desired tuning, which is typically based on the key of the harmonica you are building. Adjust the pitch of the reeds as needed by bending them slightly up or down. Take caution not to over-tune, as this can cause the reeds to break or produce undesirable sounds.
-
Test the harmonica’s responsiveness and playability. Ensure that each note speaks clearly and promptly when blown or drawn. Make any necessary adjustments to enhance the overall playability of the harmonica.
-
Once you are satisfied with the sound, tuning, and playability of your harmonica, it’s time to put it through further testing by playing melodies, scales, and simple songs. This will allow you to explore the instrument’s range and tonal capabilities.
Testing and tuning a harmonica may take some time and practice. Be patient and make incremental adjustments to achieve the desired sound quality. It’s important to note that tuning a harmonica is a skill that requires experience, so don’t be discouraged if it takes a few attempts to get it just right.
Once you are satisfied with the sound, playability, and tuning of your harmonica, you can proudly start exploring its musical possibilities and enjoy the unique experience of playing your handcrafted instrument.
Congratulations on creating your own harmonica! With the final step completed, you have accomplished a remarkable musical feat. Whether you’re sharing your music with others or enjoying it in the solitude of your own space, your homemade harmonica is sure to bring you joy and satisfaction.
Remember to continue practicing and experimenting with your instrument, as mastery comes with time and dedication. Enjoy the wonderful world of harmonica playing and let your creative spirit soar!
Conclusion
Congratulations on completing your harmonica-making journey! By following the steps outlined in this article, you’ve gained a deeper understanding of the harmonica’s anatomy and created your very own personalized instrument. Crafting a harmonica from scratch not only allows you to showcase your creativity but also grants you a unique connection to the music you create.
Throughout this process, you’ve learned how to gather the necessary materials, cut and shape the comb, drill the holes, create the reed plates, assemble the harmonica, and test and tune it to perfection. Each step required patience, precision, and a passion for the harmonica.
Remember, making a harmonica is a creative journey, and you have the flexibility to experiment and customize your instrument to suit your preferences. Whether you prefer a traditional diatonic harmonica or want to explore alternative tunings or unique designs, the possibilities are endless.
As you continue your harmonica-playing journey, don’t forget to hone your skills and explore different playing techniques. Your handmade harmonica will serve as a constant reminder of your dedication to the craft.
So, grab your harmonica, immerse yourself in the melodies, and share your newfound talent with others. Whether it’s jamming with friends, performing on stage, or simply playing for your own enjoyment, the harmonica is a versatile instrument that never fails to captivate listeners.
Lastly, don’t be afraid to go beyond creating a harmonica for yourself. Share your knowledge and skills with others who might be interested in making their own harmonicas. Help foster a love for music and craftsmanship by guiding them through the harmonica-making process.
Remember, making a harmonica is not just a one-time endeavor but a lifelong pursuit of musical expression. So, keep learning, practicing, and honing your skills as you embark on this harmonious journey.
Now, go forth and let your harmonica play the melodies of your heart!