Home>Instruments>Percussion Instruments>How To Make Easy Percussion Instruments
Percussion Instruments
How To Make Easy Percussion Instruments
Modified: February 15, 2024
Learn how to easily make your own percussion instruments at home. Discover fun and creative ways to unleash the rhythm within with our step-by-step guide.
(Many of the links in this article redirect to a specific reviewed product. Your purchase of these products through affiliate links helps to generate commission for AudioLover.com, at no extra cost. Learn more)
Table of Contents
Introduction
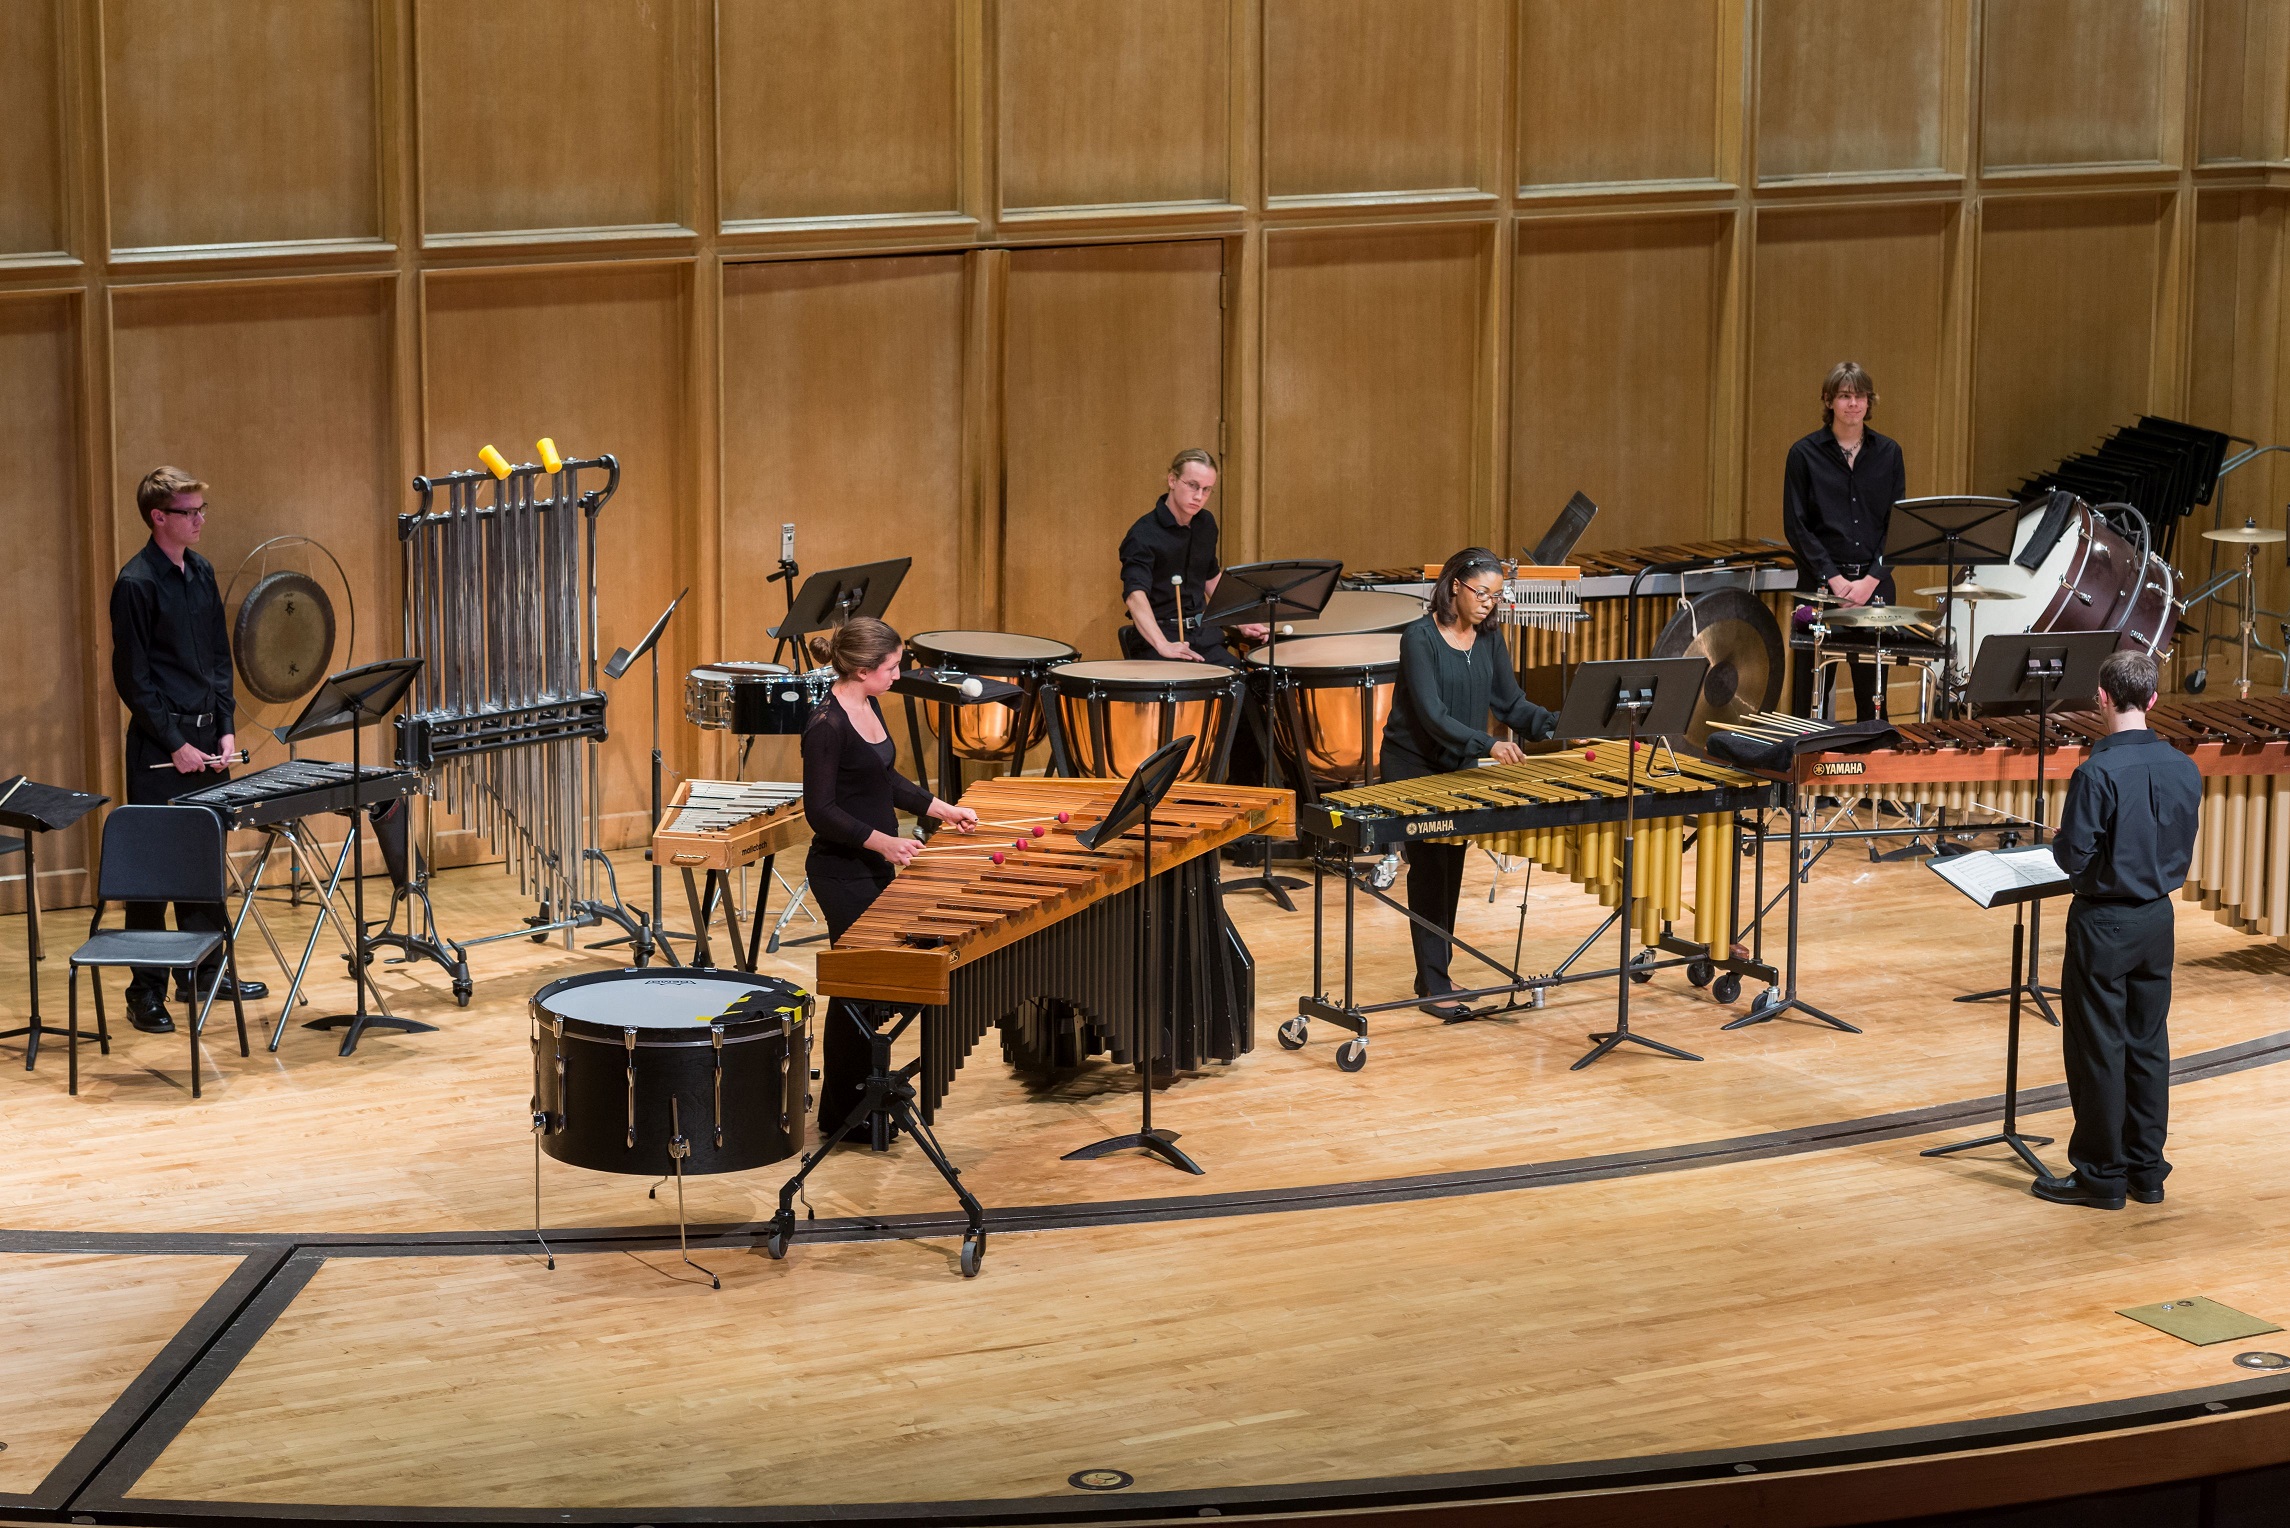
Percussion instruments are an integral part of music across various cultures and genres. These instruments produce sound when they are struck or shaken, adding rhythm and texture to musical compositions. While professional percussion instruments can be expensive, you don’t have to break the bank to enjoy the joy of making music. In this article, we will explore how to make easy percussion instruments using everyday household items. These DIY instruments are a fun and creative way to introduce children to music or even spark your own musical journey.
By making your own percussion instruments, you not only save money but also foster creativity and resourcefulness. It’s a fantastic opportunity to engage in a hands-on activity that promotes imagination and problem-solving skills. Plus, the satisfaction of creating your own instrument and then using it to produce music is truly rewarding.
Whether you are a parent looking for a fun craft project to do with your children, a teacher searching for engaging music activities for your students, or simply someone who wants to explore the world of percussion, this article will provide step-by-step instructions on how to make a variety of easy percussion instruments.
Before we dive into the details, let’s gather the materials you’ll need to create these homemade percussion instruments.
Materials Needed
Before you begin making your own percussion instruments, it’s important to gather the necessary materials. Most of the items can be found around the house or easily purchased at a low cost. Here is a list of the materials you’ll need:
- Shoebox or sturdy cardboard box
- Elastic bands or rubber bands
- Construction paper
- Popsicle sticks
- Empty plastic bottles
- Tissue box
- Bottle caps or small objects for filling
- Disposable paper plates
- Decorative materials like stickers, paint, or markers
- Empty cans (soup cans or coffee cans)
- Water bottles of different sizes
- Plastic straws
These materials are versatile and can be used to create a variety of different percussion instruments. Feel free to get creative and experiment with different combinations and decorations!
Now that you have all the necessary materials, let’s move on to making some amazing homemade percussion instruments.
Shoebox Drum
The shoebox drum is a classic percussion instrument that is easy to make and produces a satisfying sound. Here’s how you can create your own shoebox drum:
- Start by choosing a shoebox or any sturdy cardboard box. Make sure the box is clean and free of any dust or debris.
- Next, take a piece of construction paper and cut it to fit the length and width of the shoebox. This will serve as the drumhead.
- Use adhesive or tape to secure the construction paper to one end of the shoebox. Make sure it is tightly stretched across the opening.
- Decorate the shoebox drum using paint, markers, or stickers. Let your creativity flow and personalize it however you like.
- To play the shoebox drum, use your hands or drumsticks to tap on the drumhead. Experiment with different rhythms and techniques to create unique sounds.
The shoebox drum is a versatile instrument that can be played alone or as part of a group. It is a great way to explore rhythm and develop coordination while having fun making music.
Now that you have your shoebox drum ready, let’s move on to the next homemade percussion instrument: the tissue box guitar.
Tissue Box Guitar
The tissue box guitar is a fun and creative percussion instrument that mimics the sound and playing style of a guitar. Here’s how you can make your own tissue box guitar:
- Start by taking an empty tissue box and remove the plastic film covering the opening. This will create a resonating chamber for the guitar.
- Next, take several rubber bands or elastic bands and stretch them across the opening of the tissue box. Position them parallel to each other, leaving space in between. These rubber bands will act as the guitar strings.
- Use popsicle sticks or wooden dowels to create the frets on the neck of the guitar. Attach them to the top of the tissue box, positioning them at regular intervals. This will allow you to change the pitch of the guitar strings.
- Decorate the tissue box guitar with paint, markers, or stickers to give it a personalized touch.
- To play the tissue box guitar, use your fingers or a pick to pluck or strum the rubber bands. Pressing down on the popsicle stick frets will change the pitch of the notes produced.
The tissue box guitar is a fantastic way to introduce children to the basics of playing a string instrument. It allows for experimentation with different tones and melodies, fostering creativity and musical exploration.
Now that you have your tissue box guitar ready, let’s move on to the next homemade percussion instrument: the bottle shaker.
Bottle Shaker
The bottle shaker is a simple and versatile percussion instrument that can be made using empty plastic bottles. Here’s how you can create your own bottle shaker:
- Start by collecting empty plastic bottles of different sizes. You can use water bottles, soda bottles, or any other plastic containers with secure caps.
- Remove the labels from the bottles and make sure they are clean and dry.
- Fill each bottle with small objects like rice, beans, or beads. The amount of filling can be adjusted to achieve the desired sound and level of rattling.
- Securely seal the cap of each bottle to prevent the filling from spilling out.
- Once all the bottles are filled and sealed, decorate them using paint, markers, or colorful tape.
- To play the bottle shaker, simply shake it back and forth, producing a rhythmic shaking sound. Experiment with different shaking patterns and speeds to create unique rhythms.
The bottle shaker is a great percussion instrument for adding texture and rhythm to your music. You can use multiple bottle shakers of varying sizes to create a more complex and layered sound.
Now that you have your bottle shaker ready, let’s move on to the next homemade percussion instrument: the paper plate tambourine.
Paper Plate Tambourine
The paper plate tambourine is a lively and engaging percussion instrument that can be easily created using paper plates. Here’s how you can make your own paper plate tambourine:
- Start by taking two disposable paper plates and stacking them on top of each other.
- Use a hole punch to create multiple holes along the outer edge of the paper plates, about an inch apart.
- Thread jingle bells or small metal washers through the holes, making sure they are securely attached to the plates.
- Decorate the paper plates using markers, paint, or stickers to give them a vibrant and festive look.
- Once the decorations are complete, hold the tambourine by the edges and shake it or tap it with your other hand to create a jingling sound.
The paper plate tambourine is an excellent percussion instrument for adding a jovial and rhythmic element to music. You can experiment with different shaking techniques and rhythms to create a variety of sounds.
Now that you have your paper plate tambourine ready, let’s move on to the next homemade percussion instrument: the popsicle stick castanets.
Popsicle Stick Castanets
Popsicle stick castanets are a popular and traditional percussion instrument that can be easily made using popsicle sticks. Here’s how you can create your own popsicle stick castanets:
- Gather two popsicle sticks of the same size. Make sure they are clean and dry.
- Decorate the popsicle sticks using paint, markers, or stickers. Get creative and give them your own personal touch.
- Attach a small piece of felt or fabric to the center of one of the popsicle sticks using adhesive or glue. This will act as the striking surface.
- Hold one popsicle stick in each hand, placing your thumb on one side and your fingers on the other side.
- Bring the sticks together and then quickly release them, allowing them to strike against each other. Repeat this motion to create a rhythmic clicking sound.
Popsicle stick castanets are a versatile percussion instrument that can be played solo or as part of an ensemble. They are often used in Latin, Spanish, and flamenco music, adding a lively and distinct sound.
Now that you have your popsicle stick castanets ready, let’s move on to the next homemade percussion instrument: the rubber band maracas.
Rubber Band Maracas
Rubber band maracas are a fun and easy-to-make percussion instrument that creates a rhythmic shaking sound. Here’s how you can make your own rubber band maracas:
- Start by finding two empty cans, such as soup cans or coffee cans. Make sure they are clean and free of any sharp edges.
- Fill each can with small objects like rice, beans, or beads. The amount of filling can be adjusted to change the sound and level of rattling.
- Place a rubber band around each can, securing it tightly in place. The rubber band will create a textured surface and enhance the shaking sound.
- Decorate the cans using paint, stickers, or colorful tape to give them a vibrant and personalized look.
- To play the rubber band maracas, hold one can in each hand and shake them vigorously. The filling and the rubber bands will create a rhythmic shaking sound.
Rubber band maracas are a great addition to any music jam session or performance. They can be played along with other percussion instruments or used to add texture and rhythm to your favorite songs.
Now that you have your rubber band maracas ready, let’s move on to the next homemade percussion instrument: the can drum.
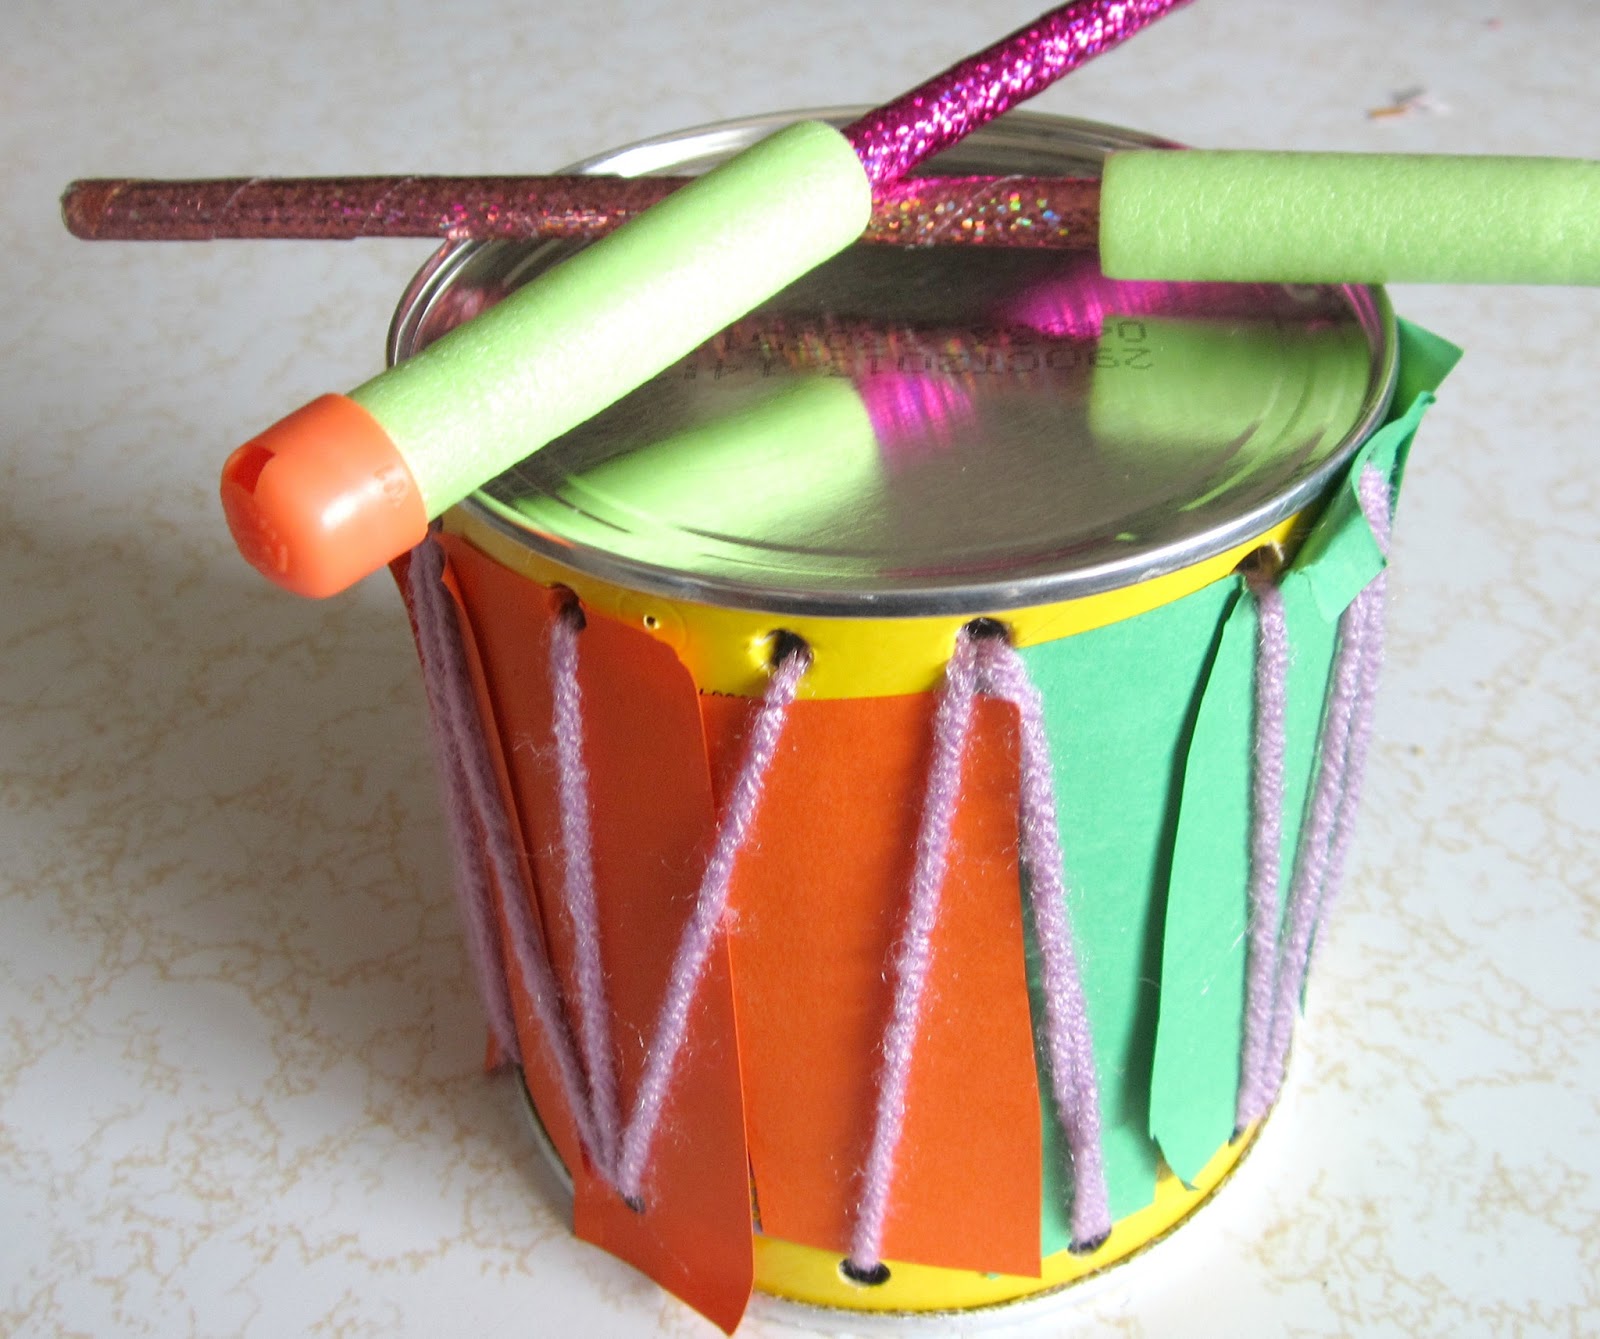
Can Drum
The can drum is a simple and versatile percussion instrument that can be made using empty cans. Here’s how you can create your own can drum:
- Start by finding two empty cans of the same size, such as soup cans or coffee cans. Make sure they are clean and free of any sharp edges.
- Place one can on a flat surface and remove the lid.
- Stretch a balloon over the open end of the can, securing it tightly. Make sure the balloon is smooth and evenly stretched over the opening.
- Use a rubber band or tape to secure the balloon in place, ensuring it does not slip off during play.
- Repeat the process with the second can.
- To play the can drum, hold one can in each hand and tap the surface of the balloon with your fingers or drumsticks. Experiment with different rhythms and tempos to create a variety of sounds.
The can drum is a versatile instrument that can be played individually or as part of a percussion ensemble. Its unique sound adds depth and rhythm to any musical piece.
Now that you have your can drum ready, let’s move on to the next homemade percussion instrument: the water bottle xylophone.
Water Bottle Xylophone
A water bottle xylophone is a delightful homemade percussion instrument that can be easily created using empty water bottles. Here’s how you can make your own water bottle xylophone:
- Gather several empty water bottles of different sizes. Make sure they have secure caps and are clean and dry.
- Fill each bottle with varying amounts of water. The amount of water will determine the pitch of each bottle.
- Seal the caps tightly to prevent any water from spilling out during play.
- Arrange the water bottles in a line or a cluster, placing the bottles with the least amount of water on one end and the bottles with the most water on the other end.
- Use a mallet, a wooden dowel, or even the handle of a spoon to tap the different bottles. Experiment with different tapping techniques to create various tones and melodies.
The water bottle xylophone offers a unique and enchanting sound, making it a great addition to any music-making experience. You can play simple tunes or even try your hand at composing your own melodies.
Now that you have your water bottle xylophone ready, let’s move on to the next homemade percussion instrument: the straw pan flute.
Straw Pan Flute
The straw pan flute is a fun and whimsical percussion instrument that can be created using drinking straws. Here’s how you can make your own straw pan flute:
- Gather several drinking straws of different lengths. You can use regular plastic straws or cut them to different lengths.
- Arrange the straws side by side, lining them up evenly.
- Secure the straws together by placing a piece of tape or tying a string tightly around one end.
- Trim the ends of the straws to create a diagonal shape, starting from the shortest straw to the longest.
- Hold the flute by the taped or tied end and blow gently across the top of the straws. Adjust the angle of your mouth and the force of your breath to produce different pitches.
The straw pan flute offers a playful and unique sound, reminiscent of traditional pan flutes. Experiment with different fingerings and blowing techniques to create melodies and harmonies.
Now that you have your straw pan flute ready, you are all set to embark on your percussion instrument journey. Whether you choose to play them individually or in a group, these homemade instruments will bring joy and rhythm into your music-making experience.
Remember, the beauty of percussion instruments lies not only in their sound but also in the creative process of making them. So get creative, have fun, and explore the world of percussion with these easy-to-make instruments!
For more information on percussion instruments or any other musical topics, feel free to explore our website or reach out to a music educator.
Happy music-making!
Conclusion
Creating your own percussion instruments is a wonderful way to explore the world of music and unleash your creativity. From the simple shoebox drum to the whimsical straw pan flute, these homemade instruments offer a unique and engaging musical experience. By utilizing everyday household items, you can produce a variety of sounds and rhythms, all while having fun and expressing yourself through music.
Not only do homemade percussion instruments provide an opportunity for hands-on creativity, but they also promote resourcefulness and problem-solving skills. They are a perfect activity for children, helping them develop coordination, rhythm, and a love for music at an early age. Additionally, these instruments can be used in educational settings to enhance learning through music, rhythm, and exploration.
Whether you’re a parent looking for a fun project to do with your children, a teacher searching for engaging music activities, or simply a music enthusiast wanting to try something new, making your own percussion instruments is a rewarding and fulfilling experience.
So, gather your materials, let your imagination run wild, and start crafting your own homemade percussion instruments. They will not only bring joy and rhythm into your life, but also enable you to connect with the world of music in a unique and personal way. Whether you’re tapping on a shoebox drum or blowing into a straw pan flute, you are a part of a rich musical tradition that spans cultures and generations.
Embrace the power of DIY percussion instruments and let your creativity soar as you embark on a musical journey filled with rhythm, harmony, and self-expression.