Home>Production & Technology>Audio Cable>How To Get Rid Of Static With Microphone With Virtual Audio Cable
Audio Cable
How To Get Rid Of Static With Microphone With Virtual Audio Cable
Modified: January 22, 2024
Learn how to eliminate static from your microphone using Virtual Audio Cable, a reliable solution for audio cable management. Improve your audio quality with this effective method.
(Many of the links in this article redirect to a specific reviewed product. Your purchase of these products through affiliate links helps to generate commission for AudioLover.com, at no extra cost. Learn more)
Table of Contents
- Introduction
- What is static in a microphone?
- Understanding Virtual Audio Cable
- Step 1: Download and Install Virtual Audio Cable
- Step 2: Setting up Virtual Audio Cable
- Step 3: Configuring Microphone Settings
- Step 4: Testing and Adjusting the Virtual Audio Cable
- Step 5: Troubleshooting and Common Issues
- Conclusion
Introduction
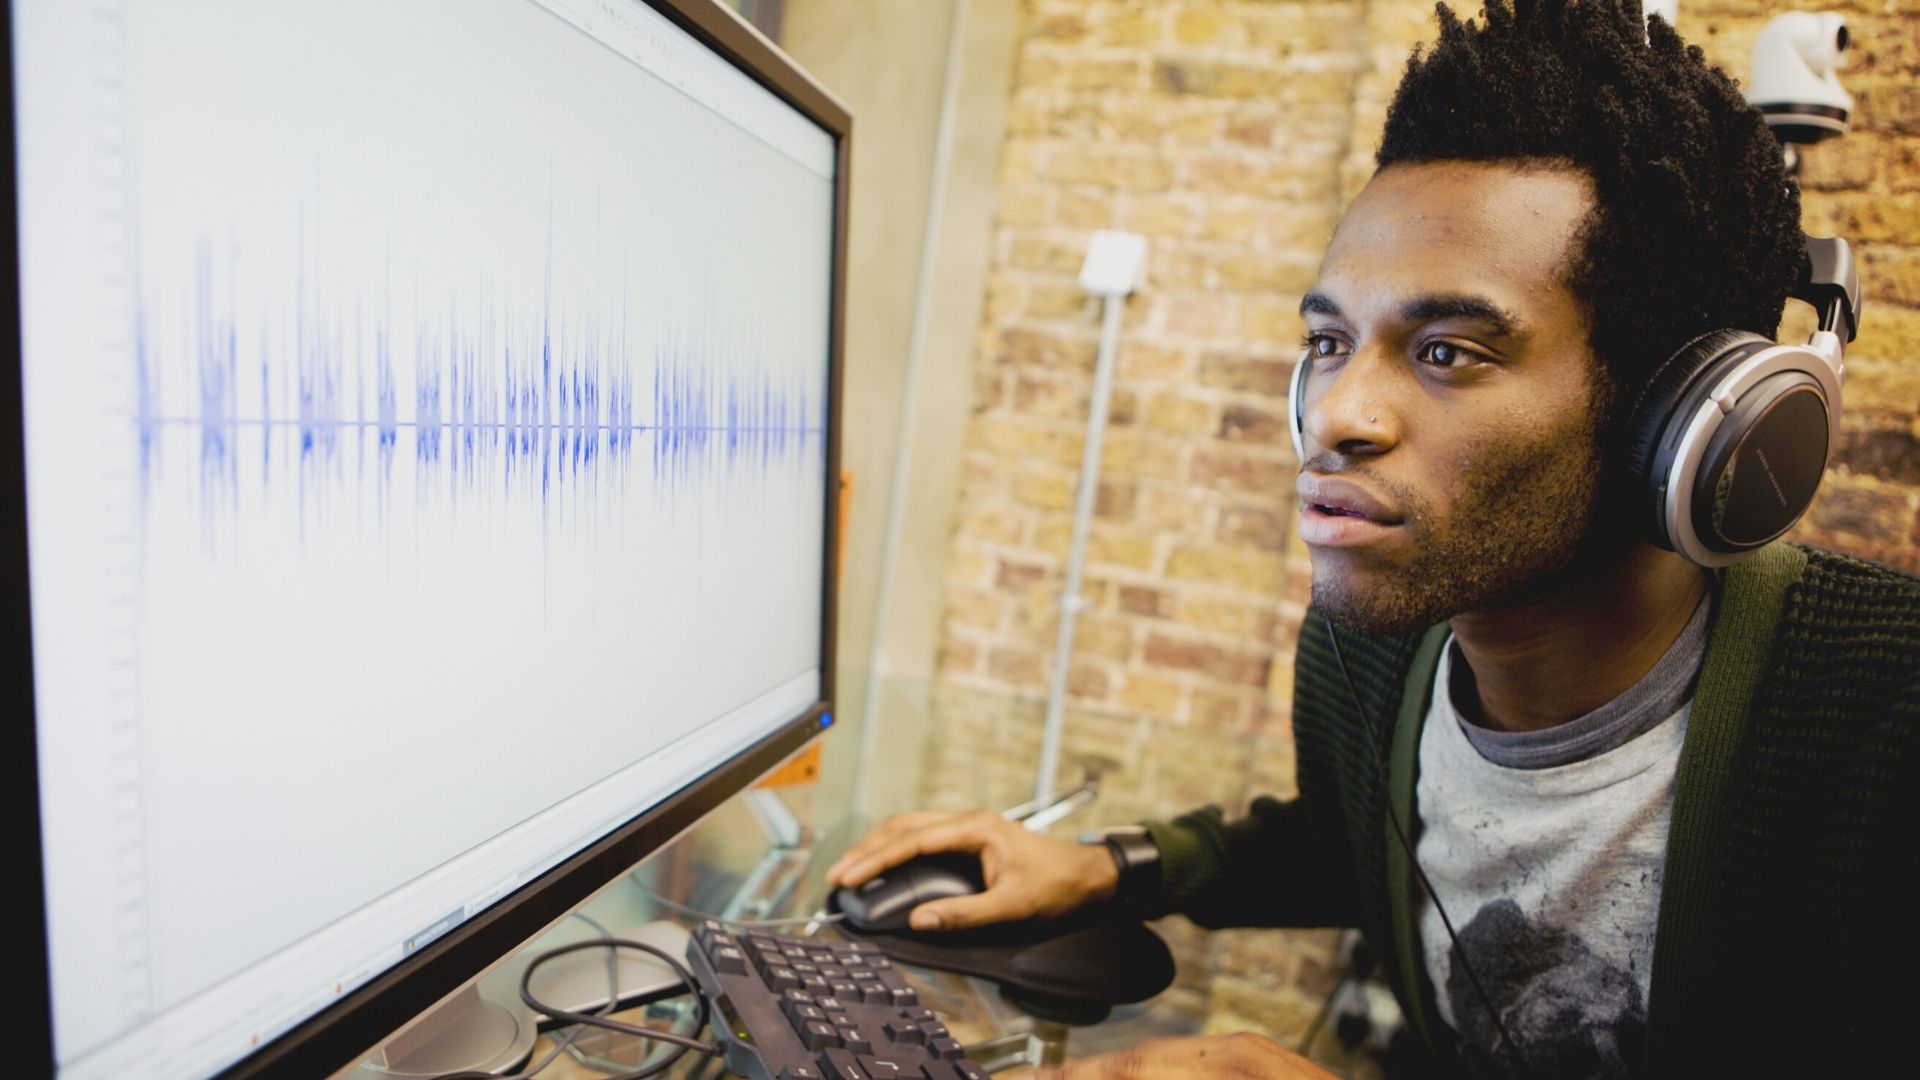
Welcome to our comprehensive guide on how to get rid of static with a microphone using Virtual Audio Cable. If you’re a content creator, musician, or audio enthusiast, you know how frustrating it can be when static interference ruins the quality of your recordings or live performances. Fortunately, with the help of Virtual Audio Cable, you can eliminate static and enjoy crystal-clear audio.
Static noise can be caused by various factors, including interference from electrical devices, damaged cables, or poor grounding. It can significantly affect the sound quality and diminish the overall audio experience. Virtual Audio Cable is a software solution that acts as a virtual audio device, allowing you to route audio signals between different applications or devices on your computer. By utilizing this powerful tool, you can overcome static issues and enhance the performance of your microphone.
In this guide, we will walk you through the step-by-step process of downloading, installing, and configuring Virtual Audio Cable to eliminate static interference. We’ll also provide troubleshooting tips and address common issues you may encounter along the way.
Before we dive into the details, it’s important to note that Virtual Audio Cable is a third-party software and may require a purchase or trial version to use. We recommend checking the official website and reviewing the licensing terms before proceeding with the installation.
Are you ready to improve the audio quality of your microphone and say goodbye to static noise? Let’s get started with the installation process in the next section.
What is static in a microphone?
Static noise is an unwanted audio artifact that can occur when using a microphone. It is characterized by crackling, buzzing, or hissing sounds that can disrupt the clarity and overall quality of the recorded or transmitted audio. Static can be a nuisance for content creators, podcasters, streamers, and anyone who relies on a microphone to deliver professional-quality audio.
There are several causes of static noise in a microphone:
- Electrical interference: Electrical devices and cables in close proximity to the microphone can introduce interference into the audio signal. This interference can be caused by nearby power lines, dimmer switches, computer monitors, or other electronic devices. The electromagnetic fields produced by these devices can interfere with the microphone’s signal and result in static noise.
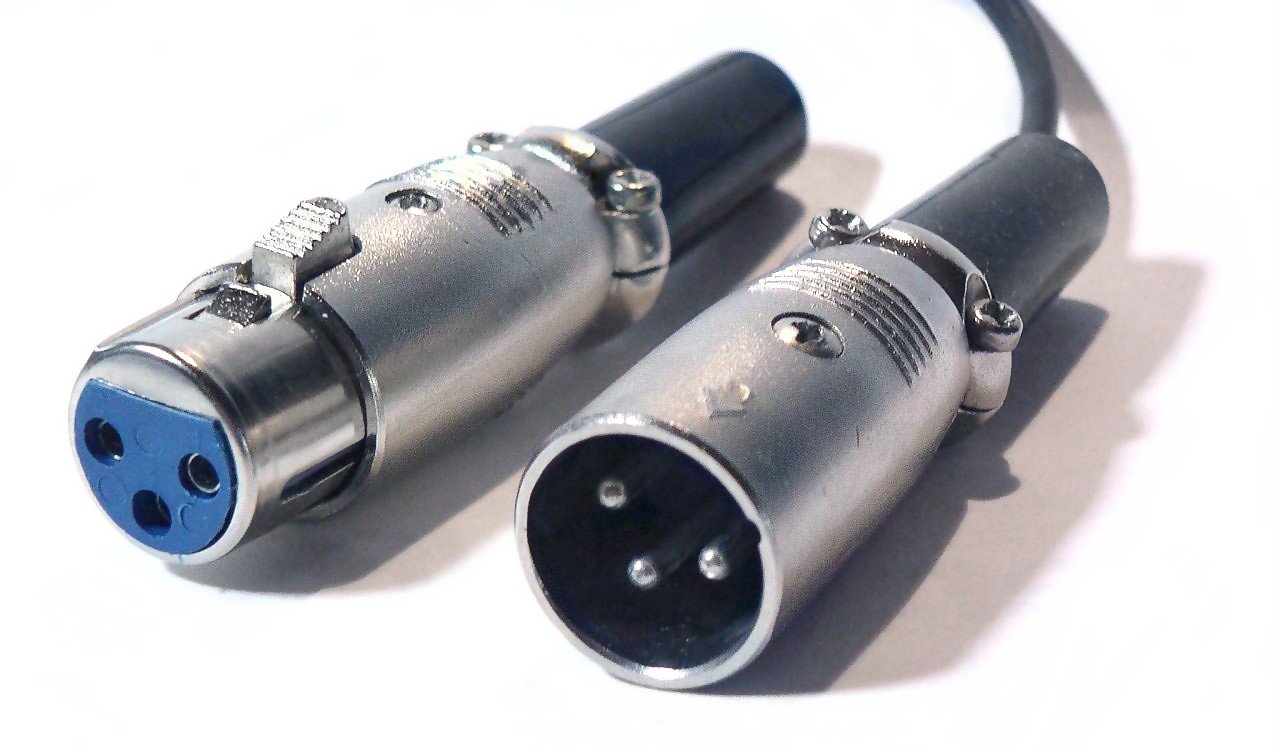
- Damaged cables: Worn-out or damaged cables can also be a source of static noise. If the microphone cable is frayed, bent, or has loose connections, it can cause interference and introduce static into the audio signal.
- Poor grounding: Inadequate grounding can lead to static noise in microphones. Grounding helps to eliminate electrical noise and interference. If the microphone or the audio equipment it is connected to is not properly grounded, static noise can be present.
- Environmental factors: Environmental factors such as radio frequency interference (RFI) or electromagnetic interference (EMI) can contribute to static noise in a microphone. RFI can be caused by radio transmissions, cellular signals, or other wireless devices. EMI can occur when the microphone is located near power sources, transformers, or strong magnetic fields.
Static noise can significantly impact the audio quality and make recordings or live performances less enjoyable. It is crucial to address static issues to ensure clear and professional-sounding audio. Fortunately, by utilizing Virtual Audio Cable, you can mitigate the effects of static interference and achieve optimal audio performance.
In the next section, we will explain Virtual Audio Cable and guide you through the installation process.
Understanding Virtual Audio Cable
Virtual Audio Cable is a software solution that allows you to route audio signals between different applications or devices on your computer. It creates a virtual audio device that acts as a bridge, enabling you to transfer audio streams in real-time. With Virtual Audio Cable, you can effectively manage and manipulate audio inputs and outputs, providing more control over your audio setup.
Here are some key features and benefits of Virtual Audio Cable:
- Audio Routing: Virtual Audio Cable allows you to route audio signals between applications and devices. This means you can choose to send the audio from your microphone to different programs, such as recording software, voice communication tools, or streaming platforms. It provides flexibility in audio management and customization.
- Noise Reduction: One of the main advantages of using Virtual Audio Cable is its ability to reduce or eliminate static noise. By routing your microphone’s audio signal through Virtual Audio Cable, you can apply filters and settings to reduce unwanted noise, resulting in cleaner and clearer audio.
- Customizable Audio Configurations: Virtual Audio Cable allows you to configure various audio parameters according to your preferences. You can adjust sample rates, buffer sizes, and other settings to optimize audio performance and ensure compatibility with different applications.
- Multiple Virtual Cables: Virtual Audio Cable supports the creation of multiple virtual cables, allowing you to route audio between various sources and destinations simultaneously. This flexibility is particularly useful when working with complex audio setups or when needing to combine multiple audio sources for different purposes.
- Real-Time Monitoring: With Virtual Audio Cable, you can monitor audio in real-time, ensuring that the changes you make to the audio settings are immediately reflected. This feature is valuable for adjusting audio levels, applying effects, or monitoring audio quality during live performances or recording sessions.
Please note that Virtual Audio Cable is a third-party software that may require a purchase or trial version to use. It’s important to visit the official website to obtain the software and review the licensing terms. Once you have downloaded and installed Virtual Audio Cable, you can proceed to the next section to learn how to set it up.
Step 1: Download and Install Virtual Audio Cable
The first step in getting rid of static with Virtual Audio Cable is to download and install the software on your computer. Follow these instructions to get started:
- Visit the Official Website: Go to the official website of Virtual Audio Cable. Look for a download page or section where you can obtain the software. Make sure to download the appropriate version compatible with your operating system.
- Choose the Desired Edition: Virtual Audio Cable is available in different editions, each with specific features and capabilities. Evaluate your needs and choose the edition that suits your requirements. The website should provide information about the features included in each edition to help you make an informed decision.
- Proceed with the Download: Once you have chosen the edition, click on the download link to initiate the downloading process. The file size may vary depending on the edition and version.
- Run the Installer: Once the download is complete, locate the installer file in your designated download folder and run it. Follow the on-screen instructions to begin the installation process of Virtual Audio Cable. Make sure to read and accept the licensing agreement if prompted.
- Choose Installation Options: During the installation, you may be presented with options to customize the installation settings. You can choose the default settings or specify a different installation directory if desired. Continue with the installation wizard.
- Complete the Installation: Once the installation is complete, you will receive a confirmation message. It’s recommended to restart your computer to ensure that the changes are properly applied.
Congratulations! You have successfully downloaded and installed Virtual Audio Cable on your computer. In the next section, we will guide you through the process of setting up Virtual Audio Cable for optimal performance.
Step 2: Setting up Virtual Audio Cable
After successfully installing Virtual Audio Cable, the next step is to set it up correctly. Follow the instructions below to configure Virtual Audio Cable for optimal performance:
- Open the Virtual Audio Cable Control Panel: Locate the Virtual Audio Cable Control Panel on your computer. This can typically be found in the Start Menu or the system tray. Double-click on the icon to open the Control Panel.
- Configure the Virtual Cables: In the Virtual Audio Cable Control Panel, you will see a list of available virtual cables. These cables act as virtual audio devices that you can use to route audio signals. By default, there may be one or more virtual cables already created. Make sure to enable or activate the desired number of virtual cables needed for your audio setup.
- Adjust the Buffer Size: The buffer size determines the amount of audio data that is processed at a time. Adjusting the buffer size can help optimize the performance of Virtual Audio Cable. In the Control Panel, locate the “Options” or “Settings” tab and look for the buffer size options. Experiment with different buffer sizes to find the one that works best for your system and reduces latency.
- Configure Sample Rate: The sample rate affects the quality and fidelity of the audio. In the Control Panel, locate the sample rate settings and choose the appropriate sample rate for your needs. The recommended sample rate for most applications is 44100 Hz (44.1 kHz).
- Apply Changes: Once you have made the necessary configurations, click on the “Apply” or “OK” button to save the changes. It may prompt you to restart your computer to apply the settings effectively.
Great! You have successfully set up Virtual Audio Cable on your computer. In the next section, we will guide you through the process of configuring your microphone settings to utilize Virtual Audio Cable and eliminate static noise.
Step 3: Configuring Microphone Settings
Now that you have Virtual Audio Cable set up, it’s time to configure your microphone settings to utilize its features and eliminate static noise. Follow the steps below to configure your microphone with Virtual Audio Cable:
- Open the Sound Settings: Go to your computer’s Control Panel or Settings menu and open the Sound settings.
- Select the Recording Tab: In the Sound settings, navigate to the Recording tab. This tab displays a list of available recording devices connected to your computer.
- Set Virtual Audio Cable as Default: Locate the virtual audio cable that you want to use for your microphone. Right-click on it and select “Set as Default Device”. This will make Virtual Audio Cable the default recording device for your microphone.
- Adjust Microphone Levels: Select your physical microphone from the list of recording devices. Right-click on it and choose “Properties” or “Configure”. In the microphone properties, navigate to the Levels tab and adjust the microphone volume to an appropriate level. Be cautious not to set it too high, as it can lead to distortion and introduce additional noise.
- Apply Changes: Once you have made the necessary adjustments, click on the “Apply” or “OK” button to save the changes.
By configuring your microphone settings to use Virtual Audio Cable as the default recording device, you are now ready to route your microphone’s audio signal through the virtual audio cable and eliminate static noise. In the next section, we will guide you through the process of testing and adjusting the Virtual Audio Cable to ensure optimal performance.
Step 4: Testing and Adjusting the Virtual Audio Cable
After configuring your microphone settings, it’s important to test and adjust the Virtual Audio Cable to ensure that it is functioning properly and effectively eliminating static noise. Follow the steps below to test and adjust the Virtual Audio Cable:
- Open Your Recording Software: Launch your preferred recording software or any application that utilizes audio input.
- Select Virtual Audio Cable as Input: In the audio settings of your recording software, select Virtual Audio Cable as the input device or recording source.
- Test the Microphone: Speak into your microphone and monitor the audio levels in the recording software. Check if the audio signal is being received and if there is any noticeable static noise. Adjust the microphone volume and sensitivity settings if needed.
- Monitor Real-Time Audio: Open the Virtual Audio Cable Control Panel and enable the real-time monitoring option for the virtual audio cable connected to your microphone. This will allow you to hear the audio signal in real-time and make further adjustments if necessary.
- Adjust Buffer Size and Sample Rate: If you encounter latency issues or audio distortion, you may need to adjust the buffer size and sample rate in the Virtual Audio Cable settings. Experiment with different settings to find the optimal configuration for your system.
- Test Different Applications: To ensure that the Virtual Audio Cable is working correctly across different applications, test it with other software or applications that require audio input. Make sure the audio is being routed to the desired destinations without static noise.
By testing and adjusting the Virtual Audio Cable, you can fine-tune the settings and ensure that the static noise is effectively eliminated from your microphone’s audio signal. In the next section, we will provide troubleshooting tips and address common issues that you may encounter while using Virtual Audio Cable.
Step 5: Troubleshooting and Common Issues
While using Virtual Audio Cable to eliminate static noise from your microphone, you may encounter certain issues or face challenges. In this step, we will provide some troubleshooting tips and address common issues that you may come across:
- No Audio Signal: If you’re not getting any audio signal, ensure that you have correctly set Virtual Audio Cable as the default recording device in your computer’s sound settings. Additionally, check the settings of your recording software to ensure that it is configured to use Virtual Audio Cable as the input device.
- Latency Issues: If you experience latency or delay in the audio signal, try adjusting the buffer size in the Virtual Audio Cable settings. Decreasing the buffer size can reduce latency, but be mindful not to set it too low as it may result in audio distortion. Experiment with different buffer size options to find the optimal setting for your system.
- Distorted Audio: If the audio is distorted or crackling, it could be due to an incompatible sample rate setting between your microphone, Virtual Audio Cable, and the recording software. Make sure that all devices are set to the same sample rate, typically 44100 Hz (44.1 kHz), for optimal performance.
- Background Noise: Virtual Audio Cable can help reduce static noise, but it may not eliminate other forms of background noise. Consider using noise reduction plugins or filters within your recording software to further enhance the audio quality and minimize background noise.
- Update Drivers: Ensure that your microphone, sound card, and Virtual Audio Cable drivers are up to date. Outdated drivers can cause compatibility issues and affect the performance of the software.
- Restart Your Computer: If you’re experiencing any issues, a simple restart of your computer can often resolve them. This helps in refreshing the system and applying any necessary updates or changes.
If you’re still encountering issues despite troubleshooting, it may be helpful to visit online forums or seek technical support from the Virtual Audio Cable community or the software’s technical support team.
Congratulations! You have successfully gone through the steps of using Virtual Audio Cable to get rid of static noise with your microphone. By following these steps and addressing common issues, you can enjoy improved audio quality for your recordings, live performances, and communication needs.
Are you ready to experience clear, static-free audio? Go ahead, put your microphone to the test, and enjoy the enhanced audio quality with the help of Virtual Audio Cable!
Conclusion
In conclusion, Virtual Audio Cable is a powerful tool that allows you to eliminate static noise and enhance the audio quality of your microphone. By following the steps outlined in this comprehensive guide, you can successfully utilize Virtual Audio Cable and experience crystal-clear audio for your recordings, live performances, and communication needs.
Throughout this guide, we covered various aspects, including understanding static noise in a microphone, the functionality of Virtual Audio Cable, and step-by-step instructions on downloading, installing, and configuring the software. We also discussed how to properly set up and configure your microphone settings, test and adjust the Virtual Audio Cable, and troubleshoot common issues that may arise.
With Virtual Audio Cable, you have the ability to route audio signals, reduce static noise, customize audio configurations, and have real-time monitoring of your microphone’s audio signal. This flexibility and control allow you to create professional-quality recordings, live performances, podcasts, streams, and more.
Remember to always ensure that you have the latest drivers installed for your microphone, sound card, and Virtual Audio Cable, as outdated drivers can cause compatibility issues and affect overall performance.
By following these guidelines and troubleshooting suggestions, you’ll be well on your way to enjoying clear and pristine audio without the annoyance of static noise and unwanted interference.
Now, armed with the knowledge and tools provided in this guide, you can confidently utilize Virtual Audio Cable to unlock the full potential of your microphone and deliver outstanding audio experiences.
So, don’t let static noise hold you back any longer. Download Virtual Audio Cable, configure your microphone settings, and get ready to enjoy crisp, clean, and professional-quality audio for all your recording and audio needs!