Home>Production & Technology>Audio Cable>Audio Crackle When Virtual Audio Cable Is Enabled

Audio Cable
Audio Crackle When Virtual Audio Cable Is Enabled
Modified: February 19, 2024
Experiencing crackling audio when using Virtual Audio Cable? Learn how to troubleshoot and fix audio issues caused by enabling this audio cable virtualization software.
(Many of the links in this article redirect to a specific reviewed product. Your purchase of these products through affiliate links helps to generate commission for AudioLover.com, at no extra cost. Learn more)
Table of Contents
Introduction
Audio crackling or distortion can be a frustrating issue when using Virtual Audio Cable. Whether you’re a professional audio engineer, a gamer, or someone who enjoys listening to high-quality music, this problem can greatly impact your experience. Virtual Audio Cable (VAC) is a software program that allows you to transfer audio streams from one application to another. It acts as a virtual audio cable, connecting the audio outputs of one program to the inputs of another.
However, sometimes when using VAC, you may encounter crackling or popping sounds in your audio playback. These unwanted noises can occur for various reasons, including incorrect settings, outdated drivers, conflicting software, or hardware issues.
In this article, we will explore the possible causes of audio crackle when Virtual Audio Cable is enabled and provide troubleshooting steps to help you resolve this issue. By following these steps, you can enjoy a smooth, uninterrupted audio experience and make the most out of your Virtual Audio Cable setup.
Causes of Audio Crackle
Audio crackling or popping noises can occur for several reasons when Virtual Audio Cable is enabled. Understanding these causes can help you pinpoint the issue and find an appropriate solution. Here are some common causes:
- Driver issues: Outdated or incompatible audio drivers can lead to audio crackling. Drivers are software programs that allow your computer’s operating system to communicate with audio devices. If your audio drivers are outdated or not properly installed, it can result in distorted audio playback.
- Incorrect sample rate: The sample rate is the number of audio samples captured per second. If the sample rate settings in Virtual Audio Cable and your audio applications are not aligned, it can cause audio crackling. Mismatched sample rates can result in data loss and cause audio distortion.
- Buffer size: The buffer size determines the amount of audio data stored before it is processed by your computer’s audio system. A low buffer size can lead to audio crackling as your system struggles to handle the incoming audio data in real time. On the other hand, a high buffer size can introduce latency or delay between audio input and output.
- Conflicting software or hardware: Sometimes, other installed software or hardware components can conflict with Virtual Audio Cable and lead to audio crackling. This can include antivirus programs, audio processing plugins, or even faulty audio cables and connectors.
- Insufficient system resources: If your computer does not have enough processing power or memory to handle the audio data being transferred through Virtual Audio Cable, it can result in audio crackling. Running resource-intensive programs simultaneously or having too many background processes can overload your system and affect audio performance.
By identifying the possible causes of audio crackle when using Virtual Audio Cable, you can now proceed to the troubleshooting steps to resolve this issue. It’s important to address each potential cause systematically to pinpoint the exact source of the problem and find an appropriate solution.
Troubleshooting Virtual Audio Cable Enabled Crackle
If you’re experiencing audio crackling or popping noises when Virtual Audio Cable is enabled, there are several troubleshooting steps you can take to resolve the issue. Follow these steps systematically until you find a solution:
- Update your audio drivers: Outdated or incompatible audio drivers can cause audio crackling. Visit the manufacturer’s website or use a reliable driver update software to download and install the latest audio drivers for your sound card or audio interface. Restart your computer after the installation to ensure the changes take effect.
- Adjust the sample rate and buffer size: Open the Virtual Audio Cable control panel and check the sample rate settings. Ensure that the sample rate matches the settings of your audio applications. Additionally, try increasing the buffer size to reduce the strain on your computer’s resources and potentially eliminate crackling. Experiment with different buffer sizes to find the optimal setting for your system.
- Configure Virtual Audio Cable settings: In the Virtual Audio Cable control panel, you can adjust the cable settings to optimize audio performance. Consider increasing the cable’s quality setting or adjusting other advanced parameters according to your specific needs and hardware capabilities.
- Check for conflicting software or hardware: Disable any antivirus programs, audio processing plugins, or other software that may be conflicting with Virtual Audio Cable. Disconnect and reconnect audio cables to ensure they are secure and not causing any signal interruptions. If possible, try using different cables or connectors to rule out any faulty hardware.
- Ensure sufficient system resources: Close any unnecessary programs and processes running in the background to free up resources for Virtual Audio Cable. This includes resource-intensive applications like video editing software or games. Consider upgrading your computer’s hardware if you consistently encounter audio crackling due to insufficient system resources.
If the above troubleshooting steps do not resolve the audio crackle issue, you may want to consider using an alternative to Virtual Audio Cable. There are other virtual audio routing programs available that may provide a more stable and reliable audio transfer solution for your specific needs. Research and consult user reviews to find a suitable alternative.
By systematically troubleshooting and applying these steps, you should be able to identify and resolve the audio crackling issue when using Virtual Audio Cable. Enjoy a seamless and high-quality audio experience with your virtual audio routing setup.
Updating Audio Drivers
Outdated or incompatible audio drivers can often be the culprit behind audio crackling when Virtual Audio Cable is enabled. Therefore, updating your audio drivers should be one of the first steps you take in troubleshooting this issue. Here’s how to update your audio drivers:
- Identify your audio device: Before updating your audio drivers, you need to know the make and model of your audio device. This can usually be found in the Device Manager on Windows or System Information on Mac. Make note of this information for the next steps.
- Visit the manufacturer’s website: Once you have identified your audio device, go to the manufacturer’s website. Look for the support or driver download section and search for the latest audio drivers for your device. Download the appropriate drivers for your operating system.
- Uninstall the old drivers: Before installing the new drivers, it is recommended to uninstall the old drivers from your system. To do this, go to the Device Manager (Windows) or the Audio MIDI Setup (Mac), find your audio device, right-click (Windows) or Control-click (Mac) on it, and select “Uninstall” or “Remove.” Follow any additional prompts to complete the uninstallation process.
- Install the new drivers: After uninstalling the old drivers, locate the downloaded driver files and run the installer. Follow the on-screen instructions to install the new drivers on your system. Restart your computer after the installation is complete to ensure the changes take effect.
- Test the audio: Once you have updated your audio drivers and restarted your computer, test the audio playback with Virtual Audio Cable enabled. Check if the crackling or popping noises have been resolved. If the issue persists, proceed to the next troubleshooting steps.
Updating your audio drivers is an essential step in resolving audio crackling issues when using Virtual Audio Cable. It ensures that your system is equipped with the latest software necessary for smooth and uninterrupted audio playback. Remember to regularly check for driver updates to keep your audio device functioning optimally.
Adjusting Sample Rate and Buffer Size
One of the common causes of audio crackling when Virtual Audio Cable is enabled is a mismatch between the sample rate settings of your audio applications and the Virtual Audio Cable itself. Adjusting the sample rate and buffer size can help resolve this issue and improve audio playback quality. Here’s how you can do it:
- Open the Virtual Audio Cable control panel: Locate and open the control panel for Virtual Audio Cable on your computer. This panel allows you to adjust various settings related to the audio routing.
- Check the sample rate settings: In the Virtual Audio Cable control panel, locate the sample rate settings. Ensure that the sample rate matches the settings of the audio applications you are using. Mismatched sample rates can cause data loss and result in audio crackling. Common sample rates include 44.1 kHz, 48 kHz, and 96 kHz.
- Adjust the buffer size: The buffer size determines the amount of audio data that is stored before it is processed by your computer’s audio system. A low buffer size can cause audio crackling as the system struggles to process the incoming audio data in real-time. On the other hand, a high buffer size can introduce latency or delay between audio input and output. Experiment with different buffer sizes to find the optimal setting for your system.
- Test the audio: After adjusting the sample rate and buffer size settings, test the audio playback with Virtual Audio Cable enabled. Check if the crackling or popping noises have been resolved. If the issue persists, you may need to further troubleshoot other potential causes.
By ensuring that your sample rate settings are correctly aligned and adjusting the buffer size accordingly, you can improve the audio performance and minimize audio crackling issues when using Virtual Audio Cable. Remember to test the audio playback after making these adjustments to verify the improvement.
Configuring Virtual Audio Cable Settings
Configuring the settings of Virtual Audio Cable can help optimize audio performance and reduce crackling or popping noises. By adjusting these settings, you can ensure that the software is properly configured for your system. Here are some key settings to consider:
- Cable quality: In the Virtual Audio Cable control panel, you may find a setting for cable quality or audio fidelity. Increasing the cable quality can enhance the audio transfer and reduce the chances of crackling. However, keep in mind that higher quality settings may require more system resources, so find a balance that works for your specific setup.
- Latency compensation: Virtual Audio Cable typically introduces some latency or delay in the audio transmission process. This delay can be compensated by adjusting the latency settings in the software. Lowering the latency can reduce the gap between audio input and output, minimizing the chances of crackling. However, setting a very low latency may impact system performance, so consider finding a suitable compromise.
- Driver-related settings: Virtual Audio Cable may provide additional settings related to its drivers or audio routing. Explore these options to ensure they are correctly configured for your system. Sometimes, specific driver settings can affect audio performance and cause crackling. Adjust them according to your needs and the recommendations provided by the software.
- Experiment and test: After configuring the settings, it’s important to test the audio playback with Virtual Audio Cable enabled. Play different types of audio, such as music, videos, or game sounds that may have caused crackling in the past. Listen carefully for any signs of audio distortion or crackling. If the issue persists, consider revisiting the settings and making further adjustments.
Remember that the optimal settings for Virtual Audio Cable may vary depending on your specific hardware and software configuration. It may take some trial and error to find the best combination of settings that minimizes audio crackling. Take the time to experiment and test different settings until you achieve the desired audio performance.
Checking for Conflicting Software or Hardware
Conflicting software or hardware can often be a reason behind audio crackling when Virtual Audio Cable is enabled. Interference from other programs or faulty hardware can disrupt the audio transfer process and lead to undesired crackling or popping noises. Here are some steps you can take to identify and resolve potential conflicts:
- Disable antivirus programs: Some antivirus programs may interfere with Virtual Audio Cable’s operation and cause audio issues. Temporarily disable your antivirus software and check if the crackling problem persists. If the issue is resolved, consider adding Virtual Audio Cable as an exception in your antivirus settings or switching to a different antivirus program.
- Close audio processing plugins: If you have any audio processing plugins or effects running in your audio applications, try disabling them temporarily. Sometimes, these plugins can conflict with Virtual Audio Cable and lead to crackling. Enable them one by one to identify if a specific plugin is causing the issue.
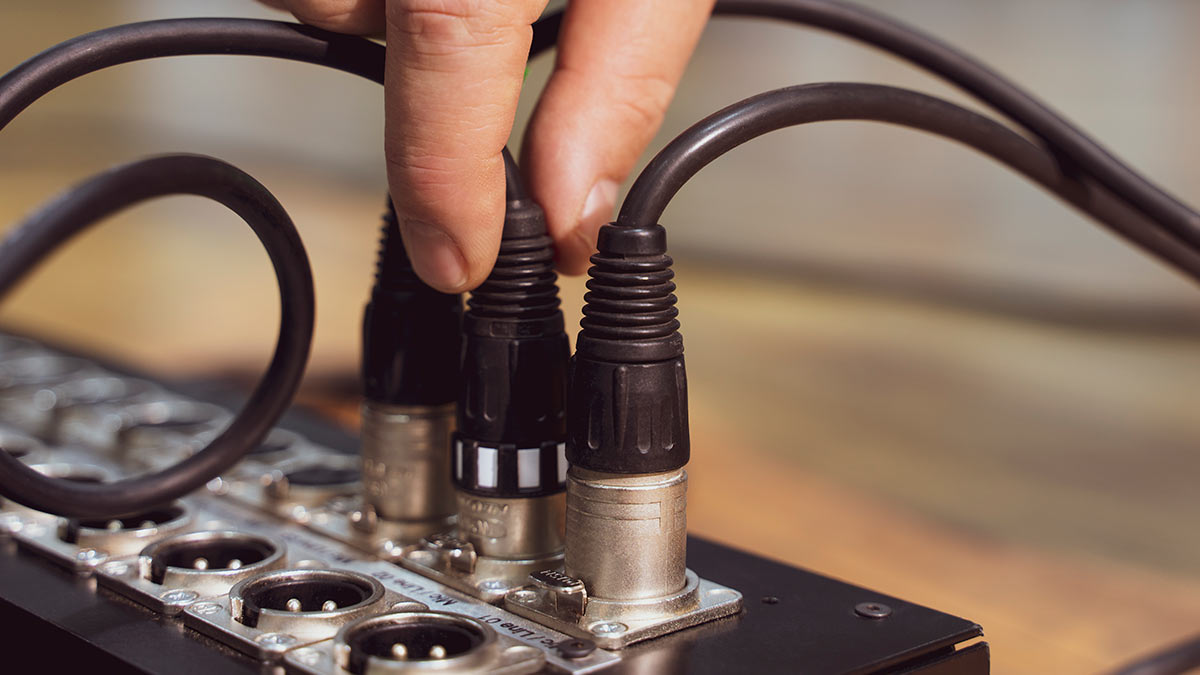
- Check audio cables and connectors: Faulty audio cables or connectors can also introduce crackling in the audio signal. Ensure that all your cables are properly connected and in good condition. If possible, try using different cables or connectors to see if the crackling issue persists. Additionally, check for any loose connections or damaged cables that may be causing interference.
- Update or reinstall conflicting software: If you suspect that a particular software program is causing conflicts with Virtual Audio Cable, try updating it to the latest version. Check the software’s website for any available updates or patches. If updates do not resolve the issue, consider reinstalling the software entirely. Sometimes, a fresh installation can help resolve compatibility or conflict problems.
- Update firmware or drivers for hardware devices: Outdated firmware or drivers for your audio interface, sound card, or other hardware components can also cause audio crackling. Visit the manufacturer’s website and check for any available firmware or driver updates. Install the latest updates and restart your computer to ensure the changes take effect.
By checking for conflicting software or hardware and addressing any issues, you can improve the stability of Virtual Audio Cable and eliminate crackling in your audio playback. Take the time to systematically identify potential conflicts and follow the appropriate steps to resolve them. This will help ensure a smooth and uninterrupted audio experience.
Using an Alternative Virtual Audio Cable Program
If you have tried all the troubleshooting steps and are still experiencing audio crackling when using Virtual Audio Cable, it may be worth considering using an alternative virtual audio cable program. There are several other software options available that can provide similar audio routing capabilities. Here’s why you might want to explore this option:
Improved compatibility: Different virtual audio cable programs may have varying levels of compatibility with your specific system and audio setup. By trying out alternative software, you may find one that works better with your hardware and software configuration, resulting in a smoother and crackle-free audio experience.
Additional features: Alternative virtual audio cable programs may offer additional features or customization options that can enhance your audio routing capabilities. These features could include advanced latency control, built-in audio effects, or more extensive routing options. Exploring these alternatives may provide you with a solution that not only resolves the crackling issue but also offers additional benefits for your audio setup.
User recommendations: Online communities and forums dedicated to audio enthusiasts or professionals often discuss different virtual audio cable programs. Reading user reviews and recommendations can give you insights into the experiences of other users who have faced similar issues and found success with alternative software options. Consider researching and seeking recommendations from these sources to find a suitable alternative.
Compatibility with specific applications: Some virtual audio cable programs may be better suited for certain applications or use cases. For example, if you primarily use virtual audio cable for gaming, there may be software specifically developed for gaming scenarios that offer better performance and compatibility. Evaluate your specific needs and consider trying out alternative options that align with them.
When exploring alternative virtual audio cable programs, be sure to consider factors such as ease of use, stability, and user support. It is recommended to download trial versions or demo versions of the software to test their compatibility with your system before making a purchase or committing to a specific program.
While Virtual Audio Cable is a widely used software program, it may not be the best fit for everyone. By considering alternative virtual audio cable programs, you can find a solution that meets your specific needs and provides a seamless and high-quality audio routing experience.
Conclusion
Audio crackling when Virtual Audio Cable is enabled can be a frustrating issue that hampers your audio experience. However, by following the troubleshooting steps outlined in this article, you can resolve this problem and enjoy smooth and uninterrupted audio playback. Here’s a summary of the key points discussed:
First, identify the possible causes of audio crackle, such as outdated drivers, incorrect sample rate settings, or conflicting software or hardware. Once you have narrowed down the potential causes, you can proceed with the troubleshooting steps.
Update your audio drivers to ensure they are compatible and up to date. This can significantly improve audio performance and eliminate crackling.
Adjust the sample rate and buffer size settings in Virtual Audio Cable to ensure alignment with your audio applications. Finding the optimal settings can minimize audio crackling and deliver high-quality playback.
Configure the settings in Virtual Audio Cable, such as cable quality and latency compensation, to optimize audio performance based on your specific needs and hardware capabilities.
Check for any conflicting software or hardware that may be causing audio crackling. Disable or update antivirus programs, close audio processing plugins, and check the integrity of your audio cables and connectors.
If all else fails, consider using an alternative virtual audio cable program that may provide better compatibility and additional features to enhance your audio routing setup.
Remember to test the audio playback after each troubleshooting step to verify if the issue has been resolved.
By systematically addressing each potential cause and following these troubleshooting steps, you can overcome audio crackling when using Virtual Audio Cable and enjoy a seamless and immersive audio experience.
Lastly, if you’re still unable to resolve the issue, don’t hesitate to seek assistance from online communities or professional audio forums. The collective knowledge and experience of others can often provide valuable insights and solutions to complex audio issues.
Now that you have a comprehensive understanding of the causes and troubleshooting methods for audio crackling with Virtual Audio Cable, you can confidently rectify the issue and fully utilize the capabilities of this powerful audio routing software.

