Home>Production & Technology>Audio Cable>How To Use A Virtual Audio Cable For Obs


Audio Cable
How To Use A Virtual Audio Cable For Obs
Modified: January 22, 2024
Learn how to use a virtual audio cable for OBS and enhance your audio streaming experience. Connect and route audio signals easily with an audio cable.
(Many of the links in this article redirect to a specific reviewed product. Your purchase of these products through affiliate links helps to generate commission for AudioLover.com, at no extra cost. Learn more)
Table of Contents
- Introduction
- What is a Virtual Audio Cable?
- Why Use a Virtual Audio Cable?
- Steps to Set Up a Virtual Audio Cable for OBS
- Step 1: Installing a Virtual Audio Cable Software
- Step 2: Configuring Virtual Audio Cable
- Step 3: Setting up OBS with Virtual Audio Cable
- Step 4: Testing the Virtual Audio Cable Setup
- Troubleshooting Common Issues
- Conclusion
Introduction
Welcome to the world of audio cables! Whether you are a music enthusiast, a podcaster, or a live streamer, having high-quality audio is crucial for an immersive and professional experience. While physical audio cables have traditionally been used to connect devices, a virtual audio cable offers a versatile and convenient alternative. In this article, we will explore the concept of a virtual audio cable and its importance, specifically in the context of using it with OBS (Open Broadcaster Software).
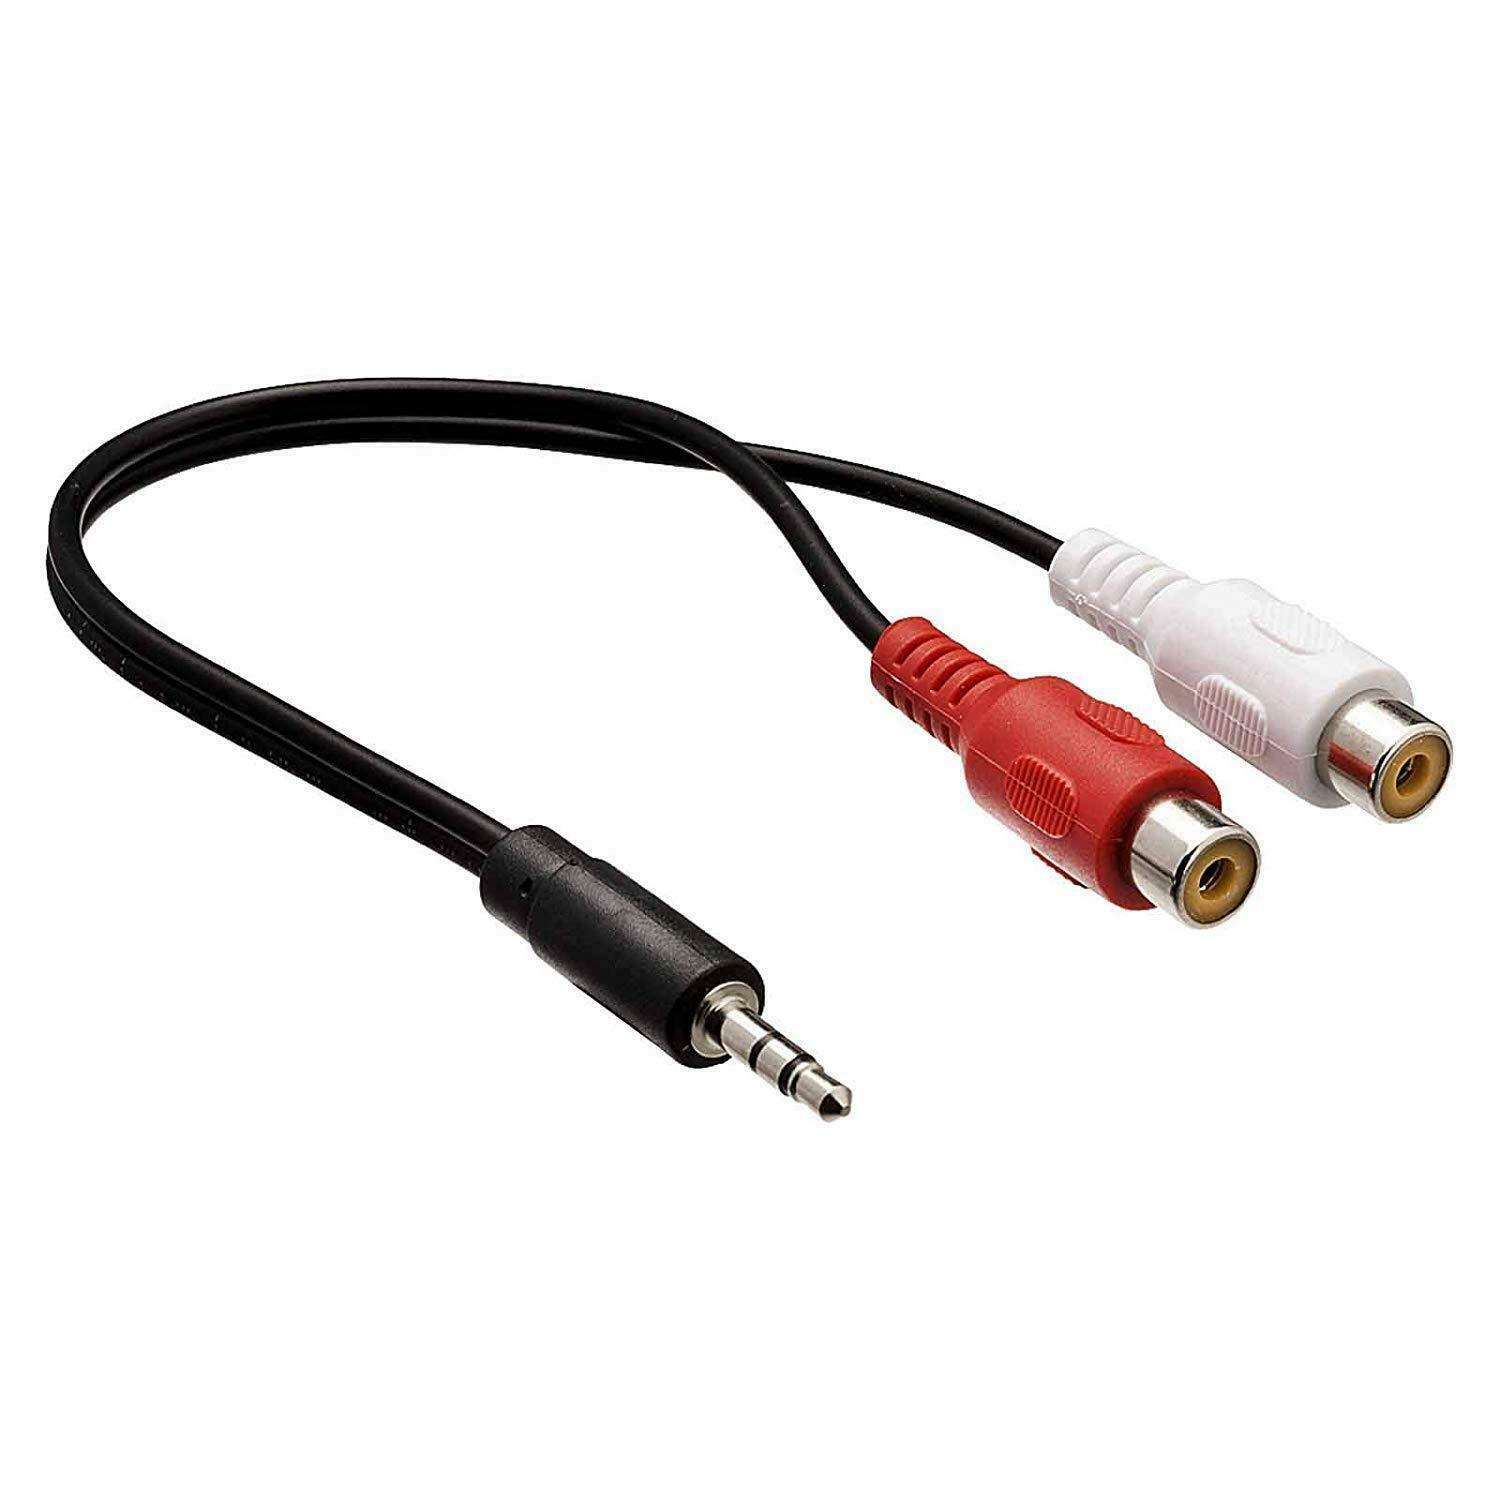
So, what exactly is a virtual audio cable? In simple terms, it is a software-based solution that replicates the functionality of a physical audio cable. It allows you to route audio signals between different applications or devices within your computer. With a virtual audio cable, you can capture and transmit audio from sources like microphones, media players, and system sounds to recording software, streaming platforms, and various other applications.
Why should you consider using a virtual audio cable instead of traditional physical cables? There are several advantages to using a virtual audio cable, including:
- Flexibility: Unlike physical cables, a virtual audio cable gives you the freedom to route audio signals without the constraints of hardware connections. You can easily configure and change routing settings based on your specific needs.
- Convenience: With a virtual audio cable, you can avoid the hassle of dealing with physical cables and the need for additional hardware. It simplifies the process of setting up audio connections and offers a more streamlined experience.
- Multiple Inputs and Outputs: Virtual audio cables provide the ability to route audio signals from multiple sources to multiple destinations simultaneously. This is especially useful for tasks such as recording interviews, podcasting, or live streaming with multiple audio sources.
- Audio Quality: A well-configured virtual audio cable can offer excellent audio quality, comparable to using physical cables. By eliminating potential signal degradation and interference, you can achieve pristine audio recordings.
In the next sections, we will walk you through the steps of setting up a virtual audio cable for OBS. OBS is a popular open-source software used for live streaming and recording, and integrating it with a virtual audio cable will elevate the audio capabilities of your content. So, let’s dive in and get started!
What is a Virtual Audio Cable?
A virtual audio cable is a software-based solution that emulates the functionality of a physical audio cable. It allows you to create virtual audio devices within your computer, which can be used to route audio signals between applications or devices. Essentially, it acts as a virtual conduit for audio data, enabling you to transmit and receive audio seamlessly.
Unlike physical cables, virtual audio cables operate entirely within your computer’s software environment. They create virtual audio inputs and outputs that can be utilized by various applications, allowing for flexible and configurable routing of audio signals. This means that you can send audio from one application to another without the need for physical connections, giving you greater control over your audio setup.
Virtual audio cables can be beneficial in a variety of scenarios. For example, if you are a musician or podcaster, you can use a virtual audio cable to route audio from your microphone or musical instruments directly into your recording software, eliminating the need for external audio interfaces or mixers. This streamlined setup can save you time and money while still delivering high-quality audio.
Additionally, virtual audio cables are often used in live streaming setups. They allow you to capture audio from multiple sources, such as microphones, game audio, and music players, and route them into your streaming software. This enables you to create professional-quality streams with synchronized audio from different sources.
Virtual audio cables also play a crucial role in the broadcasting industry. They are commonly used in radio stations and television production facilities to route audio between different devices and software applications. The ability to configure specific audio paths and mix different audio sources together provides broadcasters with the flexibility and control necessary to produce high-quality content.
It’s important to note that virtual audio cables are not limited to a specific operating system. Whether you are using Windows, Mac, or Linux, you can find virtual audio cable solutions that are compatible with your system. These tools typically come with user-friendly interfaces that allow you to configure and manage the virtual audio devices with ease.
In summary, a virtual audio cable is a software-based solution that replicates the functionality of physical audio cables. It allows for flexible audio routing within your computer, making it an essential tool for musicians, podcasters, live streamers, broadcasters, and anyone else who requires precise control over their audio setup.
Why Use a Virtual Audio Cable?
Virtual audio cables offer numerous benefits and advantages over traditional physical cables. Here are some compelling reasons why you should consider using a virtual audio cable for your audio setup:
- Flexibility and Versatility: Virtual audio cables provide unparalleled flexibility in routing audio signals. Unlike physical cables, which require physical connections and fixed configurations, virtual audio cables allow you to easily route audio between different applications or devices within your computer. You can create custom audio paths, mix audio sources, and configure specific routing setups according to your needs. This level of flexibility is especially valuable for creators who work with multiple audio sources, such as musicians, podcasters, and live streamers.
- Convenience and Portability: Virtual audio cables eliminate the need for physical cables and external audio interfaces. This means fewer hardware components to manage, less clutter on your desk, and increased portability. You can easily transfer your audio setup to another computer or laptop without the hassle of disconnecting and reconnecting physical cables. Virtual audio cables also simplify the process of setting up and adjusting your audio configuration, saving you time and effort.
- Multiple Inputs and Outputs: With virtual audio cables, you can route audio from multiple sources to multiple destinations simultaneously. This is particularly useful for content creators who require complex audio setups. For example, you can capture audio from multiple microphones, mixers, or music players and route them to different applications or recording software. Managing multiple inputs and outputs becomes seamless with virtual audio cables, allowing for pristine recordings and professional-quality output.
- Audio Quality: While virtual audio cables rely on digital processing, they can deliver excellent audio quality when configured correctly. Unlike physical cables, which can sometimes introduce signal degradation or interference, virtual audio cables maintain the integrity of the audio signals. This is especially important for recording music, podcasts, or live streaming where audio fidelity is crucial. By using virtual audio cables, you can achieve clear, distortion-free, and high-fidelity audio recordings.
- Integration with Software Applications: Virtual audio cables seamlessly integrate with various software applications, including digital audio workstations (DAWs), streaming software, video editing tools, and more. This integration allows for efficient and effective collaboration between different applications, enabling you to create complex audio setups and achieve your desired audio results. Virtual audio cables act as the bridge that connects different software components, facilitating smooth communication and enhancing your overall audio production workflow.
In summary, virtual audio cables provide a range of advantages, including flexibility, convenience, multiple input and output options, high audio quality, and seamless integration with software applications. By using virtual audio cables, you can optimize your audio setup, simplify your workflow, and deliver professional-quality audio in various creative contexts.
Steps to Set Up a Virtual Audio Cable for OBS
If you’re looking to integrate a virtual audio cable with OBS (Open Broadcaster Software) for your live streaming or recording setup, follow these step-by-step instructions:
- Step 1: Installing a Virtual Audio Cable Software: Start by researching and selecting a virtual audio cable software that is compatible with your operating system. Some popular options include Virtual Audio Cable, VB-Audio Virtual Cable, and Blackhole. Download the software from the official website and follow the installation instructions to install it on your computer.
- Step 2: Configuring Virtual Audio Cable: Once the virtual audio cable software is installed, open the configuration settings. Here, you can set the number of virtual audio cables you want to create and configure their properties, such as sample rate and buffer size. Adjust these settings according to your audio needs, but keep in mind that higher sample rates and buffer sizes may require more processing power from your computer.
- Step 3: Setting up OBS with Virtual Audio Cable: Open OBS and go to the “Settings” menu. Click on the “Audio” tab and choose the virtual audio cable as the audio device for both the “Mic/Auxiliary Audio” and “Desktop Audio” sections. This selection will route the audio input and output through the virtual audio cable.
- Step 4: Testing the Virtual Audio Cable Setup: To ensure everything is working correctly, it’s essential to test the virtual audio cable setup. Open a media player or any other audio source and play some audio. Check if OBS is capturing the audio correctly and that it is being routed through the virtual audio cable. You can do this by starting a local recording or doing a test live stream while monitoring the audio levels. Make any necessary adjustments in the OBS audio settings or in the virtual audio cable software to achieve the desired audio quality.
It’s worth noting that the configuration process may vary slightly depending on the virtual audio cable software you are using and the specific requirements of your audio setup. Consult the documentation provided by the virtual audio cable software’s developer for detailed instructions and troubleshooting guidance.
Remember, setting up a virtual audio cable with OBS requires careful configuration and testing to ensure optimal audio performance. Take the time to experiment, adjust the settings, and test different audio sources to achieve the best results for your live streams or recordings.
With these steps, you are now ready to harness the power of a virtual audio cable within OBS. Enjoy the enhanced audio capabilities and take your content creation to the next level!
Step 1: Installing a Virtual Audio Cable Software
The first step in setting up a virtual audio cable for OBS is to install the necessary virtual audio cable software on your computer. There are several options available, depending on your operating system and personal preferences. Here’s a general guide to help you through the installation process:
- Research and choose a virtual audio cable software: Start by researching different virtual audio cable software options. Some popular choices include Virtual Audio Cable, VB-Audio Virtual Cable, and Blackhole. Visit their official websites to learn more about their features, compatibility, and pricing (if applicable). Consider your specific needs and select the software that best suits your requirements.
- Download the software: Once you have chosen a virtual audio cable software, proceed with downloading it from the official website. Look for a download link on the website or navigate to the Downloads section. Make sure you download the version that is compatible with your operating system (Windows, Mac, or Linux).
- Run the installer: Locate the downloaded file and run the installer. Follow the on-screen instructions to install the virtual audio cable software on your computer. Take note of any additional configuration steps or settings that may be required during the installation process.
- Launch the virtual audio cable software: After the installation is complete, locate the virtual audio cable software on your computer and launch it. Depending on the software you installed, you may find it in your applications folder, system tray, or desktop shortcut.
- Check for updates: It’s a good practice to check for updates to ensure you have the latest version of the virtual audio cable software. Look for an “Update” or “Check for Updates” option within the software’s interface. By keeping the software up to date, you can benefit from bug fixes, new features, and improved performance.
Keep in mind that the installation process may vary slightly depending on the virtual audio cable software you choose. It’s always recommended to consult the software’s documentation or support resources for specific instructions related to installation and configuration.
Once the virtual audio cable software is successfully installed on your computer, you are ready to proceed to the next step: configuring the virtual audio cable. This step is crucial for setting up the audio routing and ensuring optimal performance. We’ll dive into the configuration process in the next section.
Step 2: Configuring Virtual Audio Cable
After installing the virtual audio cable software, the next step is to configure it according to your audio requirements. Each virtual audio cable software may have a different interface and configuration options, but the general process remains the same. Follow these steps to configure your virtual audio cable:
- Open the virtual audio cable software: Locate the virtual audio cable software on your computer and open it. Depending on the software, you may find it in the system tray, applications folder, or desktop shortcut.
- Access the settings or configuration: Look for a settings or configuration option within the virtual audio cable software’s interface. This may be in the form of a gear icon, a menu, or a dedicated settings section. Click on it to access the configuration options.
- Set the number of virtual audio cables: In the configuration settings, you will typically find an option to set the number of virtual audio cables you want to create. This determines how many audio channels you can route separately. Consider your specific audio needs and set the desired number of virtual audio cables accordingly.
- Configure properties: Along with setting the number of virtual audio cables, you may have the option to configure additional properties such as sample rate, buffer size, or channel mode. These settings affect the audio quality and performance of the virtual audio cables. Adjust them based on your requirements and the capabilities of your computer.
- Save and apply the configurations: Once you have adjusted the settings and properties to your liking, make sure to save and apply the configurations. Look for a save or apply button within the virtual audio cable software’s interface. This ensures that your settings are implemented and will take effect during the audio routing process.
It’s important to note that the specific options and configuration steps may vary depending on the virtual audio cable software you are using. Some software may have more advanced or specific configuration settings available. Therefore, it’s recommended to consult the software’s documentation or support resources for detailed instructions on configuring the virtual audio cable.
Configuring the virtual audio cable is crucial for ensuring optimal audio routing performance and compatibility with other applications, including OBS. With the virtual audio cable properly configured, you are now ready to move on to the next step of setting up OBS with the virtual audio cable.
Step 3: Setting up OBS with Virtual Audio Cable
With the virtual audio cable software installed and configured, it’s time to integrate it with OBS (Open Broadcaster Software) to take advantage of its audio routing capabilities. Follow these steps to set up OBS with the virtual audio cable:
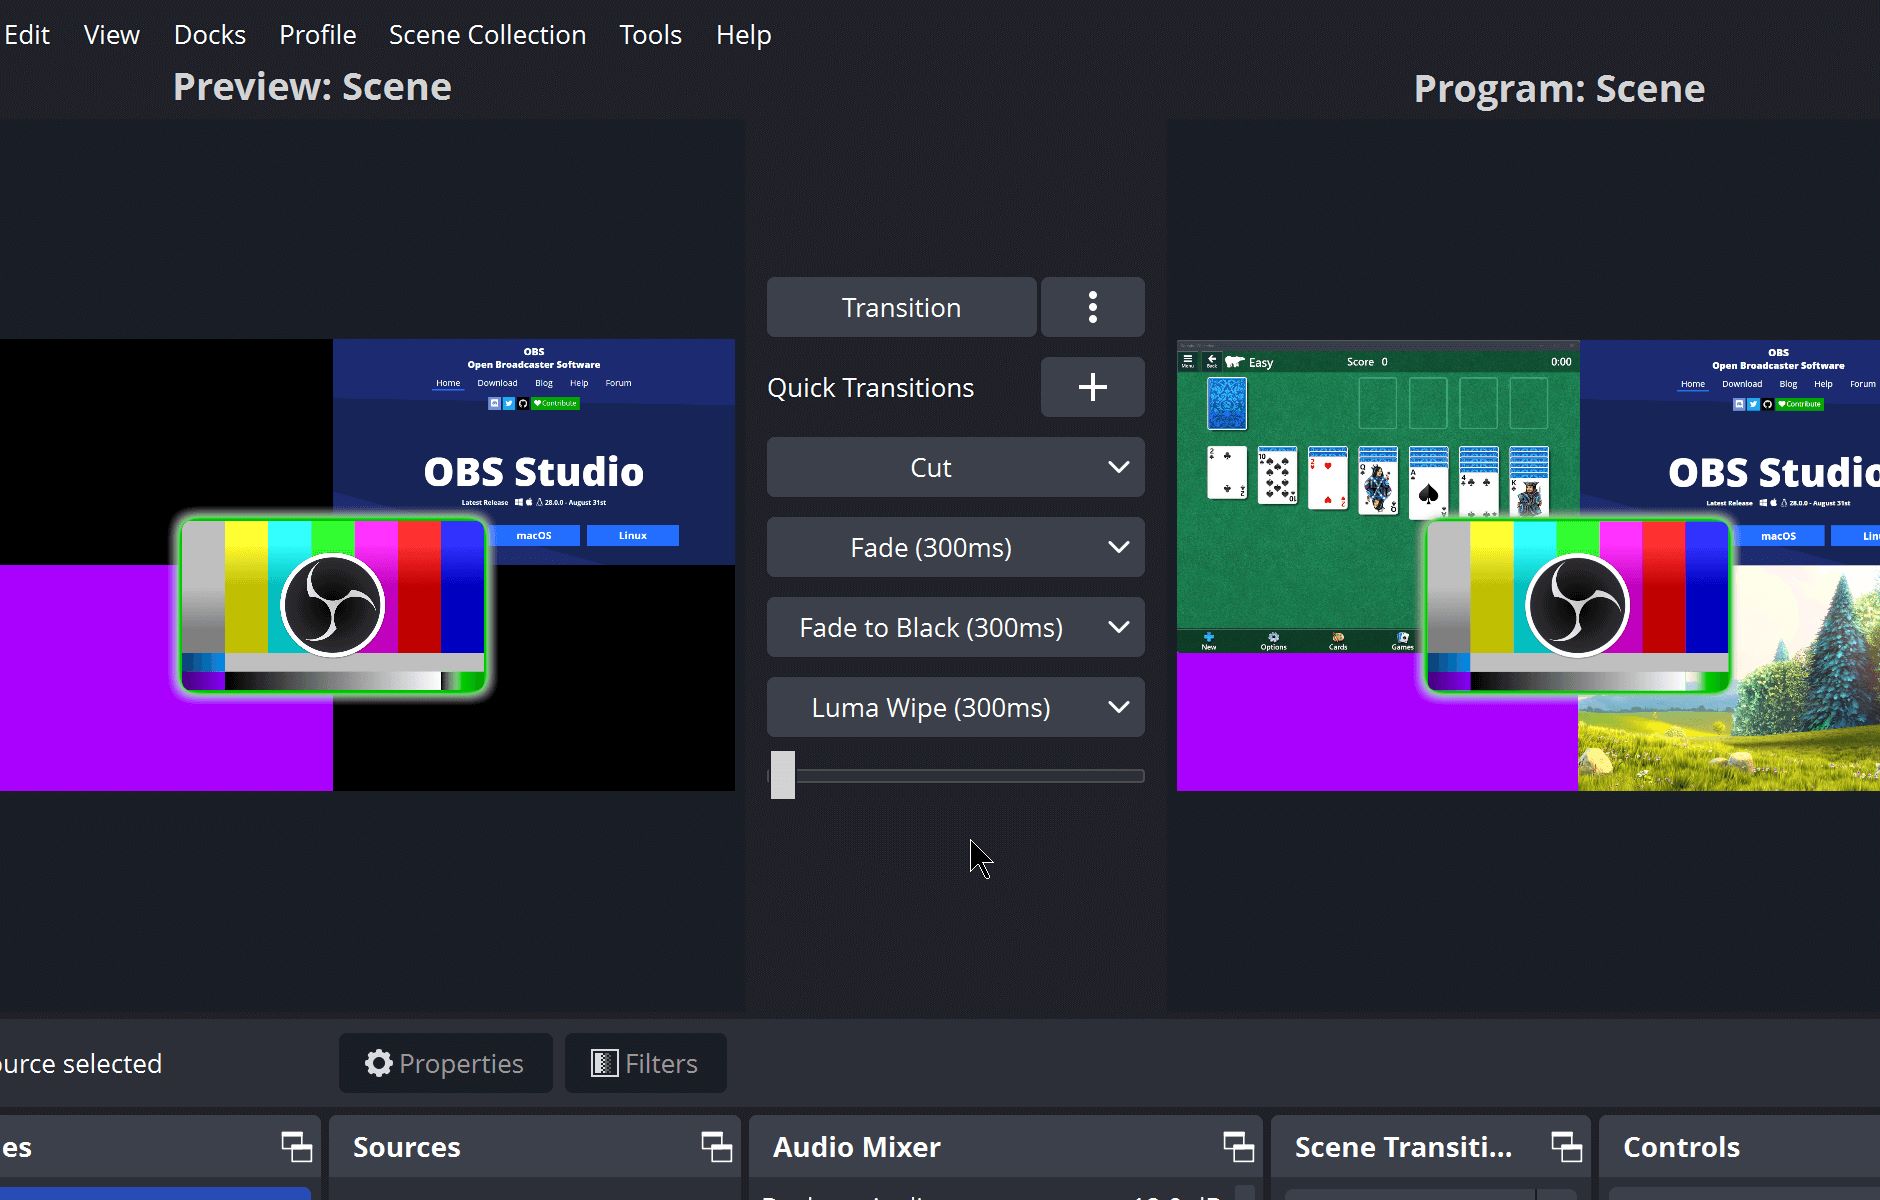
- Open OBS: Launch OBS on your computer. If you haven’t already installed OBS, you can download it from the official website and follow the installation instructions specific to your operating system.
- Access the OBS settings: Once OBS is open, navigate to the “Settings” menu. You can find this at the top of the OBS interface. Click on “Settings” to access the settings window.
- Go to the “Audio” tab: In the OBS settings window, locate the “Audio” tab. Click on it to enter the audio settings section.
- Choose the virtual audio cable as the audio device: Within the “Audio” tab, you will find sections for “Mic/Auxiliary Audio” and “Desktop Audio”. For each section, select the virtual audio cable as the audio device from the respective dropdown menus. This selection will route the audio input and output through the virtual audio cable.
- Adjust audio settings: Depending on your specific needs, you may need to further adjust audio settings within OBS. For example, you can set the audio sample rate and in/out audio synchronization options. Experiment with these settings if necessary to achieve the desired audio quality and synchronization.
- Save the OBS settings: Once you have configured the audio settings in OBS, click on the “Apply” or “OK” button to save the changes. Your OBS setup is now integrated with the virtual audio cable.
It’s important to note that the specific options and layout of the OBS settings may vary slightly depending on the version of OBS you are using. If you are using a different version, consult the OBS documentation or support resources for guidance on configuring audio settings.
With OBS set up to use the virtual audio cable, you can now leverage the flexibility and versatility of the virtual audio cable to route audio between different applications and devices within your computer. The next step is to test the virtual audio cable setup to ensure everything is working correctly, which we will cover in the next section.
Step 4: Testing the Virtual Audio Cable Setup
After setting up OBS with the virtual audio cable, it’s important to conduct a thorough test to ensure that the audio is properly routed and functioning as expected. Testing allows you to verify that the virtual audio cable setup is capturing the desired audio sources and routing them to the appropriate destinations. Here’s how you can test your virtual audio cable setup:
- Prepare audio sources: Open the audio sources you want to test, such as a media player, microphone, or any other application that generates audio. Ensure that the volume levels are set appropriately and that the audio sources are playing or actively capturing sound.
- Start local recording or live stream: In OBS, start a local recording or begin a test live stream. This will allow you to monitor the audio and observe its behavior within OBS.
- Check audio levels: Monitor the audio levels within OBS to see if the audio sources are being captured and routed through the virtual audio cable. OBS provides visual indicators and audio metering tools to help you monitor the audio levels. Ensure that the audio levels are within an acceptable range and that there are no unexpected spikes or drops in volume.
- Verify audio synchronization: Ensure that the audio from different sources remains synchronized. If you are capturing audio from multiple sources, such as a microphone and system sound, pay close attention to any potential delay or discrepancy in audio timing. Adjust the audio synchronization settings within OBS if necessary.
- Listen to the output: While monitoring the audio levels within OBS, also listen to the audio output from your computer or external speakers. Verify that the audio is being played back correctly and that there are no distortions, artifacts, or missing audio elements.
- Make necessary adjustments: If you encounter any issues during the testing process, make the necessary adjustments. This could include modifying settings within OBS, adjusting volumes, or revisiting the configuration of the virtual audio cable in its dedicated software.
By conducting a thorough test of the virtual audio cable setup, you can ensure that everything is working smoothly and that your audio is being routed as desired. Take the time to fine-tune the settings and make any necessary adjustments to achieve the best audio quality and performance. Once you are satisfied with the results of the test, you can confidently proceed with your live streams or recordings using OBS and the virtual audio cable.
Troubleshooting Common Issues
While setting up a virtual audio cable for OBS, you may encounter some common issues. Here are a few troubleshooting tips to help you resolve these issues and ensure a smooth audio experience:
- No audio in OBS: If you’re not hearing any audio in OBS, check the following:
- Make sure the virtual audio cable is selected as the audio device in the OBS settings for both “Mic/Auxiliary Audio” and “Desktop Audio”.
- Ensure that the audio sources you want to capture are properly configured and playing sound.
- Check the audio levels and meters in OBS to verify that the audio signals are being detected.
If the issue persists, try restarting OBS and your computer, and double-check the configuration settings.
- Audio sync issues: In case of audio synchronization problems, follow these steps:
- Adjust the audio sync settings within OBS to fine-tune the timing. Use manual adjustments in the Audio Mixer or explore the Advanced Audio Properties panel to make precise adjustments.
- Consider the audio latency of the sources connected to the virtual audio cable and compensate for any delay or latency introduced by them.
- If necessary, adjust the buffer size or sample rate settings in the virtual audio cable software to minimize audio latency.
Remember to test and listen to the output to ensure proper synchronization.
- Audio quality issues: If you’re experiencing issues with audio quality, try the following:
- Make sure the sample rate and buffer size settings in the virtual audio cable software are appropriate for your system’s capabilities.
- Check for any audio processing or enhancement effects applied to the audio sources. Disable or adjust these effects to see if they are impacting the quality.
- Verify that the correct audio settings are configured in OBS, such as the sample rate and audio format.
- Ensure that the audio sources you are capturing have proper settings and are not generating distorted or low-quality audio.
Adjusting these settings and configurations can help improve the audio quality in your OBS setup.
- Compatibility issues: If you encounter compatibility issues between the virtual audio cable software and OBS, consider the following steps:
- Ensure that both the virtual audio cable software and OBS are up to date. Check for updates and install the latest versions.
- Visit the support forums or documentation for both the virtual audio cable software and OBS to see if there are any known compatibility issues or recommended configurations.
- Contact the support teams or communities of the virtual audio cable software and OBS for specific guidance on resolving compatibility problems.
Compatibility issues are often resolved through software updates or by referring to the support resources for guidance.
If you are still experiencing issues after troubleshooting, don’t hesitate to seek assistance from online forums, communities, or the support teams of the virtual audio cable software and OBS. They may be able to provide further guidance or specific solutions based on your unique setup.
By troubleshooting common issues and resolving them promptly, you can ensure that your virtual audio cable setup works optimally with OBS, providing you with high-quality audio for your live streams or recordings.
Conclusion
Setting up a virtual audio cable for OBS opens up a world of possibilities for enhancing your audio capabilities during live streaming or recording. By creating virtual audio devices within your computer, you can route audio signals between applications and devices with flexibility and convenience. Throughout this guide, we’ve explored the concept of virtual audio cables, the reasons for using them, and the step-by-step process of setting up and configuring a virtual audio cable for OBS.
With a virtual audio cable, you gain the flexibility to route audio from multiple sources to multiple destinations simultaneously. Whether you’re a musician, podcaster, live streamer, or broadcaster, the ability to capture and transmit audio seamlessly is essential for delivering high-quality content. Virtual audio cables eliminate the need for physical cables, external audio interfaces, and complex hardware setups, simplifying your audio workflow and allowing for on-the-fly adjustments.
Throughout the setup process, it’s important to test your virtual audio cable setup to ensure proper functionality. By monitoring audio levels, verifying synchronization, and ensuring high-quality output, you can troubleshoot and resolve any issues that may arise. Additionally, exploring the various configuration options and compatibility considerations of both the virtual audio cable software and OBS can further optimize your audio setup.
Remember, as you embark on your virtual audio cable journey, continue to stay informed about advancements in virtual audio cable technology, explore different software options, and experiment with different audio routing setups to achieve the best results for your specific needs.
By integrating a virtual audio cable with OBS, you are taking a significant step towards enhancing your audio production. Embrace the power of virtual audio cables, unleash your creativity, and deliver professional-quality content that captivates and engages your audience.

