Home>Production & Technology>Metronome>How To Read A Metronome

Metronome
How To Read A Metronome
Published: January 13, 2024
Learn how to read a metronome and improve your timing with this comprehensive guide. Discover different techniques and exercises to master the art of playing in perfect time.
(Many of the links in this article redirect to a specific reviewed product. Your purchase of these products through affiliate links helps to generate commission for AudioLover.com, at no extra cost. Learn more)
Table of Contents
Introduction
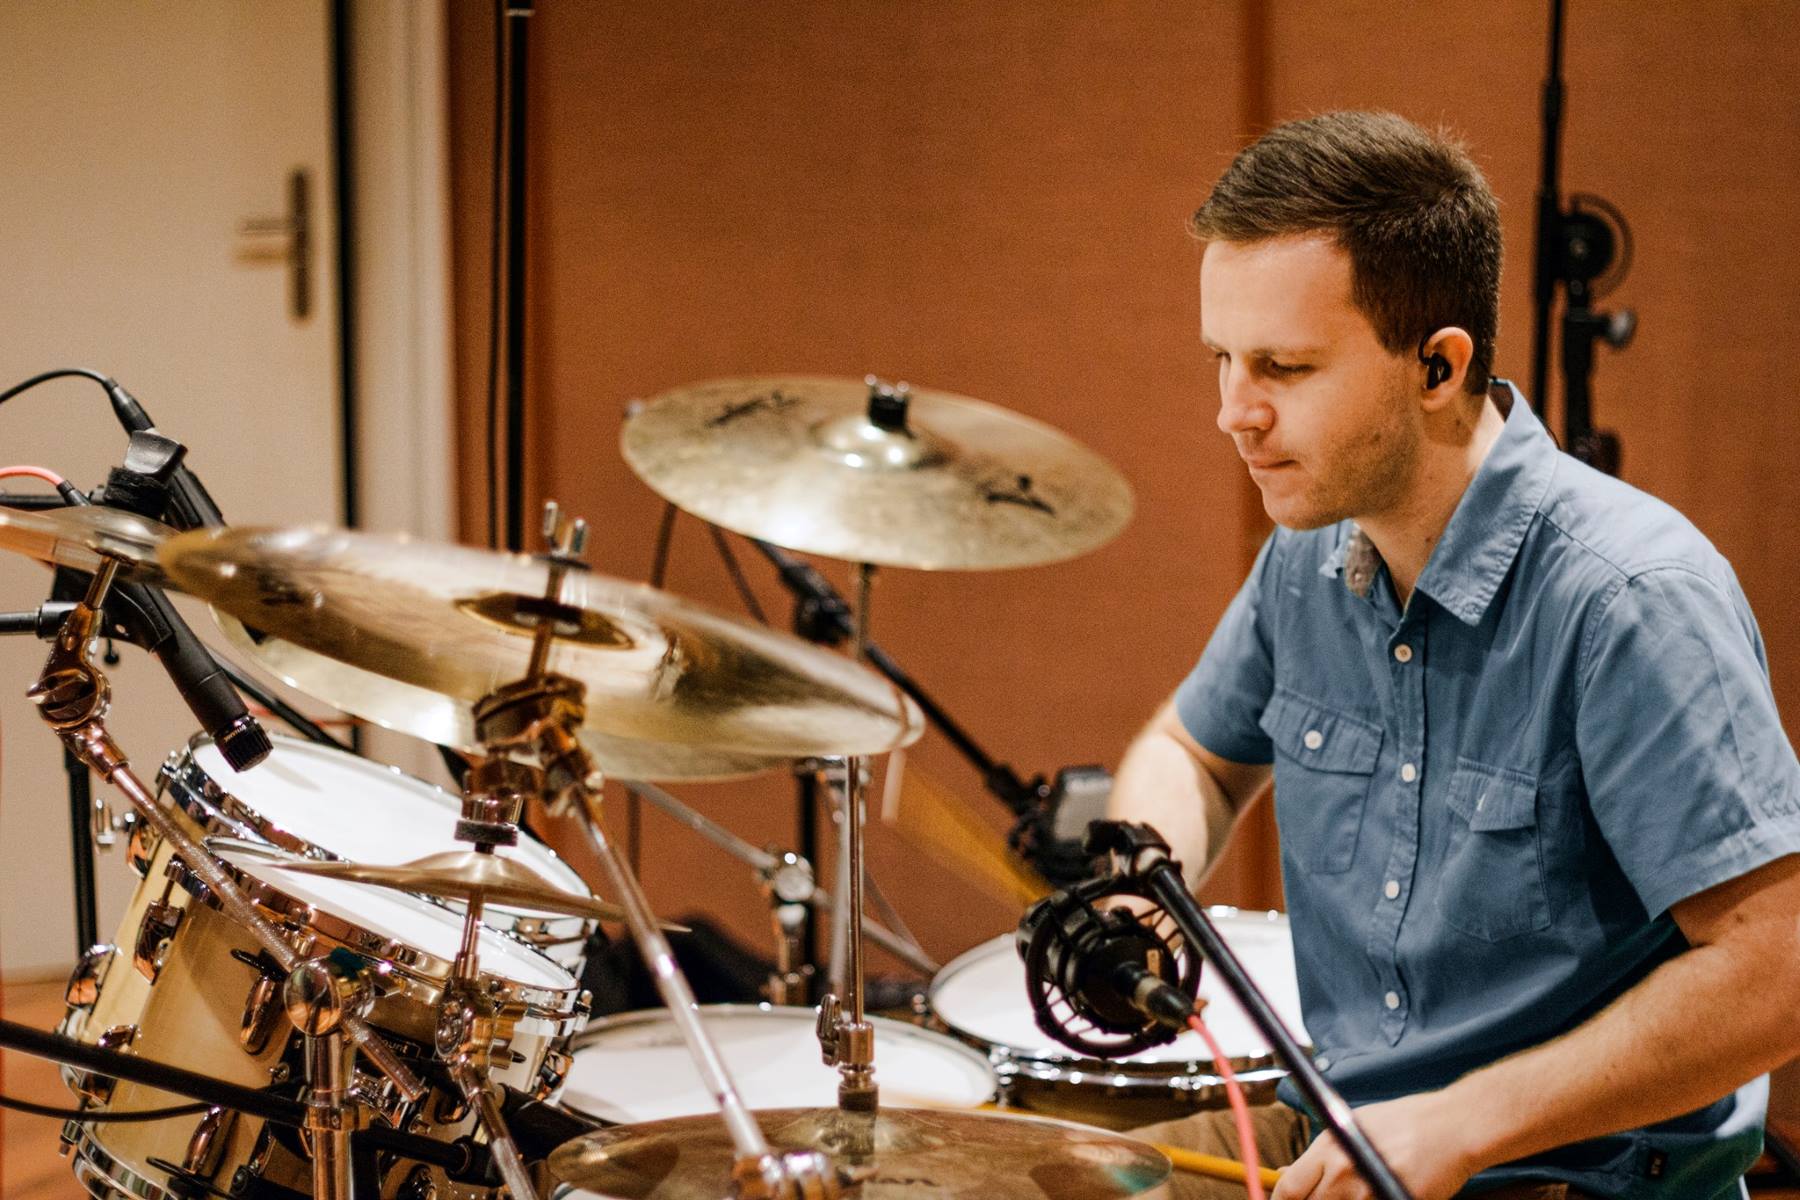
When it comes to music practice, precision and timing are key. This is where a metronome comes in – a valuable tool that helps musicians stay in rhythm and maintain accurate tempo. Whether you are a beginner or an experienced musician, understanding how to read a metronome is essential for honing your skills and becoming a more proficient player.
A metronome is a device that produces regular beats at a specific tempo, allowing musicians to keep time and develop a sense of rhythm. It can be mechanical, electronic, or even a software application on your smartphone or computer. Regardless of the format, all metronomes serve the same purpose: to provide a consistent beat to practice along with.
In this article, we will delve into the world of metronomes and explore how to read and utilize them effectively. We will cover the basics of setting up a metronome, deciphering tempo markings, and offer some advanced techniques for maximizing your practice sessions. Whether you are a pianist, guitarist, drummer, or any other type of musician, the information provided here will help you harness the power of the metronome and improve your musical timing.
So, let’s dive in and unlock the secrets of how to read and master the metronome!
Understanding the Metronome
Before we dive into reading a metronome, it’s important to understand the basic components and functions of this invaluable tool. A metronome typically consists of a body, a pendulum or digital display, and various controls. The body houses the mechanism that produces the beats, while the pendulum or display visually indicates the tempo.
A metronome operates based on beats per minute (BPM), which represents the number of beats played in a minute. The tempo can be adjusted to suit your practice needs, allowing you to practice at slower or faster speeds. The primary function of the metronome is to provide a consistent beat, helping you maintain a steady rhythm and improve your sense of timing.
Modern metronomes often come equipped with additional features like different sound options, volume control, and even complex rhythmic patterns. These extra functions can be useful for advanced musicians looking to challenge themselves and explore different time signatures.
When using a metronome, it’s worth noting that the beats can be represented audibly or visually. Audible indicators typically include a clicking sound or a digital beep, while visual indicators may be displayed on a digital screen or through the movement of a pendulum.
Overall, understanding the basic mechanics of a metronome is crucial for effectively utilizing this tool in your practice sessions. By familiarizing yourself with its features and functions, you’ll be ready to move on to setting up and reading the metronome accurately.
Setting Up the Metronome
Setting up a metronome correctly is essential for accurately practicing with it. Here are the steps to ensure you get started on the right foot:
- Selecting the tempo: The first step is to determine the desired tempo for your practice session. You can start with a slower tempo and gradually increase the speed as you become more comfortable. It’s important to choose a tempo that challenges you but still allows you to play with precision.
- Adjusting the BPM: Once you’ve chosen a tempo, set the metronome to the corresponding beats per minute. This can be done using the controls on the device, whether it’s a physical metronome or a digital application. Some metronomes allow you to incrementally adjust the BPM, while others require you to manually input the value.
- Selecting the time signature: If you’re practicing a specific piece of music that has a defined time signature, make sure to set the metronome accordingly. The time signature indicates the number of beats in each measure, as well as the type of note that receives one beat. Common time signatures include 4/4, 3/4, and 6/8, among others.
- Choosing the sound: Most metronomes offer various sound options to cater to different preferences. You can select a classic click or beep sound, or opt for more melodic choices like a woodblock or cowbell sound. Experiment with different sounds to find the one that resonates with you and helps you stay engaged.
- Setting the volume: Adjust the volume level of the metronome to a level that is audible but not overpowering. The volume should be comfortable enough for you to hear the beat clearly without it becoming a distraction.
Take the time to familiarize yourself with these setup steps to ensure you have a smooth practice experience. Once you have the metronome properly configured, you are ready to start reading the tempo markings and begin your focused practice sessions.
Reading the Tempo Markings
Understanding how to read the tempo markings on a metronome is crucial for accurately practicing with it. Tempo markings indicate the desired speed at which a piece of music should be played. Here’s how you can interpret and apply tempo markings on a metronome:
- Tempo numbers: Many metronomes feature tempo numbers that correspond to specific BPM values. These numbers are typically displayed on a digital screen or dial. For example, 60 may represent a tempo of 60 beats per minute, while 120 may indicate a tempo of 120 beats per minute. Consult a tempo chart or music notation guide to determine the appropriate tempo number for your desired speed.
- Italian terms: In addition to numerical markings, metronomes may also feature Italian tempo markings. These terms provide more expressive indications of tempo. Common examples include “Lento” for slow, “Moderato” for moderate, and “Presto” for fast. It’s useful to familiarize yourself with these terms and their corresponding BPM ranges to accurately set the metronome.
- Rhythmic indicators: Some metronomes have rhythmic indicators that help you visualize the beat. These indicators often consist of different note values, such as quarter notes, eighth notes, or sixteenth notes. The moving pendulum or flashing lights can align with these note values to provide a visual representation of the beat.
When reading the tempo markings, it’s essential to be aware of the specific requirements of the music you are practicing. If you are following sheet music or a musical score, pay attention to any tempo directions indicated by the composer. This information can guide you in selecting the appropriate tempo on the metronome.
Remember, the goal is to match your playing speed with the indicated tempo to develop a steady sense of rhythm and accuracy. As you become more comfortable with reading the tempo markings, you can experiment with different tempos and challenge yourself to play at different speeds.
Now that you know how to read the tempo markings, let’s explore how you can effectively practice with the metronome to improve your musical timing and precision.
Practicing with the Metronome
Practicing with a metronome is an excellent way to develop your sense of timing, improve your rhythm, and enhance your overall musicality. Here are some tips for making the most out of your practice sessions with a metronome:
- Start slow: Begin by setting the metronome at a comfortable and manageable tempo. Starting slow allows you to focus on playing the notes accurately and in time with the beat. As you become more confident and comfortable, gradually increase the tempo to challenge yourself.
- Focus on subdivisions: Use the metronome’s subdivisions to develop a better understanding of rhythm. For example, if the metronome is set at a tempo of 60 BPM, you can focus on playing each beat as a half note or quarter note, then transition to playing each beat as eighth notes or sixteenth notes. This helps improve your precision and subdividing skills.
- Experiment with accents: Try incorporating accents into your practice sessions to improve your dynamic control. Accenting specific beats or notes within the metronome’s rhythm can add a sense of musicality and expression to your playing.
- Vary the subdivisions: Once you feel comfortable with a specific tempo, challenge yourself by practicing different subdivisions. For instance, if the metronome is set at 120 BPM, practice playing the rhythm as quarter notes, then switch to eighth notes, triplets, or sixteenth notes. This helps develop your versatility and adaptability as a musician.
- Use different time signatures: Experiment with different time signatures to expand your rhythmic capabilities. Change the metronome settings to practice in 3/4, 5/4, or 7/8 time. This allows you to explore various rhythmic patterns and gain a deeper understanding of different musical styles.
When practicing with a metronome, it’s important to maintain focus and concentrate on aligning your playing with the beat. Pay attention to the clarity of your notes and aim for consistent timing. Gradually increase the tempo as you become more comfortable, but always prioritize accuracy over speed.
Regular practice sessions with a metronome will help you develop a stronger sense of rhythm and become more confident in your playing. Remember to stay patient, be consistent, and enjoy the process of improving your musical timing.
Now that you have some techniques for practicing with a metronome, let’s explore some advanced techniques that can take your synchronization skills to the next level.
Advanced Techniques with the Metronome
Once you have mastered the basics of practicing with a metronome, you can incorporate advanced techniques to further refine your timing and musicality. Here are some techniques to take your practice sessions to the next level:
- Polyrhythms: Use the metronome to practice complex rhythmic patterns involving different subdivisions. For example, set the metronome to a moderate tempo and play triplets in one hand while maintaining a steady quarter note pulse with the other hand. This challenges your coordination and rhythmic perception.
- Off-beat practice: Experiment with playing slightly ahead or behind the beat to develop your ability to groove with a flexible sense of time. Set the metronome to a tempo and try to intentionally play slightly ahead or behind the beat while keeping the overall rhythm consistent.
- Tempo modulation: Practice smoothly transitioning between different tempos. Start with a slow tempo and gradually increase the speed every few measures. This exercise helps you improve your control over tempo changes and adaptability when performing music with varying tempos.
- Subdividing with rests: Incorporate rests into your practice routine to develop rhythmic precision and accuracy. Use the metronome to count the rests between notes or chords, ensuring that you come in exactly on the beat after the pause.
- Syncopation: Practice syncopated rhythms by accenting off-beats or playing notes in unexpected positions within the beat. Use the metronome as a guide to ensure that your syncopated rhythms stay in sync with the underlying pulse.
These advanced techniques push the boundaries of your rhythmic abilities and challenge you to explore various rhythmic possibilities. They require concentration, patience, and a deep understanding of the beat and subdivisions.
Remember to start these techniques at a slow tempo and gradually increase the speed as you become more comfortable and confident. Do not rush the process, as it’s more important to play accurately and in sync with the metronome than to play fast with mistakes.
By incorporating these advanced techniques into your practice routine, you will become a more versatile and precise musician, able to handle complex rhythmic patterns and syncopations with ease.
Now that we have explored advanced techniques with the metronome, let’s address some common issues that musicians may encounter and how to troubleshoot them.
Troubleshooting Common Issues
While practicing with a metronome can significantly enhance your sense of timing, you may encounter some common issues along the way. Here are a few troubleshooting tips to help address these challenges:
- Lack of sync: If you find it difficult to stay in sync with the metronome, try starting with a slower tempo. Focus on internalizing the beat and gradually increase the speed as you become more comfortable. It’s important to listen to the metronome and concentrate on aligning your playing with the beat.
- Tension or rushing: If you notice tension in your playing or a tendency to rush ahead of the beat, take a deep breath and consciously relax your muscles. Focus on playing precisely with the metronome’s beat and strive for a smooth, controlled sound. Practicing with a slower tempo initially can help address rushing tendencies.
- Difficulty with subdivisions: If you struggle with playing subdivisions accurately, practice them slowly and gradually increase the tempo. Concentrate on the relationship between the main beat and the subdivisions, using the metronome’s rhythmic indicators to guide you. Break down complex rhythms into smaller segments and practice them individually before putting them together.
- Feeling restricted: Some musicians may feel constrained or regimented by the consistent beat of the metronome. To add a sense of freedom, experiment with playing around the beat, incorporating slight rubato or expressive variations. Once you have a solid sense of timing, you can creatively interpret the music while still staying within the rhythmic framework.
- Boredom or loss of motivation: Monotonous practice sessions with a metronome can sometimes lead to boredom or loss of motivation. To address this, vary your practice routine by incorporating different musical styles, genres, or pieces. Set specific goals and challenges for each session, and reward yourself with breaks or playing more freely after achieving those goals.
Remember, it’s normal to face challenges when practicing with a metronome. Be patient with yourself and give yourself the time needed to improve. Consistent practice and mindful attention to these troubleshooting tips will help you overcome any issues you may encounter.
By troubleshooting and addressing these common problems, you can make the most of your metronome practice sessions and continue to make progress in your musical development.
Now that you have learned how to troubleshoot common issues, let’s wrap up the article.
Conclusion
Congratulations, you are now equipped with the knowledge and techniques to effectively read and utilize a metronome in your practice sessions! Understanding the components of a metronome, setting it up correctly, and reading the tempo markings are essential skills for any musician looking to improve their sense of rhythm and timing.
By practicing with a metronome, you can develop a steady and consistent playing style, enhance your ability to play in different time signatures, and refine your rhythmic precision. Remember to start slow and gradually increase the tempo as you build confidence and proficiency.
From basic exercises to advanced techniques, such as practicing polyrhythms and syncopation, the metronome can push the boundaries of your musical abilities and help you expand your rhythmic vocabulary.
In addition to practicing with a metronome, it’s important to maintain a balance with other aspects of your musical development. Don’t solely rely on the metronome as a substitute for musical expression and interpretation. Use it as a tool to enhance your playing and develop a solid foundation of rhythm and timing.
Now, armed with a deeper understanding of the metronome and how to utilize it effectively, it’s time to integrate this powerful tool into your practice routine. Embrace the challenges, be patient with yourself, and enjoy the process of mastering the metronome.
So, set your tempo, find your rhythm, and let the beat guide you towards becoming a more precise and confident musician. Happy practicing!