Home>Production & Technology>Metronome>How To Set Metronome
Metronome
How To Set Metronome
Published: January 14, 2024
Learn how to set up and use a metronome effectively to improve your musical timing and rhythm. Discover the benefits of incorporating a metronome into your practice sessions and performances.
(Many of the links in this article redirect to a specific reviewed product. Your purchase of these products through affiliate links helps to generate commission for AudioLover.com, at no extra cost. Learn more)
Table of Contents
Introduction
Welcome to the world of metronomes! Whether you’re a musician, a dancer, or simply someone who wants to improve their sense of rhythm, a metronome is an invaluable tool that can help you stay on beat and maintain a consistent tempo. In this article, we will guide you through the process of setting up and using a metronome effectively.
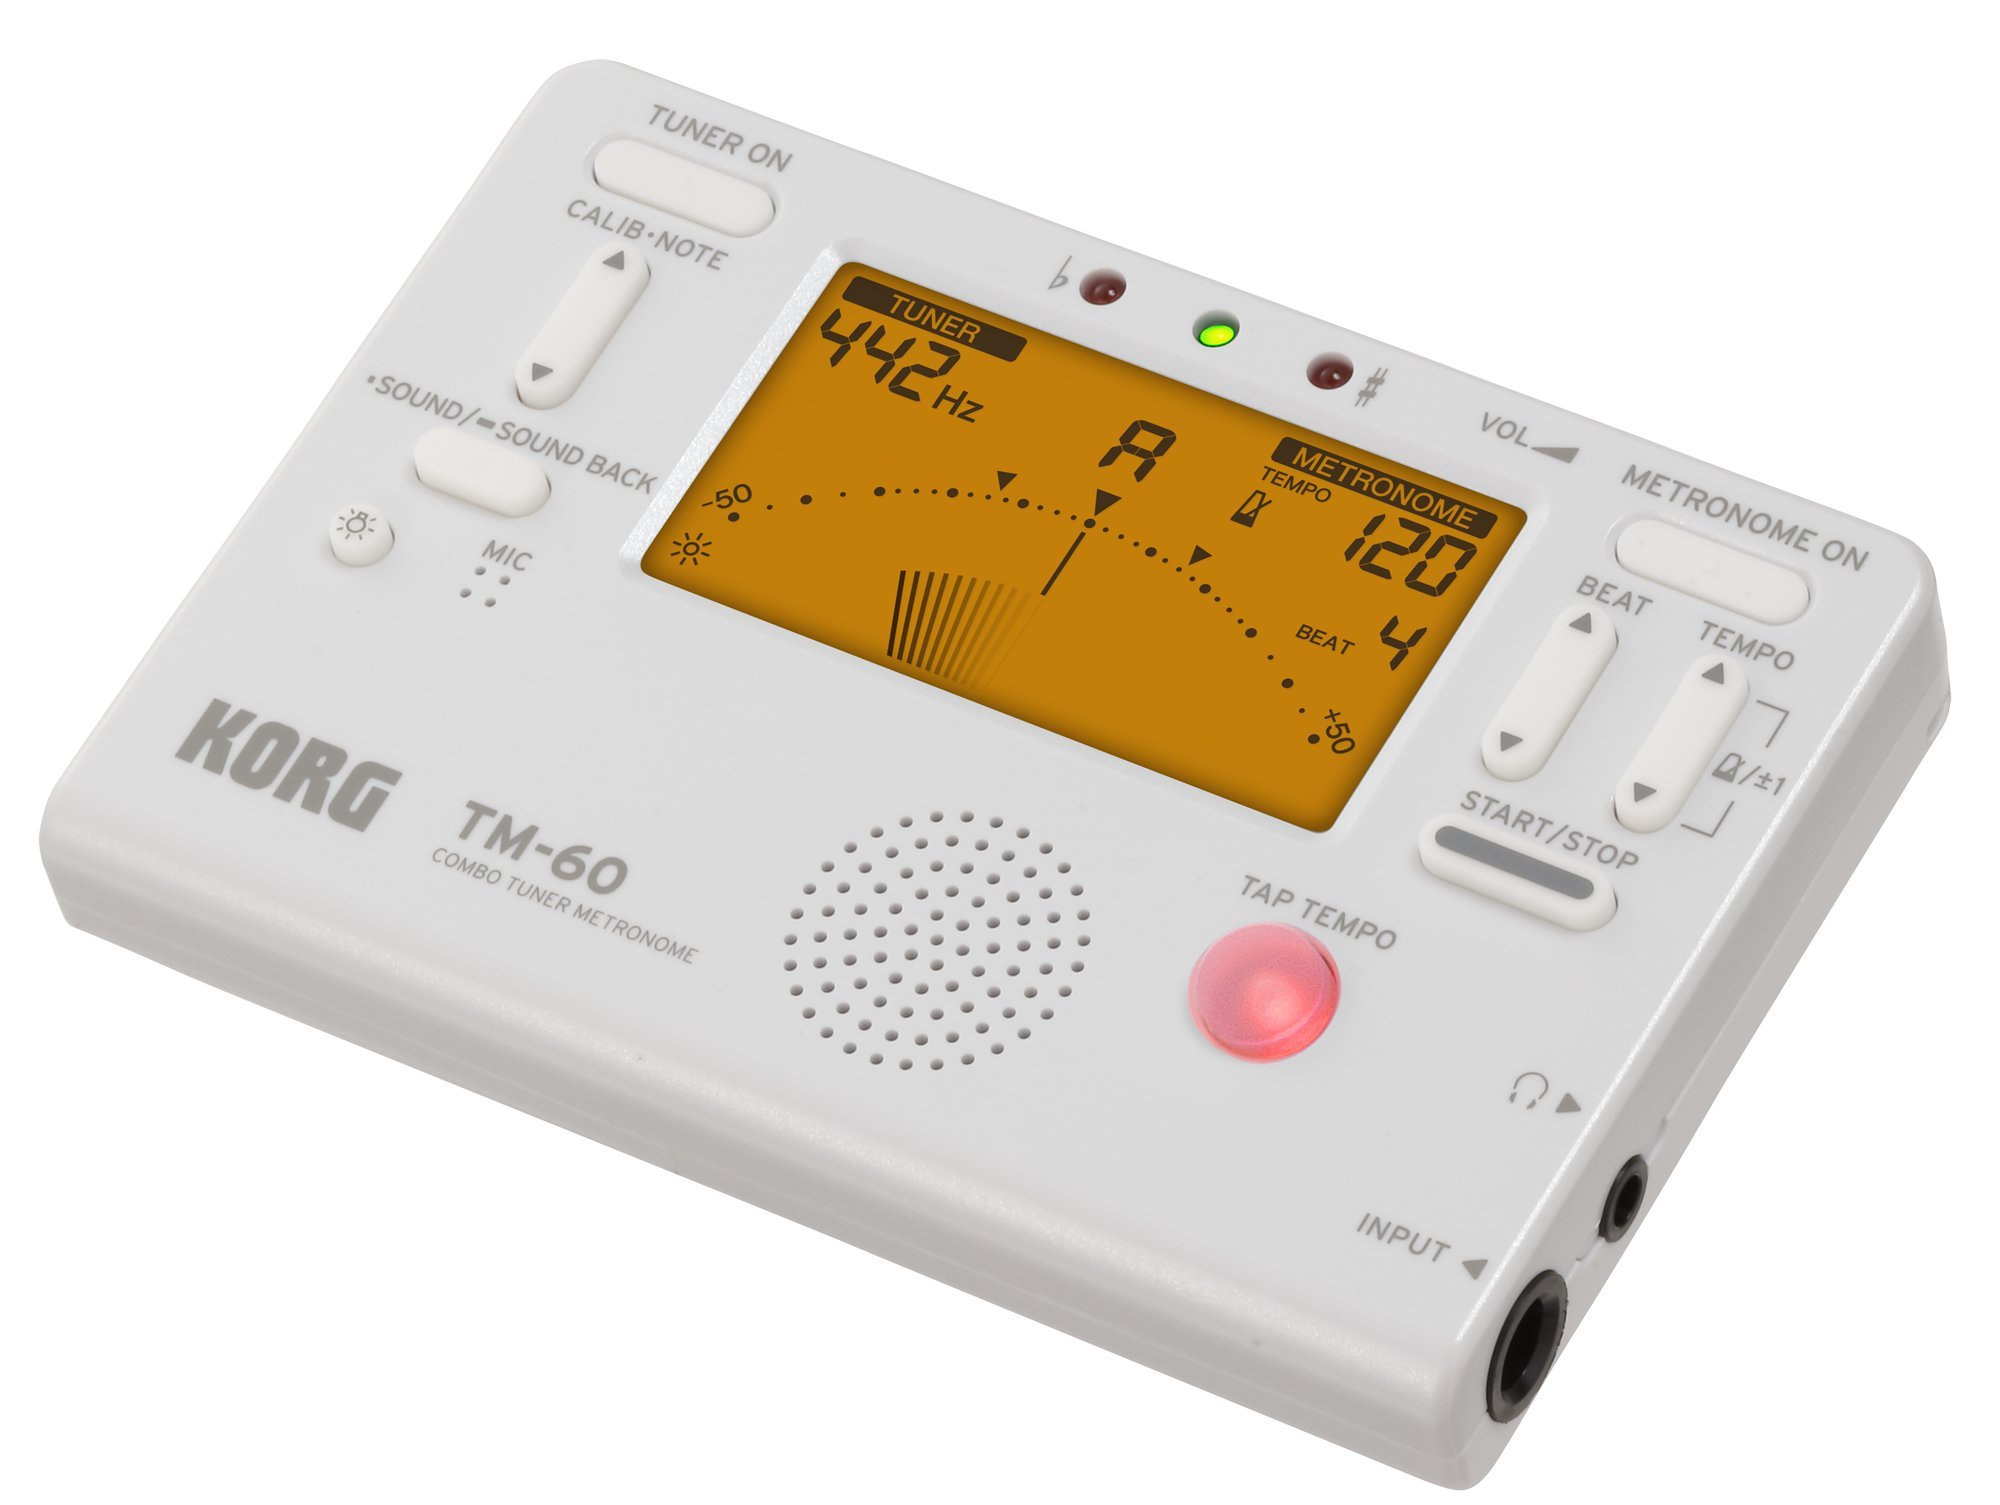
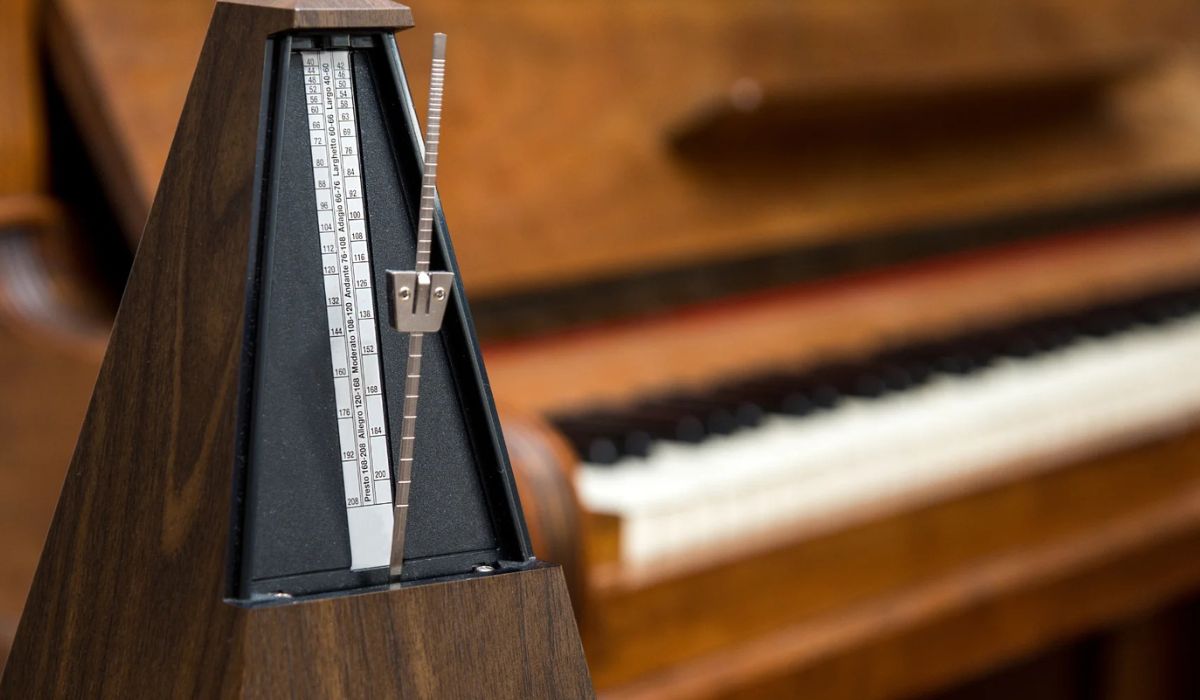
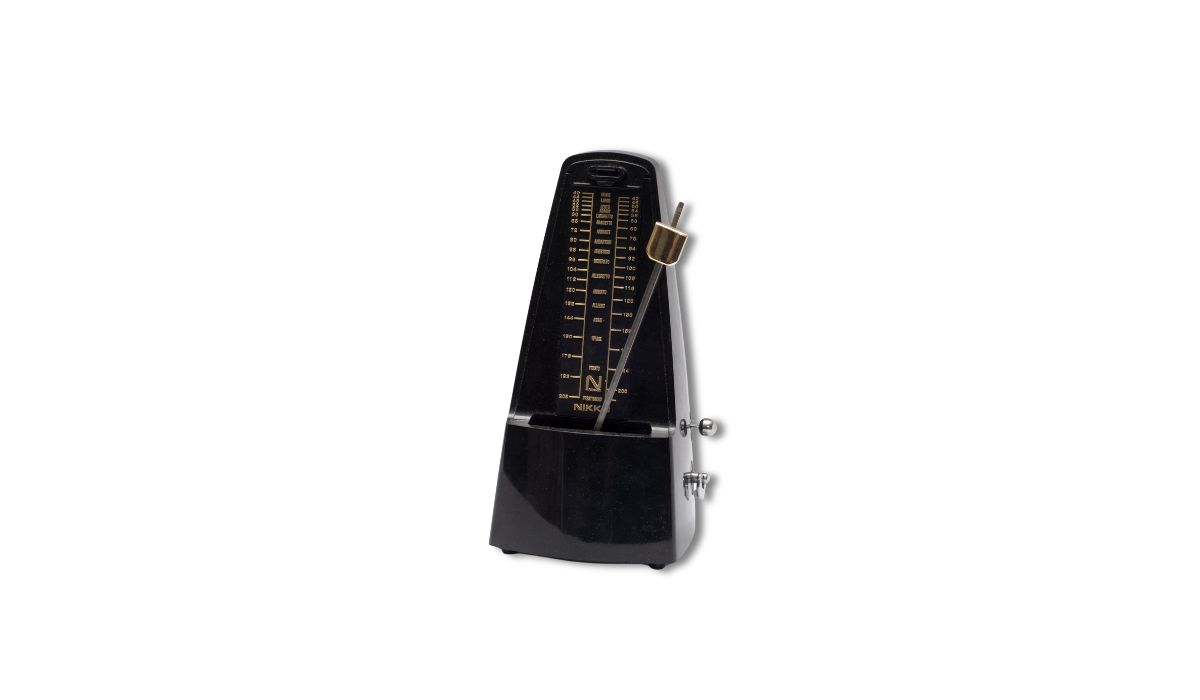
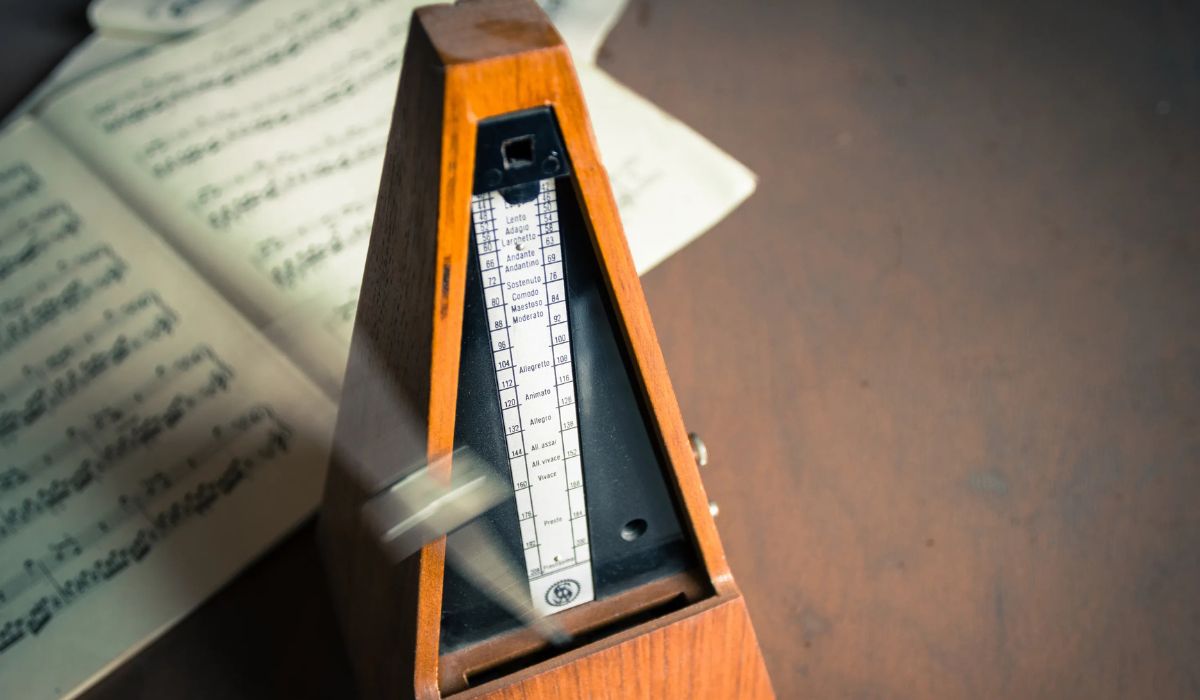
A metronome is a device that produces a regular, steady pulse or beat. Traditionally, metronomes were mechanical devices with a swinging pendulum, but nowadays, they are most commonly found in digital form. These digital metronomes offer a wide range of features, allowing you to customize the tempo, time signature, and even the volume.
Whether you’re a beginner or an experienced musician, using a metronome can greatly improve your timing and precision. It can help you develop a strong internal sense of rhythm and ensure that you’re playing or performing at the correct tempo. So, let’s dive into the world of metronomes and learn how to set them up for optimal use.
Step 1: Choosing a Metronome
Before you can start setting up a metronome, you need to choose the right one for your needs. There are various types of metronomes available, ranging from basic mechanical ones to feature-rich digital versions. Here are a few factors to consider when choosing a metronome:
- Functionality: Different metronomes offer various features such as adjustable tempo, time signature settings, and different sounds. Consider what features are essential for your practice or performance needs.
- Display: Some metronomes have LCD screens that display the tempo and other settings, while others have traditional dials or buttons. Choose a display that you find easy to read and navigate.
- Portability: If you plan on using the metronome on the go or in different locations, consider its size and weight. Portable metronomes are often battery-operated and compact, making them easy to carry in a bag or pocket.
- Sound Options: Metronomes offer different sounds like clicks, beeps, or even musical instrument tones. Choose a sound that is pleasant to your ears and suits the genre or instrument you’re practicing or performing with.
- Budget: Consider your budget when choosing a metronome. Basic models are generally more affordable, while high-end ones with advanced features may be pricier. Determine the range you’re willing to invest in.
It’s important to note that there are also metronome apps available for smartphones and tablets. These apps often offer the same functionality as dedicated metronomes, and they can be a convenient and cost-effective option.
Once you’ve considered these factors and have chosen the metronome that suits your needs, you’re ready to move on to the next step of setting the tempo.
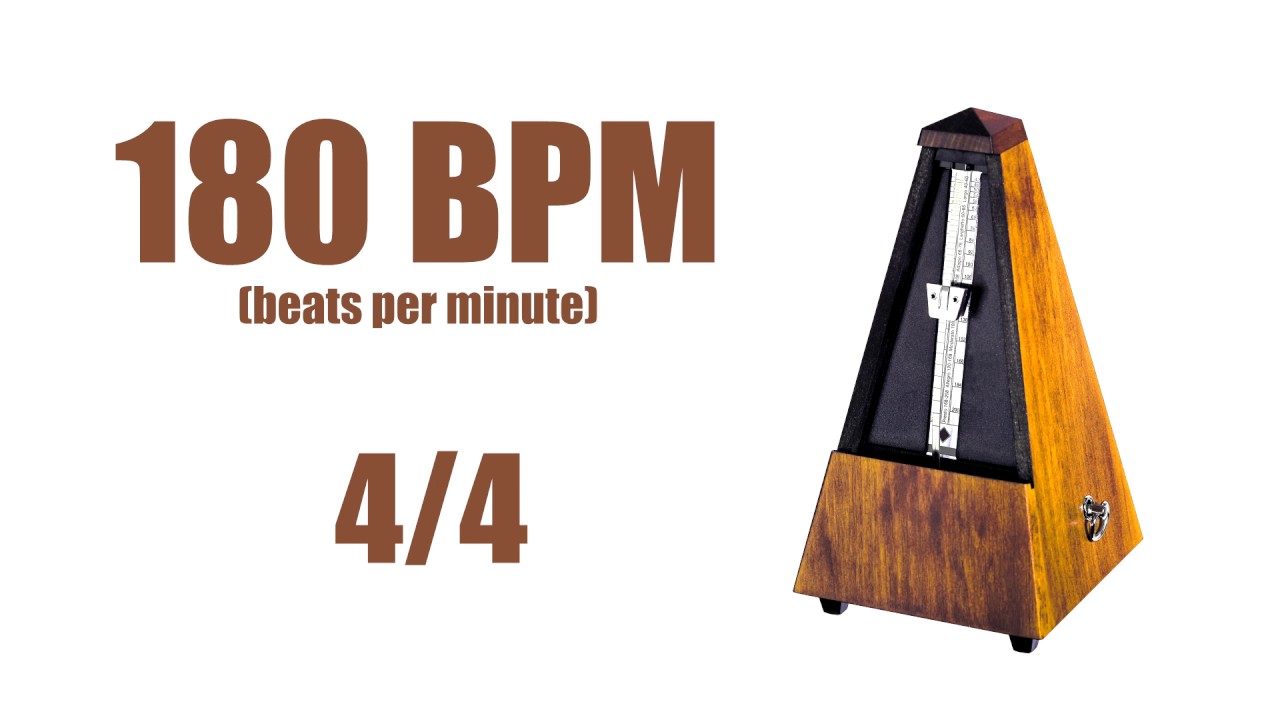
Step 2: Setting the Tempo
Now that you have your metronome, it’s time to set the tempo. The tempo refers to the speed of the beat and is measured in beats per minute (BPM). The tempo you choose depends on the piece of music you’re practicing or performing and your personal preference. Follow these steps to set the tempo on your metronome:
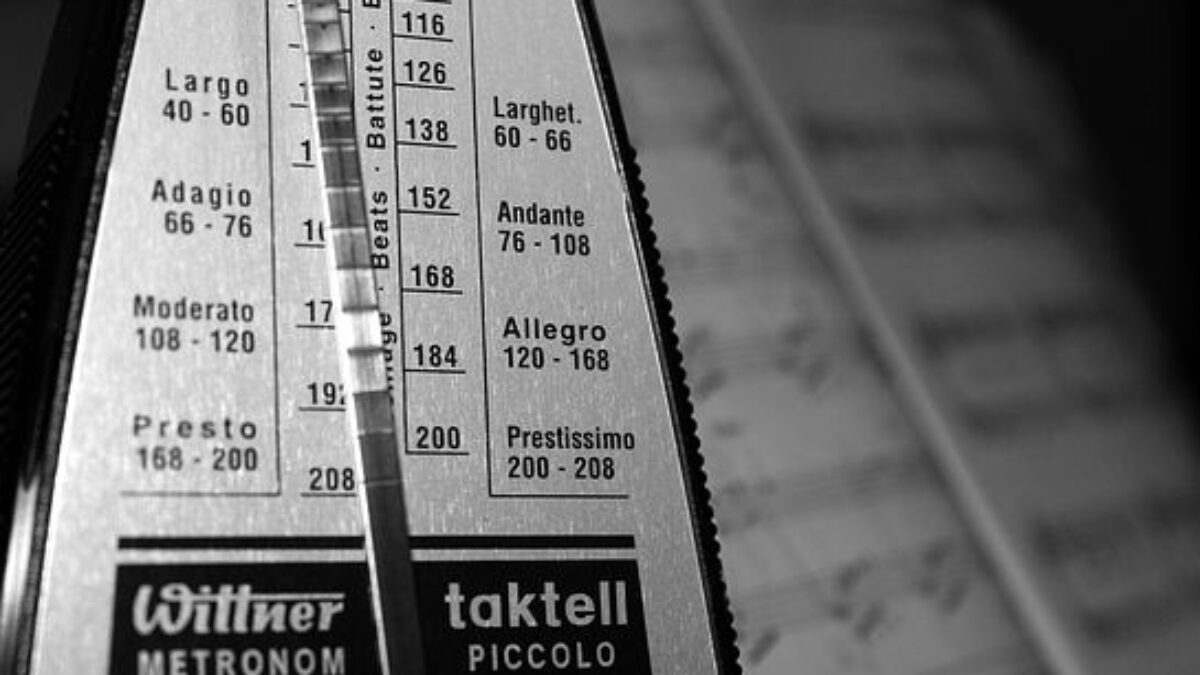
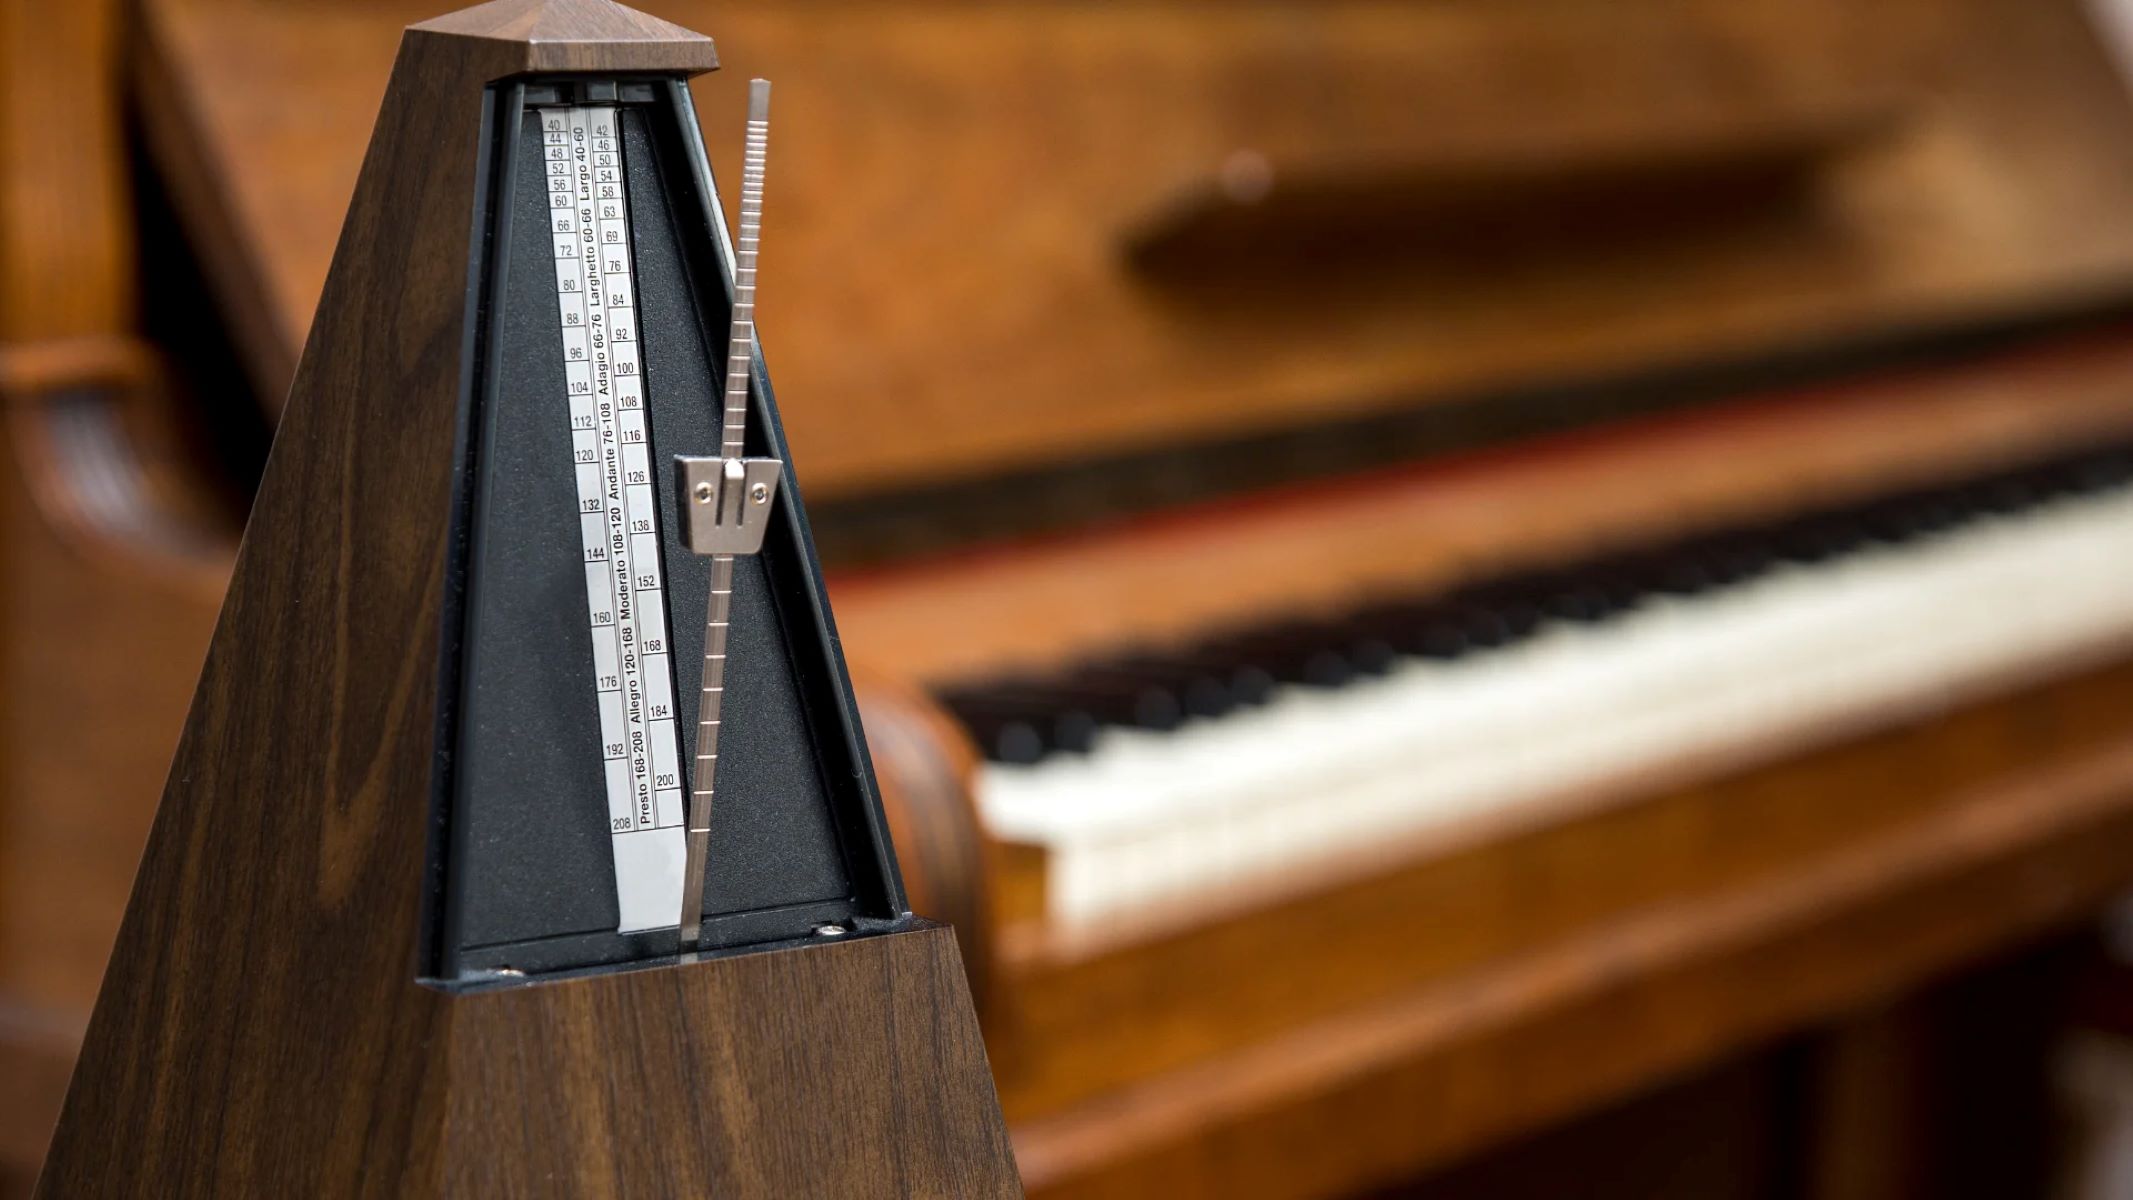
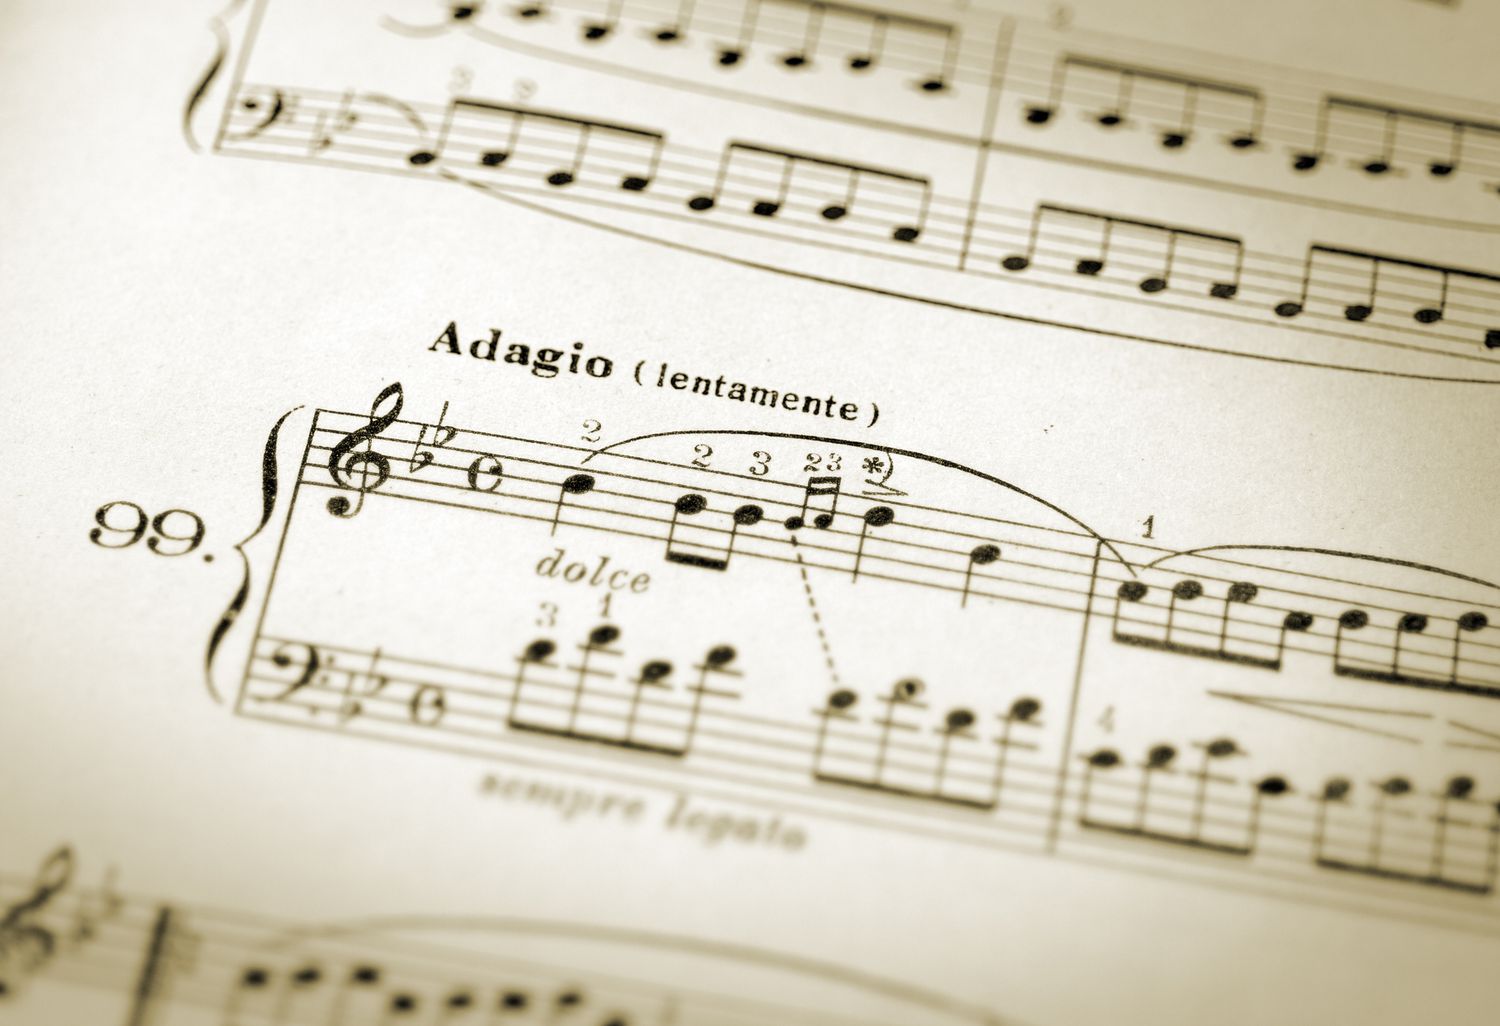
- Refer to the sheet music: If you’re working on a specific piece of music, refer to the sheet music for the suggested tempo. The composer usually indicates the tempo using Italian terms such as “Andante” (at a walking pace), “Allegro” (fast and lively), or specific BPM markings.
- Start with a comfortable tempo: If you’re unsure of the tempo, start with a comfortable pace that allows you to play or perform the piece accurately. You can always increase or decrease the tempo as you become more comfortable.
- Adjust the tempo knob or button: Use the controls on your metronome to adjust the tempo. Some metronomes have a dial that you can rotate, while others have buttons or sliders to increase or decrease the BPM. Experiment with different tempos to find the right speed for your practice.
- Listen for the audible beat: As you adjust the tempo, listen for the audible beat from the metronome. It can be a click, beep, or another sound depending on your chosen metronome. Make sure that the beat is clear and distinct so that you can easily follow it.
Remember, the goal of setting the tempo is to find a speed that allows you to stay accurate and maintain control. It’s better to start slower and gradually increase the tempo as you become more proficient. With time and practice, you’ll be able to play or perform at faster tempos with ease.
Now that you’ve set the tempo, let’s move on to the next step of selecting the time signature.
Step 3: Selecting the Time Signature
The time signature is an important element in music notation that determines the rhythmic structure of a piece. It consists of two numbers, one placed above the other, at the beginning of a musical staff. The top number indicates the number of beats per measure, while the bottom number represents the type of note that receives one beat. Here’s how you can select the time signature on your metronome:
- Refer to the sheet music: Look at the sheet music to identify the time signature of the piece you’re practicing or performing. It’s usually notated at the beginning of the composition, right after the key signature.
- Set the time signature: Use the controls on your metronome to set the time signature. Some metronomes have a dedicated button or dial to adjust this setting. If your metronome doesn’t have this feature, you can manually count the beats per measure as indicated by the time signature.
- Listen for the accent: Once you’ve set the time signature, listen for the accent on the first beat of each measure. The metronome will typically emphasize the first beat to help you stay in sync with the rhythm. This accent is vital for maintaining the structure and flow of the music.
Remember that different time signatures create different rhythmic patterns and musical feels. The most common time signature is 4/4, also known as “common time,” which indicates four beats per measure with a quarter note receiving one beat. However, there are many other time signatures such as 3/4, 6/8, or even unconventional ones like 7/8 or 5/4, which create unique rhythmic patterns.
By selecting the appropriate time signature on your metronome, you can develop a solid sense of timing and stay in sync with the music. Now that you’ve set the time signature, let’s move on to adjusting the volume of the metronome.
Step 4: Adjusting the Volume
Adjusting the volume of your metronome is an essential step to ensure it can be heard clearly without overpowering your playing or practice session. Here’s how you can adjust the volume on your metronome:
- Locate the volume control: Check your metronome for a dedicated volume control knob or button. Some metronomes have a physical knob that you can turn, while others have buttons or sliders to adjust the volume.
- Start with a moderate volume: Begin by setting the volume of the metronome to a moderate level. You want it to be audible enough to hear the beats clearly, but not so loud that it becomes distracting or overwhelming.
- Consider the environment: Take into account the environment in which you’ll be using the metronome. If you’re practicing in a quiet setting, you may not need a loud volume. On the other hand, if you’re in a noisy rehearsal room or performing with a band, you may need to increase the volume to cut through the noise.
- Experiment and find the right balance: Play around with the volume settings to find the right balance between the metronome and your playing. The key is to have the metronome audible enough to provide a steady beat without overpowering your instrument or voice.
Remember, the purpose of adjusting the volume is to create a clear and audible beat that you can follow comfortably. It’s important to find the balance that works best for your practice or performance environment and doesn’t hinder your concentration or musicality.
Now that you’ve adjusted the volume, let’s explore some additional features and functionalities that your metronome may offer.
Step 5: Using Metronome Features
Metronomes come with a variety of features and functionalities that can enhance your practice sessions and help you develop a strong sense of rhythm. Here are some common metronome features and how to utilize them effectively:
- Subdivisions: Many digital metronomes offer the option to subdivide the beats, allowing you to practice complex rhythms or syncopated patterns. Experiment with different subdivisions such as eighth notes, triplets, or sixteenth notes to improve your rhythmic precision.
- Accentuation: Some metronomes offer the ability to emphasize certain beats or patterns. This can be helpful when practicing phrasing or emphasizing specific notes within a piece. Adjust the accentuation settings to highlight the beats or patterns you want to focus on.
- Preset rhythms and styles: Certain metronomes have built-in rhythmic patterns and styles, such as rock, jazz, or Latin rhythms. These presets can add more musicality and variety to your practice sessions, allowing you to explore different genres and musical styles.
- Memory functions: Advanced metronomes may have memory functions that allow you to save and recall specific tempo and time signature settings. This is particularly useful when you’re working on multiple pieces and need to switch between different tempos and rhythms quickly.
- Visual cues: In addition to audible beats, some metronomes provide visual cues such as flashing lights or a moving pendulum to indicate the rhythm. These visual cues can be especially helpful for those who are visually-oriented or have difficulty hearing the metronome clearly.
Take the time to explore and familiarize yourself with the features your metronome offers. Experiment with different settings and functionalities to find what works best for your practice and musical goals. Remember, the goal is to use these features as tools to enhance your sense of rhythm and overall musicality.
With the understanding of metronome features, let’s move on to the next step: practicing with the metronome.
Step 6: Practicing with the Metronome
Now that you have set up your metronome and explored its features, it’s time to dive into practicing with it. Here are some tips to maximize the effectiveness of your practice sessions:
- Start with a slow tempo: Begin practicing at a slower tempo to familiarize yourself with the piece or exercise. This allows you to focus on accuracy, timing, and technique without feeling rushed.
- Gradually increase the tempo: As you become more comfortable, gradually increase the tempo on your metronome. Challenge yourself to play or perform the piece at faster speeds while maintaining control and precision.
- Focus on staying in sync: Pay close attention to staying in sync with the metronome’s beat. Strive to align your playing or movement precisely with each click or beat, building a strong internal sense of rhythm.
- Work on subdivisions: If your piece or exercise involves complex rhythms, use the metronome’s subdivisions feature to help you practice them accurately. Start by practicing each subdivision slowly, gradually increasing the speed as you improve.
- Practice with different accents: Experiment with different accent patterns and emphasize different beats or notes within the music. This can help you develop a more nuanced interpretation and improve your musicality.
- Record your practice sessions: Consider recording your practice sessions while using the metronome. This allows you to listen back and identify areas where your timing may need improvement. It can also serve as a valuable tool for self-evaluation and tracking your progress over time.
- Use the metronome in various practice scenarios: Beyond solo practice, incorporate the metronome into ensemble rehearsals, jam sessions, or live performances. This helps you develop the ability to play with others in a synchronized manner and ensures that your timing remains consistent.
Remember, practicing with a metronome is about building a strong foundation of rhythm, timing, and precision. It trains your internal sense of pulse, allowing you to play or perform with confidence and accuracy.
As a final tip, don’t forget to periodically challenge yourself by practicing without the metronome, testing your ability to maintain a steady tempo on your own. With regular metronome practice, you’ll develop a solid sense of rhythm that will greatly enhance your musicality and performance.
Now that you have learned how to practice effectively with a metronome, it’s time to wrap up our guide.
Conclusion
Congratulations! You have reached the end of our comprehensive guide on how to set and use a metronome effectively. By following the steps outlined in this article, you have gained valuable knowledge on choosing the right metronome, setting the tempo and time signature, adjusting the volume, utilizing metronome features, and practicing with precision.
A metronome is not just a tool for musicians and dancers; it is an essential companion that can greatly enhance your sense of rhythm, timing, and overall musicality. Whether you are a beginner or an experienced musician, practicing with a metronome allows you to develop consistent technique, improve your internal pulse, and perform with confidence.
Remember, when selecting a metronome, consider factors such as functionality, display, portability, sound options, and your budget. Once you have chosen the right metronome, set the tempo at a comfortable pace, align the time signature with the piece of music, adjust the volume to an appropriate level, and explore the features offered by your metronome.
During practice sessions, gradually increase the tempo, focus on staying in sync, work on subdivisions, experiment with accents, and record your progress. Incorporate the metronome into various practice scenarios, including ensemble rehearsals and live performances, to develop your ability to play with others and maintain consistency.
With regular metronome practice, you will notice significant improvements in your timing, precision, and overall musical performance. So, embrace the metronome as your practice partner and enjoy the benefits it brings to your musical journey.
Now, go grab your metronome, set it up, and let the steady beats guide you toward greater musicality and mastery!