Home>Production & Technology>Sheet Music>How To Read Strumming Patterns On Sheet Music
Sheet Music
How To Read Strumming Patterns On Sheet Music
Modified: February 15, 2024
Learn how to read strumming patterns on sheet music and improve your guitar playing. Discover the secrets to deciphering sheet music for accurate rhythm and timing.
(Many of the links in this article redirect to a specific reviewed product. Your purchase of these products through affiliate links helps to generate commission for AudioLover.com, at no extra cost. Learn more)
Table of Contents
Introduction
Welcome to the world of sheet music and the fascinating realm of strumming patterns. Whether you’re a beginner or an experienced musician, mastering the art of reading strumming patterns on sheet music is crucial for expanding your musical repertoire and becoming a well-rounded musician.
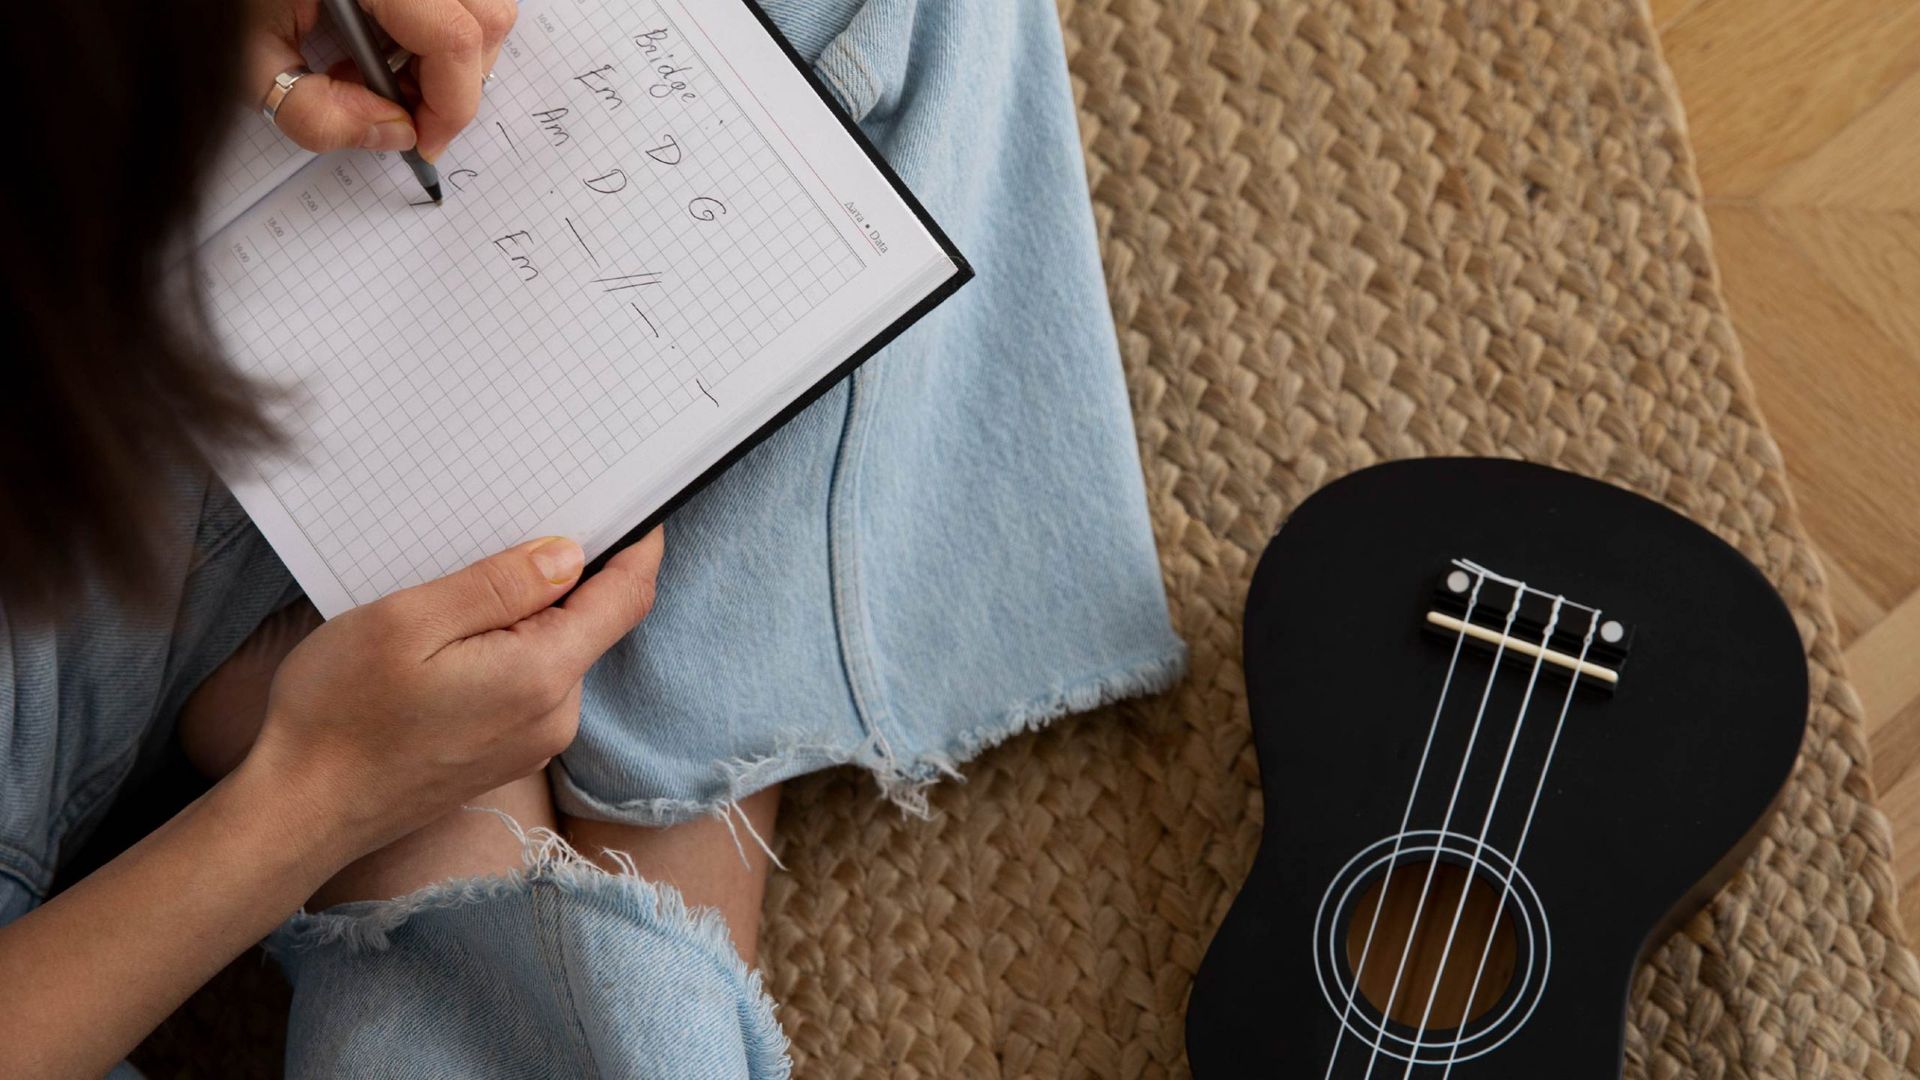
Strumming patterns are rhythmic patterns created by the coordinated movements of the picking hand, commonly used in guitar, ukulele, and other stringed instrument playing. They add depth, texture, and groove to the music, and can greatly enhance your overall playing style and musical expression.
However, for many musicians, deciphering and understanding strumming patterns on sheet music can be a bit overwhelming. The intricate combination of musical notation symbols and rhythmic values can feel like deciphering a secret code. But fear not! In this article, we will guide you through the process of understanding and interpreting strumming patterns on sheet music.
By delving into the world of musical notation and exploring the various symbols used to represent strumming patterns, you’ll gain the skills necessary to bring the music on the page to life. We’ll also provide you with practical tips to help you practice and master strumming patterns.
So, whether you’re a guitarist looking to expand your repertoire, a ukulele player searching for new rhythms, or a musician eager to explore the world of strumming patterns, read on to uncover the secrets of reading and interpreting strumming patterns on sheet music.
Understanding Strumming Patterns
Before diving into reading strumming patterns on sheet music, it’s essential to have a solid understanding of what exactly strumming patterns are and how they contribute to the overall musical composition.
At its core, a strumming pattern is a rhythmic pattern that dictates how the strings of an instrument are struck or plucked. It determines the timing, direction, and intensity of the strums, creating a unique rhythm that complements the melody and harmonies of a song.
Strumming patterns are notated using a combination of musical notation symbols, rhythmic values, and specific instructions for strumming techniques. They can vary widely, ranging from simple and straightforward patterns to complex and intricate arrangements.
To fully grasp strumming patterns, it’s important to understand the concept of beats and measures. In Western music, beats are the basic units of time, while measures (also known as bars) are groupings of beats that help organize and structure the music.
Common strumming patterns typically align with the beats and measures of a song, creating a rhythmic foundation that supports the melody and other instrumental parts. They can consist of a combination of downstrokes, upstrokes, and muted strums, each contributing to the overall rhythmic feel of the music.
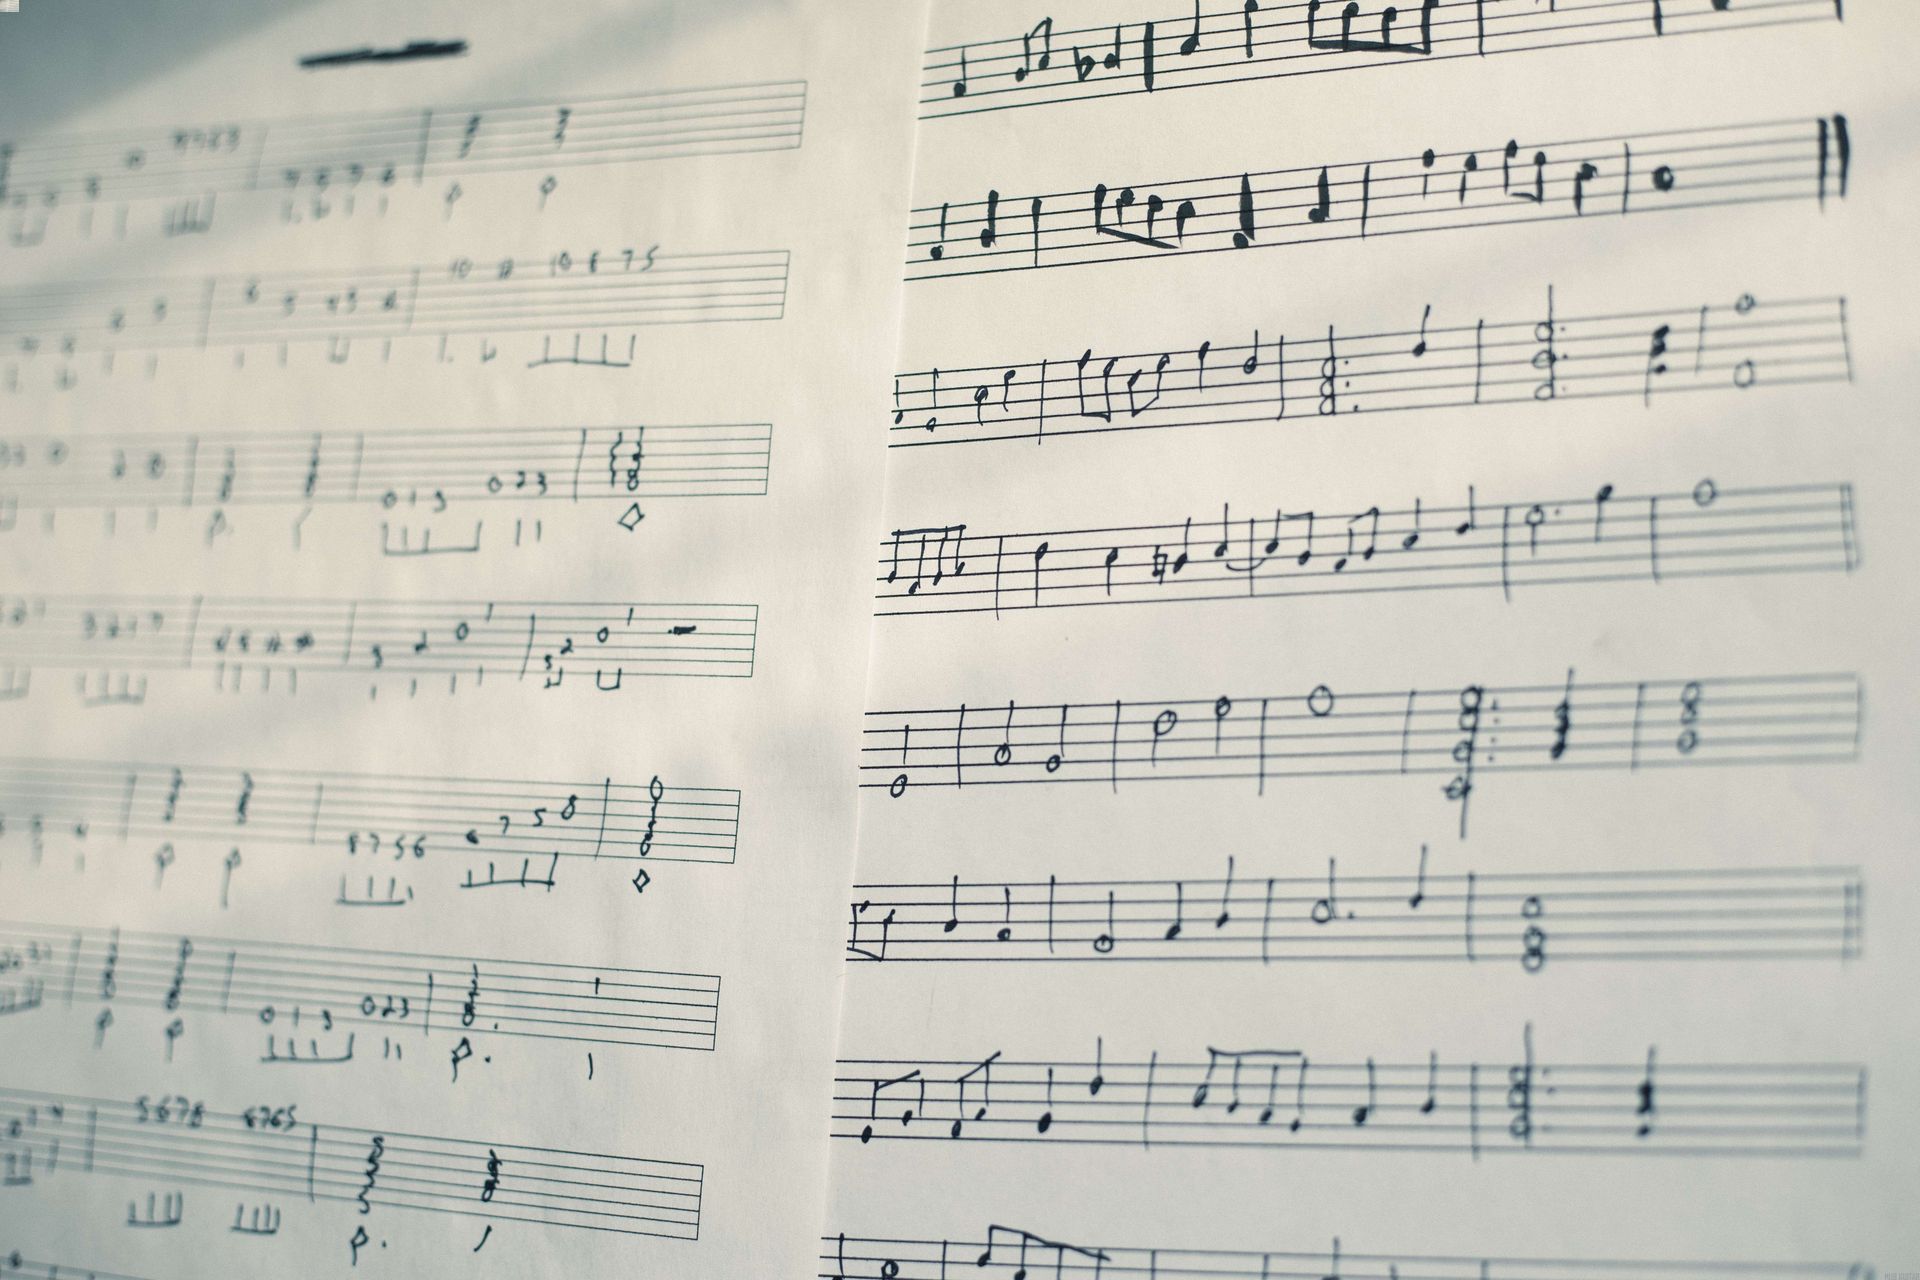
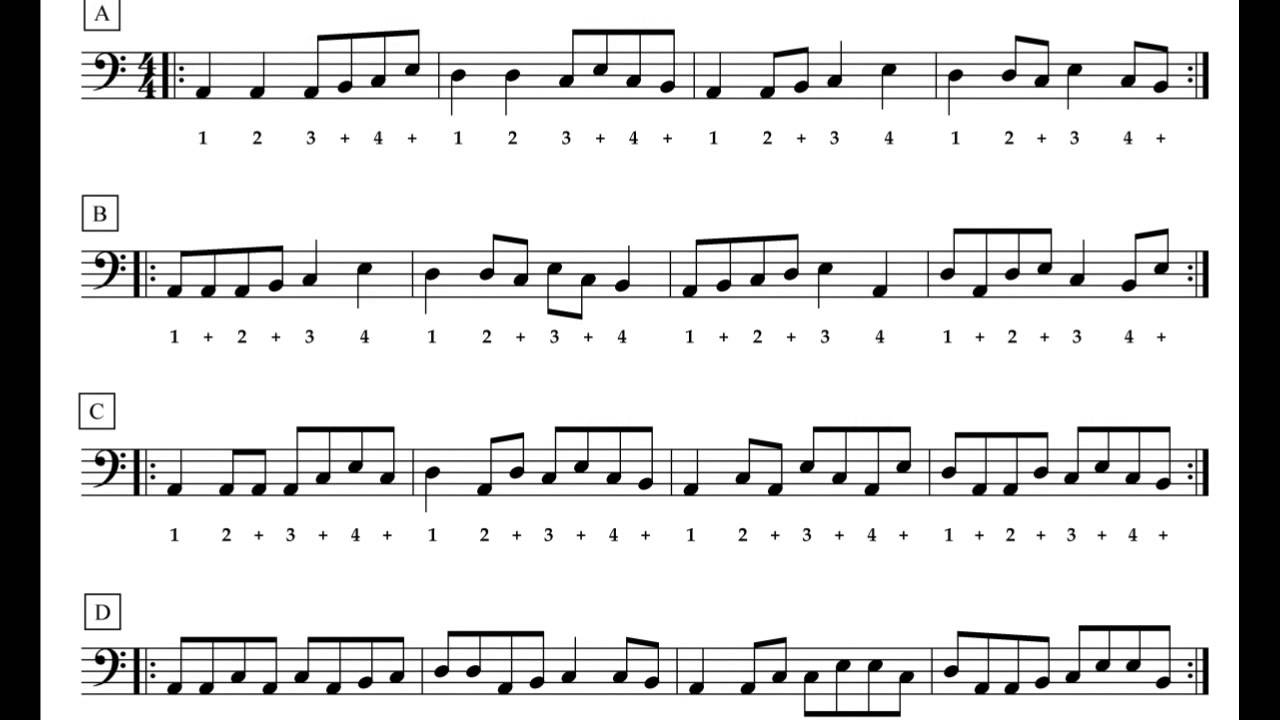
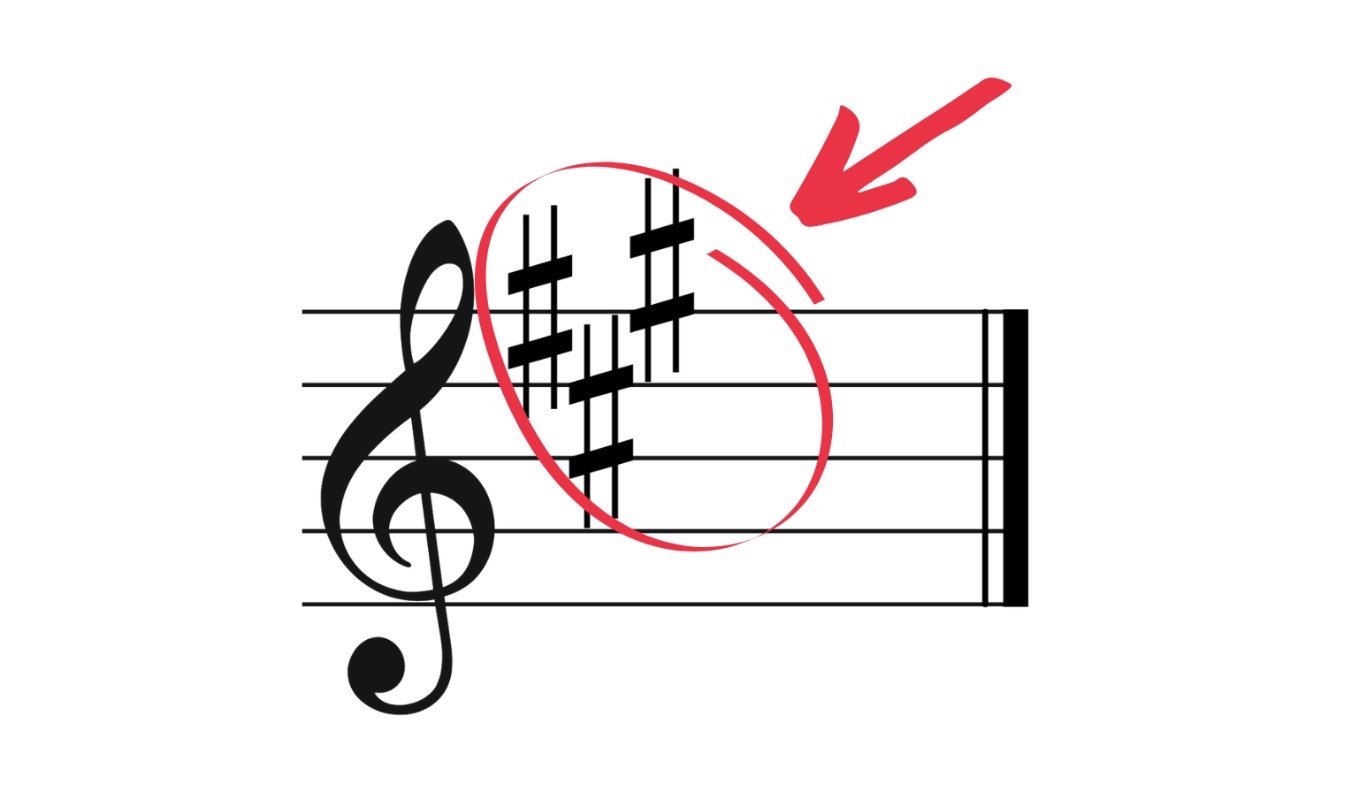
Strumming patterns are often represented on sheet music using a combination of rhythmic notation symbols such as whole notes, half notes, quarter notes, eighth notes, and sixteenth notes. These symbols correspond to specific durations of time and indicate how long each strum or rest should last.
Understanding the relationship between the strumming pattern, the beats and measures, and the rhythmic notation symbols is crucial for accurately interpreting and performing a piece of music. It allows you to replicate the intended rhythm and groove of a song, ensuring that it sounds authentic and true to its original composition.
In the next section, we will explore the specific musical notation symbols used to represent strumming patterns on sheet music, further enhancing your understanding of this fundamental aspect of playing music.
Reading Notation for Strumming Patterns
Reading notation for strumming patterns on sheet music can seem daunting at first, but with a little practice and knowledge of the specific musical notation symbols, you’ll be able to decipher and interpret the patterns with ease.
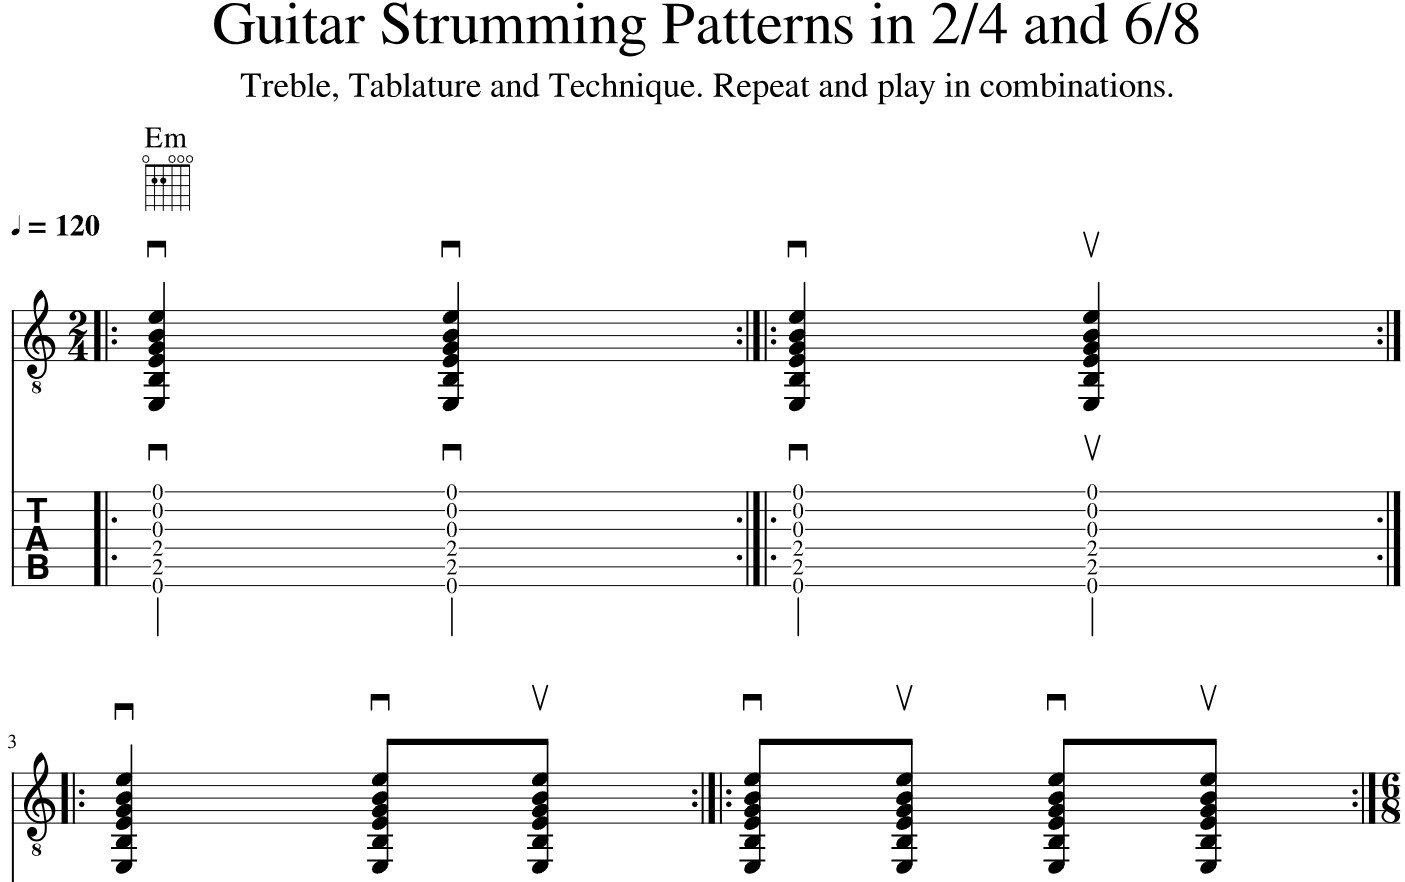
The most basic symbol used to represent strumming patterns is the downward arrow (↓) for a downstroke. This indicates that you should strum the strings in a downward motion, typically using your dominant hand (e.g., right hand for right-handed players).
The upward arrow (↑) is used to represent an upstroke, indicating that you should strum the strings in an upward motion. This is usually achieved by brushing your fingers or the pick against the strings in an upward direction.
In addition to the arrows, rest symbols are used to indicate when you should not strum the strings. The most commonly used rest symbol is the vertical line (|), which denotes a brief silence or pause in the strumming pattern.
Rhythmic values are crucial for understanding the timing and duration of each strum in a pattern. Common rhythmic values used in strumming patterns include:
- Whole Notes: Represented by a hollow circle, these notes last for the duration of a full measure. They are less common in strumming patterns and are typically used for sustained strums or chord changes.
- Half Notes: Represented by a hollow circle with a stem, these notes last for half the duration of a whole note. They are used for longer strums or chords within a measure.
- Quarter Notes: Represented by a solid circle with a stem, these notes last for one quarter of a measure. They are the most common rhythmic value in strumming patterns and usually represent a single strum.
- Eighth Notes: Represented by a solid circle with a stem and a flag, these notes last for one-eighth of a measure. They are used for faster strums and often indicate two strums within a single beat.
- Sixteenth Notes: Represented by a solid circle with a stem and two flags, these notes last for one-sixteenth of a measure. They are used for very fast and intricate strumming patterns, usually indicating four strums within a single beat.
By understanding these symbols and rhythmic values, you can read and interpret strumming patterns more effectively. Pay attention to the combination of symbols, the positioning on the staff, and the alignment with beats and measures to accurately perform the strumming pattern.
Next, let’s explore the musical notation symbols that are commonly used to further enhance and specify strumming patterns on sheet music.
Musical Notation Symbols for Strumming Patterns
When it comes to strumming patterns, there are additional musical notation symbols that can be used to provide specific instructions and variations. These symbols further enhance the interpretation and expression of the strumming pattern.
The “accent” symbol (>) is used to indicate emphasized or accented strums. It signifies that you should play the strum with greater intensity or emphasis compared to the surrounding strums. This symbol adds dynamics and highlights certain beats or notes within the pattern.
The “palm mute” symbol (P.M.) is used to indicate a muted strum. This technique involves lightly touching the strings with the palm of your picking hand as you strum, resulting in a muted or dampened sound. The palm mute symbol is typically placed above or below the rhythmic notation to indicate when the palm mute should be applied.
The “chord change” symbol (X) is used to indicate a quick chord change within the strumming pattern. It alerts the player to swiftly transition to a different chord during the designated strum. This symbol is often placed above or below the rhythmic notation and is accompanied by the chord name or symbol representing the new chord.
Another important aspect of strumming patterns is the concept of syncopation. Syncopation refers to emphasizing off-beats or placing strums in unexpected places within the rhythm. It creates a sense of groove and adds a dynamic feel to the music. While syncopation doesn’t have a specific musical notation symbol, it is often indicated through a combination of rhythmic values, accents, and rests.
It’s important to have a good grasp of these additional symbols and their meanings to accurately interpret strumming patterns. They provide valuable instructions and nuances that allow for a more expressive and nuanced performance.
Now that we have explored the musical notation symbols used in strumming patterns, let’s move on to understanding how to interpret these patterns when they are presented on sheet music.
Interpreting Strumming Patterns on Sheet Music
Interpreting strumming patterns on sheet music involves understanding and translating the combination of symbols, rhythmic values, and instructions into the actual sounds produced by the instrument. It’s the process of transforming the written notation into the rhythmic and dynamic performance required.
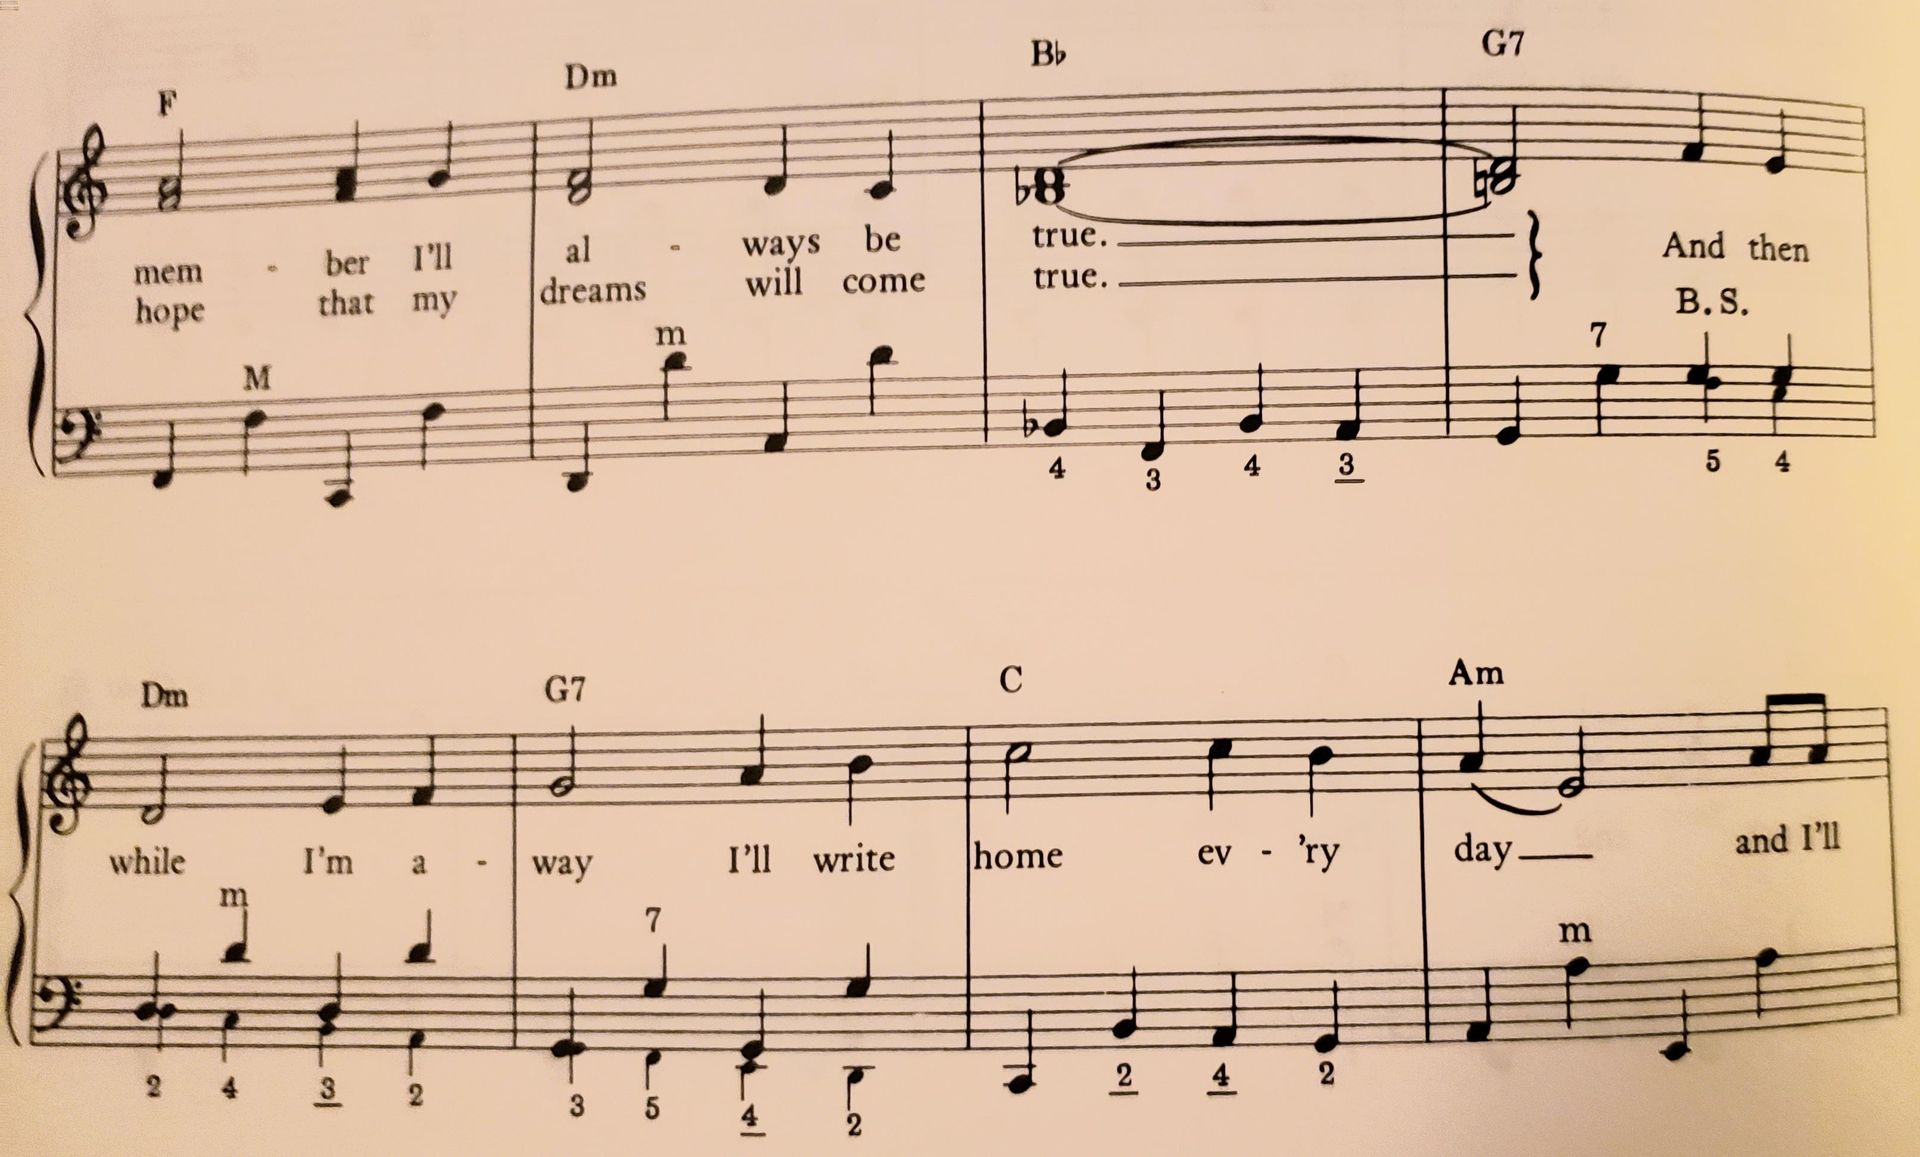
When interpreting strumming patterns, start by identifying the time signature indicated at the beginning of the sheet music. The time signature specifies the number of beats per measure and the type of note that receives one beat. This information is crucial for determining the overall rhythm and pulse of the piece.
Next, look for the strumming pattern notation, which typically appears above the staff or in a separate rhythm guitar notation section. Focus on the series of arrows (↓ for downstrokes, ↑ for upstrokes) and rhythmic values associated with each strum. It’s important to keep track of the duration and order of the strums to maintain the intended rhythm.
Pay attention to any additional symbols, such as accents (>), palm mutes (P.M.), or chord change indicators (X). These symbols provide specific instructions and variations that enhance the expression and dynamics of the strumming pattern.
Keep in mind that sheet music notation doesn’t always capture every subtle aspect of strumming patterns. Musical interpretation and personal style also play a role in how the strumming pattern is performed. Listen to recordings of the song or consult other musicians to get a sense of the desired groove and feel of the strumming pattern.
Remember that practice is key when it comes to interpreting and performing strumming patterns. Start by practicing the strumming pattern slowly and gradually increase the tempo as you become more comfortable. Pay attention to the rhythm and dynamics, ensuring that you capture the essence and energy of the pattern.
Incorporate your own personal style, dynamics, and variations to make the strumming pattern your own. Experiment with different strumming techniques, accents, and mutes to add your unique touch to the music and make it more expressive.
Overall, interpreting strumming patterns on sheet music is a skill that can be developed and refined with time and practice. By understanding the notation symbols, following the rhythmic values, and incorporating your own musicality, you’ll be able to bring the strumming patterns to life and create a captivating musical experience.
Practice Tips for Reading Strumming Patterns on Sheet Music
Reading and mastering strumming patterns on sheet music requires consistent practice and a systematic approach. Here are some tips to help you improve your skills in reading and performing strumming patterns:
- Start with simpler patterns: If you’re new to reading strumming patterns, start with simpler patterns that have fewer rhythmic variations. This will help you build a solid foundation and get comfortable with the basic notation symbols and rhythmic values.
- Break it down: Break down complex strumming patterns into smaller sections or even individual strums. Practice each section separately before gradually putting them together. This approach will make it easier to focus on specific rhythms and transitions within the pattern.
- Use a metronome: Practicing with a metronome is essential for developing a strong sense of timing and staying in sync with the rhythm. Start with a slower tempo and gradually increase the speed as you become more comfortable. This will help you maintain a steady and consistent strumming pattern.
- Visualize the pattern: Visualize the strumming pattern in your mind as you play. Imagine the arrows and rhythmic values as you strum, which will help reinforce the connection between the notation and the movement of your picking hand.
- Play along with recordings: Use recordings of songs or backing tracks that feature the strumming pattern you’re practicing. Play along and try to match the rhythm and feel of the recorded version. This will improve your ability to interpret and perform strumming patterns in a musical context.
- Experiment with variations: Once you’re comfortable with a strumming pattern, don’t be afraid to experiment with variations. Try different strumming techniques, dynamics, or accents to add your own touch to the pattern. This will allow you to inject more creativity and personal expression into your playing.
- Seek guidance from a teacher: If you’re struggling to grasp a particular strumming pattern or need guidance, consider working with a music teacher. They can provide personalized instruction, offer feedback, and help you overcome any challenges you may encounter.
Remember, practice is key. Repetition and consistent practice will help solidify your understanding of strumming patterns and improve your reading skills. Be patient with yourself and enjoy the process of learning and mastering this important aspect of musical expression.
Conclusion
Congratulations! You have now journeyed through the world of reading strumming patterns on sheet music. By understanding the symbols, notation, and techniques involved, you are well-equipped to tackle the intricacies of strumming patterns and bring them to life in your playing.
Remember, reading strumming patterns is a skill that takes time and practice to develop. Start with simpler patterns and gradually work your way up to more complex ones. Break down the patterns into manageable sections and practice each component individually before putting them together.
Utilize the musical notation symbols, such as arrows, rests, accents, and chord change indicators, to accurately interpret the strumming patterns. Pay attention to the rhythmic values and their placement in the sheet music to maintain the intended rhythm and groove.
Experiment with different variations, dynamics, and techniques to make the strumming patterns your own. Incorporate your personal style and musicality to create a unique performance that showcases your individuality as a musician.
Don’t forget to practice with a metronome to develop a strong sense of timing and rhythm. Playing along with recordings of songs that feature the strumming patterns you’re learning is a great way to improve your ability to interpret and perform in a musical context.
Finally, be patient and enjoy the process of learning and mastering strumming patterns. With dedicated practice and a passion for music, you will continue to grow and expand your musical repertoire.
So, dive into sheet music, embrace the world of strumming patterns, and let your musical journey unfold with joy and creativity!