Home>Devices & Equipment>Earbuds>How To Get Skullcandy Earbuds To Pair
Earbuds
How To Get Skullcandy Earbuds To Pair
Modified: January 22, 2024
Learn how to easily pair your Skullcandy earbuds with any device. Follow our step-by-step guide for a seamless and hassle-free connection.
(Many of the links in this article redirect to a specific reviewed product. Your purchase of these products through affiliate links helps to generate commission for AudioLover.com, at no extra cost. Learn more)
Table of Contents
Introduction
Welcome to the world of Skullcandy earbuds! With their sleek design, immersive sound quality, and advanced features, Skullcandy earbuds have become a popular choice for music lovers and tech enthusiasts alike.
Whether you’re a new owner of Skullcandy earbuds or looking to upgrade your current pair, one of the most crucial steps in enjoying your earbuds is getting them paired with your device. Bluetooth pairing is the process of establishing a wireless connection between your earbuds and your smartphone, tablet, or other Bluetooth-enabled devices.
Pairing your Skullcandy earbuds is essential for seamless audio playback, the convenience of hands-free calling, and accessing additional features like voice assistants. In this article, we will guide you through the steps to get your Skullcandy earbuds paired with your device hassle-free.
Before we dive into the pairing process, it’s important to ensure that your device is equipped with Bluetooth and that it’s enabled. Most modern smartphones and tablets come with Bluetooth built-in, but you might need to check your device’s settings to make sure it’s turned on. Once you’ve confirmed that Bluetooth is enabled, you’re ready to proceed.
Now let’s get started with the step-by-step process to pair your Skullcandy earbuds with your device. Following these instructions will ensure a successful connection, allowing you to enjoy your favorite tunes or take calls wirelessly.
Step 1: Turn on Bluetooth
The first step in pairing your Skullcandy earbuds is to ensure that Bluetooth is turned on your device. Bluetooth allows for wireless communication between devices and is essential for connecting your earbuds to your smartphone, tablet, or other compatible devices.
To turn on Bluetooth on most smartphones, simply swipe down from the top of your screen to access the notification panel. Look for the Bluetooth icon, which typically looks like a stylized letter “B.” Tap on the Bluetooth icon to enable it. Alternatively, you can access Bluetooth settings by going to your device’s settings menu and searching for the Bluetooth option. Once you locate it, toggle the switch to turn it on.
If you’re using a tablet or a different device, the process may vary slightly. Look for the Bluetooth settings in your device’s settings menu and turn it on from there.
After you’ve turned on Bluetooth, you’ll see a Bluetooth indicator appear in the status bar of your device, confirming that Bluetooth is now active. Keep your device’s Bluetooth settings open, as we’ll need to access them in the next steps.
It’s important to note that the location of the Bluetooth settings may vary slightly depending on the device and operating system version. If you’re having trouble locating the Bluetooth settings on your specific device, consult the device’s user manual or perform an online search with the model and operating system version for specific instructions.
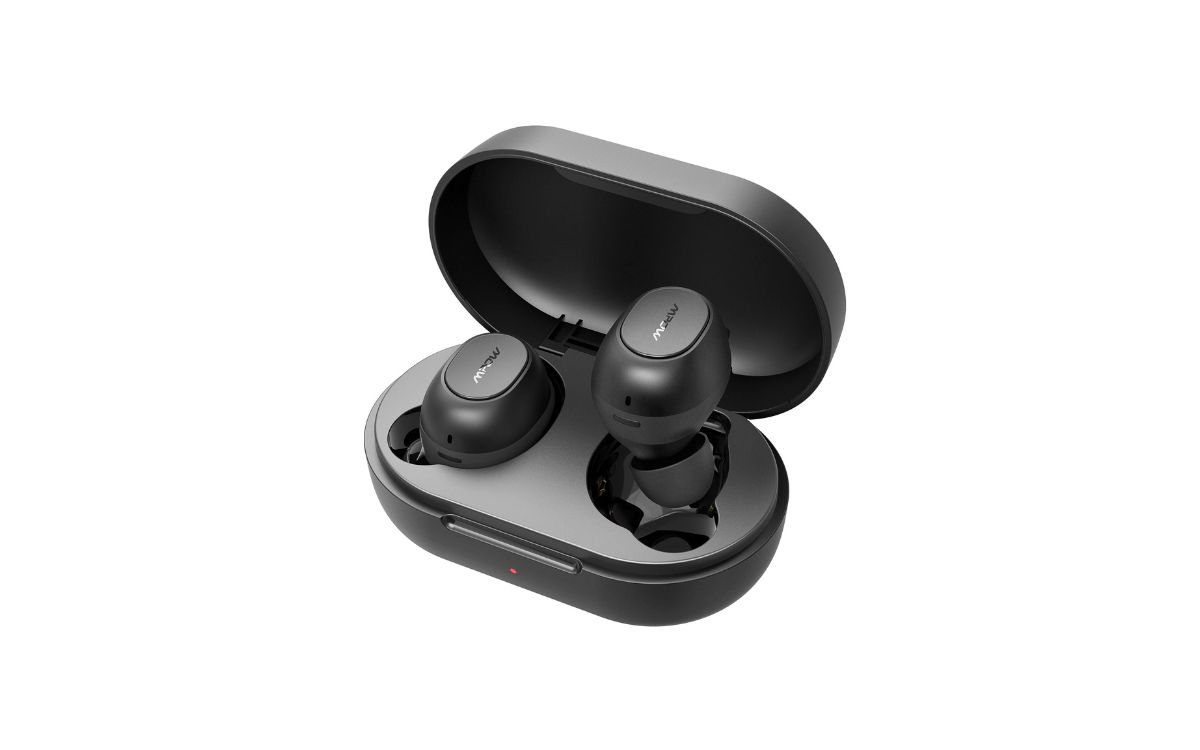
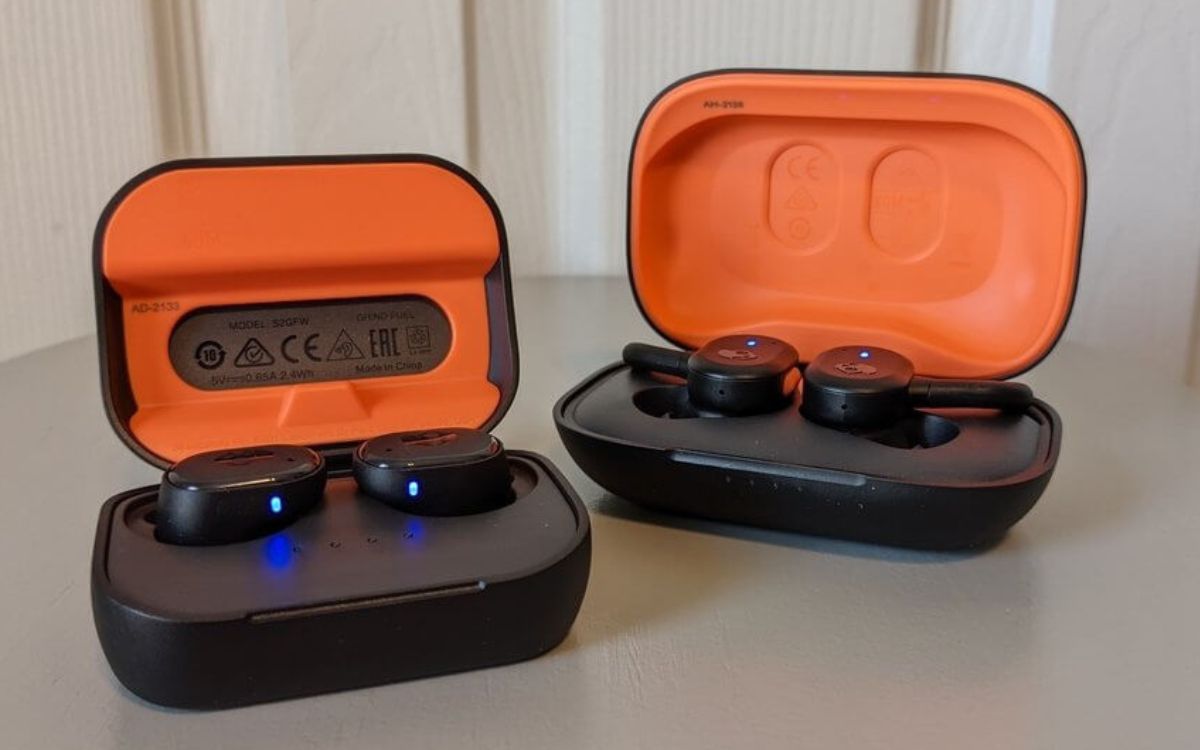
Step 2: Put the Skullcandy earbuds in pairing mode
Once Bluetooth is enabled on your device, the next step is to put your Skullcandy earbuds into pairing mode. Pairing mode allows your earbuds to be discoverable by your device and establishes a connection between them.
The method to enter pairing mode can vary depending on the specific model of your Skullcandy earbuds. Here are some general guidelines to put your earbuds into pairing mode:
- Start with the earbuds turned off. If they are on, turn them off by pressing and holding the power button until you see the LED indicator light turn off.
- Once the earbuds are off, press and hold the power button or the dedicated pairing button, if available. Hold the button for a few seconds or until you see the LED indicator light start flashing or change colors.
- Keep holding the button until the LED indicator enters a rapid flashing pattern. This indicates that the Skullcandy earbuds are now in pairing mode and ready to be discovered by your device.
It’s important to consult the user manual or the Skullcandy website for specific instructions on entering pairing mode for your particular earbud model. The process may vary slightly based on the specific features and design of your earbuds.
Once your Skullcandy earbuds are in pairing mode, the LED indicator should continue flashing or changing colors, indicating that they are ready to be connected to your device. Now, it’s time to move on to the next step and access the Bluetooth settings on your device.
Step 3: Access Bluetooth settings on your device
After putting your Skullcandy earbuds in pairing mode, the next step is to access the Bluetooth settings on your device. These settings allow you to search for and connect to the available Bluetooth devices, including your Skullcandy earbuds.
To access the Bluetooth settings on most smartphones, follow these steps:
- Open the Settings app on your device. This can usually be found on your home screen or in the app drawer.
- Scroll down or look for the “Connections” or “Wireless & Networks” section. Tap on it to expand the options.
- Within the “Connections” or “Wireless & Networks” section, look for the Bluetooth option and tap on it. This will take you to the Bluetooth settings menu.
On some devices, you might find the Bluetooth option directly in the main settings menu, without the need to navigate through additional sections. The exact location and appearance of the Bluetooth settings can vary depending on your device’s make, model, and operating system version.
Once you’re in the Bluetooth settings menu, you’ll see a list of available Bluetooth devices. At this point, your Skullcandy earbuds should appear as a discoverable device in the list since they are in pairing mode. If you don’t see them right away, tap on the “Scan” or “Search” button to allow your device to search for nearby Bluetooth devices again.
Now that you’ve accessed the Bluetooth settings on your device and your Skullcandy earbuds are discoverable, it’s time to move on to the next step and scan for devices.
Step 4: Scan for devices
With the Bluetooth settings open on your device, it’s time to scan for available devices, including your Skullcandy earbuds. The scanning process allows your device to search for nearby Bluetooth devices and display them for pairing.
To scan for devices on most smartphones, follow these steps:
- Within the Bluetooth settings menu, ensure that Bluetooth is turned on if it’s not already.
- Look for a “Scan” or “Search” button and tap on it. This will initiate the scanning process.
- Your device will now search for nearby Bluetooth devices. This process may take a few moments, so be patient while it completes.
During the scanning process, your device will display a list of Bluetooth devices that it discovers. This list might include other devices in addition to your Skullcandy earbuds. Look for the name or model of your Skullcandy earbuds in the list.
If you don’t see your Skullcandy earbuds in the list, make sure they are still in pairing mode and within range of your device. You can also try refreshing the list by tapping on the “Scan” or “Search” button again.
Once you spot your Skullcandy earbuds in the list, it’s time to move on to the next step and select them for pairing.
Note: The steps to scan for devices may vary slightly depending on the make, model, and operating system version of your device. If you’re unsure about how to scan for devices on your specific device, consult the device’s user manual or perform an online search using the model and operating system version for precise instructions.
Step 5: Select the Skullcandy earbuds from the list
After scanning for devices, your device will display a list of available Bluetooth devices, including your Skullcandy earbuds. Now it’s time to select your earbuds from the list to initiate the pairing process.
To select the Skullcandy earbuds from the list on most smartphones, follow these steps:
- Review the list of available Bluetooth devices that your device has discovered.
- Look for the name or model of your Skullcandy earbuds in the list. The device name usually includes the word “Skullcandy” or the specific model name.
- Tap on the name of your Skullcandy earbuds in the list. This will select them for pairing.
After selecting your Skullcandy earbuds, your device will begin establishing a connection with them. The pairing process may take a few moments, so be patient while it completes. During this time, the LED indicator on your earbuds might change colors or flash to indicate the pairing process.
Once the pairing is successful, your device will display a confirmation message, and the LED indicator on your Skullcandy earbuds may stabilize or change to a solid color. This indicates that your earbuds are now paired and connected to your device.
If you encounter any difficulties during the pairing process, make sure that your Skullcandy earbuds are still in pairing mode, and try selecting them again from the list. You can also try restarting the pairing process from the beginning by turning off Bluetooth, putting your earbuds back into pairing mode, and scanning for devices again.
Now that you’ve successfully selected your Skullcandy earbuds from the list, it’s time to move on to the next step and complete the pairing process.
Note: The process of selecting devices from the list may vary slightly depending on the make, model, and operating system version of your device. If you’re unsure about how to select the Skullcandy earbuds from the list on your specific device, consult the device’s user manual or perform an online search using the model and operating system version for precise instructions.
Step 6: Complete the pairing process
After you have selected your Skullcandy earbuds from the list on your device, it’s time to complete the pairing process. This step finalizes the connection between your device and the earbuds, allowing you to enjoy wireless audio and other features.
Once you have selected your Skullcandy earbuds, your device will prompt you to confirm the pairing request. Look for a confirmation message on your device’s screen, typically with a message like “Pairing request from Skullcandy earbuds.” Tap on the “Pair” or “Connect” button to confirm the pairing and complete the process.
During the pairing process, your device and your Skullcandy earbuds will exchange information and establish a secure connection. This process may take a few moments, so please be patient while it completes.
Once the pairing process is complete, your device will display a notification that the Skullcandy earbuds are now connected. You may also hear an audible tone or see the LED indicator on your earbuds change to indicate the successful pairing.
At this point, you should be able to enjoy the full capabilities of your Skullcandy earbuds. You can use them to listen to music, make hands-free calls, and access additional features like voice assistants.
If you encounter any difficulties during the pairing process or the connection isn’t stable, try the following troubleshooting steps:
- Ensure that both your device and your Skullcandy earbuds are charged.
- Make sure that your device and your Skullcandy earbuds are within range of each other (typically within 33 feet or 10 meters).
- Try turning Bluetooth off and back on again on your device, and repeat the pairing process.
- If possible, try pairing your Skullcandy earbuds with a different device to rule out any compatibility issues.
- Check if there are any firmware updates available for your Skullcandy earbuds, as updating the firmware can improve performance and connectivity.
By following these troubleshooting steps and ensuring that your device and earbuds are in optimal condition, you should be able to complete the pairing process successfully.
Now that you have completed the pairing process, it’s time to move on to the final step and test the connection between your device and your Skullcandy earbuds.
Step 7: Test the connection
After successfully completing the pairing process between your device and Skullcandy earbuds, it’s recommended to test the connection to ensure everything is working as expected. This step allows you to verify that audio playback, call functionality, and other features are functioning correctly.
To test the connection between your device and Skullcandy earbuds, follow these steps:
- Play a song or audio clip on your device.
- Ensure that the audio is being routed to your Skullcandy earbuds. You can do this by swiping down from the top of your screen to open the notification panel and checking the audio output settings. Alternatively, you can go to the audio settings on your device and manually select your Skullcandy earbuds as the audio output device.
- Once the audio is playing and routed to your earbuds, listen for clear and crisp sound quality. Adjust the volume level to your preference.
- If your Skullcandy earbuds have built-in controls, such as volume control or media playback buttons, test them to ensure they are functioning properly.
- Make a test call to ensure that the call functionality is working correctly. Check if you can hear the other person clearly through your Skullcandy earbuds, and if the microphone is picking up your voice effectively. If there are any issues, check the call settings on your device to make sure the audio is being routed to your earbuds.
During testing, pay attention to any audio dropouts, connectivity issues, or distorted sound quality. If you encounter any problems, try the following troubleshooting steps:
- Ensure that your Skullcandy earbuds and your device are within the recommended range for Bluetooth connectivity (usually 33 feet or 10 meters) to maintain a stable connection.
- Move closer to your device to eliminate any potential interference or obstruction that may affect the Bluetooth signal.
- Check for any software updates available for your device and your Skullcandy earbuds. Keeping both devices updated with the latest firmware can improve performance and address any connectivity issues.
- Try unpairing and re-pairing your Skullcandy earbuds to your device, following the steps outlined in the earlier sections of this article.
- If you’re still experiencing issues, consult the user manual for your Skullcandy earbuds or visit the official Skullcandy website for further troubleshooting guidance.
By testing the connection between your device and Skullcandy earbuds and addressing any issues that may arise, you can ensure optimal performance and a seamless wireless audio experience.
Congratulations! You have now successfully paired your Skullcandy earbuds with your device and tested the connection. Enjoy the freedom of wireless audio and the immersive sound experience that Skullcandy earbuds provide.
Remember to refer back to this guide if you need to pair your earbuds with a different device or if you encounter any difficulties in the future.
Happy listening!
Conclusion
Congratulations on successfully pairing your Skullcandy earbuds with your device! You have now unlocked the freedom of wireless audio and the convenience of hands-free calling. By following the step-by-step process outlined in this article, you were able to establish a seamless connection between your device and Skullcandy earbuds.
Remember that Bluetooth pairing is an essential step to enjoy all the features and benefits that your Skullcandy earbuds offer. Whether you want to listen to your favorite music, take calls on the go, or access voice assistants, a stable and reliable connection is key.
If you encounter any difficulties during the pairing process or experience connectivity issues, don’t worry. Follow the troubleshooting steps provided in this guide, such as checking the device’s Bluetooth settings, ensuring compatibility, and updating firmware when necessary.
By testing the connection between your device and Skullcandy earbuds, you can confirm that audio playback is clear, call functionality is working well, and all the features of your earbuds are functioning as expected.
Remember to maintain your earbuds and device in optimal condition to ensure a consistent connection. Regularly charge your devices, keep them within the recommended Bluetooth range, and update firmware when available.
Now that you’re equipped with the knowledge to pair your Skullcandy earbuds, you can enjoy a hassle-free and immersive audio experience. Whether you’re working out, commuting, or simply relaxing at home, your Skullcandy earbuds will enhance your music, podcasts, and phone conversations.
Thank you for choosing Skullcandy, and we hope this guide has been helpful to you. Get ready to elevate your audio experience and enjoy the convenience of wireless listening with your Skullcandy earbuds!
Happy listening!