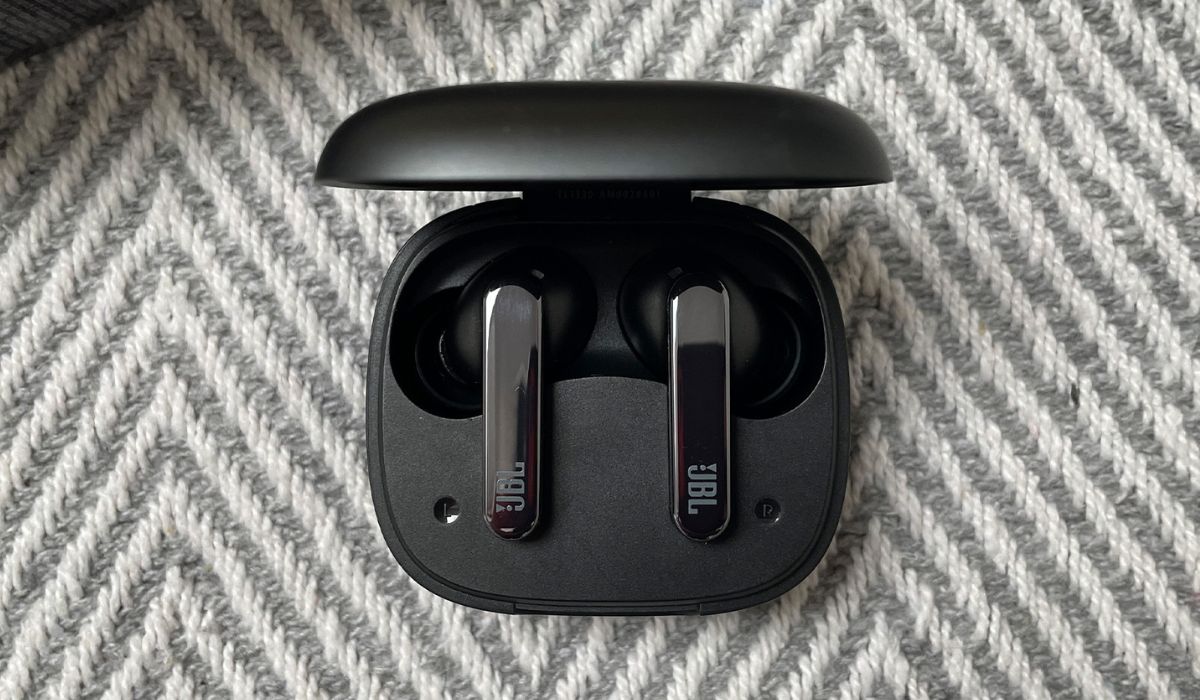
Home>Devices & Equipment>Earbuds>How To Pair JBL Free Earbuds
Earbuds
How To Pair JBL Free Earbuds
Published: November 16, 2023
Learn how to pair your JBL Free earbuds effortlessly and enjoy the ultimate wireless experience. Find step-by-step instructions and troubleshooting tips for optimal performance.
(Many of the links in this article redirect to a specific reviewed product. Your purchase of these products through affiliate links helps to generate commission for AudioLover.com, at no extra cost. Learn more)
Table of Contents
Introduction
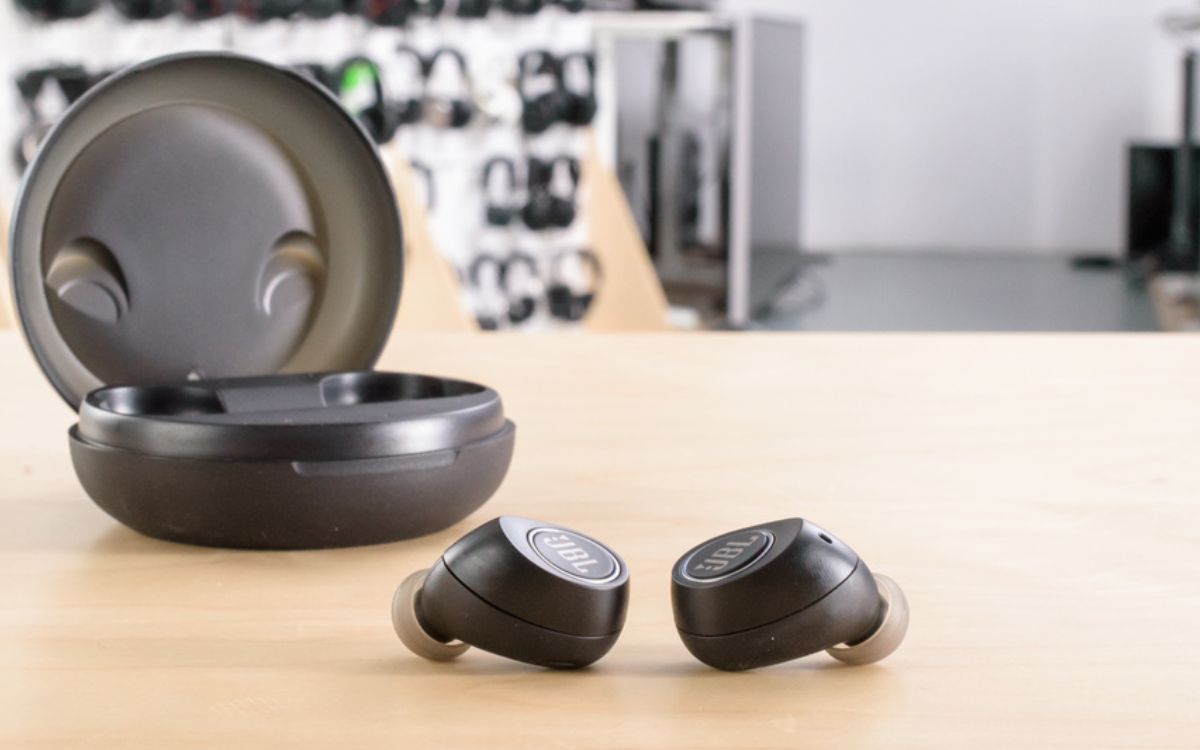
Welcome to the world of wireless audio technology! If you’re the proud owner of JBL Free Earbuds or planning to purchase them, you’re in for a treat. These sleek and compact earbuds offer rich sound quality and a hassle-free listening experience.
One of the key features of JBL Free Earbuds is their ability to connect wirelessly with your device through Bluetooth technology. This means you can enjoy your favorite music, podcasts, or calls without the constraints of tangled wires.
Getting started with your JBL Free Earbuds is a breeze, but if you’re new to the world of wireless earbuds, you might be wondering how to pair them with your device. That’s where this article comes in. We’ll guide you through the step-by-step process of pairing your JBL Free Earbuds, ensuring that you can start enjoying your favorite audio content in no time!
Before we dive into the detailed steps, it’s worth noting that the pairing process may vary slightly depending on the device you’re using. However, the fundamental principles remain the same. So, regardless of whether you’re using an Android, iOS, or Windows device, this guide will help you navigate through the pairing process effortlessly.
So, without further ado, let’s dive into the wonderful world of JBL Free Earbuds and uncover the secrets to seamless wireless audio connection!
Step 1: Check the Battery Level
Before pairing your JBL Free Earbuds with your device, it’s important to ensure that the earbuds have sufficient battery life. Low battery levels can disrupt the pairing process or cause connection issues. Follow these simple steps to check the battery level of your JBL Free Earbuds:
- Remove the earbuds from the charging case.
- Take a close look at the LED indicators on both earbuds. Most JBL Free Earbuds feature LED lights that indicate the battery level.
- If the LED light is solid white or green, it indicates that the battery level is high.
- If the LED light is blinking or turning red, it means the battery level is low, and you need to charge the earbuds before proceeding with the pairing process.
It’s essential to have a fully charged pair of earbuds to ensure a seamless and uninterrupted wireless audio experience. So, if the battery level is low, place the earbuds back in the charging case and connect it to a power source using the provided USB cable.
Once the earbuds are securely placed in the charging case, the LED lights on the case will indicate the charging status. It usually takes around 2 hours for JBL Free Earbuds to fully charge. During this time, make sure not to interrupt the charging process to avoid any potential pairing or connection issues later on.
Once the earbuds are fully charged, you’re ready to move on to the next step and pair them with your device. By ensuring that your JBL Free Earbuds have sufficient battery life, you’ll enjoy uninterrupted music, crystal-clear calls, and an overall immersive audio experience.
Step 2: Turn on Bluetooth
Now that you’ve checked the battery level of your JBL Free Earbuds and ensured they are adequately charged, it’s time to turn on Bluetooth on your device. Bluetooth allows your earbuds to connect wirelessly and communicate with your device. Follow these steps to enable Bluetooth:
- Unlock your device and access the settings menu.
- Look for the Bluetooth option and tap on it. The Bluetooth settings screen will appear.
- Toggle the Bluetooth switch to turn it on. You may need to wait a few seconds for your device to scan for available Bluetooth devices.
Once Bluetooth is enabled, your device is now ready to search for and connect with the JBL Free Earbuds. Keep in mind that the exact process of enabling Bluetooth may vary slightly depending on your device’s operating system, but the general steps remain the same.
It’s important to note that if you’re pairing the earbuds with a new device, make sure to disconnect them from any previously paired devices. Bluetooth devices can only be connected to one device at a time, so disconnecting them from a previous device is necessary to establish a successful connection with the new device.
With Bluetooth now activated on your device, you’re one step closer to enjoying the wireless freedom of your JBL Free Earbuds. The next step is to put your earbuds in pairing mode so that they can be discovered by your device during the pairing process.
Step 3: Place the Earbuds in Pairing Mode
To successfully pair your JBL Free Earbuds with your device, you’ll need to put the earbuds in pairing mode. This mode allows your device to detect the earbuds and establish a connection. Follow these simple steps to put your JBL Free Earbuds in pairing mode:
- Take both earbuds out of the charging case and ensure they are turned off.
- Press and hold the power button on both earbuds simultaneously for a few seconds. The LED lights on both earbuds will start blinking, indicating that they are now in pairing mode.
- Keep holding the power button until you see the LED lights on both earbuds enter a rapid blinking mode. This indicates that the earbuds are now in pairing mode and ready to be discovered by your device.
It’s important to note that the specific button or combination of buttons required to enter pairing mode may vary depending on the model of your JBL Free Earbuds. Refer to the user manual or the manufacturer’s website for detailed instructions specific to your earbud model.
Once the earbuds are in pairing mode, a “JBL Free” or similar device name should appear in the list of available Bluetooth devices on your device’s screen. Your device is now ready to connect to the earbuds and complete the pairing process.
Putting the earbuds in pairing mode ensures that they are visible to your device and ready to establish a connection. With the earbuds in this mode, you’re all set to move on to the next step and complete the pairing process with your device.
Step 4: Connect the Earbuds to a Device
Now that your JBL Free Earbuds are in pairing mode, it’s time to connect them to your device. Follow these steps to establish a successful connection:
- On your device, navigate to the Bluetooth settings menu.
- In the list of available devices, look for the “JBL Free” or similar device name. Tap on it to initiate the pairing process.
- Wait for a moment as your device attempts to establish a connection with the earbuds. Once the connection is established, you will receive a notification or see a connected status next to the JBL Free Earbuds in the Bluetooth settings menu.
The time it takes to establish a connection may vary, so be patient during this process. Sometimes, you may be asked to confirm a pairing code or PIN to complete the connection. If prompted, enter the code or follow the on-screen instructions to confirm the pairing.
Once the connection is established, your device is now paired with your JBL Free Earbuds, and you can start enjoying your favorite audio content wirelessly.
It’s important to note that once the earbuds are successfully paired with your device, future connections will be automatic. When you turn on your JBL Free Earbuds and activate Bluetooth on your device, they will automatically connect without the need for manual pairing.
If you encounter any issues during the pairing process, make sure the earbuds are in pairing mode and within the Bluetooth range of your device. If connection problems persist, try resetting the earbuds or consult the user manual or JBL customer support for further assistance.
With your JBL Free Earbuds successfully connected to your device, you’re now ready to test the connection and experience the freedom of wireless audio.
Step 5: Confirm Pairing and Test the Connection
Now that your JBL Free Earbuds are successfully connected to your device, it’s time to confirm the pairing and test the connection. Follow these steps to ensure a seamless audio experience:
- Put on your JBL Free Earbuds and make sure they fit comfortably in your ears.
- Play some audio on your device, such as your favorite song or a podcast episode.
- Listen carefully to the audio coming through the earbuds. Ensure that the sound quality is clear, crisp, and without any distortions.
If you’re using the earbuds for calls, make a test call to ensure that the microphone and audio quality are both working properly. Speak into the microphone and ask the recipient if they can hear you clearly.
During this stage, it’s crucial to test the range of the wireless connection. Move around your environment and observe if the audio remains stable. The JBL Free Earbuds usually provide a range of up to 10 meters (33 feet), but the quality of the connection can be affected by factors such as obstacles and interference from other devices.
If you encounter any issues during the testing phase, such as poor audio quality or a weak connection, try the following troubleshooting steps:
- Ensure that your device is within the recommended range of the earbuds.
- Make sure there are no obstacles or interference between your device and the earbuds.
- Try restarting your device and/or resetting the earbuds to clear any temporary glitches.
- Double-check that the earbuds are properly inserted in your ears for optimal sound quality.
If the issue persists, consult the user manual or contact JBL customer support for further assistance. They can provide specific troubleshooting steps or offer solutions to resolve any connectivity or audio-related problems.
Once you have confirmed that the pairing is successful and the connection is stable, congratulations! You can now enjoy the freedom of wireless audio with your JBL Free Earbuds.
Troubleshooting Tips
While pairing and connecting your JBL Free Earbuds is typically a straightforward process, occasional issues may arise. If you encounter any difficulties during the pairing or connection process, here are some troubleshooting tips to help you navigate through them:
- Restart and Reset: If the earbuds are not connecting or behaving unexpectedly, try restarting your device and resetting the earbuds. This can help clear any temporary glitches or conflicts that may be causing the issues.
- Bluetooth Range: Ensure that your device and the JBL Free Earbuds are within the recommended Bluetooth range. Obstacles such as walls or other electronic devices can weaken the signal. Try moving closer to your device to establish a stronger connection.
- Verify Pairing Mode: Double-check that the earbuds are in pairing mode and ready to be discovered by your device. Refer to the user manual or manufacturer’s instructions to ensure you’re following the correct steps for your specific earbud model.
- Check Battery Level: Low battery levels can impact the pairing process or cause connection issues. Make sure your JBL Free Earbuds are adequately charged before attempting to pair them with your device.
- Clear Paired Devices: If you’re having trouble connecting the earbuds to a new device, ensure that they are not still paired with any previously connected devices. Disconnecting them from other devices can help establish a successful connection.
- Update Firmware: Check if there are any firmware updates available for your JBL Free Earbuds. Sometimes, updating the firmware can resolve compatibility issues and improve overall performance.
- Try Different Devices: If you’re experiencing difficulty pairing with one device, try connecting the earbuds to another device. This will help determine if the issue is specific to the device or the earbuds.
If none of these troubleshooting tips resolve your issue, it may be helpful to consult the user manual or contact JBL customer support for further assistance. They will be able to provide specific instructions based on your earbud model and offer personalized solutions to address any problems you may be facing.
Remember, technical issues can occur, but with a little patience and troubleshooting, you can enjoy the seamless wireless audio experience with your JBL Free Earbuds.
Conclusion
Congratulations! You’ve successfully learned how to pair your JBL Free Earbuds with your device. From checking the battery level to confirming the pairing and testing the connection, you’re now equipped with the knowledge to enjoy a wireless audio experience like never before.
With the freedom of wireless audio, you can move around without the constraints of tangled wires, whether you’re listening to your favorite music, engaging in a phone call, or enjoying a podcast. The JBL Free Earbuds provide the perfect balance of convenience, comfort, and exceptional sound quality.
Should you encounter any issues along the way, remember to consult the troubleshooting tips provided in this guide. From restarting and resetting your devices to ensuring you’re within the Bluetooth range, these troubleshooting steps can help resolve common connectivity problems.
Now that you’re familiar with the pairing process, take some time to explore the features and capabilities of your JBL Free Earbuds. Experiment with different audio sources, adjust the fit for maximum comfort, and enjoy the convenience of wireless audio anytime, anywhere.
Remember to keep your JBL Free Earbuds charged and updated with the latest firmware for optimal performance. Take care of your earbuds, protect them from moisture and extreme temperatures, and enjoy the immersive sound experience they have to offer.
Thank you for choosing JBL Free Earbuds. We hope this guide has been helpful in assisting you with pairing and enjoying your wireless audio experience. Embrace the freedom and immerse yourself in the world of JBL Free Earbuds!