Home>Devices & Equipment>Subwoofer>How To Pair JBL 5.1 Soundbar To Subwoofer
Subwoofer
How To Pair JBL 5.1 Soundbar To Subwoofer
Published: January 22, 2024
Learn how to easily pair your JBL 5.1 soundbar with the subwoofer, ensuring immersive audio experience. Follow our step-by-step guide now!
(Many of the links in this article redirect to a specific reviewed product. Your purchase of these products through affiliate links helps to generate commission for AudioLover.com, at no extra cost. Learn more)
Table of Contents
Introduction
Are you ready to take your audio experience to the next level? Look no further than the JBL 5.1 Soundbar. This cutting-edge sound system is designed to deliver crystal clear audio with deep, immersive bass, thanks to its powerful subwoofer.
The subwoofer is an essential component of any audio system, responsible for reproducing low frequency sounds and adding depth and richness to your favorite music, movies, and games. In this article, we will guide you through the process of pairing the JBL 5.1 Soundbar to its subwoofer, ensuring that you get the best audio experience possible.
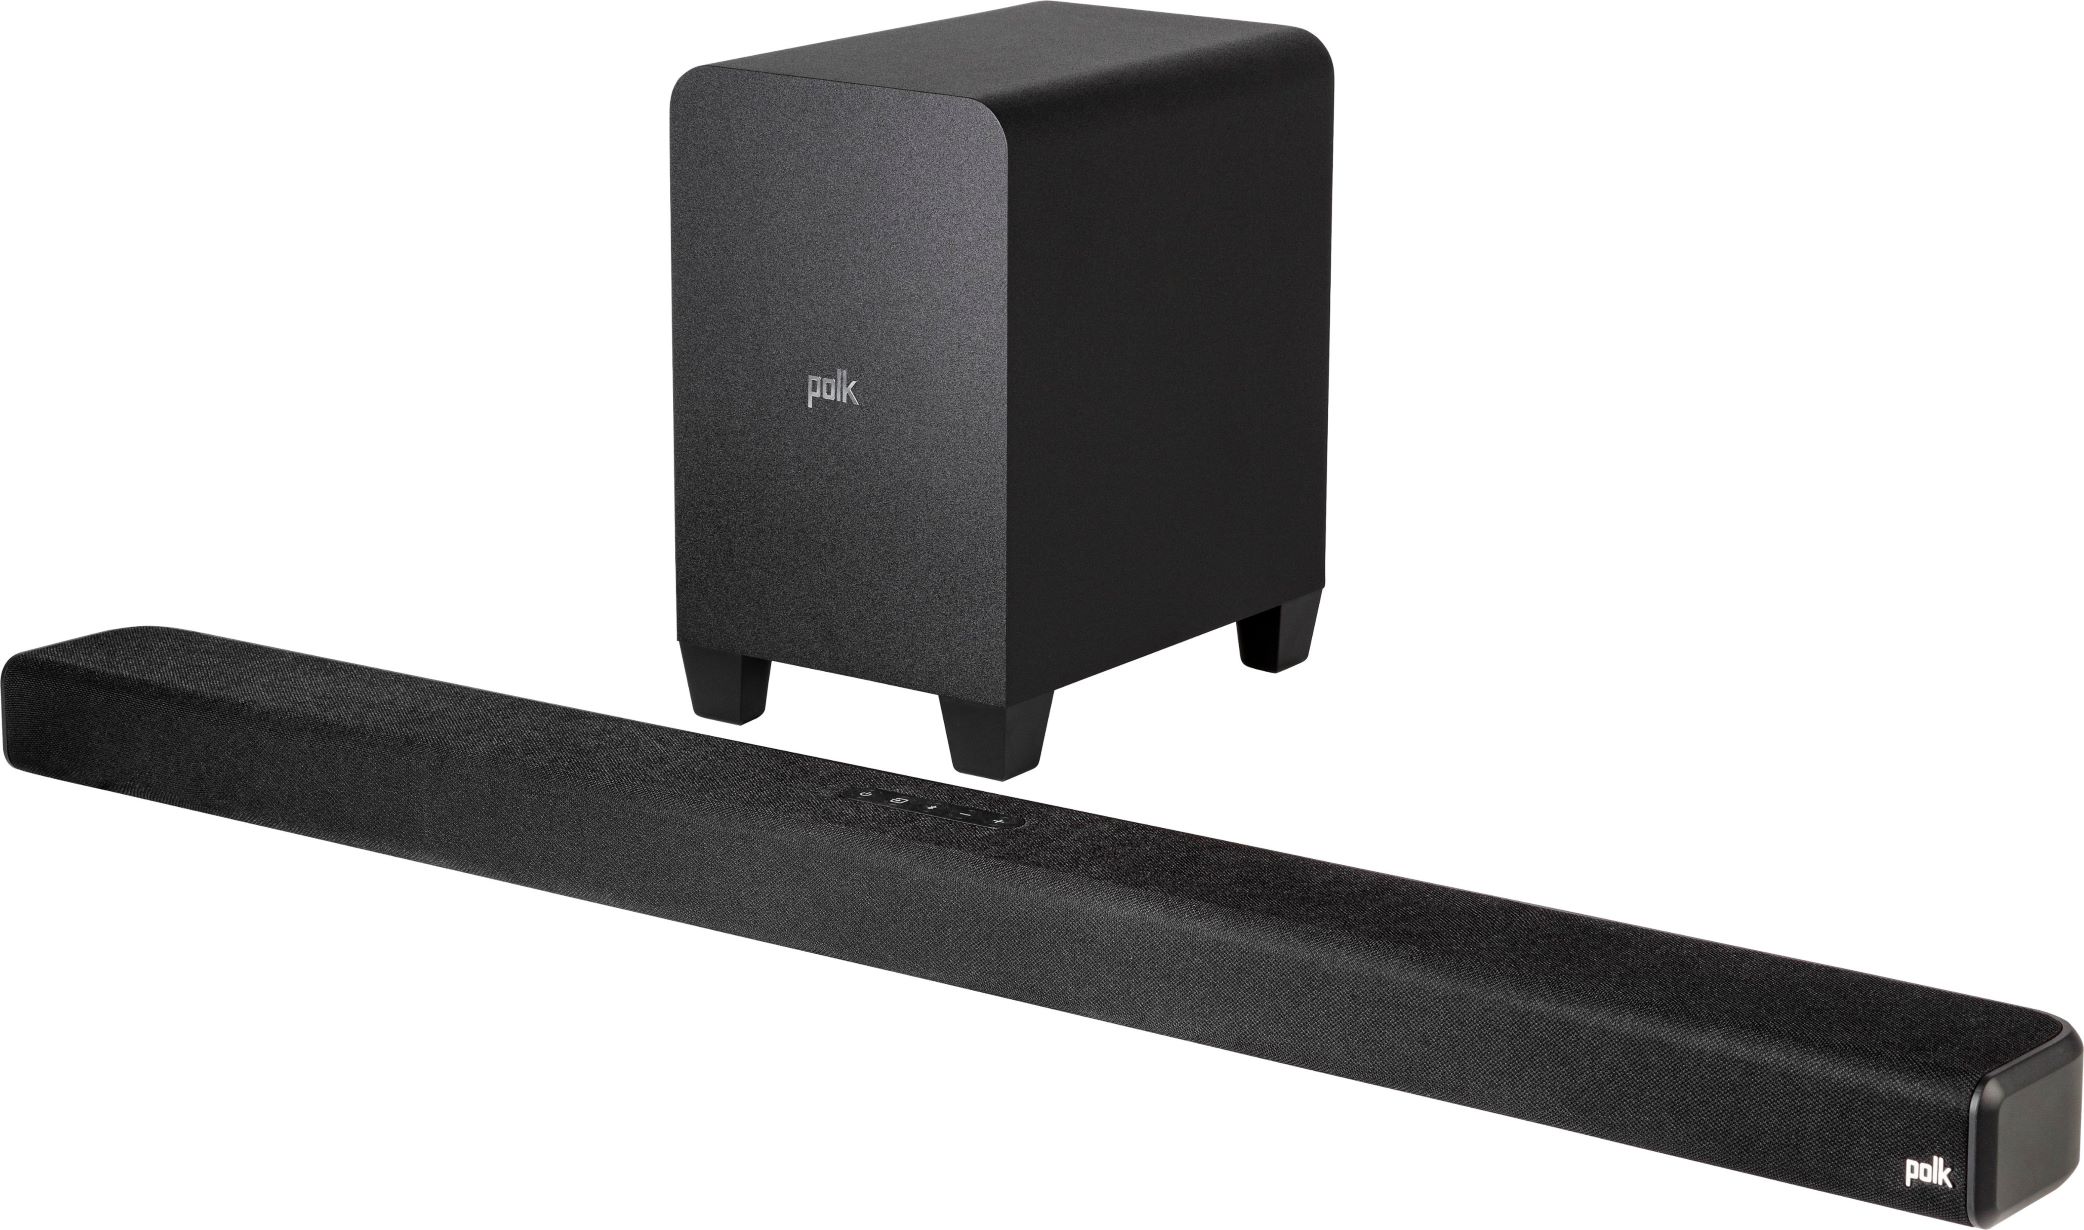
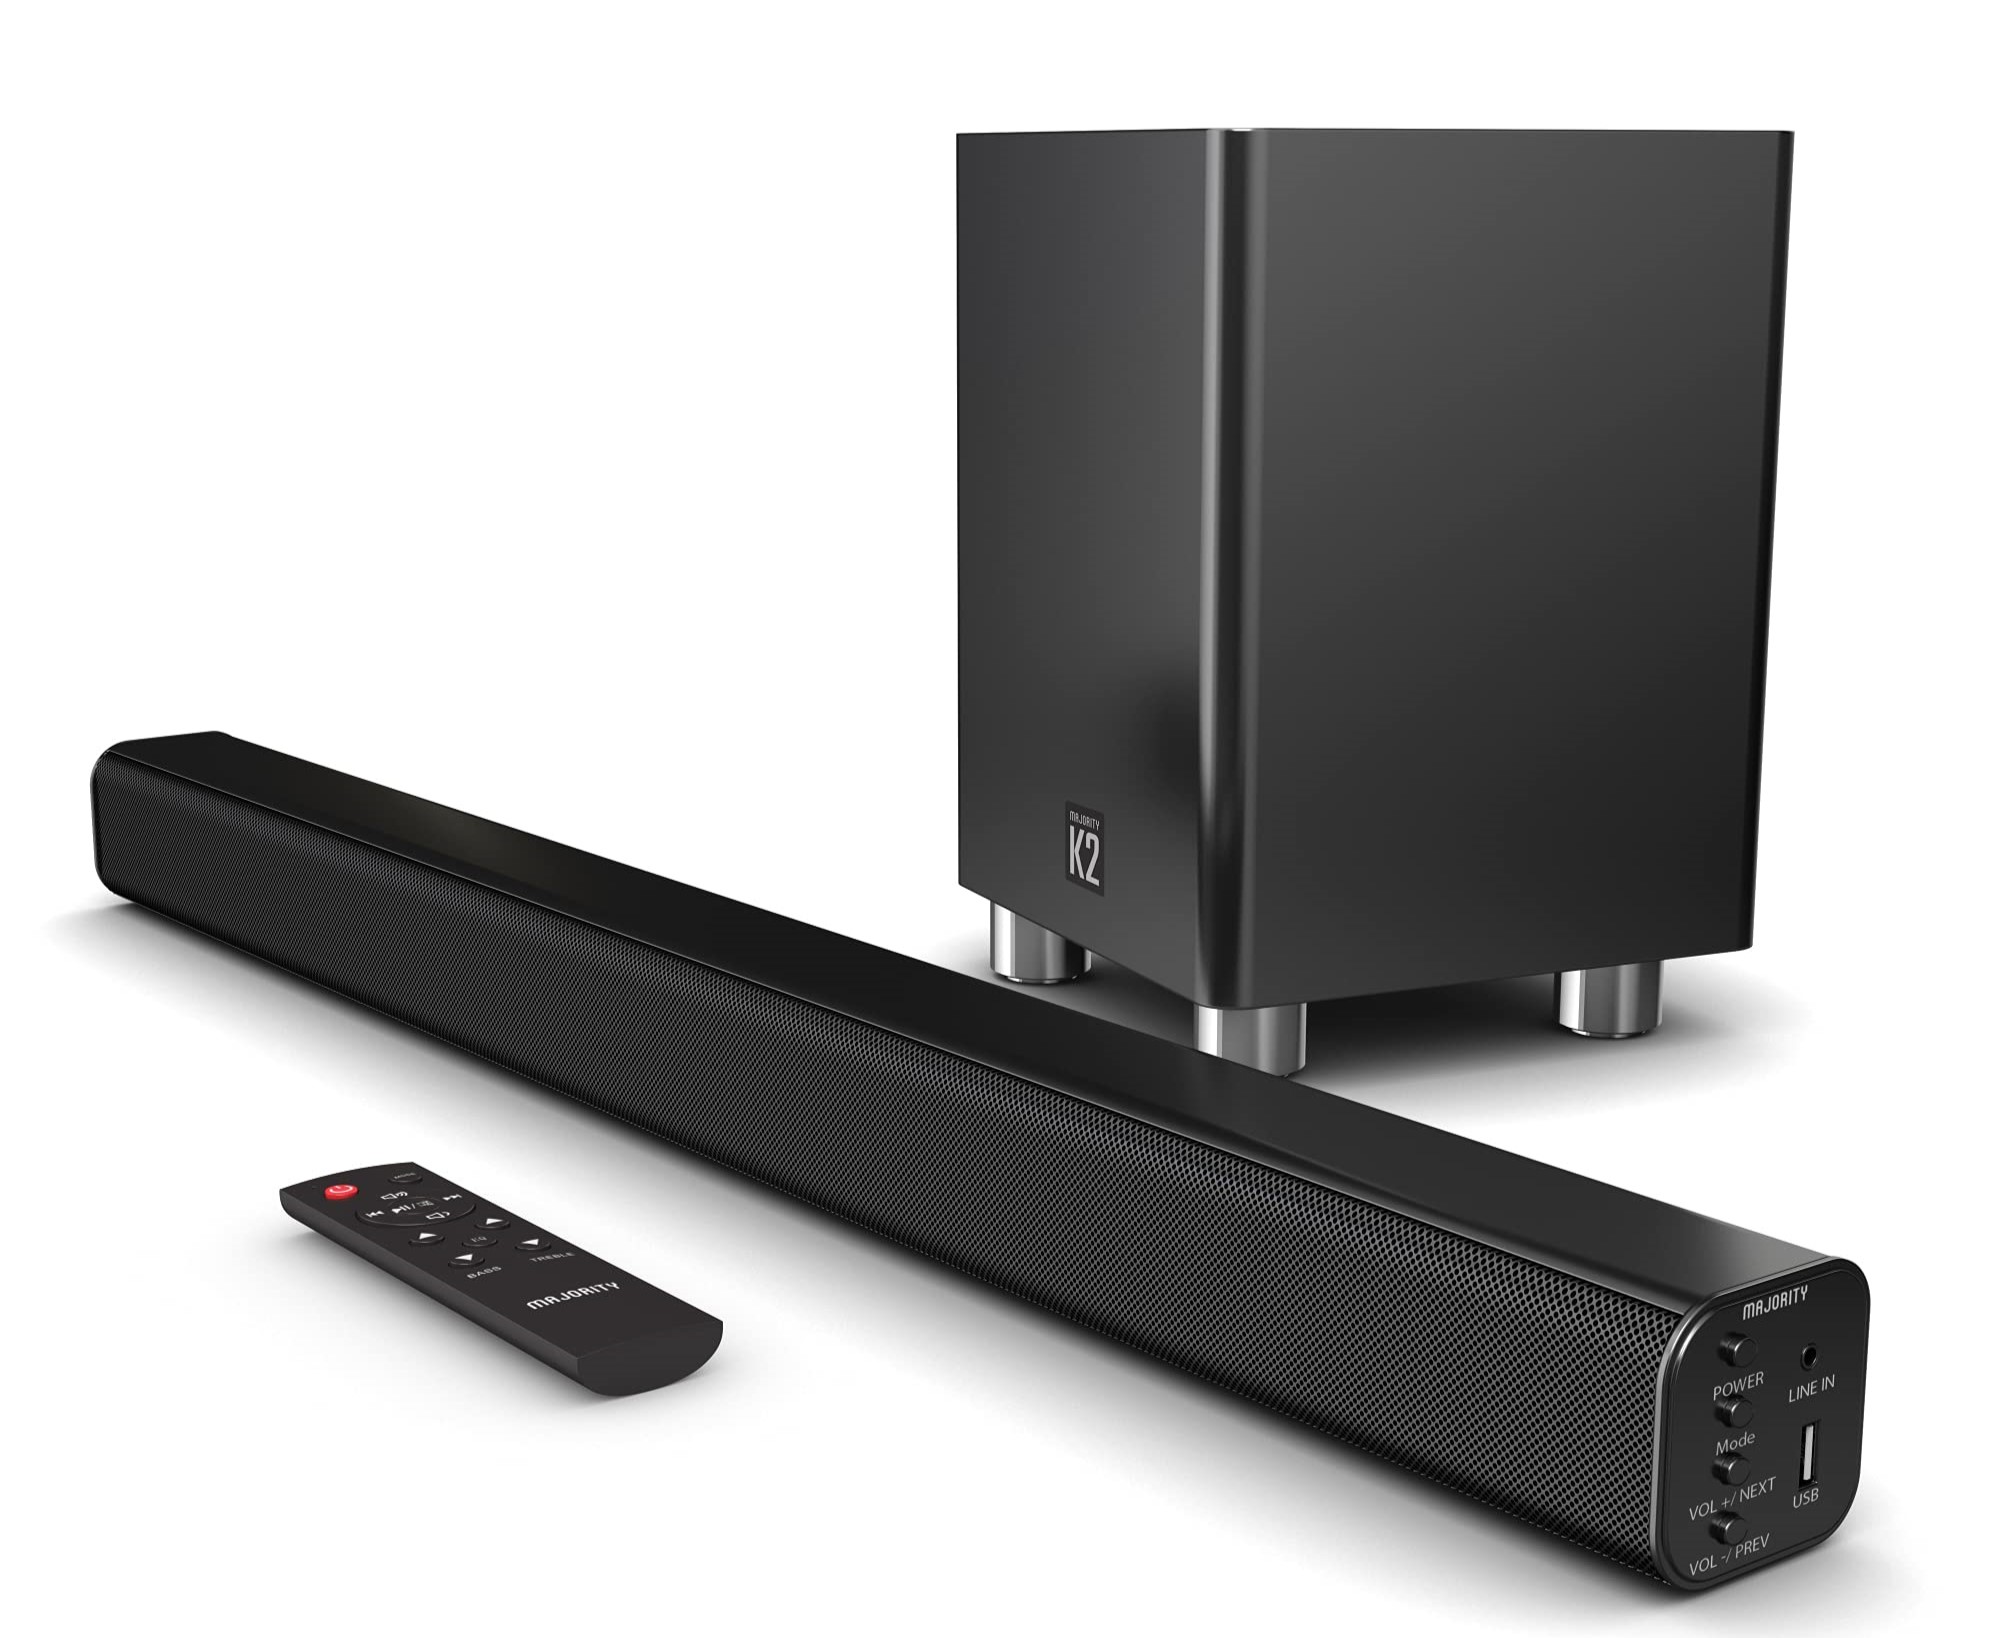
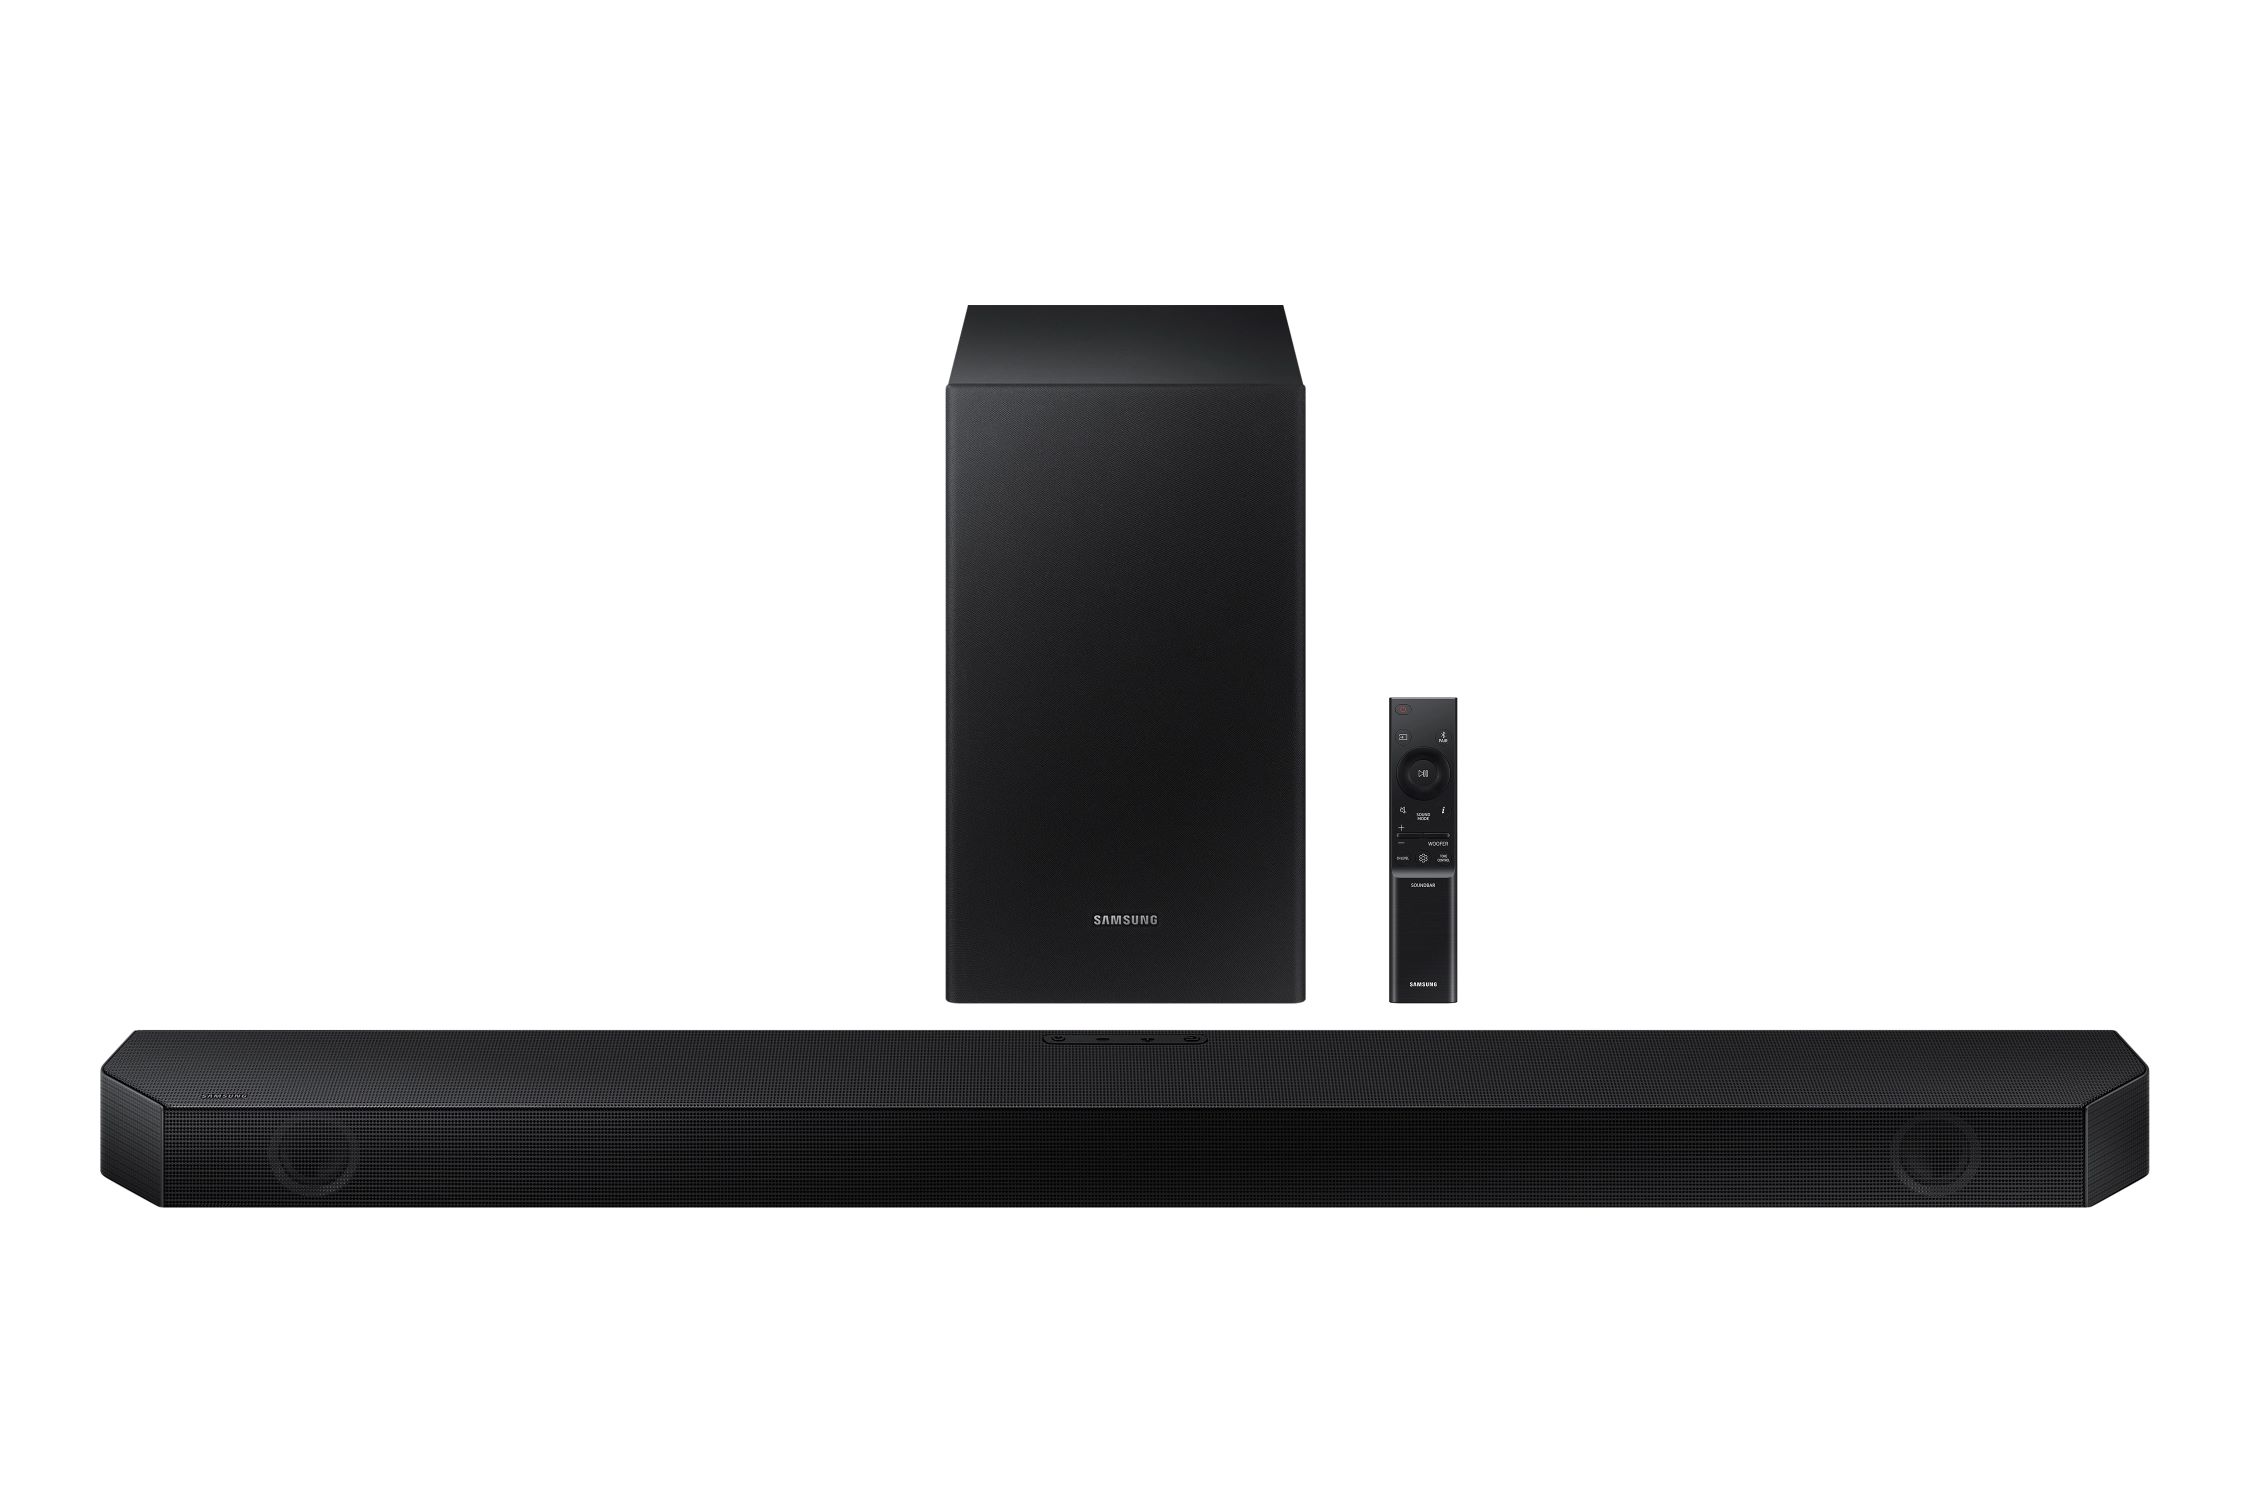
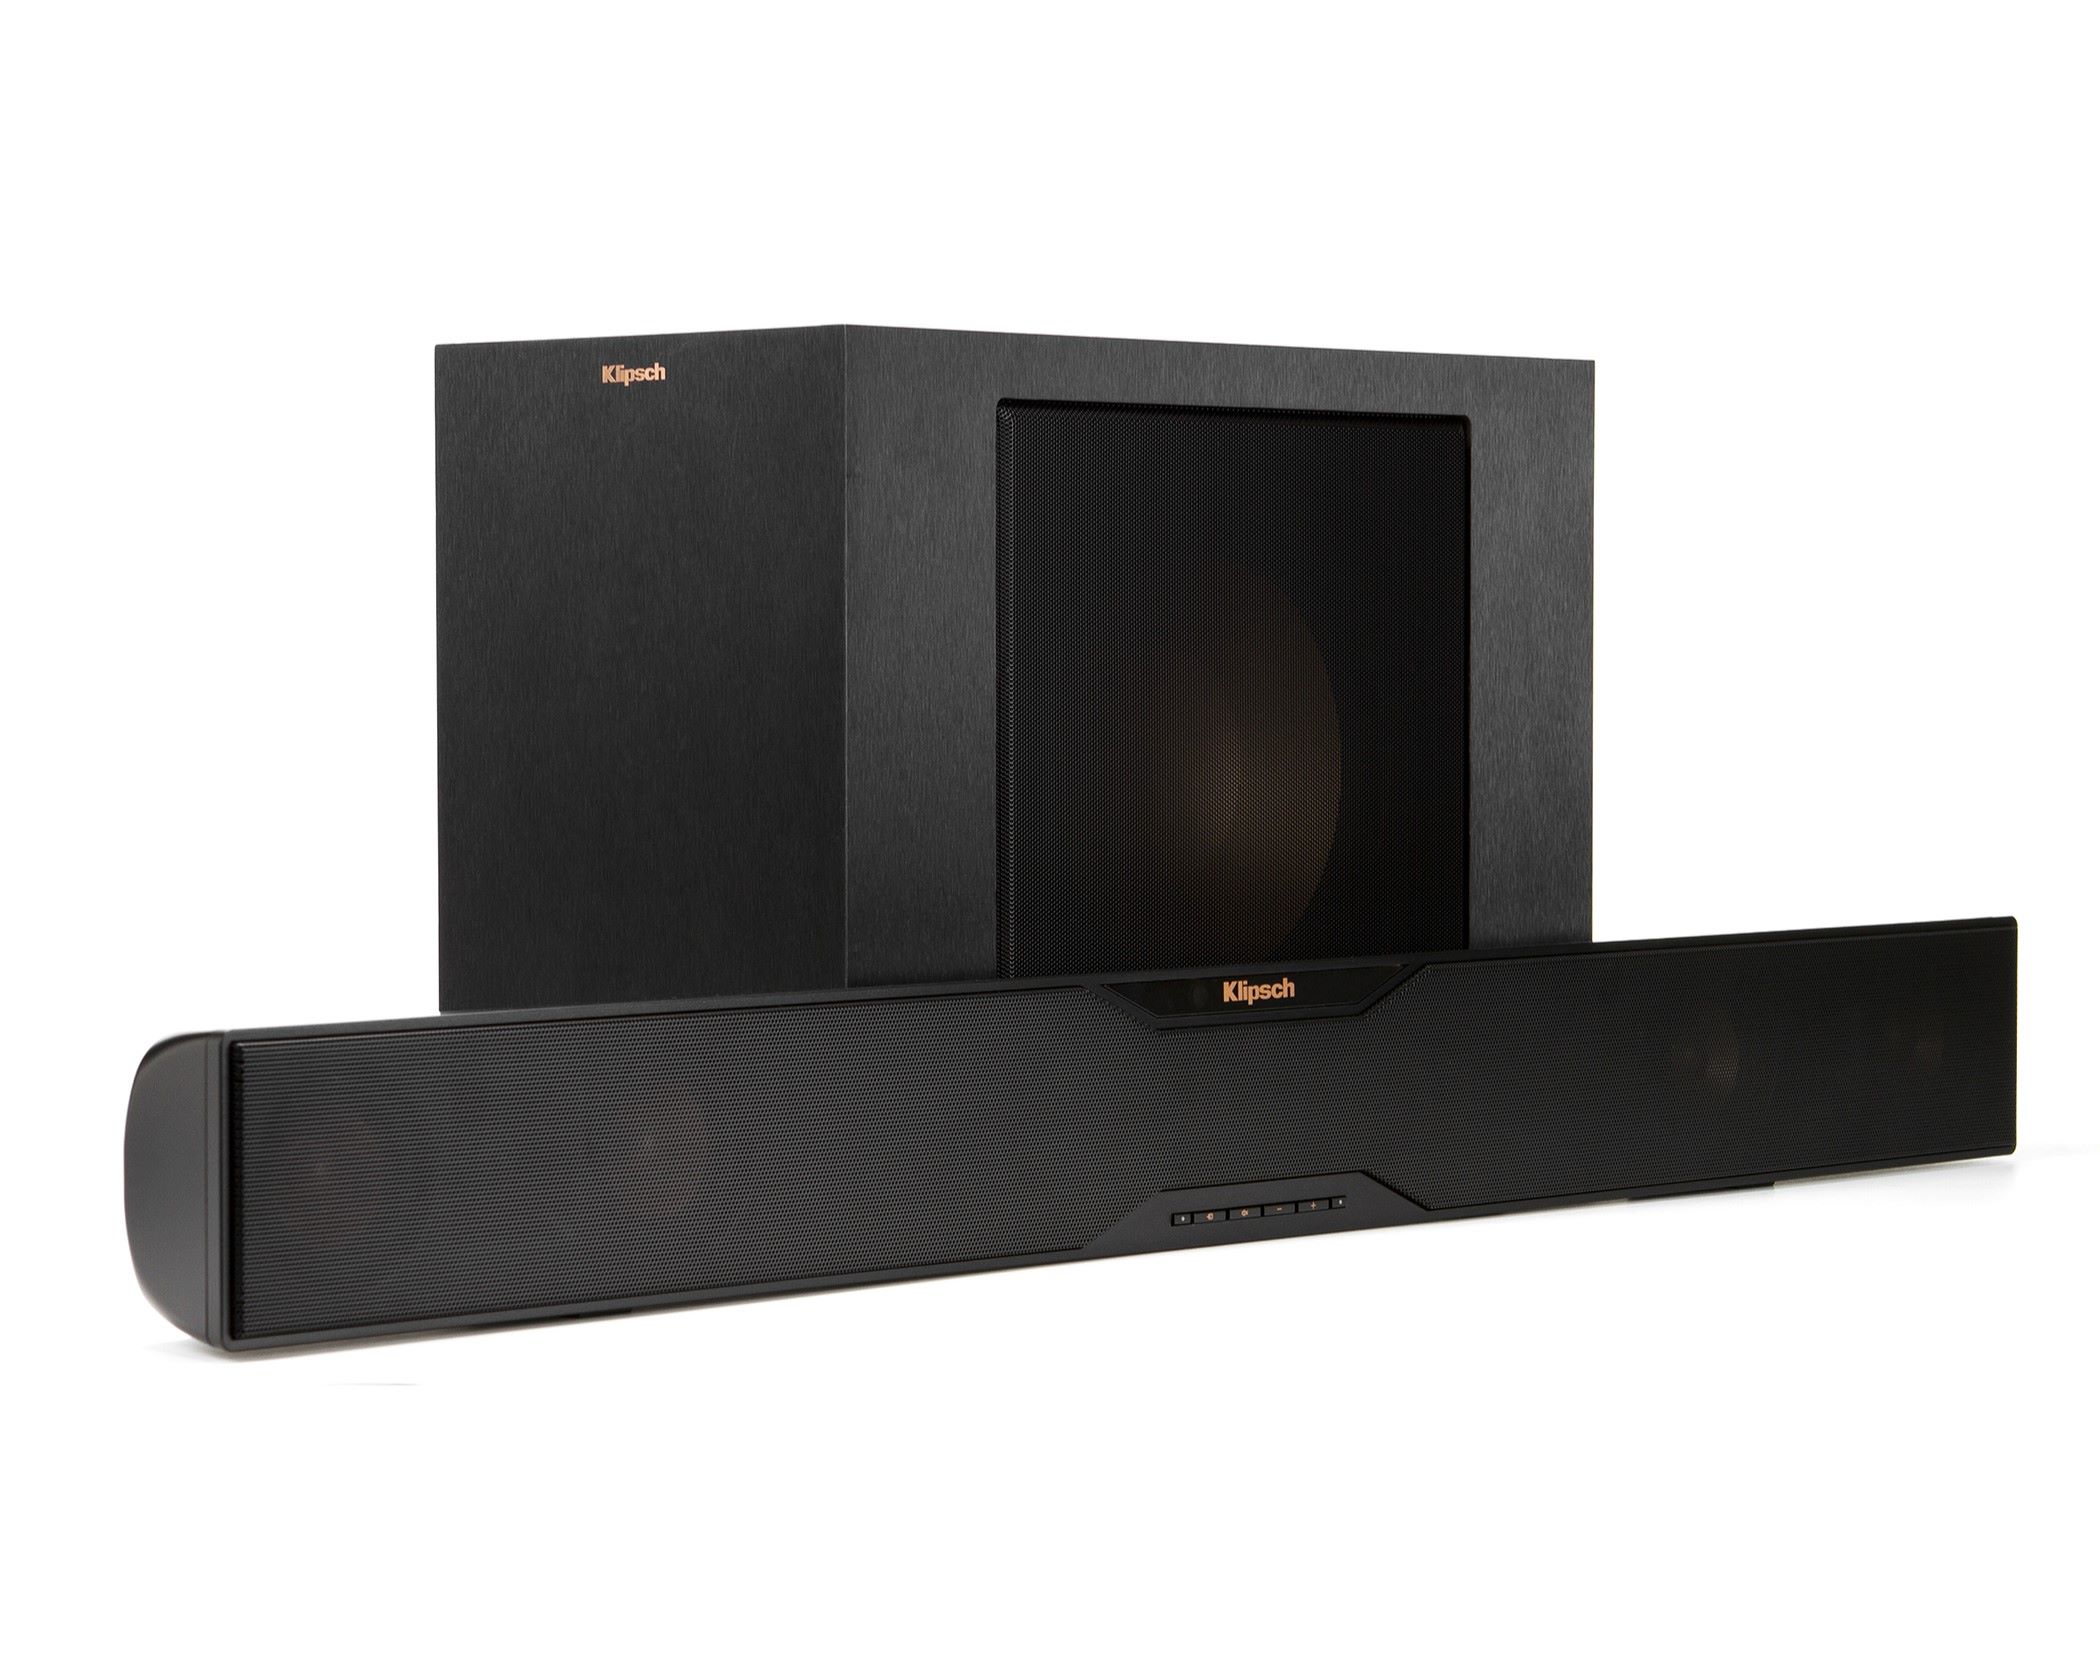
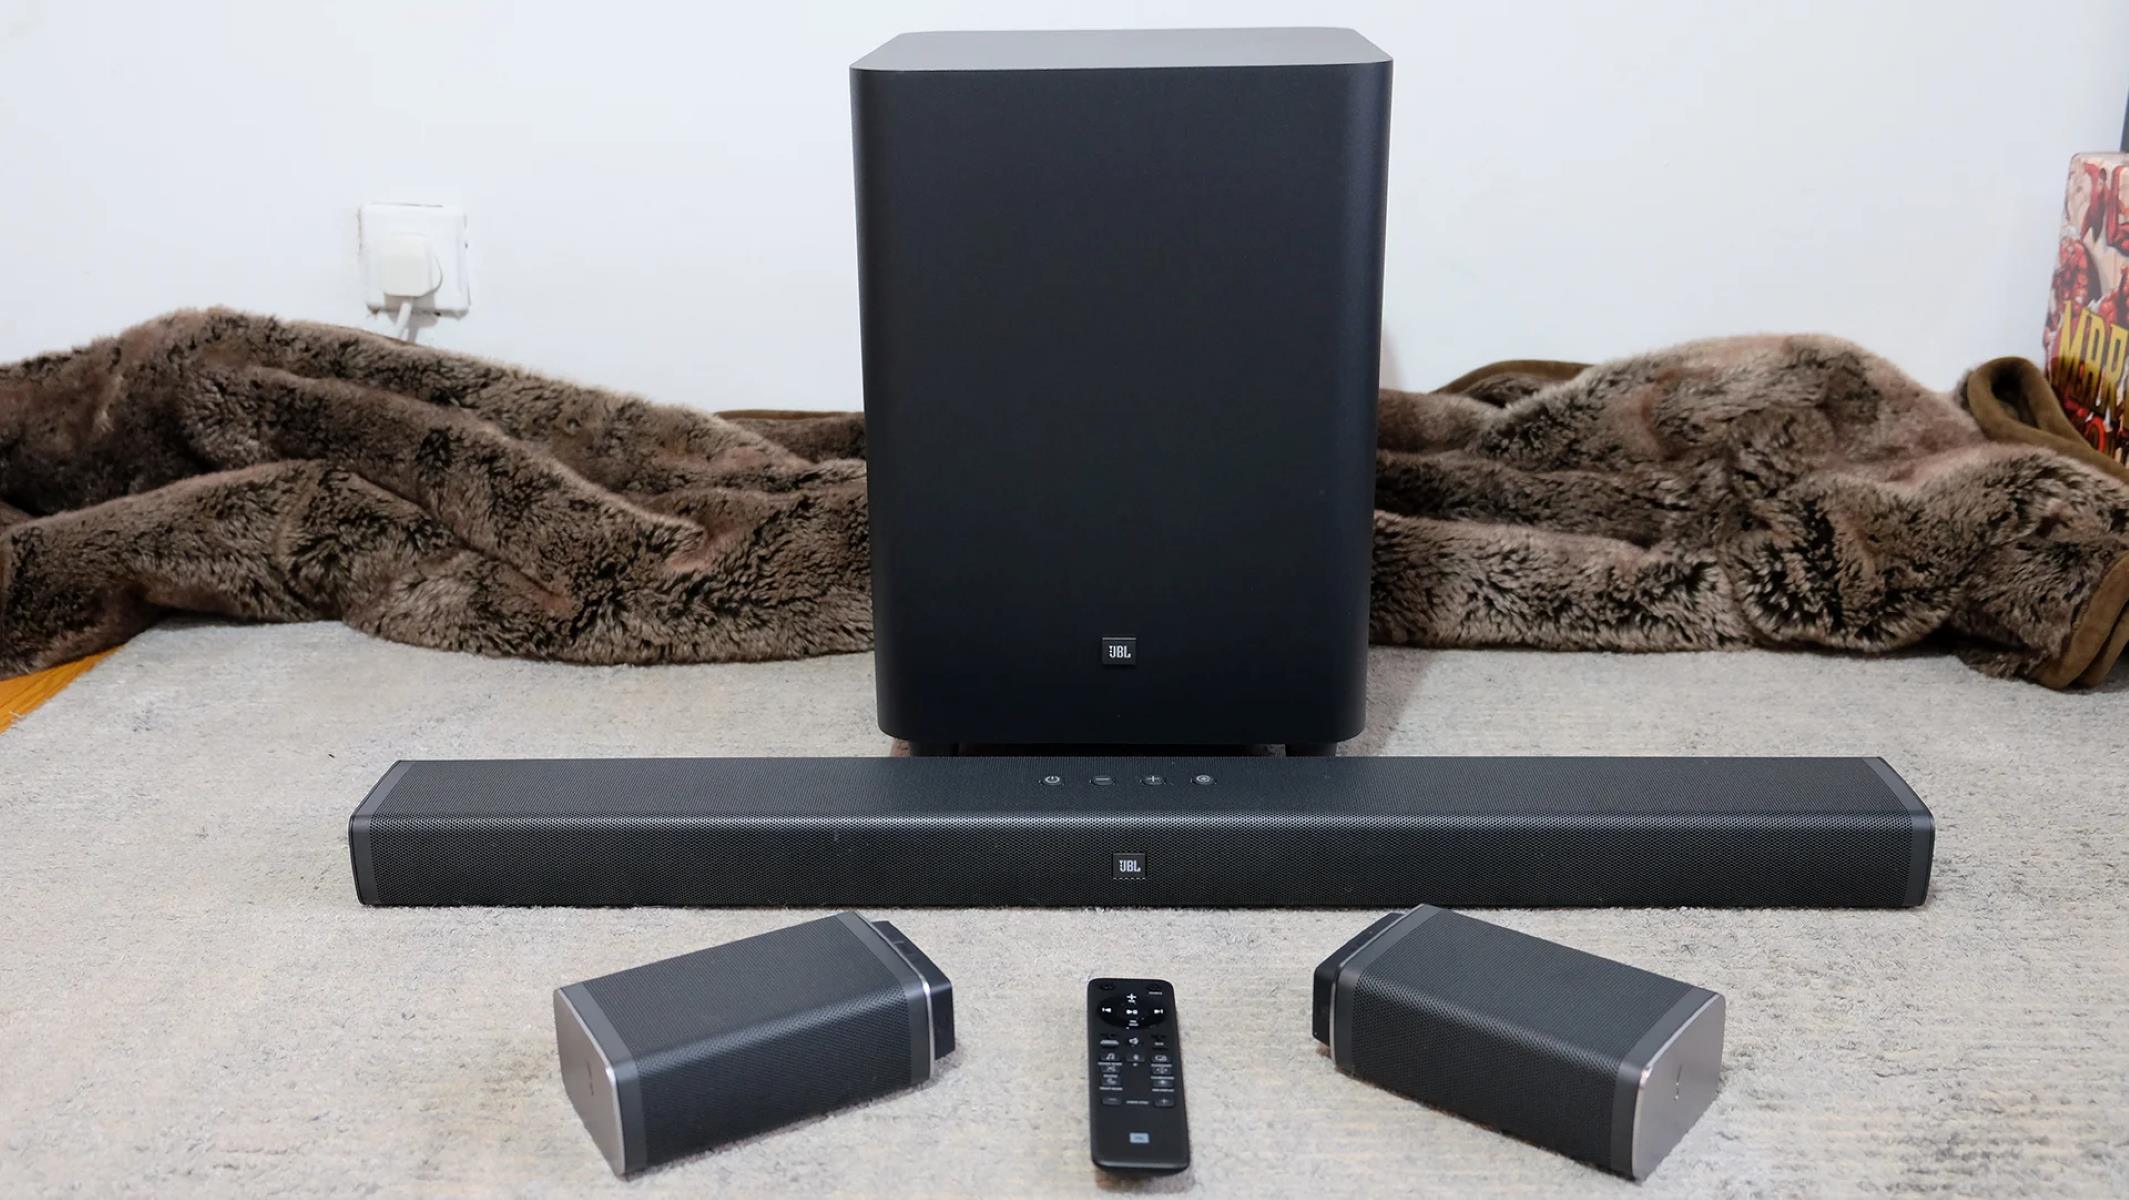
But before we dive into the pairing process, let’s take a moment to unbox the JBL 5.1 Soundbar and familiarize ourselves with its components. Inside the box, you will find the main soundbar unit, a wireless subwoofer, and all the necessary cables and accessories for setup.
Now that we understand what’s included, let’s move on to the next step: setting up the subwoofer. This is an important step that will ensure optimal performance and seamless integration with the soundbar. So, let’s get started!
Step 1: Unboxing the JBL 5.1 Soundbar
The first step in pairing the JBL 5.1 Soundbar to the subwoofer is to unbox the soundbar and familiarize yourself with its components. The unboxing process is not only exciting but also essential to ensure that you have all the necessary parts for a successful setup.
When you open the box, you will find the main soundbar unit, which is the centerpiece of your audio system. It is sleek and stylish, designed to fit seamlessly into your entertainment setup. Take a moment to appreciate its elegant design and the quality construction that JBL is known for.
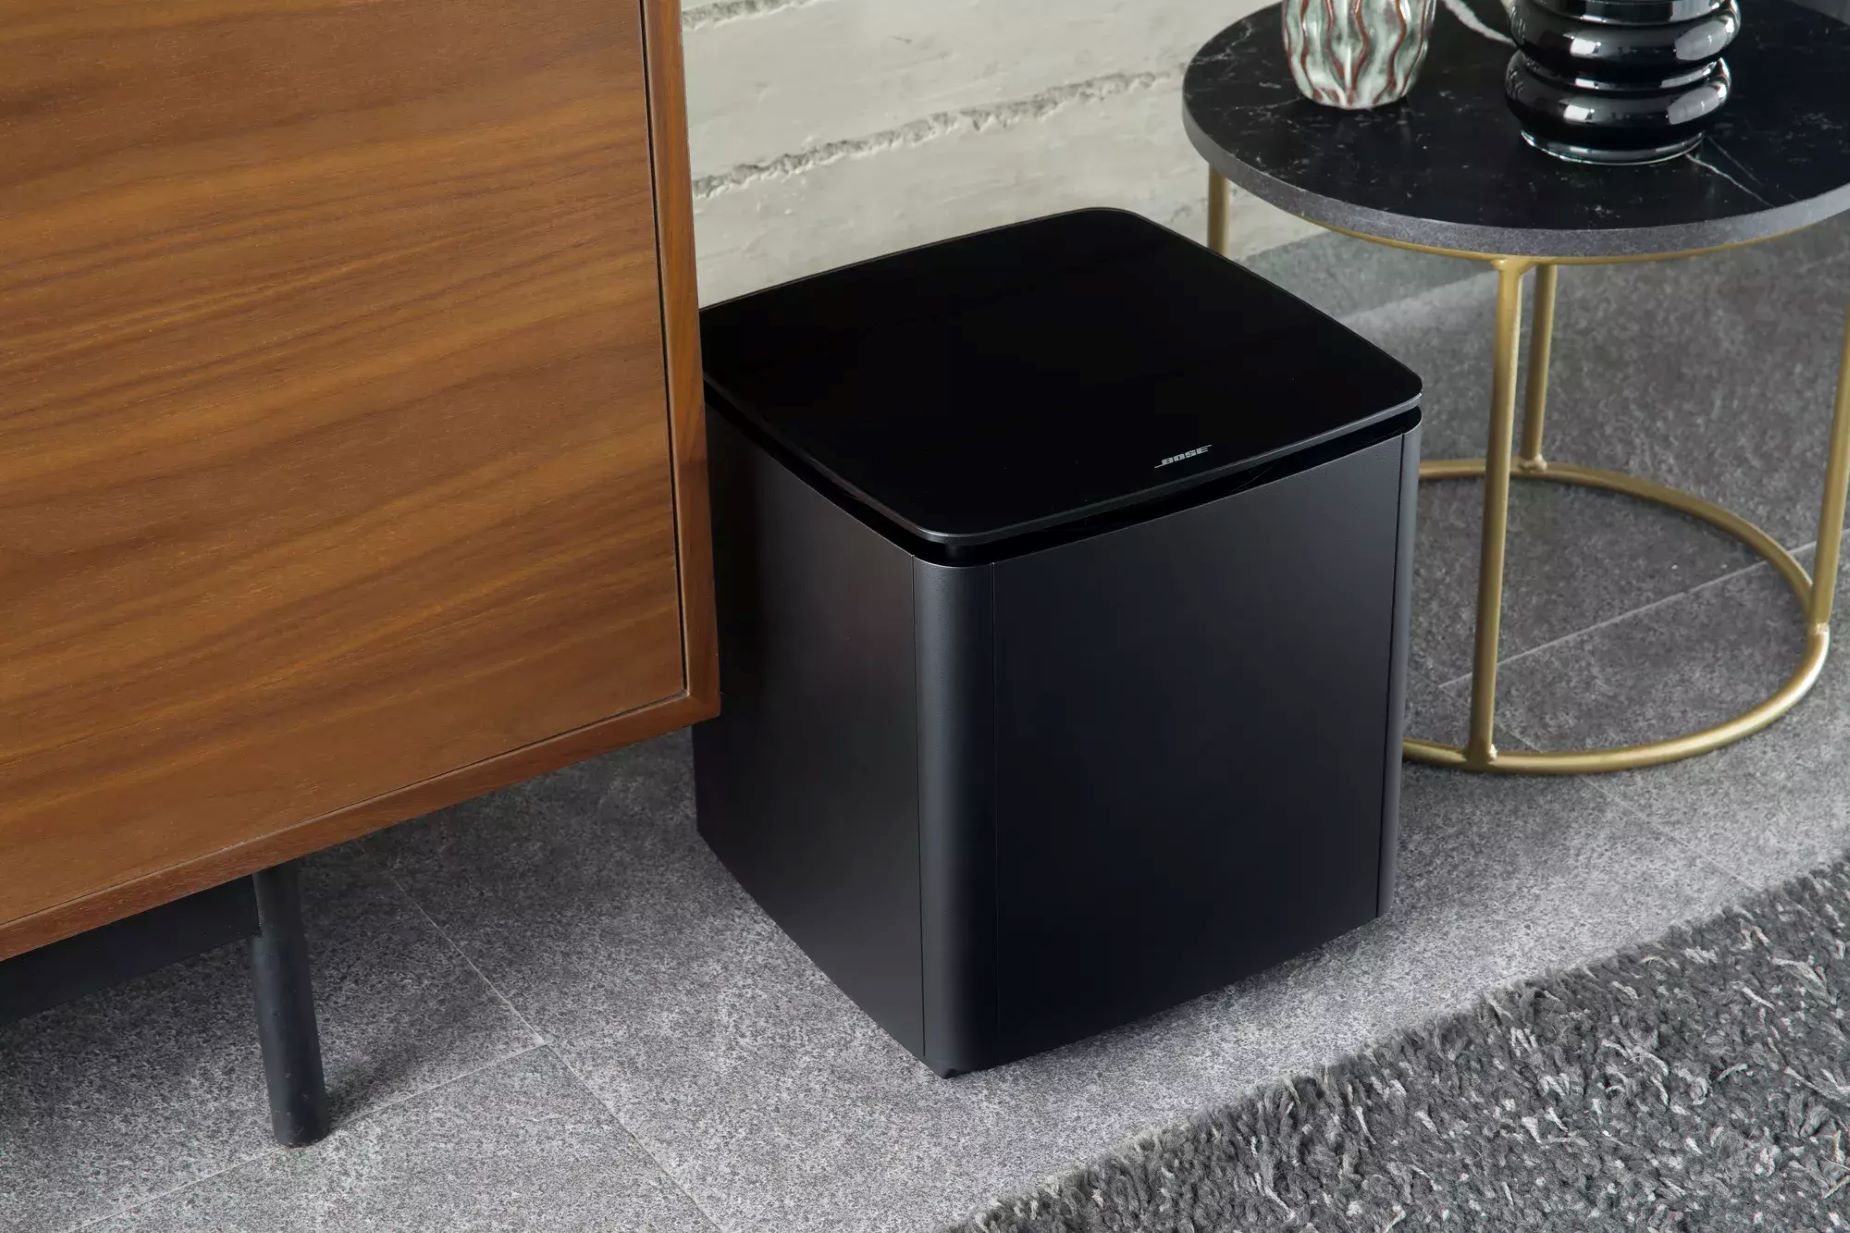
Next, you will find the wireless subwoofer, which is the powerhouse behind the deep bass that will bring your audio to life. The subwoofer is typically larger than the soundbar, as it houses the drivers responsible for reproducing low frequencies. Just like the soundbar, the subwoofer is designed to complement your existing decor and enhance your audio experience.
Along with the soundbar and subwoofer, you will also find a range of cables and accessories. These may include power cables, HDMI or optical cables, and remote controls. Take the time to identify and separate these items, ensuring that you have everything you need for the setup process.
It’s worth noting that the specific contents of the box may vary slightly depending on the model and package variant you purchased. However, the core components – the soundbar and subwoofer – will always be included.
Now that you have unboxed the JBL 5.1 Soundbar and familiarized yourself with its components, it’s time to move on to the next step: setting up the subwoofer. This is a crucial step that will ensure proper functioning and synchronization with the soundbar. So, let’s get started!
Step 2: Setting up the Subwoofer
Now that you’ve unboxed the JBL 5.1 Soundbar, it’s time to set up the wireless subwoofer. Properly setting up the subwoofer is essential to ensure optimal audio performance and synchronization with the soundbar.
Start by finding a suitable location for the subwoofer. Ideally, it should be placed on the floor near the main listening area. This will ensure that the low-frequency sounds are properly dispersed throughout the room, creating a more immersive audio experience. Avoid placing the subwoofer in a corner or against a wall, as this can result in boomy or uneven bass.
Once you have found the right spot for the subwoofer, connect its power cable to an electrical outlet. Make sure to plug it in securely and ensure that the power is turned on. You should see a power indicator light on the subwoofer to confirm that it is receiving power.
Next, it’s time to establish a wireless connection between the subwoofer and the soundbar. The JBL 5.1 Soundbar uses a wireless connection to communicate with the subwoofer, eliminating the need for messy cables. The pairing process may vary slightly depending on the specific model, but generally, you will need to follow these steps:
- On the soundbar, locate the wireless connection button. This button is typically labeled as “Pair” or has an icon resembling two arrows forming a circle.
- Press and hold the wireless connection button on the soundbar until the pairing mode is activated. You may need to refer to the user manual for specific instructions on entering pairing mode.
- Once the soundbar is in pairing mode, locate the pairing button on the subwoofer. This button is usually found on the back or bottom of the subwoofer.
- Press and hold the pairing button on the subwoofer until it starts searching for the soundbar.
- Wait for a few moments until the soundbar and subwoofer establish a wireless connection. The LED indicators on both devices should light up to indicate a successful pairing.
It’s important to note that the subwoofer can only be paired to a specific soundbar model, so make sure you are pairing it with the correct soundbar. Additionally, avoid placing any large objects or obstacles between the soundbar and subwoofer, as this may weaken the wireless signal.
With the subwoofer now set up and paired with the soundbar, you’re one step closer to experiencing immersive, high-quality audio. In the next step, we will guide you through the process of connecting the soundbar and subwoofer, bringing your audio system to life.
Step 3: Connecting the Soundbar and Subwoofer
Now that you have successfully set up and paired the JBL 5.1 Soundbar with the wireless subwoofer, it’s time to establish the connection between the two devices. This step will ensure that the audio signal from the soundbar is properly received and amplified by the subwoofer, delivering deep, powerful bass.
To connect the soundbar and subwoofer, you will need to use the provided cables. The specific cables required may vary depending on the model and package variant you purchased. However, the most common method of connecting the soundbar and subwoofer is through the use of a dedicated wireless interface module.
Start by locating the wireless interface module, which is usually a small box-shaped device that acts as a bridge between the soundbar and subwoofer. Connect one end of the provided cable to the wireless interface module, and the other end to the subwoofer’s “Wireless” or “Subwoofer” input port. Ensure that the connection is secure and tight to prevent any audio signal loss.
Next, connect the soundbar to the wireless interface module using another provided cable. One end of the cable will connect to the soundbar’s “Wireless” or “Soundbar” input port, while the other end will connect to the corresponding output port on the wireless interface module. Again, make sure the connection is snug to maintain a stable and reliable audio signal.
Once the physical connections are in place, ensure that the soundbar and subwoofer are powered on. You should see the LED indicators on both devices indicating that they are active and connected. Some soundbar models have specific modes or settings that need to be selected to activate the subwoofer. Consult the user manual for your specific model to ensure that the subwoofer is activated and ready to receive the audio signal.
It’s important to note that the JBL 5.1 Soundbar system is designed to automatically detect and adjust the audio output settings when the subwoofer is connected. This means that you don’t need to manually adjust any audio settings on the soundbar to ensure that the subwoofer is working properly. However, if you want to customize the audio settings further, such as adjusting the bass levels or selecting specific sound modes, consult the user manual for instructions on accessing the soundbar’s settings menu.
With the soundbar and subwoofer connected, you’re now ready to experience the full power and richness of your audio system. In the next step, we will guide you through the process of pairing the soundbar and subwoofer to ensure seamless wireless communication.
Step 4: Pairing the Soundbar and Subwoofer
Now that the JBL 5.1 Soundbar and subwoofer have been physically connected, it’s time to ensure that they are properly paired to establish seamless wireless communication. This pairing process allows the soundbar and subwoofer to work together harmoniously, delivering immersive audio and synchronized bass.
To begin the pairing process, make sure that both the soundbar and subwoofer are powered on and in close proximity to each other. This will ensure a strong and stable wireless connection. Keep in mind that the specific steps for pairing may vary slightly depending on the model of the JBL 5.1 Soundbar, so refer to the user manual for detailed instructions.
Typically, the pairing process involves using the soundbar’s remote control or control panel to access the settings menu. Look for an option or button labeled “Pairing” or “Wireless Setup.” Press this button to initiate the pairing process.
Once the soundbar is in pairing mode, you will need to press the corresponding pairing button on the subwoofer. Look for a button labeled “Pair” or “Connect” on the subwoofer itself. Press and hold this button until the subwoofer’s LED indicator light starts flashing, indicating that it is in pairing mode and searching for the soundbar.
Allow a few moments for the soundbar and subwoofer to recognize each other and establish a wireless connection. Once the pairing process is successful, the LED indicators on both the soundbar and subwoofer should turn solid, indicating a stable connection.
It’s important to note that some JBL 5.1 Soundbar models may have additional features, such as multiple subwoofer connectivity or dedicated pairing buttons. Refer to your specific model’s user manual for detailed instructions on how to navigate the pairing process.
After the soundbar and subwoofer are successfully paired, you may want to perform a quick audio test to ensure that the connection is working as expected. Play a piece of audio, such as a music track or a movie scene with deep bass, and listen for a balanced and immersive audio experience with enhanced bass from the subwoofer.
With the soundbar and subwoofer now paired and working together, you can sit back, relax, and enjoy high-quality audio with impactful bass. In the final step, we will cover how to test the soundbar and subwoofer connection to ensure optimal performance.
Step 5: Testing the Soundbar and Subwoofer Connection
After setting up and pairing the JBL 5.1 Soundbar and subwoofer, it’s essential to perform a quick test to ensure that the soundbar and subwoofer connection is functioning optimally. This step will help you verify that the audio is seamlessly transmitted from the soundbar to the subwoofer, resulting in a balanced and immersive audio experience.
Start by playing a variety of audio content, including music, movies, or video games, that showcase a wide range of frequencies. Listen carefully to the audio output and pay particular attention to the bass response coming from the subwoofer. It should deliver deep, powerful bass that enhances the overall audio experience without overpowering or distorting other frequencies.
During the audio test, make sure that the soundbar and subwoofer are in sync, meaning that there is no noticeable audio delay or lag between them. Any audio cues, such as dialogue or sound effects, should be perfectly synchronized, creating a seamless and immersive audio experience.
If you notice any issues, such as weak or distorted bass, audio delay, or inconsistent synchronization between the soundbar and subwoofer, there are a few troubleshooting steps you can try:
- Ensure that the soundbar and subwoofer are placed within the recommended range specified in the user manual. Placing them too far apart or in an obstructed area can weaken the wireless signal and cause connectivity issues.
- Check that both the soundbar and subwoofer are properly powered on and not in standby mode. In some cases, standby mode can cause a delay in the audio signal or prevent the subwoofer from receiving the signal altogether.
- Try repositioning the subwoofer to find the optimal placement for better bass response and wireless signal strength.
- If possible, conduct a factory reset on both the soundbar and subwoofer to restore them to their default settings. This can help resolve any software or configuration issues that may be affecting the connection.
- Consult the user manual or reach out to JBL customer support for further assistance if the issues persist or if you require additional troubleshooting steps specific to your model.
By conducting a thorough audio test and addressing any issues that arise, you can ensure that the soundbar and subwoofer connection is optimized for the best possible audio experience. Remember to fine-tune your audio settings as desired, adjusting bass levels or sound modes, to further customize the audio output to your preference.
With the soundbar and subwoofer connection successfully tested and any issues resolved, you can now fully immerse yourself in the rich, high-definition sound that the JBL 5.1 Soundbar system is designed to deliver. Enjoy your favorite music, movies, and games with enhanced audio quality and deep, powerful bass!
To conclude, the JBL 5.1 Soundbar paired with the subwoofer offers an exceptional audio experience. By following the step-by-step guide provided in this article, you can ensure a seamless setup and enjoy immersive sound with enriching bass. So, sit back, relax, and let the JBL 5.1 Soundbar and subwoofer transport you into a world of audio bliss.
Conclusion
Pairing the JBL 5.1 Soundbar to its subwoofer is a crucial step in unlocking the full potential of your audio system. By following the step-by-step guide outlined in this article, you can ensure a seamless setup process and enjoy immersive sound with deep, impactful bass.
Through the unboxing process, you had the opportunity to appreciate the design and quality of the JBL 5.1 Soundbar. Setting up the subwoofer and establishing the wireless connection laid the foundation for a well-integrated audio system.
Connecting the soundbar and subwoofer with the provided cables ensured that the audio signal is properly transmitted and received, resulting in a balanced and immersive audio experience.
The pairing process enabled seamless wireless communication between the soundbar and subwoofer, ensuring that they work together harmoniously to deliver immersive sound and synchronized bass.
Testing the soundbar and subwoofer connection allowed you to fine-tune any potential issues and ensure optimal performance. Adjusting audio settings and troubleshooting minor complications further enhanced the overall audio experience.
Now, you can sit back, relax, and immerse yourself in the rich, high-definition sound that the JBL 5.1 Soundbar and subwoofer offer. Enjoy your favorite music, movies, and games with enhanced audio quality and deep, powerful bass.
The JBL 5.1 Soundbar system is designed to provide an exceptional audio experience, and by following the steps outlined in this article, you can fully enjoy its capabilities. Remember to refer to the user manual and reach out to JBL customer support if you encounter any specific issues or require further assistance.
So, whether you’re hosting a movie night, enjoying a gaming session, or simply listening to your favorite tunes, the JBL 5.1 Soundbar and subwoofer combination will elevate your audio experience to new heights. Sit back, relax, and let the immersive sound envelop you in a world of audio bliss.