Home>Devices & Equipment>Radio>Why Won’t My Car Radio Turn On

Radio
Why Won’t My Car Radio Turn On
Modified: January 22, 2024
If your car radio won't turn on, there may be a range of issues causing the problem. Discover possible solutions to get your radio up and running again.
(Many of the links in this article redirect to a specific reviewed product. Your purchase of these products through affiliate links helps to generate commission for AudioLover.com, at no extra cost. Learn more)
Table of Contents
- Introduction
- Possible Causes for Car Radio Not Turning On
- Electrical Issue
- Fuse Problem
- Battery Connection Problem
- Faulty Wiring
- Defective Radio Unit
- Steps to Troubleshoot a Car Radio That Won’t Turn On
- Check the Connections
- Inspect the Fuses
- Test the Battery
- Examine the Wiring
- Consider Professional Help
- Conclusion
Introduction
Having a car radio that won’t turn on can be frustrating and inconvenient. Whether you’re heading out on a road trip or simply trying to enjoy your daily commute, the absence of music or news updates can make the journey feel dull and uninteresting. However, before you start worrying about expensive repairs or replacements, it’s important to understand that there are several possible causes for your car radio malfunctioning.
In this article, we will explore some common reasons why your car radio may not be turning on, and provide you with troubleshooting steps to help you resolve the issue. By following these steps, you may be able to save yourself time and money by identifying and addressing the problem without the need for professional intervention.
It’s important to note that while some issues can be resolved independently, others may require the expertise of a qualified car technician. If you are not confident in your ability to troubleshoot or make repairs, it is always advisable to seek professional assistance to avoid damaging your car’s electrical system further.
Now, let’s dive into the possible causes of a car radio not turning on and the steps you can take to troubleshoot the problem.
Possible Causes for Car Radio Not Turning On
There are several potential reasons why your car radio may not be turning on. Understanding these possible causes can help you pinpoint the issue and decide on the best course of action. Here are some common culprits:
- Electrical Issue: One of the most common causes for a car radio not turning on is an electrical problem. This could be due to a loose or faulty connection in the wiring, a blown fuse, or a malfunctioning power supply.
- Fuse Problem: A blown fuse can prevent the car radio from receiving power. Fuses are designed to protect electrical components from damage caused by power surges or short circuits. If a fuse related to the car radio has blown, it will need to be replaced.
- Battery Connection Problem: If the battery connection is loose or corroded, it can disrupt the power supply to the car radio. Check the battery terminals and ensure they are clean and securely connected.
- Faulty Wiring: Over time, wiring can degrade or become damaged, leading to connectivity issues. If there is a problem with the wiring connecting the car radio to the power source, the radio may not turn on.
- Defective Radio Unit: In some cases, the problem may lie with the radio unit itself. Components within the radio may have malfunctioned or worn out, preventing it from receiving power or functioning properly.
These are not the only possible causes for a car radio not turning on, but they are among the most common. To determine the exact cause, you will need to go through a process of elimination and systematically troubleshoot each potential issue. In the following sections, we will provide you with step-by-step instructions on how to troubleshoot and resolve the problem.
Electrical Issue
An electrical issue is one of the main culprits when it comes to a car radio not turning on. This can be caused by a variety of factors, such as a loose or faulty connection in the wiring or a malfunctioning power supply. Here are some steps you can take to troubleshoot and address this issue:
- Check the connections: Start by examining the wiring connections behind the car radio. Look for any loose or disconnected wires. If you find any, securely reconnect them. You may need to refer to your car’s user manual or consult a wiring diagram for assistance.
- Inspect the antenna connection: The car radio relies on a good antenna connection to receive radio signals. Ensure that the antenna cable is properly plugged into the back of the radio unit. If it appears damaged or worn out, consider replacing it.
- Clean the electrical contacts: Over time, dust and dirt can accumulate on the electrical contacts, leading to poor connectivity. Use a clean cloth or a small brush to gently clean the contacts on both the car radio and the wiring harness.
- Check the power supply: Test the power supply to the car radio using a multimeter. Set the multimeter to measure DC voltage and connect the positive probe to the power wire and the negative probe to the ground wire. If the voltage reading is significantly lower than the specified range, it indicates a problem with the power supply. In such cases, you may need to consult a professional or refer to your car’s manual for further troubleshooting.
By addressing any potential electrical issues, you may be able to restore power to your car radio and resolve the problem. However, if the issue persists even after checking the connections and power supply, it’s important to move on to the next potential cause.
Fuse Problem
A blown fuse is a common cause of a car radio not turning on. Fuses are designed to protect electrical components from power surges or short circuits. When a fuse related to the car radio blows, it interrupts the flow of power and prevents the radio from functioning. To address this issue, follow these steps:
- Locate the fuse box: The fuse box is typically located under the dashboard or in the engine compartment of your car. Refer to your car’s manual or consult the fuse box diagram to find the specific fuse related to the car radio.
- Inspect the fuse: Once you have located the fuse, visually inspect it to check if it is blown. A blown fuse will have a broken or melted wire inside. If you are unsure, you can use a multimeter to test the continuity of the fuse.
- Replace the fuse: If the fuse is indeed blown, replace it with a new one of the same amperage rating. It’s important to use the correct amperage fuse to avoid damaging the radio or other electrical components. Refer to your car’s manual or consult a professional if you are uncertain about the appropriate fuse rating.
- Test the radio: After replacing the fuse, turn on the car and check if the radio powers up. If it does, congratulations – the problem was likely caused by a blown fuse. If the radio still does not turn on, it’s necessary to move on to the next potential cause.
Keep in mind that multiple components in your car may share the same fuse, so if the fuse blows again after replacing it, there might be an underlying issue with the electrical system. In such cases, it’s recommended to seek professional assistance to diagnose and resolve the problem.
Battery Connection Problem
If the battery connection is loose or corroded, it can disrupt the power supply to the car radio, causing it not to turn on. To address this issue, follow these steps:
- Inspect the battery terminals: Start by visually inspecting the battery terminals for any signs of corrosion or looseness. Corrosion appears as a white, powdery substance on the terminals. If you notice corrosion, it needs to be cleaned.
- Clean the battery terminals: To clean the battery terminals, you can use a mixture of baking soda and water or a battery terminal cleaner. Gently scrub the terminals using a wire brush or a battery terminal cleaning tool to remove the corrosion. Ensure that all the corrosion is thoroughly cleaned off.
- Tighten the battery connections: Once the terminals are clean, securely tighten the battery connections. Ensure that they are snugly fastened and free of any wobbling or movement.
- Inspect the ground wire: Check the ground wire connected to the battery and verify that it is securely attached to a clean metal surface. If the ground wire is loose or corroded, clean it and tighten any connections.
- Test the radio: After cleaning the terminals and securing the connections, start the car and check if the car radio powers on. If it does, you have successfully resolved the battery connection problem. If the radio still does not turn on, proceed to the next possible cause.
Remember, it’s important to regularly check and maintain the battery connections to ensure a stable power supply for your car radio and other electrical components. If the issue persists, further troubleshooting may be required, and it is recommended to seek professional assistance.
Faulty Wiring
Another potential cause for a car radio not turning on is faulty wiring. Over time, the wiring connecting the car radio to the power source can degrade or become damaged, resulting in a loss of connectivity. To address this issue, follow these steps:
- Inspect the wiring: Start by visually inspecting the wiring behind the car radio. Look for any signs of frayed or damaged wires, loose connections, or exposed metal. If you notice any issues, they will need to be addressed.
- Repair or replace damaged wiring: If you find damaged or frayed wires, they will need to be repaired or replaced. Carefully cut out the damaged section of the wire and use electrical tape or wire connectors to join the wires back together. Alternatively, if the wiring is severely damaged, it may be necessary to replace the entire wiring harness.
- Secure loose connections: If you find any loose connections, ensure they are securely fastened. Tighten any bolts, screws, or connectors that are holding the wiring in place. This will help maintain a stable connection.
- Test the radio: After repairing or securing the wiring, turn on the car and check if the radio powers up. If it does, you have successfully resolved the faulty wiring issue. If the radio still does not turn on, it’s necessary to explore other potential causes.
Keep in mind that electrical wiring can be complex, and if you are not confident in your ability to repair or replace it, it’s best to seek professional help. A qualified car technician can diagnose and repair any wiring issues to ensure the proper functioning of your car radio.
Defective Radio Unit
If you have checked the connections, inspected the fuses, addressed any battery or wiring issues, and your car radio still does not turn on, it is possible that the radio unit itself is defective. Components within the radio can malfunction or wear out over time, preventing it from receiving power or functioning properly. Here are some steps to consider:
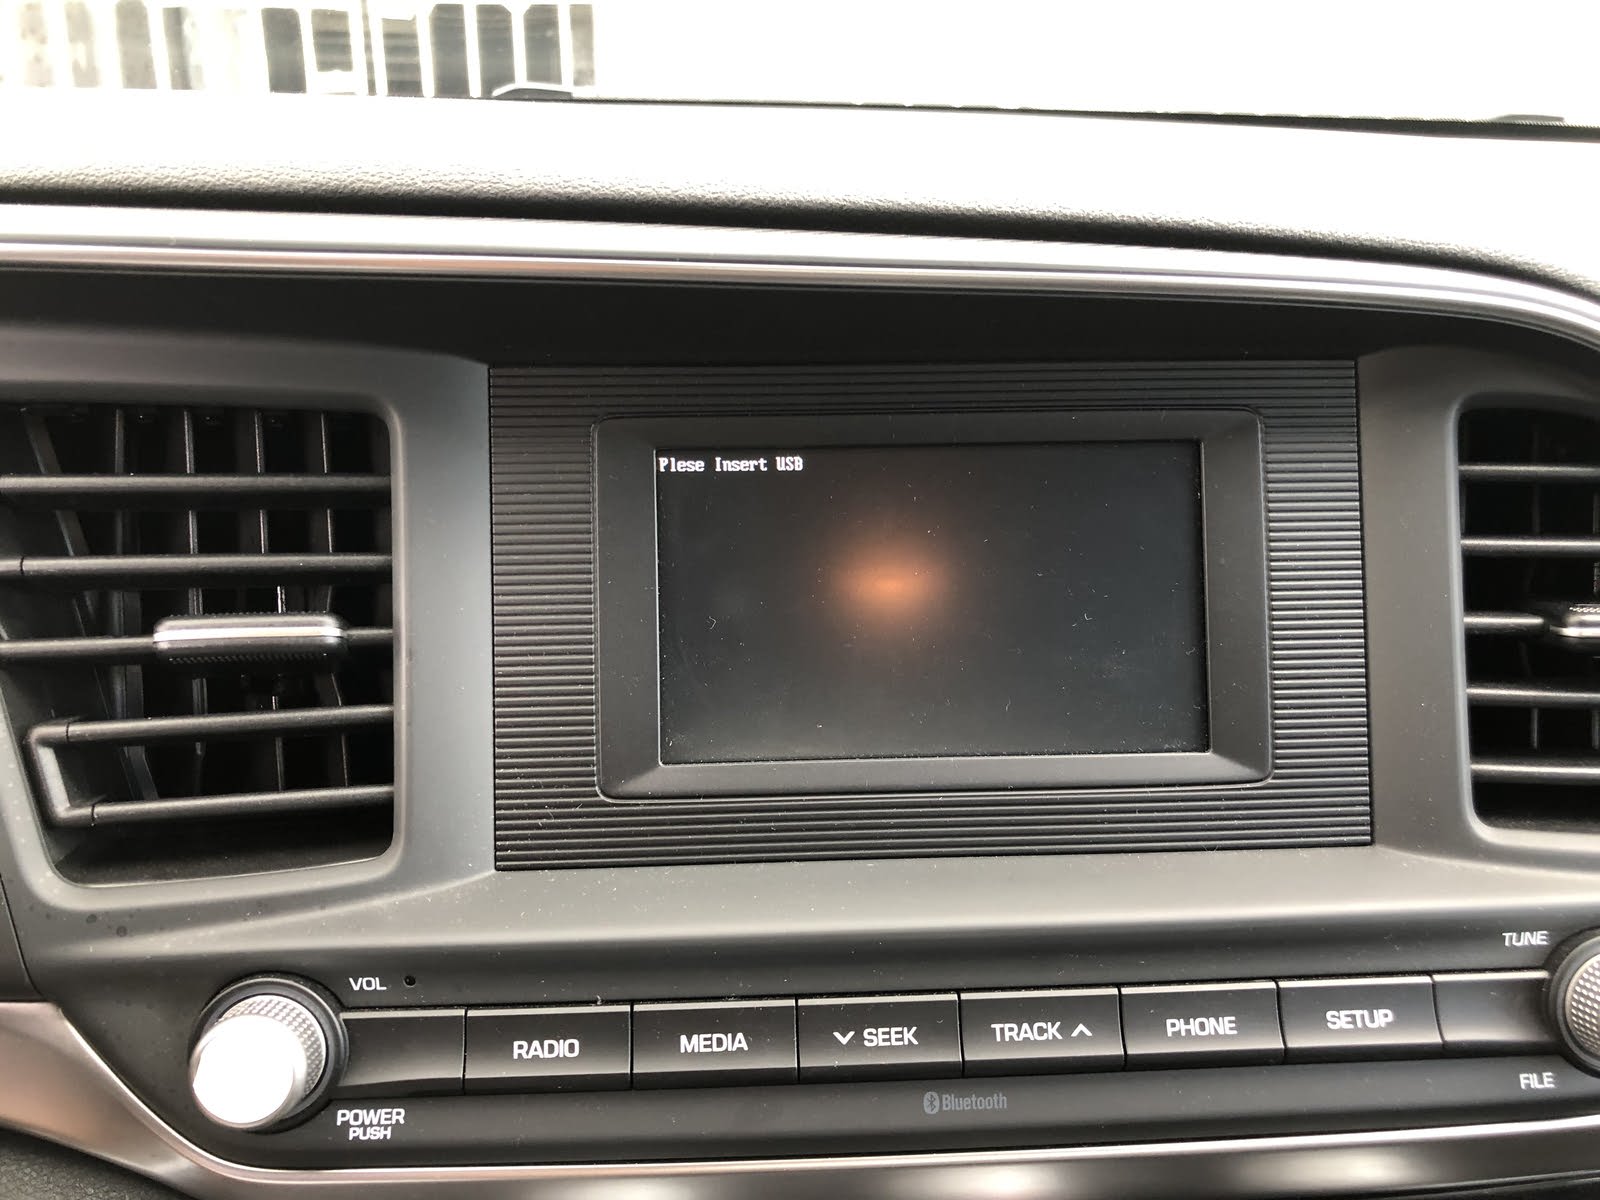
- Check for power indicators: Look for any power indicators on the radio unit. Sometimes, a small LED light or display will indicate if the radio is receiving power. If you do not see any signs of power, it may be an indication that the radio unit is not functioning.
- Test with another radio unit: If possible, try replacing the current radio unit with a known working unit. This can help determine if the issue lies with the specific unit or with other factors such as wiring or power supply. If the replacement unit powers on, it may indicate that the original radio unit is defective.
- Consider professional repair or replacement: If the radio unit is indeed found to be defective, you may need to seek professional repair services or consider replacing the unit. A qualified technician can diagnose the specific issue and recommend the best course of action.
It’s important to note that repairing or replacing a car radio unit can be more complex and typically requires professional expertise. Therefore, if you are unsure or not experienced in handling electronic repairs, it is advisable to consult a skilled technician to ensure proper diagnosis and resolution of the issue.
By following the troubleshooting steps outlined in this article, you can determine the potential cause of your car radio not turning on and take the necessary steps to resolve the issue. Remember, if you are not confident in your ability to address the problem, it’s always best to seek professional assistance to avoid causing further damage.
Steps to Troubleshoot a Car Radio That Won’t Turn On
If your car radio is not turning on, it can be frustrating. However, you can follow these troubleshooting steps to identify and resolve the issue:
- Check the connections: Start by inspecting the wiring connections behind the car radio. Look for any loose or disconnected wires and ensure they are securely connected.
- Inspect the fuses: Locate the fuse related to the car radio in the fuse box. Visually inspect the fuse to check if it is blown. Replace it with a new fuse of the same amperage rating if necessary.
- Test the battery: Check if the battery connection is loose or corroded. Clean the battery terminals if necessary and ensure they are tightly fastened. Test the power supply using a multimeter to verify the voltage is within the specified range.
- Examine the wiring: Inspect the wiring behind the car radio for any signs of damage, frayed wires, or loose connections. Repair or replace any damaged wiring and ensure all connections are secure.
- Consider professional help: If the above steps do not resolve the issue, it may indicate a defective radio unit. In such cases, it is advisable to consult a professional technician who can diagnose and repair the problem.
By systematically troubleshooting each potential cause, you can identify and address the issue preventing your car radio from turning on. Remember to exercise caution and seek professional assistance if you are not confident in your abilities. Regular maintenance and timely repairs will help ensure the optimal performance and longevity of your car radio.
Check the Connections
One of the first steps to troubleshoot a car radio that won’t turn on is to check the connections. A loose or disconnected wire can prevent the radio from receiving power. Here’s how you can examine the connections:
- Locate the car radio: Depending on your vehicle, the radio may be integrated into the dashboard or a separate unit. Identify the location of the car radio to access the wiring behind it.
- Remove the radio head unit: If necessary, remove the screws or clips securing the radio head unit in place. Carefully pull out the head unit to reveal the wiring connections at the back.
- Inspect the wiring connections: Look for any loose or disconnected wires behind the radio. Check if the wiring harness is securely plugged into the radio unit. Ensure that the power, ground, and speaker wires are properly connected.
- Secure loose connections: If you find any loose wires, gently push them back into their respective connectors. It’s crucial to ensure a snug and secure connection to guarantee proper power flow to the radio.
- Test the radio: After checking and securing the connections, reattach the radio head unit and turn on the car. Check if the radio powers up properly. If it does, you have successfully resolved the issue. If not, proceed to the next troubleshooting step.
Checking the connections is an important first step as it is relatively simple and might resolve the issue without further intervention. However, if the radio still doesn’t turn on after verifying the connections, continue troubleshooting with the other steps outlined in this article.
Inspect the Fuses
Fuses are designed to protect electrical components from power surges or short circuits. If the car radio isn’t turning on, it’s essential to inspect the fuses as they may be the culprit. Here’s how to check the fuses:
- Locate the fuse box: The fuse box is typically located under the dashboard or in the engine compartment of your car. Consult your car’s manual or the fuse box cover for its exact location.
- Identify the radio fuse: Consult the fuse box diagram to identify the fuse related to the car radio. The diagram usually indicates the amperage rating and location of each fuse.
- Inspect the fuse: Once you have located the radio fuse, visually inspect it to determine if it’s blown. A blown fuse will have a broken or melted wire inside. If you’re uncertain, use a multimeter to test the continuity of the fuse.
- Replace the fuse: If the fuse is blown, replace it with a new one of the same amperage rating. It’s crucial to use the correct amperage fuse to prevent electrical damage. Store a few spare fuses in your car for future emergencies.
- Test the radio: After replacing the fuse, turn on the car’s ignition and check if the radio powers up. If it does, you have successfully resolved the issue. If not, move on to the next troubleshooting step.
Inspecting the fuses is vital as they often serve as a protection mechanism for the car’s electrical components. By checking and replacing a blown fuse if necessary, you can ensure that the car radio is receiving the necessary power to function properly. However, if the fuse isn’t the cause, continue troubleshooting using the other steps outlined in this article.
Test the Battery
The car radio’s power supply relies on the battery, and any issues with the battery can prevent it from turning on. To troubleshoot the battery connection problem, follow these steps:
- Inspect the battery: Locate the car battery and visually inspect its condition. Ensure that the battery terminals are clean, free from corrosion, and securely connected.
- Clean the battery terminals: If you notice corrosion on the battery terminals, clean them using a mixture of baking soda and water. Apply the mixture to the terminals, use a wire brush to scrub away the corrosion, and rinse with clean water. Dry the terminals thoroughly before proceeding.
- Test the battery voltage: Use a multimeter set to measure DC voltage. Connect the positive probe to the positive terminal and the negative probe to the negative terminal of the battery. Check the voltage reading. A healthy battery should have a voltage of around 12.6 volts or higher.
- Start the car: If the battery voltage is sufficient, start the car and observe if the radio powers on when the engine is running. Sometimes, the radio might only turn on when the car is running due to lower voltage levels when idling or the ignition being in the accessory position.
- Check the alternator: If the battery voltage is low or the radio still doesn’t turn on when the car is running, it may indicate a problem with the alternator. Consider having the alternator tested at an auto repair shop to ensure it is charging the battery properly.
Testing the battery is crucial as it provides the necessary power for the car radio to function correctly. By ensuring a clean and properly charged battery, you can eliminate potential power supply issues. If the battery tests fine, but the radio still won’t turn on, proceed to the next troubleshooting step.
Examine the Wiring
If the car radio still won’t turn on after checking the connections and testing the battery, it’s time to examine the wiring. The wiring connecting the car radio to the power source can sometimes become damaged, resulting in a loss of power. Here’s how to examine the wiring:
- Locate the wiring: Identify the wiring harness that connects the car radio to the power source. This harness is usually located behind or underneath the radio unit.
- Inspect the wiring: Examine the wiring for any signs of damage, such as frayed wires, cuts, or exposed metal. Pay close attention to areas where the wiring bends or rubs against other components, as those are vulnerable to wear and tear.
- Repair or replace damaged wiring: If you find any damaged wiring, it will need to be repaired or replaced. Carefully cut out the damaged section of wire and strip a small amount of insulation from the ends. Use wire connectors or soldering to join the wires back together securely.
- Secure loose connections: Check all the connections in the wiring harness. Make sure they are tightly fastened and free from any looseness. Tighten any screws or bolts holding the connectors in place.
- Reassemble and test: Once you have addressed any damaged wiring or loose connections, reassemble the radio unit and turn on the car. Check if the radio powers up properly. If it does, you have successfully resolved the issue. If not, proceed to the next troubleshooting step.
Examining the wiring is crucial as it can help identify any issues that may be disrupting the power supply to the car radio. By repairing or replacing damaged wiring and ensuring secure connections, you can restore the proper flow of power and potentially get the radio working again. If the wiring appears to be intact and the radio still won’t turn on, proceed to the next troubleshooting step.
Consider Professional Help
If you’ve checked the connections, inspected the fuses, tested the battery, and examined the wiring, but your car radio still won’t turn on, it may be time to consider seeking professional help. A qualified car technician can provide expertise and specialized equipment to diagnose and resolve the issue. Here are a few reasons why professional help may be necessary:
- Complex electrical systems: Car radios are integrated into complex electrical systems. A professional technician has the knowledge and experience to diagnose the problem accurately and navigate the intricacies of the wiring.
- Specialized equipment: Diagnosing certain issues may require specialized equipment, such as an automotive diagnostic scanner. Professional technicians have access to these tools to help pinpoint the problem with precision.
- Manufacturer expertise: In some cases, the car radio may require manufacturer-specific knowledge to troubleshoot effectively. Professional technicians are familiar with different car manufacturer specifications and can provide targeted solutions accordingly.
- Warranty considerations: If your car radio is still under warranty, attempting to repair or modify it yourself may void the warranty. Seeking professional help ensures that the necessary repairs are performed in a way that preserves the warranty coverage.
When considering professional help, look for reputable auto repair shops or car audio specialists in your area. Explain the steps you’ve already taken to troubleshoot the issue, as this can help them efficiently diagnose the problem.
Remember, seeking professional assistance may entail additional costs, but it can save you time, effort, and potential mistakes that could worsen the problem. They can provide expert guidance and repair the car radio to restore its functionality.
Conclusion
Experiencing a car radio that won’t turn on can be frustrating, but by following the troubleshooting steps outlined in this article, you can identify and potentially resolve the issue. Checking the connections, inspecting the fuses, testing the battery, examining the wiring, and considering professional help are all key steps to take in order to address the problem.
It’s important to remember that troubleshooting a car radio requires a systematic approach and patience. Start with the simplest potential causes, such as loose connections or blown fuses, and gradually move on to more complex issues if necessary. Keep in mind that if you are not comfortable or confident in your abilities, it’s always best to seek professional assistance to avoid causing further damage.
Regular maintenance and care of your car’s electrical system can also help prevent issues with the car radio. Cleaning battery terminals, checking connections periodically, and keeping an eye on the condition of the wiring can help ensure the optimal performance of your car radio and other electrical components.
In conclusion, troubleshooting a car radio that won’t turn on requires a combination of patience, basic knowledge of car electrical systems, and the willingness to follow the steps outlined in this article. By systematically diagnosing and addressing potential causes, you can increase the chances of resolving the issue and enjoying your favorite tunes once again during your travels.

