Home>Events & Info>Ballet>How To Make Ballet Headpieces
Ballet
How To Make Ballet Headpieces
Published: January 8, 2024
Learn how to create stunning ballet headpieces with our step-by-step guide. Enhance your ballet performances with these beautiful accessories.
(Many of the links in this article redirect to a specific reviewed product. Your purchase of these products through affiliate links helps to generate commission for AudioLover.com, at no extra cost. Learn more)
Table of Contents
Introduction
Welcome to the world of ballet, where grace, elegance, and beauty come together in perfect harmony. Ballet, with its intricate moves and captivating performances, has been enchanting audiences for centuries. But ballet is not only about the dance itself; it is also a visual spectacle that encompasses exquisite costumes and accessories, including the iconic ballet headpieces.
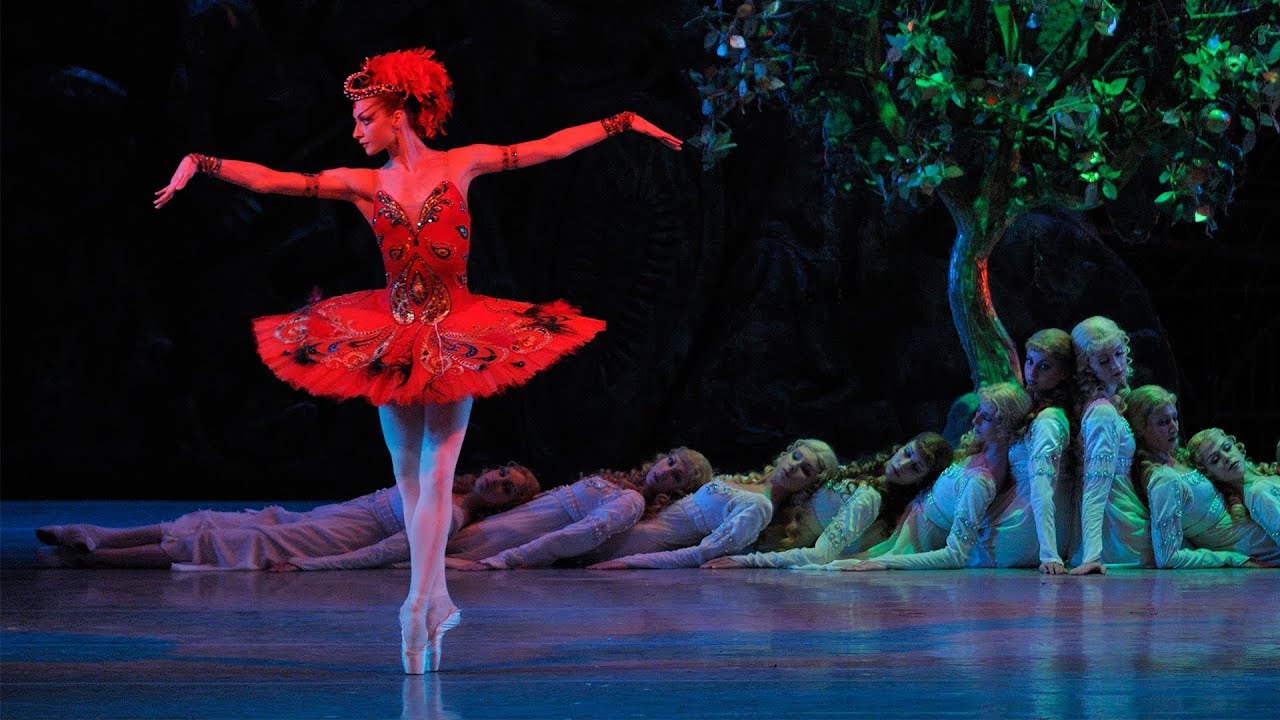
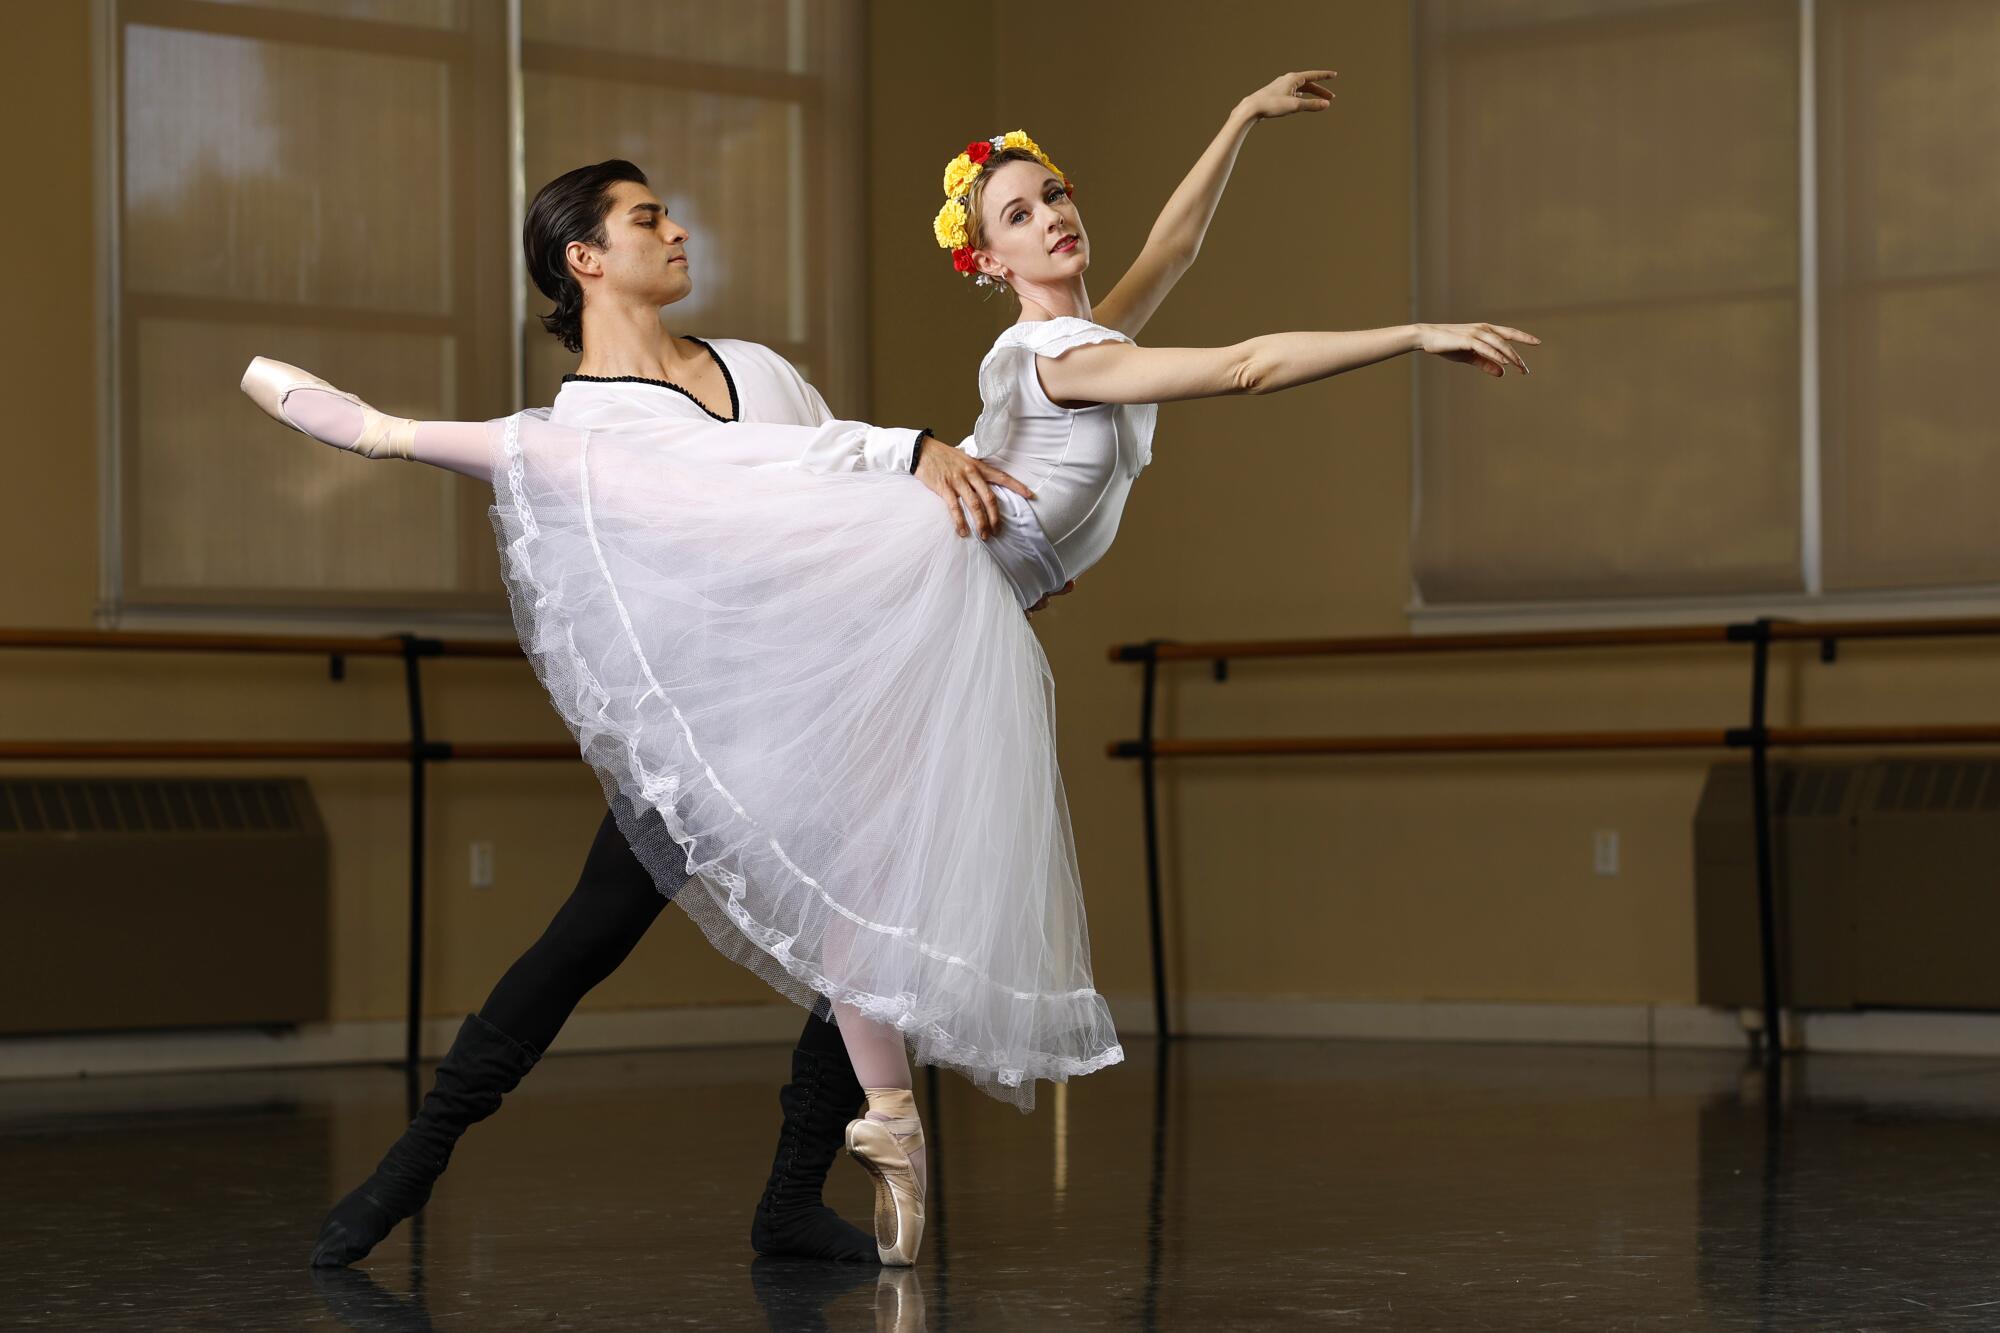
The ballet headpiece, also known as a tiara or a crown, is a vital part of a ballerina’s attire. It not only adds a touch of ethereal beauty to the dancer but also helps to complete the overall aesthetic of the performance. Whether it’s a classic tiara or a whimsical floral crown, crafting your ballet headpiece can be a fun and rewarding experience.
In this article, we will guide you through the step-by-step process of creating your ballet headpiece. From choosing the design to adding embellishments, we will provide you with all the information and inspiration you need to make a stunning headpiece that perfectly complements your ballet performance.
Whether you’re a professional dancer or an aspiring ballerina, making your ballet headpiece allows you to unleash your creativity and showcase your unique style. Not only will it give you a sense of accomplishment, but it will also add a personal touch to your performance, setting you apart from the rest.
So, let’s dive into the world of ballet headpiece making and embark on a journey of creativity and elegance. Get ready to unleash your inner artist and create a headpiece that will make you feel like a true prima ballerina.
Materials Needed
Before you begin crafting your ballet headpiece, it’s essential to gather all the necessary materials. Here’s a list of items you’ll need:
- Satin fabric or felt: Choose a color that matches your costume or the theme of your ballet performance.
- Scissors: A sharp pair of fabric scissors will make cutting the materials easier and more precise.
- Hot glue gun: This will be used to secure the various elements of your headpiece.
- Ribbons or elastic: These will be used to attach and secure the headpiece to your head.
- Embellishments: Gather an assortment of beads, sequins, feathers, flowers, or any other decorative elements you’d like to add to your headpiece.
- Headband or hair comb: Depending on your desired style, you can choose to use a headband or a hair comb as the base for your headpiece.
- Decorative wire: If you’re planning to create a more intricate design, decorative wire can be used to shape and form the headpiece.
- Craft foam or cardboard: These materials can be used as a base for your headpiece, providing structure and support.
Ensure that you have all the materials ready before you start crafting. It’s important to have everything within reach to prevent any interruptions or delays during the process.
Now that you have your materials ready, it’s time to move on to the next step: choosing the design for your ballet headpiece.
Step 1: Choosing the Design
The first step in creating your ballet headpiece is selecting the design that best suits your style and matches the overall aesthetic of your ballet performance. Whether you prefer a classic tiara, a delicate floral crown, or a unique and avant-garde headpiece, there are countless design options to explore.
Here are a few factors to consider when choosing your design:
- Ballet style: Different ballet styles have different visual aesthetics. For a classical ballet, you might opt for a more traditional and elegant tiara design. For a contemporary or modern ballet, you could choose a more experimental and unconventional headpiece.
- Costume: Take a look at your ballet costume and consider how the headpiece will complement it. You want the headpiece to enhance the overall look and create a cohesive style.
- Theme or storyline: If your ballet performance has a specific theme or storyline, you can incorporate elements from it into your headpiece design. This adds an extra layer of storytelling to your performance.
- Your personal style: Your ballet headpiece should reflect your own unique personality and style as a dancer. Consider what designs resonate with you and make you feel confident on stage.
Additionally, you can find inspiration from ballet performances, costume designers, and even nature. Look at photos, sketches, or artwork to gather ideas and create a mood board of designs that inspire you.
Once you have a clear vision of the design you want, it’s time to gather the necessary supplies for creating the headpiece. In the next step, we will discuss the materials needed for constructing your ballet headpiece, so be sure to have them on hand.
With your design in mind and the materials ready, you’re now ready to bring your ballet headpiece to life. Let’s move on to the next step: gathering supplies.
Step 2: Gathering Supplies
Now that you have chosen a design for your ballet headpiece, it’s time to gather all the necessary supplies to bring your vision to life. Having the right materials on hand will ensure a smooth and successful crafting process. Here’s a list of supplies you’ll need:
- Base material: Depending on your preferred design, you may choose satin fabric, felt, or even craft foam or cardboard as the base material for your headpiece.
- Decorative elements: Gather beads, sequins, feathers, flowers, and any other embellishments that will add beauty and charm to your headpiece. Consider the color palette and materials that will best match your chosen design.
- Adhesive: A hot glue gun is commonly used for attaching and securing the various elements of the headpiece. Make sure to have extra glue sticks on hand.
- Ribbons or elastic: These will be used to attach the headpiece to your head. Choose ribbons or elastic that match the color and style of your piece.
- Scissors: A pair of sharp fabric scissors will be necessary for cutting materials and trimming excess.
- Optional: Depending on your design, you may need additional tools such as wire cutters, pliers, or a needle and thread.
Once you have gathered all the necessary supplies, it’s essential to organize them in a workspace that is clean and well-lit. Having everything easily accessible will make the crafting process more efficient and enjoyable.
Now that you have all the supplies in place, it’s time to move on to the next step: measuring the headpiece. This step ensures that the headpiece will fit comfortably and securely on your head, allowing you to focus on your ballet performance without any distractions. Let’s continue to the next step!
Step 3: Measuring the Headpiece
Before you start cutting and assembling your ballet headpiece, it’s important to take accurate measurements to ensure a proper fit. A well-fitting headpiece will stay securely in place during your ballet performance, allowing you to move with confidence and grace. Here’s how to measure your head for the headpiece:
- Wrap a measuring tape around your head, just above the ears and across the forehead. Make sure it is snug but not too tight.
- Note down the measurement. This will serve as the circumference of your headpiece.
- If you’re using a headband as the base for your headpiece, measure the width of the headband to ensure it covers the desired area of your head.
Once you have your measurements, it’s time to transfer them to the base material for your headpiece. Use a pencil or fabric marker to mark the measurements on the fabric or craft foam. This will serve as a guideline for cutting and shaping the headpiece.
Remember, it’s always better to start with a larger piece of material and trim it down if needed. You can always adjust the size during the crafting process to ensure a perfect fit.
With the measurements marked, you’re now ready to move on to the next step: cutting the base of your ballet headpiece. Taking time to measure and cut accurately will guarantee a headpiece that fits comfortably and enhances your ballet performance. Let’s proceed to the next step!
Step 4: Cutting the Base
Now that you have measured your head and marked the measurements on the base material, it’s time to cut the base of your ballet headpiece. The base will serve as the foundation for attaching the decorative elements and securing the headpiece to your head.
Here’s how to cut the base of your ballet headpiece:
- Place the marked base material on a flat surface. Ensure that it is smooth and free of any wrinkles or creases.
- Using a sharp pair of fabric scissors, carefully cut along the marked measurements. Follow the lines as accurately as possible to create a clean and defined shape for your headpiece.
- Remember to leave a bit of extra material on the ends to allow for adjustability and secure attachment to your head.
- If you’re using a headband as the base, you may need to trim or shape the material to match the width of the headband. Use the headband as a guide to create a perfectly fitting base for your headpiece.
As you cut the base, be mindful of the shape and style you want to achieve. You can opt for a simple, straight design or experiment with curved edges or unique contours that reflect your personal style and match your chosen design.
Once you have cut the base, take a moment to try it on and ensure that it fits comfortably on your head. Adjust the size if necessary by trimming or reshaping the material. Remember, it’s better to make small adjustments now rather than when the headpiece is fully assembled.
With the base of your ballet headpiece cut to perfection, it’s time to move on to the next step: adding embellishments and bringing your headpiece to life. Let’s proceed to the next step and unleash your creativity!
Step 5: Adding Embellishments
Now that you have the base of your ballet headpiece ready, it’s time to add the embellishments that will transform it into a stunning and eye-catching accessory. This step allows you to unleash your creativity and personalize your headpiece to match your unique style and the theme of your ballet performance.
Here’s how to add embellishments to your ballet headpiece:
- Plan your design: Before you start attaching the embellishments, take a moment to plan out the placement and arrangement. Consider the overall aesthetic you want to achieve and the materials you gathered in the previous steps.
- Attach with hot glue: Using a hot glue gun, carefully apply small dots or lines of glue to the base material, one section at a time. Immediately press the embellishment onto the glue, holding it in place for a few seconds until it sets.
- Experiment with different materials: Incorporate various decorative elements such as beads, sequins, feathers, flowers, or ribbons. Play with textures, colors, and sizes to create a visually appealing and harmonious design.
- Consider layering: To add depth and dimension to your headpiece, try layering different embellishments. For example, you can place a flower on top of a sequined trim or a cluster of beads on a ribbon.
- Be mindful of balance: As you add embellishments, keep in mind the balance and symmetry of your headpiece. Distribute the elements evenly and ensure that the design is visually pleasing from all angles.
Remember to let your creativity guide you during this step. There are no strict rules, and you have the freedom to create a headpiece that reflects your unique style and vision.
As you add the embellishments, periodically try on the headpiece to see how it looks and feels on your head. This will help you make any necessary adjustments and ensure that the weight and placement of the embellishments are comfortable for a seamless ballet performance.
With the embellishments added, your ballet headpiece is starting to come to life. In the next step, we will discuss how to attach elastic or ribbons to secure the headpiece. Let’s move on to the next step and continue the crafting process!
Step 6: Attaching Elastic or Ribbons
Now that you have beautifully adorned your ballet headpiece with embellishments, it’s time to ensure that it stays securely in place during your performance. Attaching elastic or ribbons will provide the necessary support and stability, allowing you to move with confidence and grace on the stage.
Here’s how to attach elastic or ribbons to your ballet headpiece:
- Measure the elastic or ribbon: Using a measuring tape, determine the length of elastic or ribbon needed to comfortably fit around your head.
- Cut the elastic or ribbon: Once you have the measurement, use scissors to cut the elastic or ribbon to the appropriate length. Make sure to leave a bit of extra length for secure attachment.
- Position the elastic or ribbon: Decide where you want the elastic or ribbon to be attached to the headpiece. This can be on the sides, back, or even as a crisscross pattern for added security.
- Secure with glue or stitches: Using a hot glue gun, carefully apply glue to the ends of the elastic or ribbon and attach them to the base of the headpiece. Alternatively, you can stitch the elastic or ribbon onto the headpiece for a more secure attachment.
- Allow it to dry: If you used glue, give it some time to dry and set before trying on the headpiece. This will ensure a strong and durable attachment.
It’s important to test the fit of the elastic or ribbon before finalizing the attachment. Try on the headpiece and adjust the tightness as needed, making sure it feels secure and comfortable on your head.
Remember, the elastic or ribbon should be snug enough to hold the headpiece in place during your ballet performance but not too tight to cause discomfort or hinder your movements.
With the elastic or ribbons securely attached, your ballet headpiece is almost complete. In the next step, we will discuss how to properly secure the headpiece on your head. Let’s continue and move on to the next step in the crafting process!
Step 7: Securing the Headpiece
Now that you have attached elastic or ribbons to your ballet headpiece, it’s time to securely fasten it to your head. Properly securing the headpiece ensures that it stays in place throughout your ballet performance, allowing you to focus on your movements without any worries.
Here’s how to secure your ballet headpiece:
- Position the headpiece: Place the headpiece on your head in the desired position. Ensure that it sits securely and comfortably.
- Adjust the tightness: If you used elastic, gently stretch it to fit snugly around your head. If you used ribbons, tie them in a secure bow or knot, making sure they are not too tight or too loose.
- Double-check the placement: Look in a mirror or ask for assistance to confirm that the headpiece is properly positioned and centered on your head.
- Test the stability: Gently move your head back and forth, as well as side to side, to ensure that the headpiece stays in place without slipping or shifting.
If you find that the headpiece is not staying securely on your head, make the necessary adjustments. You may need to tighten the elastic or ribbons, or add additional glue or stitches to reinforce the attachment.
It’s essential to practice wearing the headpiece and moving in it before your ballet performance. This will allow you to become accustomed to its weight and ensure that it feels comfortable and secure during your routines.
With the headpiece properly secured, you’re almost ready to showcase your ballet skills with style and elegance. In the final step, we will discuss some optional ways to personalize and decorate your ballet headpiece. Let’s proceed to the next step and add those final touches!
Step 8: Personalizing and Decorating
Now that your ballet headpiece is securely attached and ready to wear, you have the opportunity to add some personal touches and extra embellishments to make it truly unique. Personalizing and decorating your headpiece allows you to showcase your individuality and enhance the overall aesthetic of your ballet performance.
Here are a few ways you can personalize and decorate your ballet headpiece:
- Add more embellishments: Consider adding additional beads, sequins, or feathers to further enhance the design. Play with different textures, colors, and sizes to create a visually striking headpiece.
- Introduce decorative elements: Include elements like rhinestones, crystals, or pearls to bring a touch of sparkle and elegance to your headpiece. These can be strategically placed to highlight certain areas or create a focal point.
- Experiment with fabric manipulation: Explore different ways to manipulate the fabric of your headpiece, such as folding, pleating, or gathering. This can add texture and dimension, making your headpiece even more visually captivating.
- Personalize with initials or symbols: Consider incorporating your initials, a meaningful symbol, or even small charms that represent something significant to you. This will add a personal touch and make the headpiece even more special.
- Explore color variations: If your ballet performance has a specific color palette, incorporate those colors in your headpiece. Use fabric dye, paint, or fabric markers to add pops of color or create a gradient effect.
Remember, the goal is to personalize and decorate your headpiece in a way that reflects your style and resonates with the overall theme of your ballet performance. Be creative and let your imagination guide you.
Once you are satisfied with the final decorations, take a moment to try on the headpiece and admire your creation. Take some close-up photos to capture the intricate details and share your masterpiece with others.
Now, with your personalized and decorated ballet headpiece complete, you are fully prepared to take center stage and captivate the audience with your grace and talent. Enjoy every moment of your ballet performance, knowing that your headpiece represents your creativity and dedication to the art of dance.
As you continue your ballet journey, don’t forget to preserve and care for your headpiece to ensure its longevity. Store it in a safe and dry place, away from direct sunlight, and handle it with care when not in use.
Congratulations on creating your own ballet headpiece! Now go out there and shine like the star you are!
Conclusion
Crafting your own ballet headpiece is a rewarding and creative journey. From choosing the design to adding the final personalized touches, each step allows you to express your unique style and enhance the aesthetic of your ballet performance. By following the steps outlined in this article, you have learned how to create a headpiece that complements your costume, showcases your personality, and stays securely in place during your routines.
Throughout the process, remember to allow your creativity to guide you. Explore different materials, experiment with embellishments, and add your own personal flair. Let your headpiece become an extension of your artistic expression, reflecting your passion for ballet and capturing the attention of the audience.
As you wear your handmade headpiece on stage, embody the elegance, grace, and confidence that ballet embraces. Let it be a symbol of your dedication and hard work, a testament to the artistry and craftsmanship that goes into every aspect of ballet.
Lastly, don’t forget to cherish and care for your ballet headpiece. Store it properly, clean it gently if needed, and handle it with love and respect. It is not just a decorative accessory, but a cherished memento of the moments you spent crafting and performing on stage.
Now, armed with the knowledge and skills shared in this article, go forth and create a headpiece that will make you feel like a true prima ballerina. Let your passion for ballet shine through every intricate detail, captivating both your fellow dancers and the audience. Enjoy the journey, embrace your creativity, and most importantly, dance with joy and grace!