Home>Events & Info>Ballet>How To Make A Ballet Shoe Out Of Fondant

Ballet
How To Make A Ballet Shoe Out Of Fondant
Modified: January 22, 2024
Learn how to create a ballet shoe using fondant with this step-by-step tutorial. Perfect for any ballet-themed cake or dessert.
(Many of the links in this article redirect to a specific reviewed product. Your purchase of these products through affiliate links helps to generate commission for AudioLover.com, at no extra cost. Learn more)
Table of Contents
Introduction
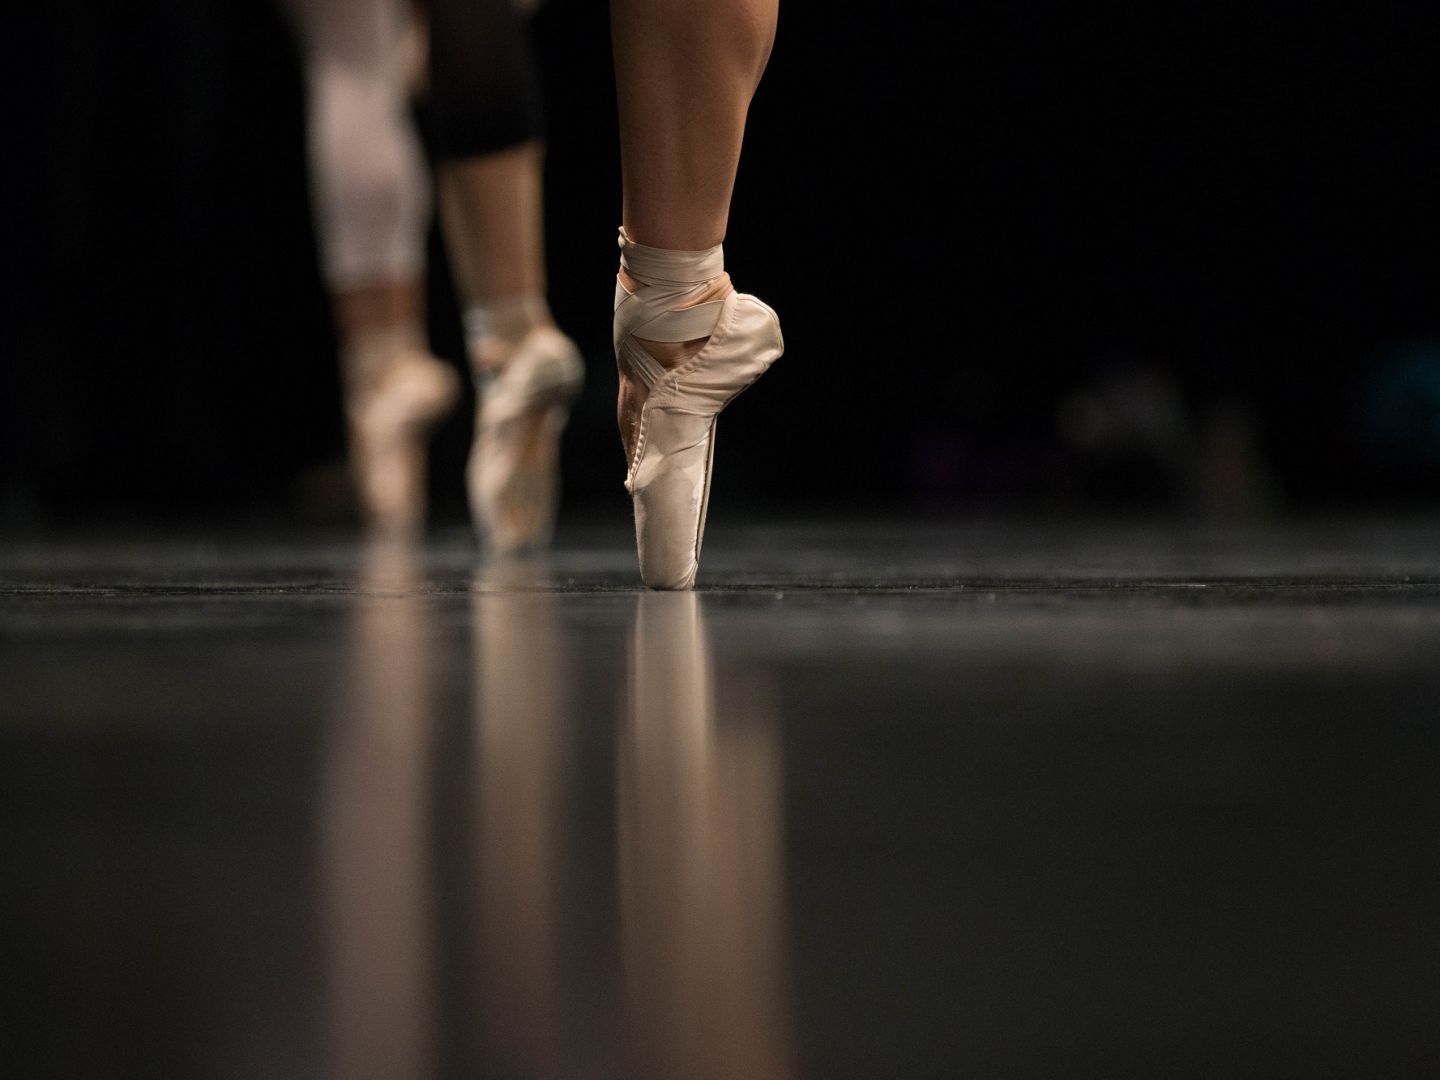
Welcome to the world of ballet, where grace, beauty, and precision come together in a mesmerizing dance form. Ballet has been captivating audiences for centuries with its exquisite movements and elegant costumes. One iconic element of a ballet dancer’s attire is the ballet shoe, also known as a pointe shoe. These shoes play a crucial role in allowing dancers to perform their breathtaking leaps and turns with poise and stability.
If you’re a ballet enthusiast or simply looking to add a touch of elegance to a special occasion, imagine creating your very own ballet shoe out of fondant. Fondant is a pliable and edible icing that can be molded into various shapes, making it perfect for creating a miniature ballet shoe replica.
In this guide, we will walk you through the step-by-step process of making a ballet shoe out of fondant. You’ll learn the materials needed, from the fondant itself to the tools that will help you shape and decorate the shoe. Whether you’re a seasoned baker or new to working with fondant, this tutorial is designed to inspire and guide you.
By the end of this article, you’ll have a stunning ballet shoe made entirely out of fondant that will impress your friends, family, or customers. So, let’s dive in and discover the artistic joy of creating your own edible ballet shoe masterpiece!
Materials Needed
Before you start crafting your fondant ballet shoe, it’s important to gather all the necessary materials. Here’s a list of items you’ll need:
- Fondant: Choose a high-quality fondant in the color of your choice. You can find ready-to-use fondant at baking supply stores or make your own using marshmallows and powdered sugar.
- Rolling Pin: A rolling pin will be used to roll out the fondant to the desired thickness and flatten it for shaping.
- Knife or Fondant Cutter: You’ll need a sharp knife or a fondant cutter to cut out the shoe template and shape the fondant as needed.
- Food-Grade Paintbrush: A small, clean paintbrush will come in handy for applying edible glue or water to the fondant and attaching small decorations or details.
- Edible Glue or Water: Edible glue or a small amount of water can be used to adhere the fondant pieces together and attach decorations.
- Parchment Paper or Silicone Mat: Prepare a clean surface for rolling out the fondant by placing parchment paper or a silicone mat on your work area.
- Template: Find or create a ballet shoe template that you can trace onto the fondant. This will serve as a guide for cutting out the shoe shape.
- Edible Color Dust or Food Coloring: To add color and shimmer to your ballet shoe, consider using edible color dust or food coloring in the shade of your choice. These can be applied using a small brush.
- Small Decorations: Optional but delightful, small edible decorations like tiny pearls, sugar flowers, or silver dragees can be added for an extra touch of elegance.
With these materials at your disposal, you’re all set to embark on the journey of creating your own fondant ballet shoe. Let’s move on to the first step: preparing the fondant!
Step 1: Preparing the Fondant
Now that you have all your materials ready, it’s time to prepare the fondant. If you’re using store-bought fondant, follow the instructions on the package for softening it to a workable consistency. If you’re making your own fondant, knead it until it becomes smooth and pliable.
To prevent the fondant from sticking to your work surface and rolling pin, lightly dust them with powdered sugar or cornstarch. This will make it easier to roll out the fondant without it tearing or becoming too sticky.
Divide the fondant into portions, depending on the number and sizes of ballet shoes you want to make. Keep any unused fondant covered in plastic wrap or a resealable bag to prevent it from drying out.
Take one portion of the fondant and roll it into a ball. Place it on the parchment paper or silicone mat and flatten it with your hands. Then, using the lightly dusted rolling pin, roll out the fondant to a thickness of about 1/8 to 1/4 inch, depending on your preference. Remember to rotate the fondant occasionally to ensure an even thickness.
Next, you’ll need a ballet shoe template. If you don’t have one, you can search for a printable template online or create your own by drawing the outline of a ballet shoe on a sturdy piece of paper or cardboard. Place the template on top of the rolled-out fondant and use a sharp knife or fondant cutter to carefully trace around the edges, cutting out the shape.
Once you’ve cut out the main shape of the ballet shoe, gently lift it off the parchment paper or silicone mat and set it aside. You can use the excess fondant to make additional decorations or save it for future use. At this stage, the foundation of your fondant ballet shoe is complete!
With the fondant prepared and the shoe shape cut out, you’re ready to move on to the next step: shaping the ballet shoe. Let your creativity and love for ballet guide you as you bring your fondant creation to life!
Step 2: Shaping the Ballet Shoe
Now that you have the basic shape of the ballet shoe, it’s time to give it dimension and form. The key to creating a realistic-looking ballet shoe is to pay attention to the details and contours.
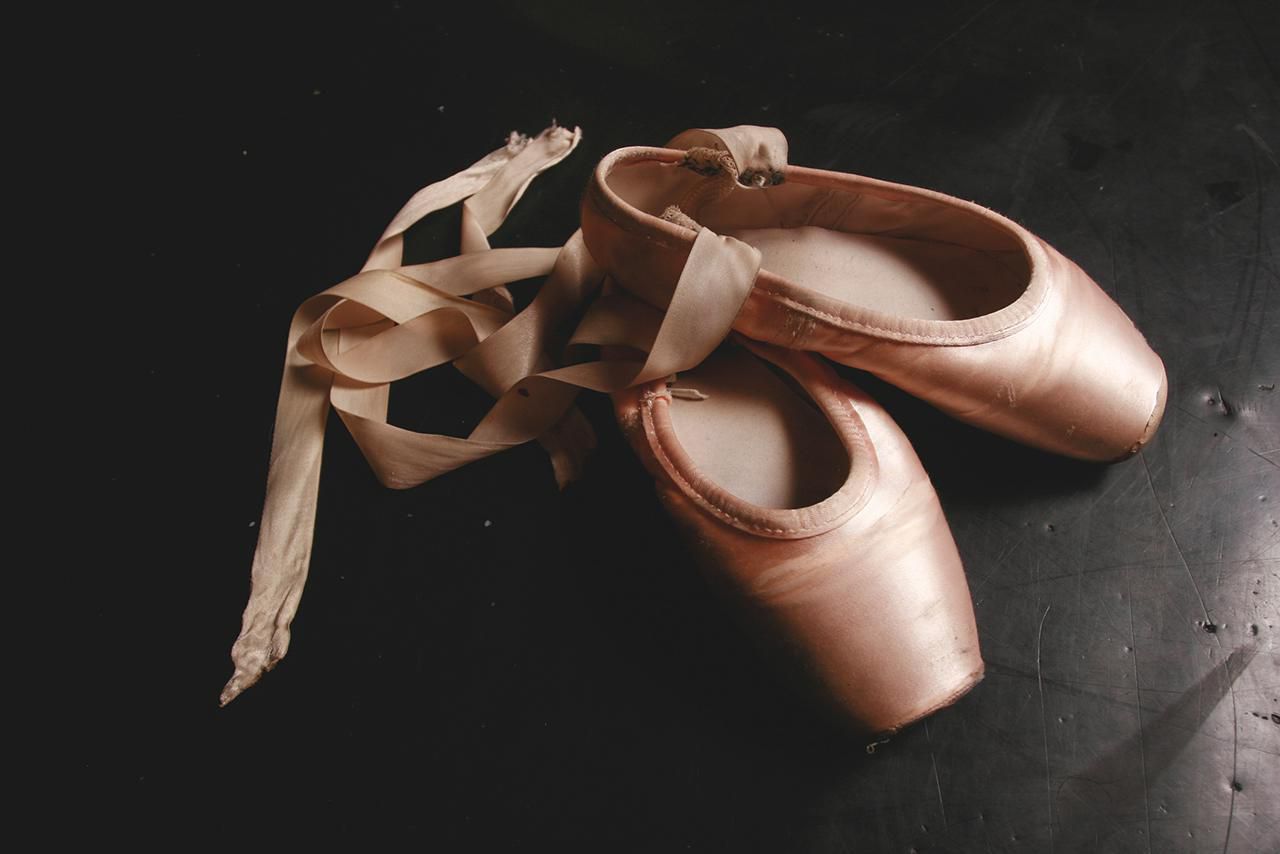
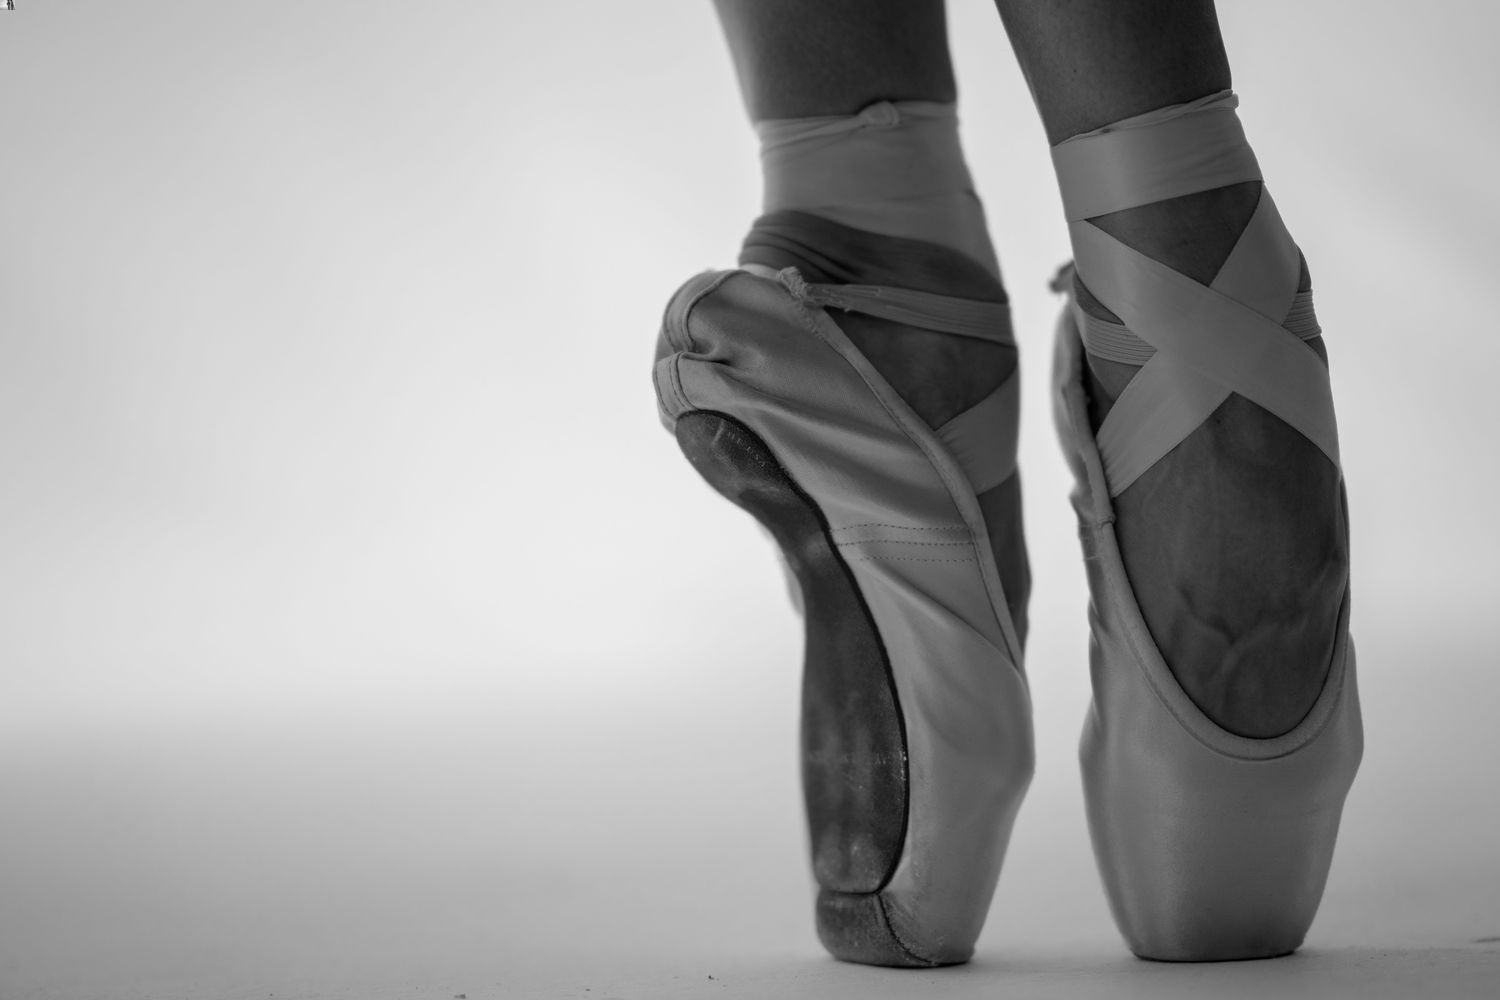
Start by gently shaping the fondant shoe with your fingers, molding it to create a curved arch and pointed toe. Use the template and a reference image of a ballet shoe to guide you in shaping the fondant accurately. Be patient and take your time to achieve the desired shape.
To further enhance the realism of the ballet shoe, you can use a small ball tool or the rounded end of a paintbrush to create indentations on the fondant. These indentations simulate the texture of the shoe material, adding depth and authenticity to your creation. Focus on areas such as the toe box, heel, and sides of the shoe.
If you want to create a delicate lace-up design, roll thin strips of fondant and attach them to the front of the shoe, crisscrossing them to mimic the laces. Alternatively, you can use a lace mold to create intricate lace patterns and apply them to the shoe.
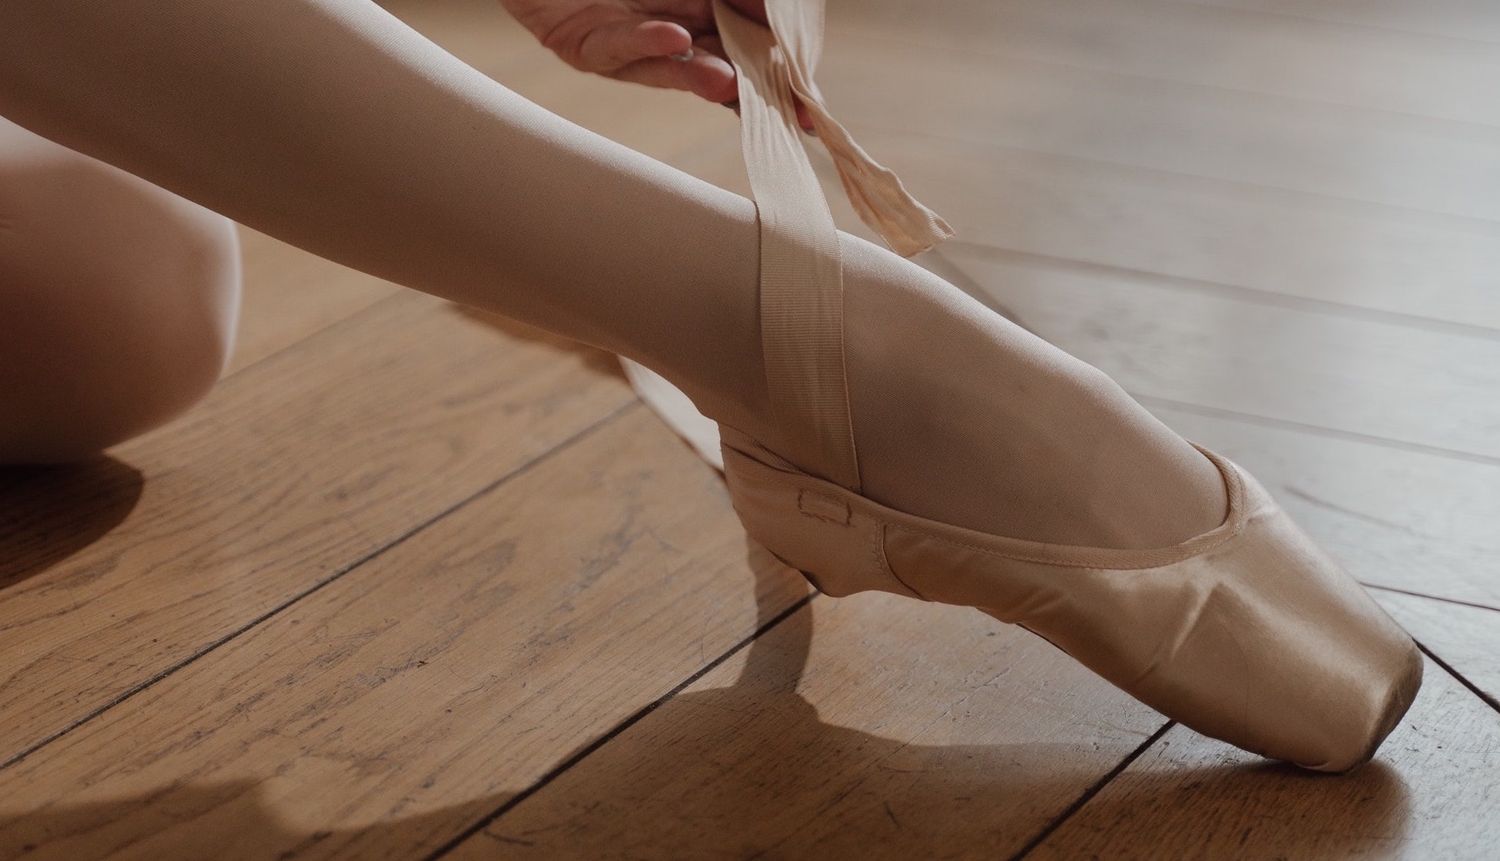
Don’t forget about the ballet shoe’s ribbon ties! Roll out two thin strips of fondant and attach them to the sides of the shoe, positioning them to mimic the appearance of ribbons tying around the ankles. You can use a small brush and a bit of edible glue or water to secure the strips in place.
As you shape the ballet shoe, be mindful of the delicate nature of fondant. If the fondant becomes too soft or begins to sag, place it in the refrigerator for a few minutes to firm up before continuing.
Once you’re satisfied with the overall shape and design of the ballet shoe, set it aside to dry and harden. This will allow the fondant to hold its shape and make it easier to add details and decorations in the next step.
With the ballet shoe shaped and ready, it’s time to move on to the creative task of adding details. Get ready to make your fondant shoe truly shine!
Step 3: Adding Details
Now that your fondant ballet shoe has taken shape, it’s time to add the intricate details that will bring it to life. Adding these small elements will elevate the overall appearance and realism of your edible masterpiece.
Start by focusing on the sole of the ballet shoe. Using a veining tool or the back of a paintbrush, create thin lines and texture on the sole to mimic the grooves and patterns found on real pointe shoes. Pay attention to the contours and curves, ensuring that the texture follows the natural shape of the shoe.
To enhance the elegance of the ballet shoe, consider adding small fondant embellishments. Create bows, flowers, or pearl accents using additional fondant or edible sugar decorations. Attach them using a small brush and a tiny amount of edible glue or water, placing them at strategic points on the shoe for visual interest.
If you want to add more color to your ballet shoe, use edible color dust or food coloring. Apply the color sparingly with a brush, focusing on areas where shading or highlighting would occur naturally. This technique will give your fondant shoe depth and dimension.
Additionally, consider dusting the entire shoe with a shimmering edible luster dust to create a sparkling effect. This will give your ballet shoe a glamorous finish, perfect for special occasions like birthdays, weddings, or ballet-themed parties.
Remember, the devil is in the details, so take your time and have fun creating the small decorative elements. Let your creativity shine as you make the ballet shoe uniquely yours!
Once you’re satisfied with the detailed accents and colors, allow the fondant to dry completely. This typically takes several hours or overnight, depending on the humidity in your environment. Ensuring the fondant is fully dry will prevent any smudging or damage when handling and displaying your masterpiece.
With the details added, your fondant ballet shoe is almost ready to be showcased. There’s just one more step left: drying and decorating the shoe for a truly captivating presentation!
Step 4: Drying and Decorating
After adding the final touches to your fondant ballet shoe, it’s time to let it dry and prepare it for display. Drying the fondant fully will ensure that it retains its shape and durability, allowing you to handle and decorate it without any mishaps.
Find a clean and dry surface to place your ballet shoe. If possible, place it on a piece of foam or a non-stick mat to avoid any unwanted imprints or damage. Allow the shoe to air dry for at least 24 hours, or until it becomes firm and solid to the touch.
While the fondant shoe is drying, consider enhancing its presentation by creating a display base. Use a small piece of covered foam or a decorative cupcake wrapper as a stand for your ballet shoe. This will elevate and showcase your creation in style.
You can also add some additional touches to the display by sprinkling edible glitter or confetti around the base. This will create a magical and enchanting scene, making your fondant ballet shoe truly unforgettable.
Once the fondant ballet shoe is completely dry and you’re satisfied with the display base, carefully place the shoe onto the stand. Gently press it down to ensure stability and alignment.
If desired, you can further enhance the presentation by placing the ballet shoe and its display base on a decorative cake or dessert platter. Arrange fresh flowers, sugar pearls, or small ballet-themed decorations around the shoe for an extra touch of elegance.
When your fondant ballet shoe is fully dried, decorated, and displayed, take a moment to admire your incredible creation. Your dedication and attention to detail have resulted in a stunning edible masterpiece that captures the grace and beauty of ballet.
Now, it’s time to share your creation and wow your friends, family, or guests. Whether it’s a ballet-themed party, a celebration cake, or a heartfelt gift for a ballet enthusiast, your fondant ballet shoe will undoubtedly leave a lasting impression.
Enjoy the admiration and joy that comes with your edible work of art. It’s a testament to your creativity and passion for the enchanting world of ballet!
Congratulations on crafting your very own fondant ballet shoe. Now, all that’s left is to savor the moment and celebrate your artistic triumph!
Step 5: Displaying the Ballet Shoe
Now that your fondant ballet shoe is beautifully dried, decorated, and ready to be showcased, it’s time to consider the best way to display your edible masterpiece. Here are some ideas to help you create a captivating display:
- Cake Topper: If you’re preparing a ballet-themed cake, place the fondant ballet shoe on top as a stunning cake topper. Position it strategically to create a visually appealing focal point.
- Centerpiece: Transform your fondant ballet shoe into an eye-catching centerpiece by placing it on a decorative stand or pedestal. Surround it with fresh flowers, greenery, or other ballet-inspired decorations to create a truly enchanting display.
- Shadow Box: Create a memorable keepsake by placing the fondant ballet shoe inside a shadow box. Add some fabric or a themed background to enhance the visual impact and protect your creation from dust and damage.
- Action Shot: Capture the beauty of your fondant ballet shoe by taking a photograph of it in an elegant pose, as if it were dancing. Use a clean and uncluttered background to make the shoe stand out.
- Display Case: Invest in a clear acrylic display case for long-term preservation of your fondant ballet shoe. This will keep it safe from dust, moisture, and other external factors, while still allowing it to be viewed and appreciated.
- Ballet-themed Party: If you’re hosting a ballet-themed party or event, create a dedicated display area for your fondant ballet shoe. Decorate the area with ballet-themed props, like tutus, pointe shoes, or ballet posters, to set the stage and make your creation the star of the show.
Remember to place your fondant ballet shoe in a location where it can be admired and enjoyed by all. Consider the lighting and surroundings to highlight its beauty and make it a conversation piece.
Finalize the display by adding a small plaque or card describing the process and effort behind creating the fondant ballet shoe. This will add a personal touch and allow viewers to appreciate the artistry and skill involved in making it.
With your fondant ballet shoe beautifully displayed, take a step back and admire your creation. You’ve brought the elegance and artistry of ballet to life in a unique and delicious form.
Whether it’s for your personal enjoyment, a special event, or to surprise someone with a memorable gift, your fondant ballet shoe is sure to leave a lasting impression. It’s a testament to your creativity, passion, and the joys of ballet.
Congratulations on creating a fondant ballet shoe that not only captures the essence of this graceful dance form but also showcases your talents as an edible artist. Cherish this masterpiece and the memories it creates for years to come.
Keep exploring your artistic side and continue to bring joy through your creations. Happy baking and sharing your love for ballet!
Conclusion
Congratulations on successfully creating your own ballet shoe out of fondant! By following the step-by-step process outlined in this guide, you have brought the elegance and beauty of ballet to life in a delectable and artistic way.
From preparing the fondant to shaping the shoe, adding intricate details, and displaying your creation with flair, each step was designed to help you unleash your creativity and passion for ballet.
Whether you made the fondant ballet shoe for a special occasion or simply for the joy of creating edible art, your efforts have resulted in a masterpiece that showcases your skills and love for this mesmerizing dance form.
Remember, the possibilities for fondant creations are limitless. Continue to explore and experiment with different designs, colors, and decorations to create your own unique ballet-inspired creations.
Share your fondant ballet shoe with friends, family, or fellow ballet enthusiasts and savor the delight and admiration it brings. Your creation is a testament to your dedication and the timeless allure of ballet.
With each fondant creation, you refine your skills and ignite the imagination of those who admire your work. So, keep embracing your passion for ballet and indulging in the artistry of fondant sculpting.
Thank you for joining us on this artistic journey. We hope this guide has inspired you to unleash your creativity and continue to bring the beauty of ballet to life through the medium of fondant. Happy creating!