Home>Events & Info>Ballet>How To Make A Ballet Tutu
Ballet
How To Make A Ballet Tutu
Modified: January 22, 2024
Learn how to make a stunning ballet tutu with our step-by-step guide. Perfect for ballet dancers and costume enthusiasts!
(Many of the links in this article redirect to a specific reviewed product. Your purchase of these products through affiliate links helps to generate commission for AudioLover.com, at no extra cost. Learn more)
Table of Contents
Introduction
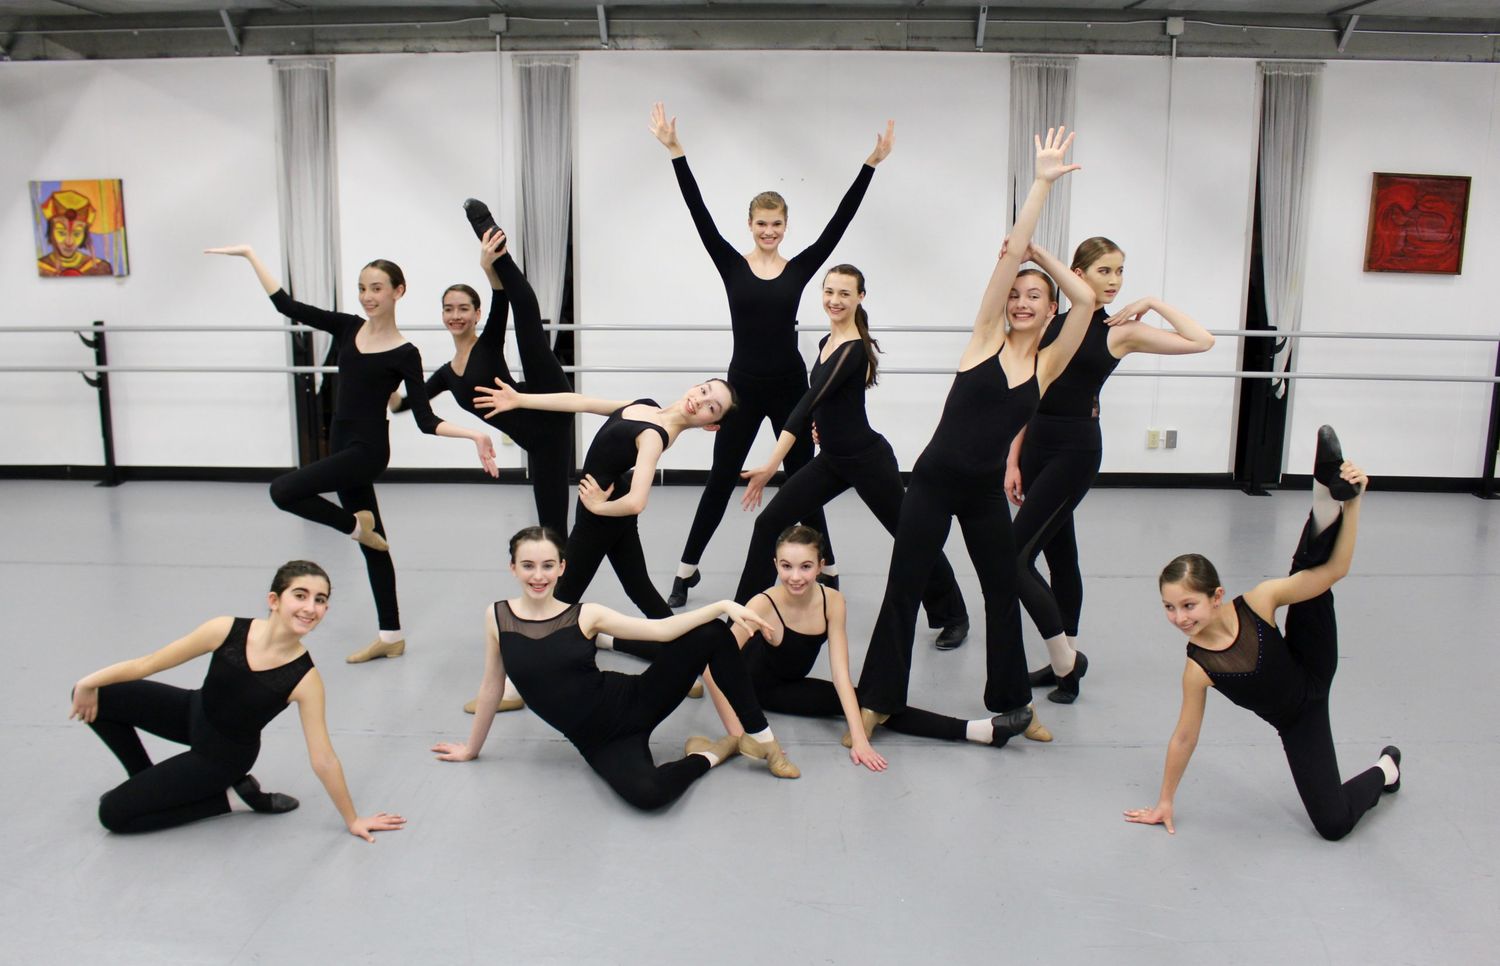
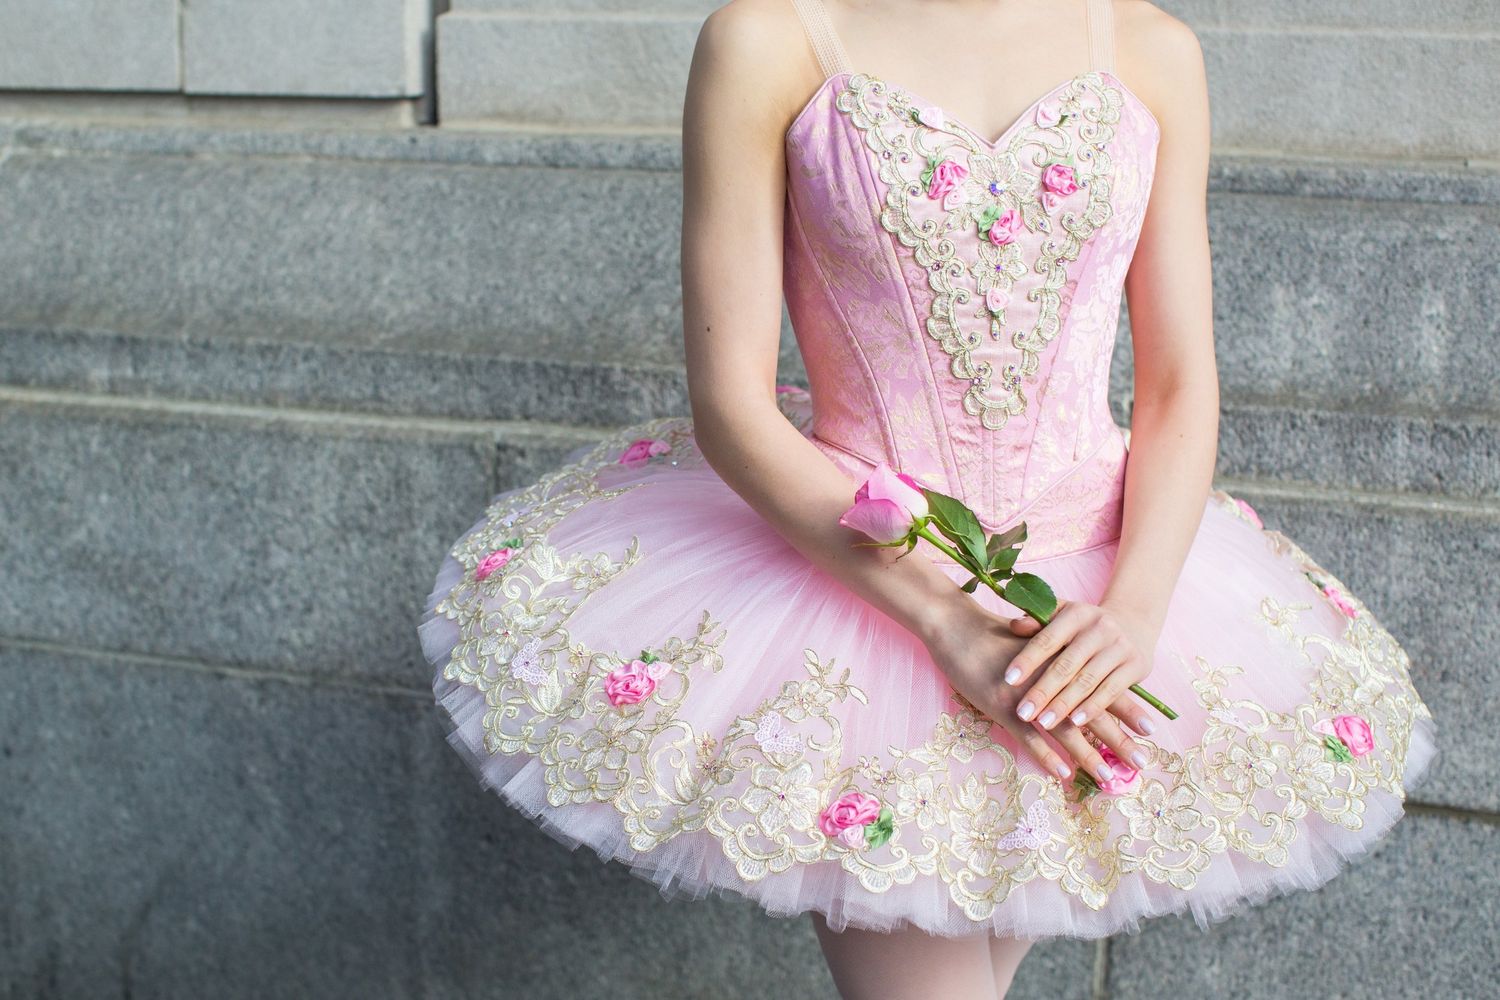
Welcome to the enchanting world of ballet! Ballet is a graceful and expressive art form that captivates audiences with its elegance and precision. At the heart of ballet is the iconic tutu, a voluminous skirt worn by ballerinas that adds an ethereal beauty to their performances. Whether you’re a budding ballerina or simply have an appreciation for ballet, learning how to make a ballet tutu can be a rewarding and creative experience.
In this article, we will guide you through the step-by-step process of creating your own ballet tutu. With just a few materials and some basic sewing skills, you’ll be able to design a stunning and professional-looking tutu that can be customized to your style and preferences.
Not only will making your own tutu save you money compared to buying one from a dancewear store, but it will also give you a deeper understanding and appreciation for the craftsmanship that goes into creating ballet costumes. So, let’s get started!
Materials Needed
Before we dive into the process of making a ballet tutu, let’s gather the materials that you’ll need for this project. Here is a list of items you’ll need:
- Tulle fabric: You’ll need several yards of tulle in the color of your choice. It’s best to choose a soft and lightweight tulle that has enough stiffness to hold its shape.
- Elastic band: This will be used for the waistband of the tutu. Make sure to choose a wide and comfortable elastic band that fits snuggly around your waist.
- Scissors: A good pair of fabric scissors will be essential for cutting the tulle to the desired length.
- Measuring tape: This will help you measure the length of the tulle and the waistband accurately.
- Pins: These will be used to secure the layers of tulle and the waistband during the sewing process.
- Needle and thread: You’ll need a sewing needle and thread that matches the color of your tulle.
- Embellishments (optional): If you want to add some extra flair to your tutu, you can gather some embellishments like ribbons, sequins, or flowers.
With these materials in hand, you’ll be ready to bring your ballet tutu to life. Now that we have everything we need, let’s move on to the next step: measuring and cutting the tulle.
Step 1: Measuring and Cutting the Tulle
The first step in creating your ballet tutu is to measure and cut the tulle to the desired length. Follow these simple instructions to get started:
- Measure your desired tutu length: Begin by deciding how long you want your tutu to be. Do you want a short and sassy tutu, or a long and elegant one? Use a measuring tape to measure from your waist down to the desired length, and take note of this measurement.
- Cut the tulle strips: Now it’s time to cut your tulle into strips. You’ll want each strip to be twice the length of your desired tutu length, so that it can be folded in half later. Use your measurements from step 1 to determine the length of each strip. The width of your strips can vary depending on how full you want your tutu to be, but a standard width is around 3-4 inches.
- Stack the tulle layers: Once you have cut your tulle strips, stack them on top of each other. The number of layers will depend on how full you want your tutu to be. For a basic tutu, around 8-10 layers should be sufficient.
- Secure the tulle layers: To keep the tulle layers in place while you work, use some pins to secure them together near one end. Make sure that all the ends of the tulle strips are aligned.
With these steps complete, you have now measured and cut the tulle for your ballet tutu. The next step is to create the waistband, which will hold the tutu securely around your waist.
Step 2: Creating the Waistband
Now that you have the tulle prepared, it’s time to create the waistband for your ballet tutu. Follow these steps to create a comfortable and secure waistband:
- Measure your waist: Use a measuring tape to measure around your waist at the point where you want the tutu to rest. Add an inch or two to this measurement to account for overlap and ensure a comfortable fit.
- Cut the elastic band: Using the measurement from step 1, cut the elastic band to this length. Make sure to use sharp scissors to get a clean and even cut.
- Sew the ends of the elastic band: Overlap the ends of the elastic band by about half an inch, and use a needle and thread to sew them together. Make sure to secure the ends tightly to create a strong and durable waistband.
With these steps completed, you now have a properly sized and sewn elastic waistband for your ballet tutu. The next step is to sew the tulle layers onto the waistband to create the signature voluminous look.
Step 3: Sewing the Tulle Layers
With the waistband ready, it’s time to sew the tulle layers onto it to create the beautiful volume of the ballet tutu. Follow these steps to sew the tulle layers securely:
- Position the tulle layers: Take the stack of tulle layers that you prepared earlier and position it on top of the waistband. Make sure that the pinned end of the tulle layers aligns with the seam of the waistband.
- Sew the tulle layers: Starting from one end of the waistband, use your needle and thread to sew through the layers of tulle and the waistband. Take small stitches, going in and out of the layers to secure them together. Continue sewing along the entire length of the waistband, making sure to evenly distribute the tulle layers.
- Secure the other end: Once you reach the other end of the waistband, continue sewing a few stitches to secure the tulle layers in place. Trim any excess tulle if needed, ensuring a neat and finished look.
By following these steps, you have successfully sewn the tulle layers onto the waistband, creating the fullness and volume of the ballet tutu. The next step is to attach the waistband to the tutu securely.
Step 4: Attaching the Waistband to the Tutu
With the tulle layers sewn onto the waistband, it’s time to attach the waistband to the tutu itself. Follow these steps to ensure a secure and seamless attachment:
- Position the tutu base: Start by finding or creating a base for your ballet tutu. This can be a plain leotard or a waistband made from fabric that matches your tutu. Place the tutu base on a flat surface.
- Align the waistband: Take the waistband with the tulle layers attached and align it with the top of the tutu base. Make sure that the tulle layers are evenly distributed around the waistband.
- Sew the waistband to the tutu base: Using your needle and thread, sew the waistband to the tutu base. Take small stitches, going through both the waistband and the base fabric, making sure to secure them together tightly. Continue sewing around the entire circumference of the waistband to ensure a strong attachment.
- Trim any excess tulle: Once the waistband is securely attached to the tutu base, check for any excess tulle that may be sticking out. Use your scissors to carefully trim any loose ends or uneven edges, creating a clean and polished look.
By following these steps, you have successfully attached the waistband to the tutu, completing the construction of your ballet tutu. The final step is to add some finishing touches to enhance its beauty and make it truly unique.
Step 5: Adding Finishing Touches
Now that the construction of your ballet tutu is complete, it’s time to add some finishing touches to make it even more enchanting. Here are a few ideas to enhance the beauty of your tutu:
- Embellishments: If you want to add some extra sparkle and glamour to your tutu, consider attaching embellishments such as ribbons, sequins, or flowers. These can be sewn onto the tulle layers or strategically placed around the waistband for a touch of elegance.
- Lace or ribbon trim: To give your tutu a delicate and feminine look, consider adding lace or ribbon trim along the edges of the tulle layers. This can be sewn onto the hemline or layered between the tulle for a beautiful decorative effect.
- Colorful accents: If you want to incorporate different colors into your tutu, you can attach small fabric or tulle accents in contrasting shades. These can be in the form of bows, rosettes, or even layered tulle petals that add dimension and visual interest.
- Personalize with accessories: You can further personalize your tutu by adding accessories such as a matching headband, wrist cuffs, or even ballet slippers. Coordinate these accessories with the color scheme and style of your tutu to create a cohesive and stunning ensemble.
Remember, the finishing touches are what truly make your tutu unique and reflective of your personal style. Take your time to explore different options and experiment with designs until you achieve the desired look.
With the finishing touches added, your ballet tutu is now ready to accompany you on stage or bring a touch of magic to your ballet practice sessions. Enjoy the beauty and elegance of your handmade creation as you gracefully glide across the dance floor.
Congratulations on completing your journey to make a ballet tutu! By following these steps and adding your creative flair, you have crafted a stunning and professional-looking tutu that reflects your passion for ballet. Wear it with pride and let your inner ballerina shine!
Conclusion
Congratulations on successfully creating your own ballet tutu! Throughout this tutorial, we have explored the process of measuring, cutting, sewing, and attaching the tulle layers to the waistband, resulting in a beautiful and personalized tutu. By following these steps and adding your own flair, you have created a stunning piece that embodies the grace and elegance of ballet.
Making your own ballet tutu not only allows you to express your creativity but also gives you a deeper appreciation for the craftsmanship and artistry involved in ballet costumes. It is a testament to your dedication and love for ballet. Whether you are a ballet student, a performer, or simply an admirer of the art form, your handmade tutu is a tangible representation of your passion.
Remember, the possibilities for customizing your tutu are endless. You can experiment with different tulle colors, embellishments, and trims to create a tutu that is perfectly suited to your individual style and preferences. Showcase your personality and let your tutu be a reflection of who you are as a dancer and a person.
Now that you have completed your ballet tutu, it’s time to showcase your creation. Whether it’s a ballet recital, a performance, or a special event, let your tutu take center stage as you gracefully move across the floor. Embrace the beauty and elegance of ballet, and let your handmade tutu inspire awe and admiration.
Remember, making a ballet tutu is not just about the finished product; it’s about the journey and the love that goes into creating something with your own hands. Enjoy the process, embrace your creativity, and be proud of your accomplishment. Your ballet tutu is a masterpiece that showcases your dedication and passion for the art of ballet.
So, go ahead, take a bow, and shine in the spotlight with your exquisite handmade ballet tutu!