Rock
How To Use Rock Band Music In Rock Band 2
Modified: February 13, 2024
Learn how to use your favorite rock band music in Rock Band 2. Unleash your inner rockstar and jam out to the best rock songs with this ultimate gaming experience!
(Many of the links in this article redirect to a specific reviewed product. Your purchase of these products through affiliate links helps to generate commission for AudioLover.com, at no extra cost. Learn more)
Table of Contents
Introduction
Rock Band is a popular music video game series that allows players to simulate the experience of playing in a rock band. With its innovative gameplay and extensive song library, Rock Band has garnered a dedicated fanbase over the years. However, what if you have a favorite song that is not included in the game’s original tracklist? Luckily, Rock Band 2 offers a solution – the ability to add custom rock band music to your gameplay.
In this article, we will guide you through the process of utilizing custom rock band music in Rock Band 2. Whether you want to play along to your favorite rock anthems or express your creativity by adding your band’s original tracks, this guide will show you how to make the most out of your Rock Band 2 experience.
Before we begin, it’s important to note that this feature is only available for the Xbox 360 version of Rock Band 2. If you are playing on a different platform, unfortunately, this option may not be available to you. However, if you own an Xbox 360 and are ready to rock, let’s dive into the installation process and get your custom rock band music set up!
Step 1: Installing Rock Band Music in Rock Band 2
Installing custom rock band music in Rock Band 2 requires a few steps, but the process is straightforward. Here’s how you can do it:
- Connect your Xbox 360 console to a computer using an Ethernet cable.
- Open your computer’s web browser and navigate to the official Rock Band website.
- Login to your Rock Band account or create a new one if you don’t have an existing account.
- Once you’re logged in, access the Rock Band Store and browse through the available songs.
- Select the custom rock band music you want to install and click on the download button.
- Follow the on-screen instructions to download the custom rock band music to your computer.
- Once the download is complete, locate the downloaded file on your computer.
- Transfer the downloaded file to a USB flash drive or a compatible Xbox 360 storage device.
- Insert the USB flash drive or storage device into your Xbox 360 console.
- Turn on your Xbox 360 and navigate to the Games library.
- Locate the Rock Band 2 game and select it.
- In Rock Band 2, go to the options or settings menu and choose the “Import” or “Add Music” option.
- Follow the on-screen instructions to import the custom rock band music from your USB flash drive or storage device.
- Once the import process is complete, you can now access and play the custom rock band music in Rock Band 2.
Remember that the availability of custom rock band music may vary, depending on licensing agreements and the Rock Band Store’s offerings. Make sure to regularly check for new releases and updates to expand your Rock Band 2 music library with your favorite songs.
Step 2: Accessing Rock Band Music in Rock Band 2
Once you have successfully installed the custom rock band music in Rock Band 2, it’s time to learn how to access and enjoy your new tracks. Here’s how you can do it:
- Launch Rock Band 2 on your Xbox 360 console.
- From the main menu, navigate to the song selection screen.
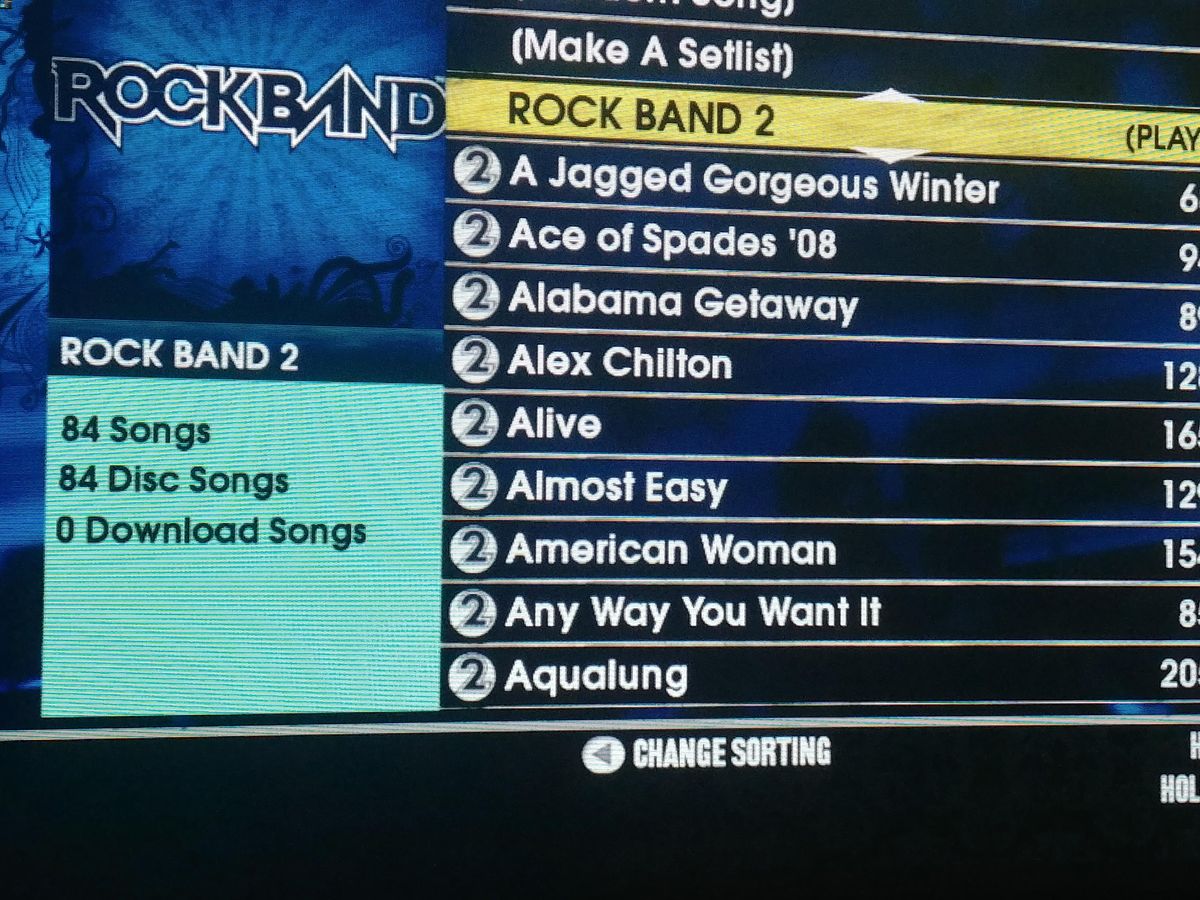
- You will notice that the custom rock band music you have installed will be integrated with the existing song list.
- Use the game controller to scroll through the available songs and find the custom tracks you want to play.
- Select the desired song by highlighting it and pressing the appropriate button on your controller.
- Once the song is selected, choose the desired difficulty level and any other gameplay settings.
- Start the song by pressing the appropriate button to begin the gameplay.
- Enjoy playing along to your favorite custom rock band music!
Rock Band 2 offers an immersive and engaging gameplay experience, allowing you to truly feel like a rockstar on stage. Whether you’re a seasoned player looking for a new challenge or a beginner exploring the world of music gaming, the custom rock band music adds a personal touch to your gameplay sessions.
Keep in mind that the process of accessing and playing custom rock band music in Rock Band 2 is similar to playing the original in-game tracks. The only difference is the source of the songs. So feel free to mix and match custom tracks with the existing catalog to create unique setlists that suit your mood or showcase your skills.
Step 3: Selecting Rock Band Music for Gameplay
One of the exciting aspects of Rock Band 2 is the ability to choose from a wide range of rock band music for your gameplay sessions. Here’s how you can select your preferred tracks:
- Launch Rock Band 2 on your Xbox 360 console.
- From the main menu, navigate to the song selection screen.
- Browse through the song list, which includes both the original in-game tracks and the custom rock band music you have installed.
- Use the game controller to scroll up and down or left and right to navigate through the songs.
- Alternatively, you can use the search function to quickly find specific songs or filter by artist, genre, or difficulty level.
- Highlight the song you want to play by selecting it with the appropriate button on your controller.
- Once the song is selected, you will have the option to adjust the gameplay settings, such as difficulty level, band lineup, and instrument preferences.
- Customize your band’s appearance and instrument sound settings to further personalize your gameplay experience.
- When you are ready, start the song by pressing the appropriate button on your controller.
- Get ready to rock out and showcase your skills!
Remember to explore the vast catalog of music available in Rock Band 2, both the original tracks and the custom rock band music you have installed. The game offers a variety of genres, spanning classic rock, alternative, metal, and more. Find your favorites, challenge yourself with new songs, and create memorable rock band music performances.
Additionally, don’t be afraid to experiment with different band lineups and instrument combinations. Whether you prefer to play guitar, drums, bass, or sing vocals, Rock Band 2 allows for multiplayer sessions where you and your friends can collaborate and take turns playing different instruments. This adds an extra layer of fun and camaraderie to your rock band music experience.
Step 4: Customizing Rock Band Music in Rock Band 2
Rock Band 2 not only allows you to play custom rock band music, but it also provides a range of customization options to enhance your gameplay experience. Here’s how you can personalize your rock band music:
- Launch Rock Band 2 on your Xbox 360 console.
- From the main menu, navigate to the customization screen.
- Depending on your preferences, you can customize various aspects of the game, such as your band’s appearance, instrument sound settings, and even stage effects.
- Select the “Band Customization” option to modify your band’s appearance.
- Choose from a variety of options, including hairstyles, outfits, tattoos, and accessories.
- Experiment with different combinations to create a unique and visually appealing band.
- To customize the instrument sound settings, go to the “Audio Options” menu.
- Adjust the sound levels for each instrument to your liking, ensuring a balanced mix during gameplay.
- Further customize your gameplay experience by selecting stage effects, such as pyrotechnics or lighting options.
- Once you have customized the game to your satisfaction, save your changes.
- Now, every time you play custom rock band music in Rock Band 2, your customizations will be applied.
Customization is a fantastic way to add a personal touch to your rock band music experience. Whether you want to create a band that reflects your own style or experiment with different visual and audio settings, Rock Band 2 gives you the freedom to do so.
Don’t hesitate to get creative and express your personality through your band’s appearance and instrument sound. After all, rock and roll is all about individuality and self-expression, and Rock Band 2 allows you to embody that spirit.
Step 5: Troubleshooting Rock Band Music in Rock Band 2
While the process of installing and playing custom rock band music in Rock Band 2 is generally smooth, it’s not uncommon to encounter occasional issues or glitches. If you experience any difficulties, here are some troubleshooting steps you can follow:
- Ensure that your Xbox 360 console is connected to the internet and has the latest system updates.
- Check that the custom rock band music you downloaded is compatible with Rock Band 2.
- If you encounter issues with a specific song, try redownloading and reinstalling it from the Rock Band Store.
- Make sure that your Xbox 360 storage device or USB flash drive is properly inserted into the console.
- If the custom rock band music is not showing up in the game, try restarting your Xbox 360 and launching Rock Band 2 again.
- Verify that the custom rock band music files are in the correct format and have been properly transferred to your Xbox 360 storage device.
- If you experience audio or visual issues during gameplay, check your audio and video settings on your Xbox 360 console.
- Consider clearing the cache on your Xbox 360 console, as this can sometimes resolve performance issues.
- If you’re unable to resolve the issue, consult the official Rock Band support forums or contact their customer support for further assistance.
While it can be frustrating to encounter troubleshooting issues, it’s important to remember that technical difficulties do happen. The key is to remain patient and follow the steps outlined above to resolve any problems that may arise.
Rock Band 2 is designed to provide an enjoyable and immersive rock band music experience, and with a little troubleshooting, you’ll be back in the groove and rocking out in no time!
Conclusion
In conclusion, the ability to use custom rock band music in Rock Band 2 opens up a whole new world of possibilities for players. Whether you want to play along to your favorite songs, showcase your own original tracks, or customize your band’s appearance and sound, Rock Band 2 offers a rich and exciting experience.
Throughout this article, we have guided you through the steps of installing, accessing, selecting, and customizing rock band music in Rock Band 2. From the installation process to troubleshooting common issues, we have covered all the essentials to ensure that you have a seamless and enjoyable gameplay experience.
By following the steps outlined in this guide, you can expand your music library, personalize your gameplay, and immerse yourself in the world of rock music. Whether you’re a seasoned player or new to the game, Rock Band 2 provides endless fun and the opportunity to unleash your inner rockstar.
So gather your friends, grab your controllers, and get ready to rock out with your favorite custom rock band music in Rock Band 2. Let the music take you on a thrilling journey as you master the instruments, perform epic solos, and create memorable performances with your band.
Remember, the beauty of Rock Band 2 lies in its versatility and the ability to tailor the experience to your preferences. Explore the vast catalog of custom rock band music, experiment with different settings and customizations, and most importantly, have fun!