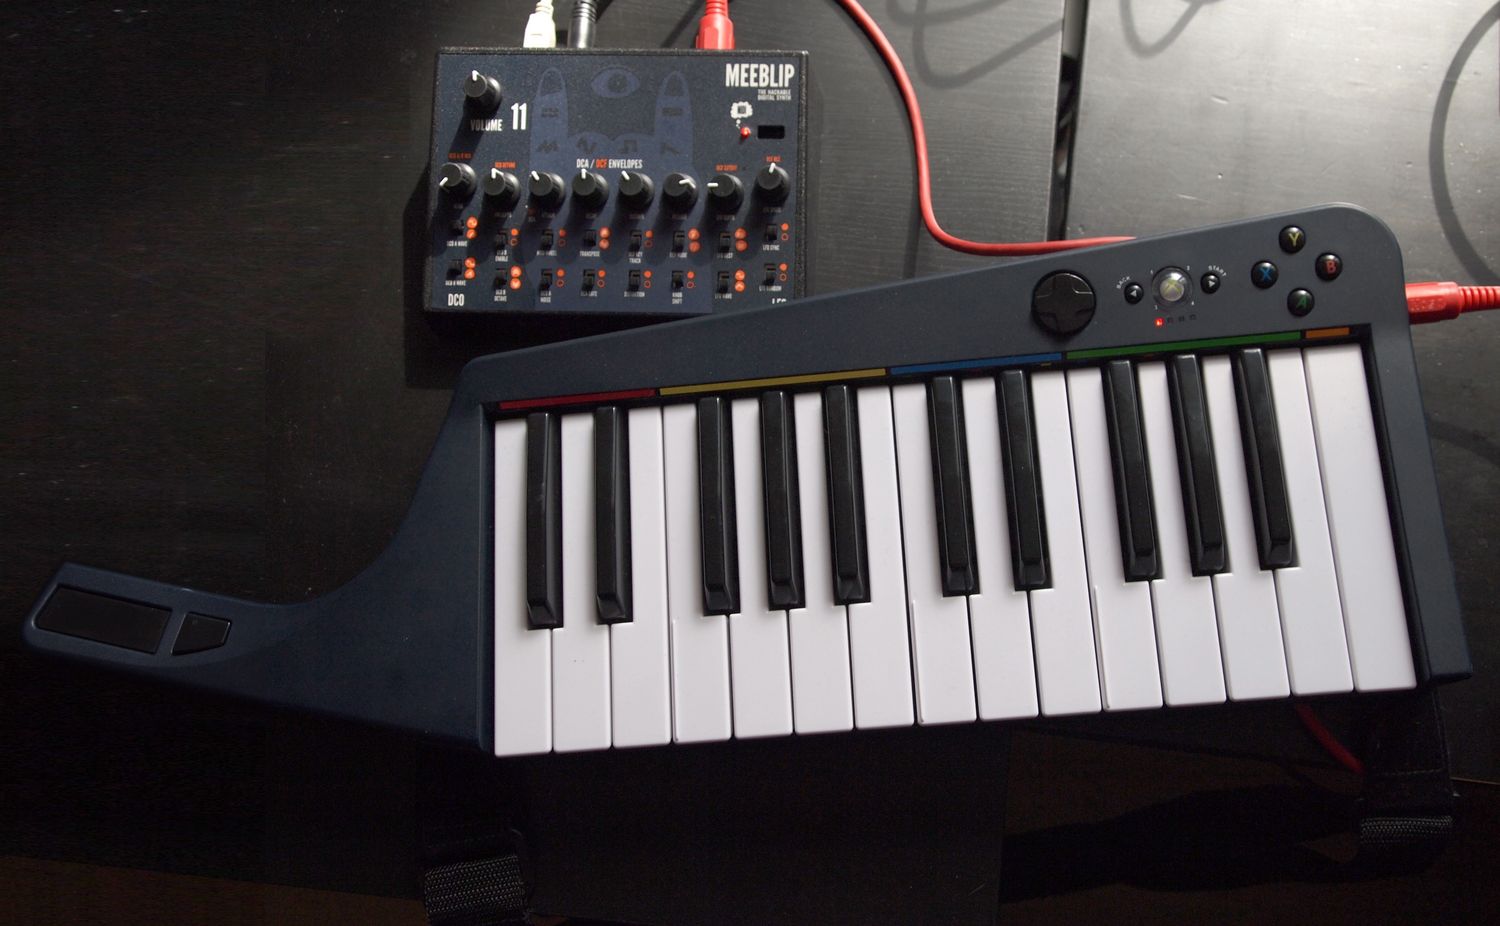
Home>Production & Technology>MIDI>How To Use Rock Band Keyboard As MIDI Controller
MIDI
How To Use Rock Band Keyboard As MIDI Controller
Modified: February 20, 2024
Learn how to use a Rock Band keyboard as a MIDI controller and enhance your music production. Discover step-by-step instructions and tips for integrating MIDI technology.
(Many of the links in this article redirect to a specific reviewed product. Your purchase of these products through affiliate links helps to generate commission for AudioLover.com, at no extra cost. Learn more)
Table of Contents
Introduction
Are you a music enthusiast with a passion for creating your own tunes? Have you ever considered repurposing your Rock Band keyboard as a MIDI controller to unlock its full potential? With the right setup and configuration, you can transform this gaming peripheral into a powerful tool for music production and performance.
In this comprehensive guide, we will walk you through the process of harnessing the capabilities of your Rock Band keyboard as a MIDI controller. By following the steps outlined in this article, you will be able to seamlessly integrate your keyboard into your music production workflow, opening up a world of creative possibilities.
Whether you're a seasoned musician or a novice producer, repurposing your Rock Band keyboard as a MIDI controller can breathe new life into this versatile device. By leveraging its built-in features and connecting it to your computer, you can harness its potential to control virtual instruments, trigger samples, and manipulate sound parameters with precision.
In the following sections, we will delve into the step-by-step process of setting up and configuring your Rock Band keyboard as a MIDI controller. From connecting the keyboard to your computer to configuring it within music production software, we will guide you through each stage, empowering you to unleash the full potential of this often overlooked piece of hardware.
So, if you're ready to embark on a musical journey that combines creativity with innovation, join us as we explore the exciting possibilities of using your Rock Band keyboard as a MIDI controller. Let's dive in and unlock the untapped potential of this gaming peripheral, transforming it into a powerful tool for musical expression and creativity.
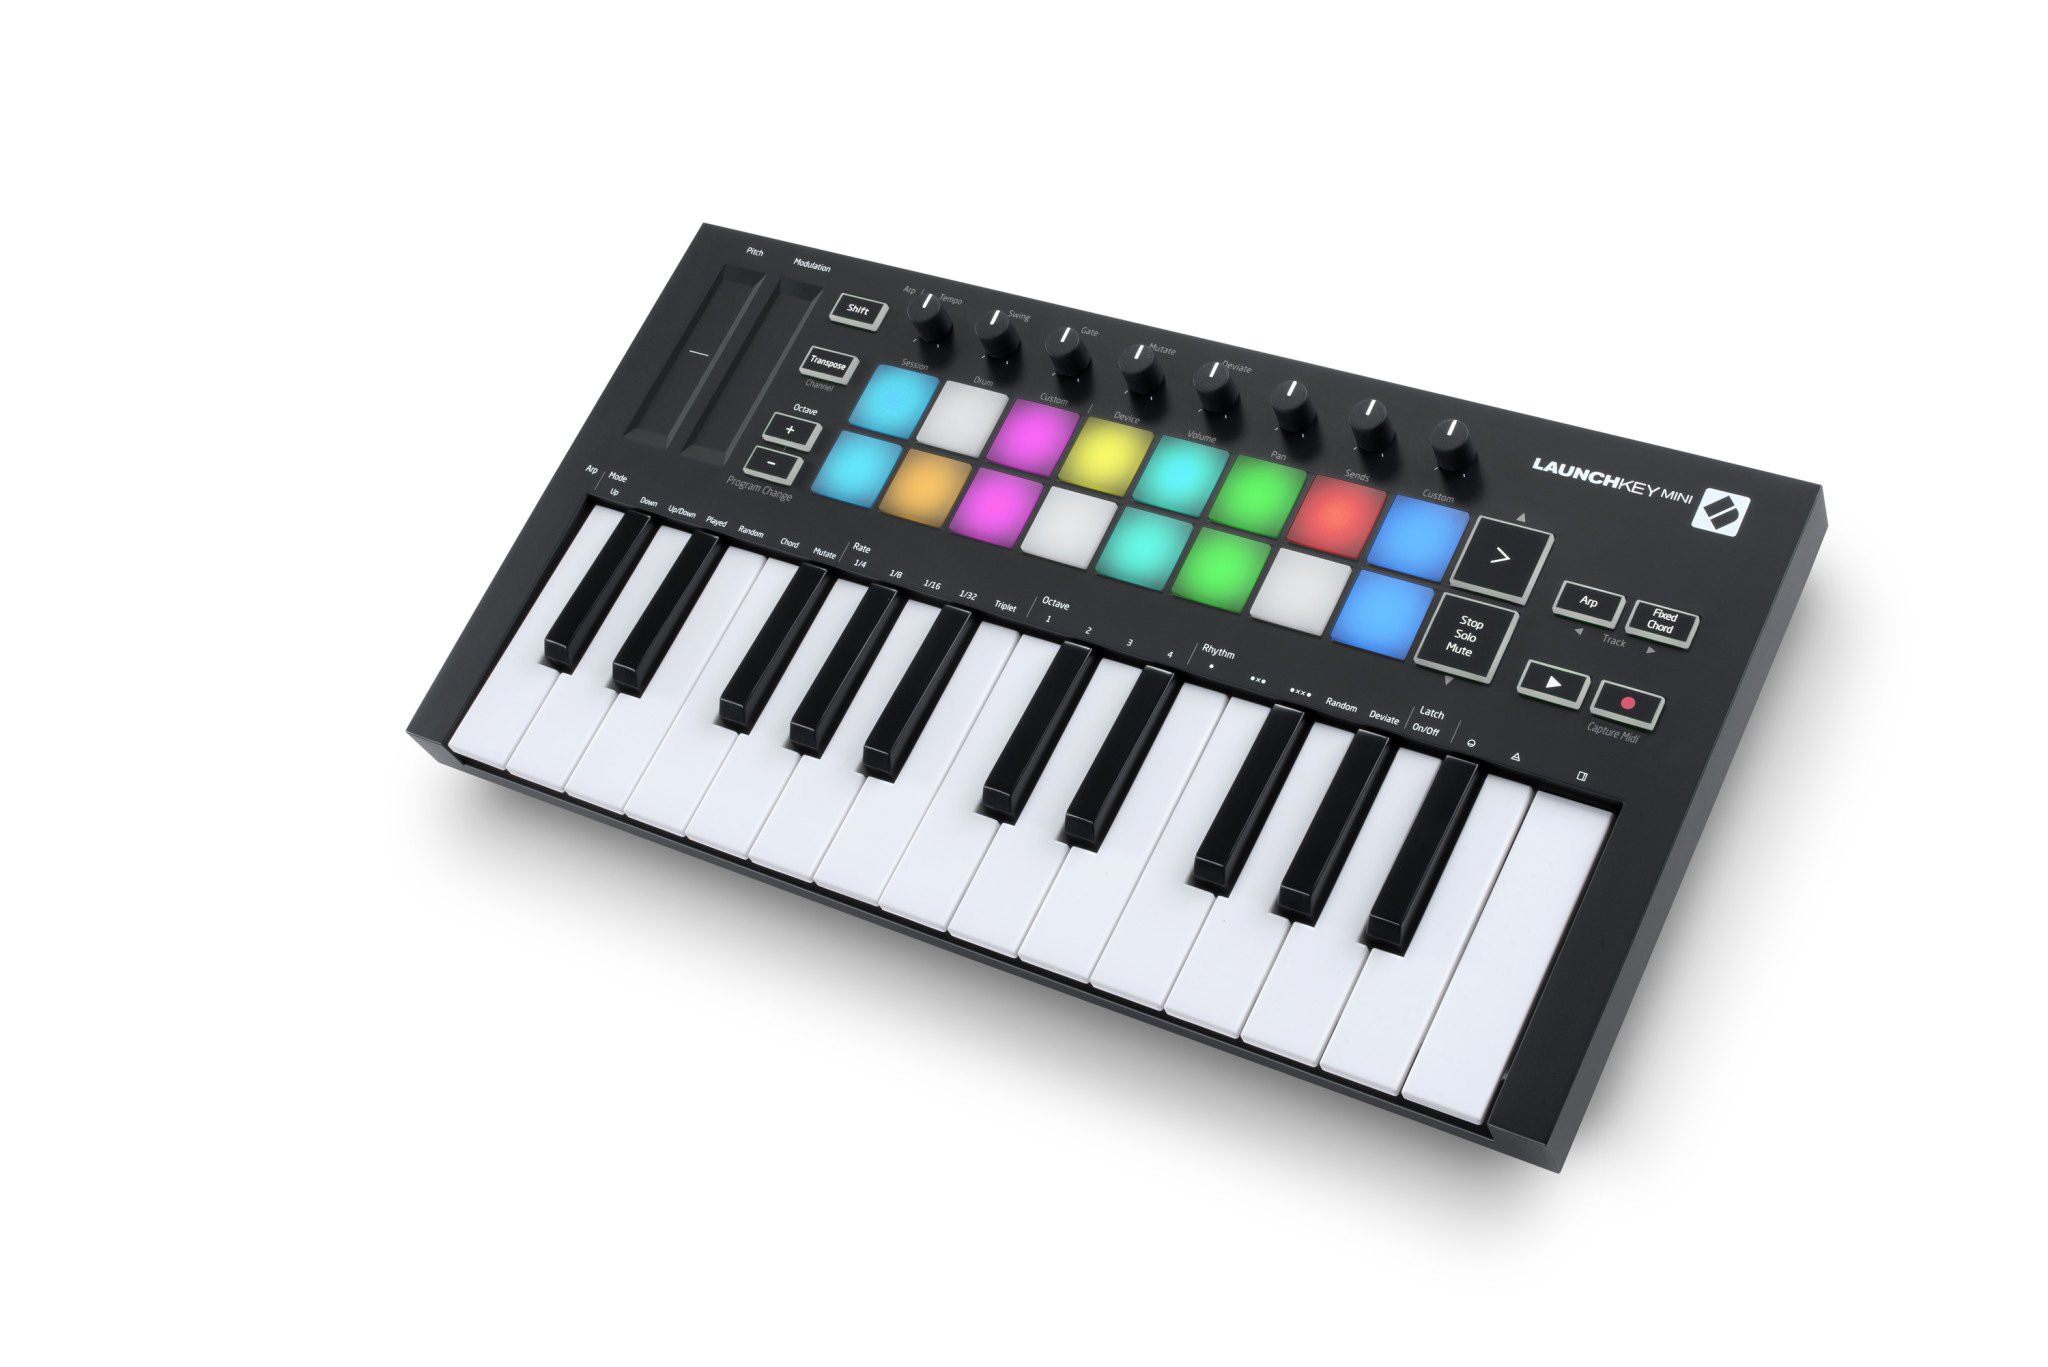
Step 1: Setting up the Rock Band Keyboard
Before diving into the world of MIDI control, it's essential to ensure that your Rock Band keyboard is ready to be repurposed as a versatile MIDI controller. Here's a comprehensive guide to setting up your Rock Band keyboard for this exciting transformation:
-
Check Compatibility: First and foremost, verify that your Rock Band keyboard is compatible with MIDI connectivity. Most Rock Band keyboards are equipped with MIDI output, making them suitable for repurposing as MIDI controllers. Ensure that the keyboard is in good working condition and has all the necessary components.
-
Power Up the Keyboard: Connect the Rock Band keyboard to a power source or insert fresh batteries to ensure uninterrupted functionality. This step is crucial to prevent any power-related issues during the setup process.
-
Inspect the Connections: Examine the keyboard's cables and connectors to ensure that they are free from damage. Additionally, check for any debris or dust that may have accumulated in the ports, as this can hinder the connectivity when interfacing with your computer.
-
Familiarize Yourself with the Keyboard: Take a moment to familiarize yourself with the layout and functionality of the Rock Band keyboard. Understanding the various keys, buttons, and controls will be beneficial when configuring it as a MIDI controller and utilizing its features in music production software.
-
Gather Necessary Accessories: Depending on the specific model of the Rock Band keyboard, you may need additional accessories such as a MIDI-to-USB interface or adapter. These components are essential for establishing a seamless connection between the keyboard and your computer, enabling MIDI communication.
By meticulously following these steps, you can ensure that your Rock Band keyboard is primed and ready to embark on its new role as a MIDI controller. With the setup complete, you are now poised to move on to the next crucial phase: connecting the keyboard to your computer to initiate the MIDI transformation.
Stay tuned as we delve into the intricacies of connecting the Rock Band keyboard to your computer, paving the way for an immersive MIDI control experience that transcends the keyboard's original gaming context.
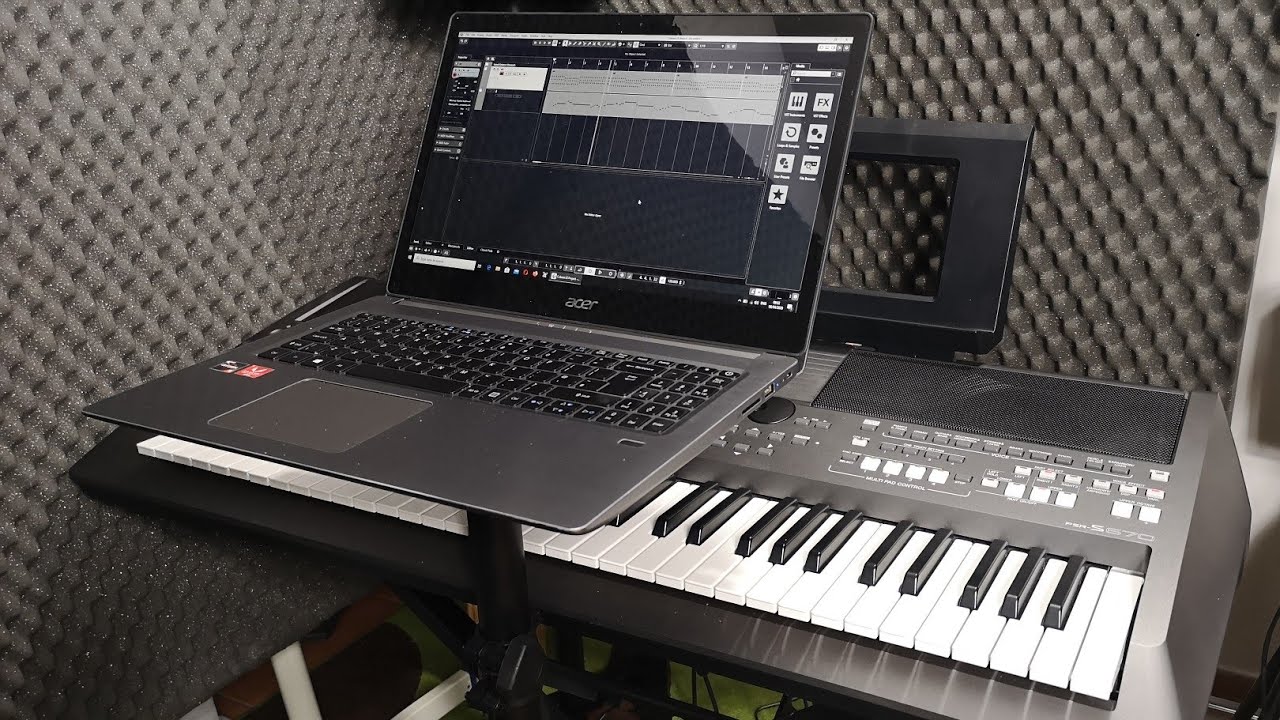
Step 2: Connecting the Keyboard to Your Computer
Once you have ensured that your Rock Band keyboard is in optimal condition and ready for its MIDI controller transformation, the next pivotal step is to establish a seamless connection between the keyboard and your computer. This crucial link will serve as the gateway for MIDI communication, enabling you to harness the keyboard's capabilities within your music production environment.
Here's a detailed guide on connecting your Rock Band keyboard to your computer:
-
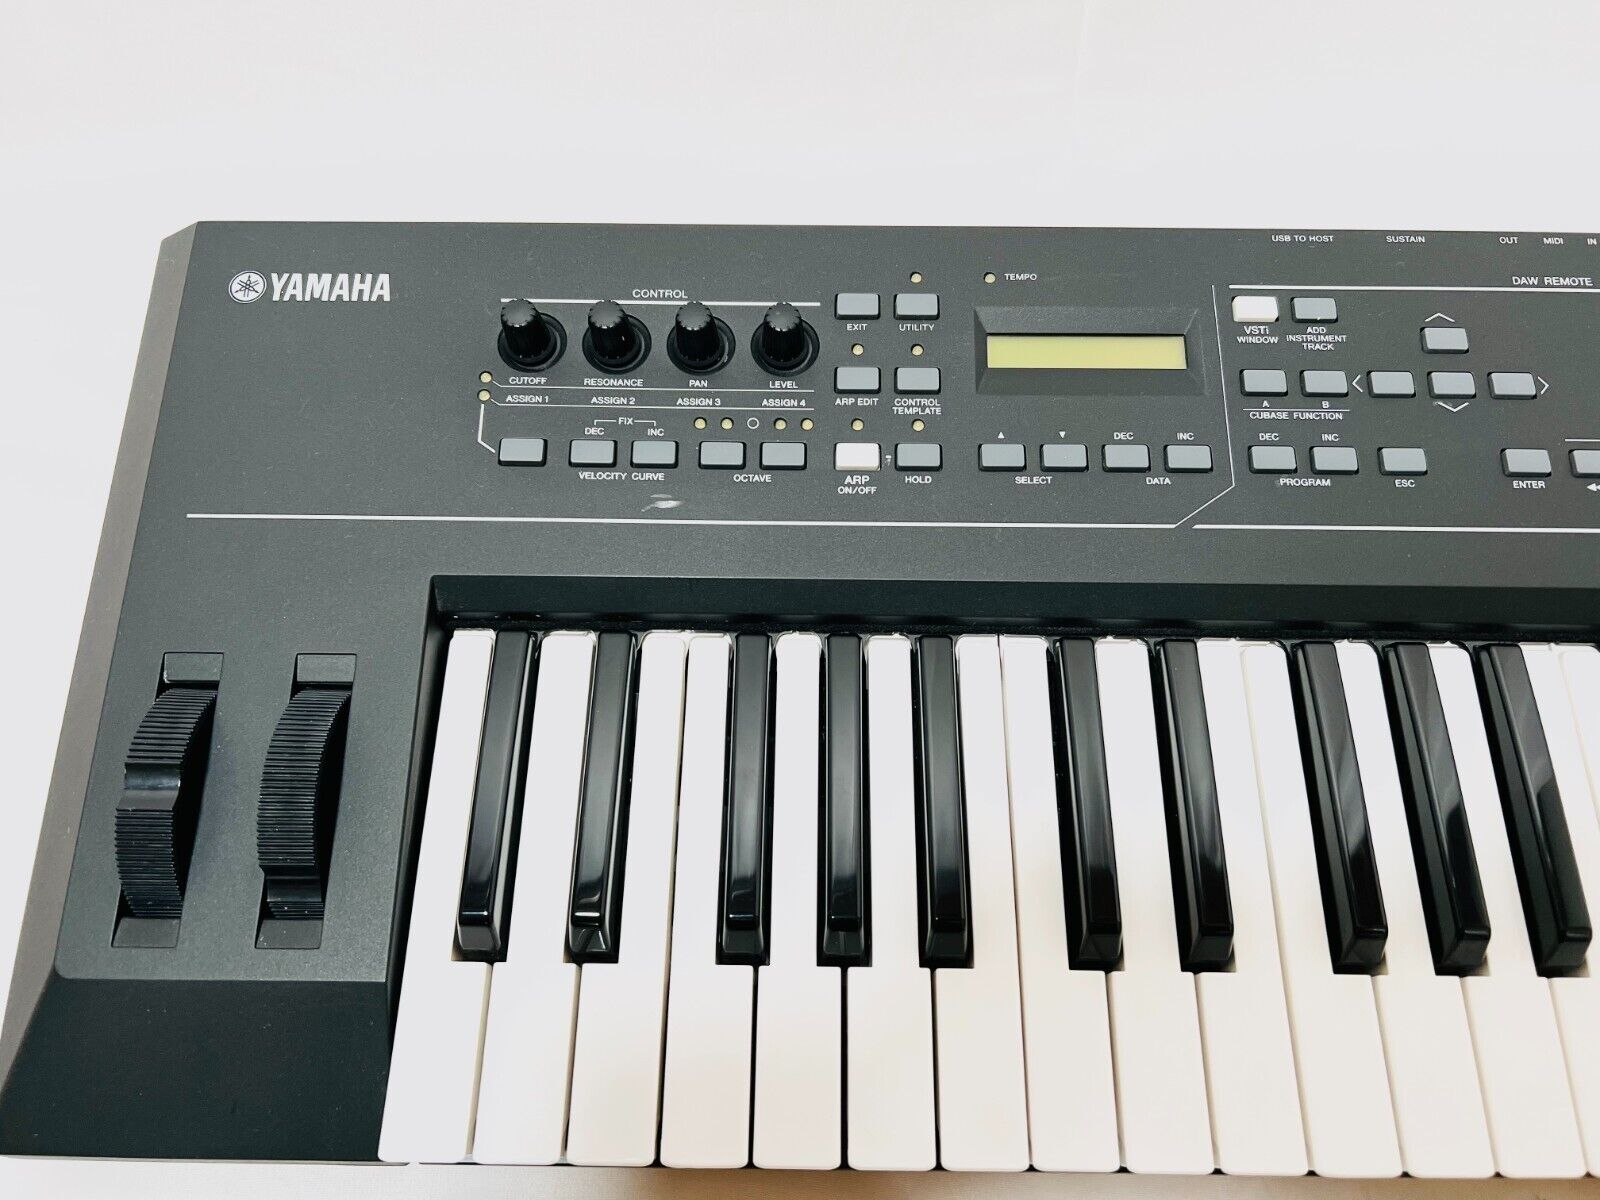
Identify the MIDI Output: Locate the MIDI output port on your Rock Band keyboard. This port is typically found on the rear or side of the keyboard and is labeled as "MIDI Out." It resembles a circular, multi-pin connector and serves as the interface through which MIDI data will be transmitted from the keyboard to your computer.
-
Acquire a MIDI-to-USB Interface: In most cases, a direct USB connection is not available on Rock Band keyboards. Therefore, you will need a MIDI-to-USB interface or adapter to facilitate the connection between the keyboard and your computer. This device acts as a bridge, converting MIDI signals into a format that can be recognized and processed by your computer's USB port.
-
Connect the MIDI-to-USB Interface: Plug one end of the MIDI-to-USB interface into the MIDI output port on your Rock Band keyboard. Ensure a secure connection to prevent any signal loss during operation. The other end of the interface features a standard USB connector, which should be inserted into an available USB port on your computer.
-
Driver Installation (if required): Depending on the MIDI-to-USB interface you are using, you may need to install specific drivers to enable seamless communication between the Rock Band keyboard and your computer. Follow the manufacturer's instructions to install the necessary drivers, ensuring that the interface is recognized and configured correctly.
-
Verify the Connection: Once the MIDI-to-USB interface is connected and any required drivers are installed, it's essential to verify the connection. Check your computer's system settings or MIDI configuration within your music production software to confirm that the Rock Band keyboard is recognized as a MIDI input device.
By meticulously following these steps, you can establish a robust and reliable connection between your Rock Band keyboard and your computer, laying the foundation for a seamless MIDI control experience. With the connection in place, you are now ready to delve into the exciting realm of configuring the keyboard as a MIDI controller within your preferred music production software.
Stay tuned as we venture into the next phase, where we will guide you through the process of configuring the Rock Band keyboard to function as a powerful MIDI controller, unlocking its potential to shape and manipulate musical elements with precision and creativity.
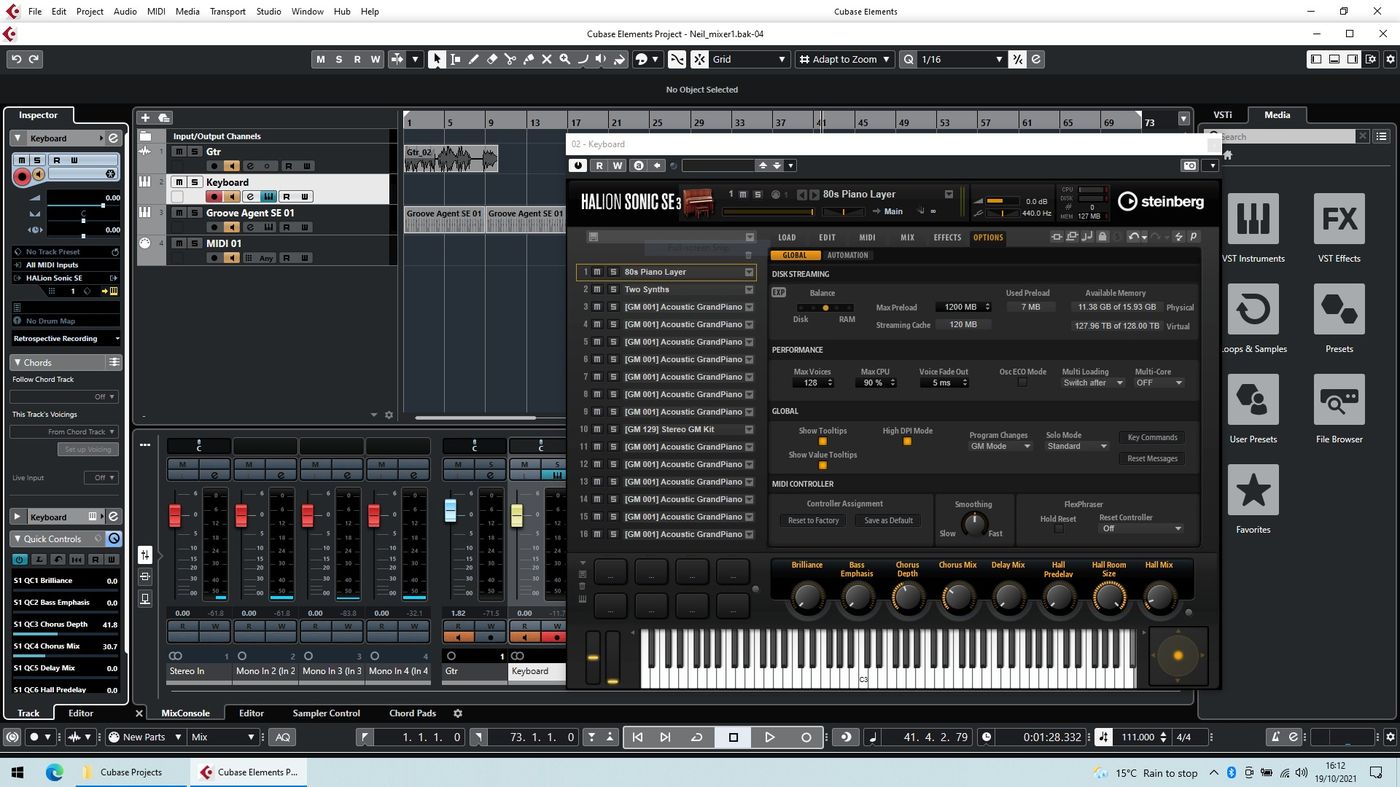
Step 3: Configuring the Keyboard as a MIDI Controller
Configuring your Rock Band keyboard as a MIDI controller is a pivotal step that bridges the physical connection to practical functionality within your music production environment. By transforming the keyboard into a MIDI controller, you unlock its potential to control virtual instruments, trigger samples, and manipulate various parameters with precision. Here's a comprehensive guide to configuring the Rock Band keyboard as a MIDI controller:
-
Selecting MIDI Input in Software: Launch your preferred music production software and navigate to the MIDI settings or preferences. Locate the option to add a MIDI input device and select the Rock Band keyboard from the list of available devices. Once added, the software will recognize the keyboard as a MIDI controller, enabling it to transmit MIDI data for various musical applications.
-
Mapping MIDI Controls: Many music production software platforms offer the flexibility to map MIDI controls to specific functions within the software. This allows you to assign keys, buttons, or knobs on the Rock Band keyboard to control parameters such as volume, pitch, modulation, and more. Take advantage of this feature to customize the keyboard's functionality according to your workflow and creative requirements.
-
Calibrating MIDI Response: To ensure optimal performance, it's advisable to calibrate the MIDI response of the Rock Band keyboard within your music production software. This involves adjusting parameters such as velocity sensitivity, key range, and aftertouch to align with your playing style and preferences. By fine-tuning the MIDI response, you can achieve a more expressive and nuanced control over virtual instruments and sound modules.
-
Exploring MIDI Mapping Templates: Some music production software platforms offer pre-configured MIDI mapping templates for popular MIDI controllers, including keyboards. These templates streamline the configuration process by providing predefined mappings for common functions, making it easier to integrate the Rock Band keyboard into your setup. Explore the available MIDI mapping templates to leverage optimized configurations tailored to your specific keyboard model.
-
Testing MIDI Communication: After configuring the Rock Band keyboard as a MIDI controller within your music production software, it's crucial to conduct thorough testing to ensure seamless MIDI communication. Play notes, trigger samples, and manipulate assigned controls to verify that the keyboard responds accurately and consistently. Address any discrepancies or latency issues by fine-tuning the MIDI settings within the software.
By meticulously following these steps, you can effectively configure your Rock Band keyboard as a MIDI controller, harnessing its full potential within your music production environment. With the keyboard seamlessly integrated into your setup, you are poised to explore a world of creative possibilities, leveraging its versatile controls to shape and sculpt your musical compositions with precision and artistry.
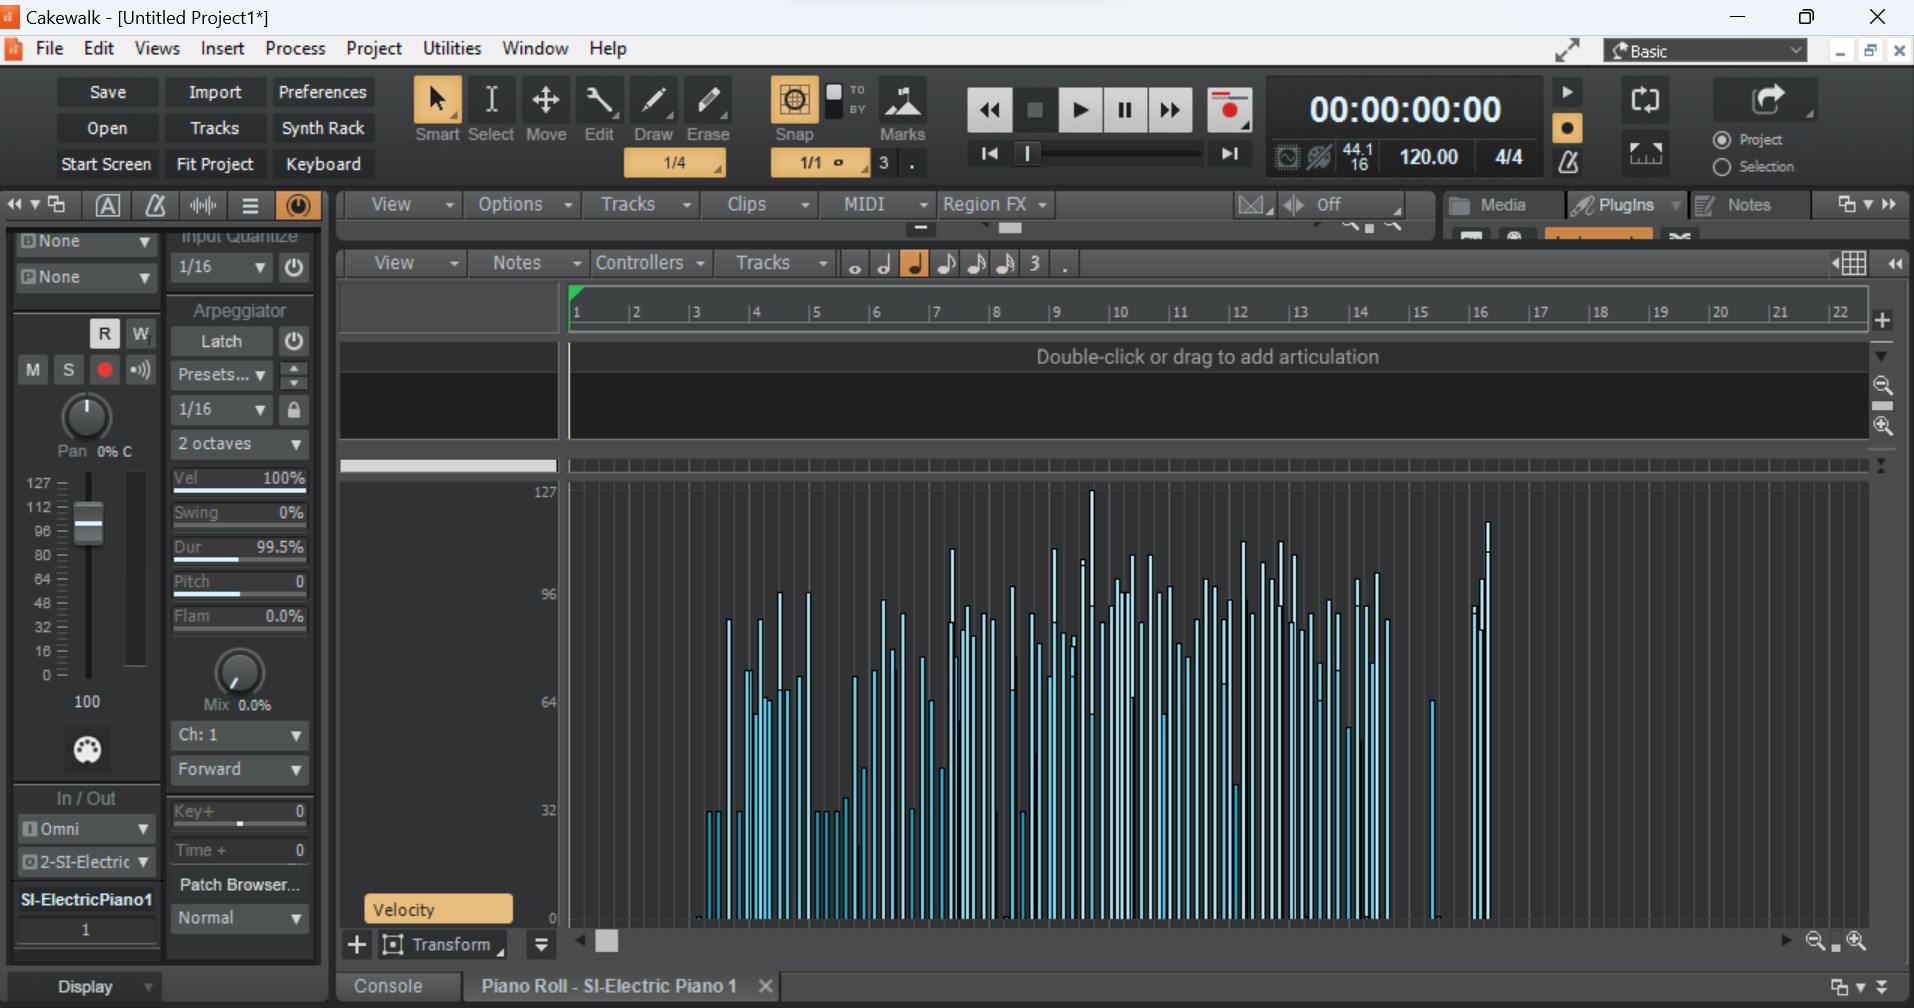
Step 4: Using the Keyboard with Music Production Software
Once you have successfully configured your Rock Band keyboard as a MIDI controller, the next exciting phase involves leveraging its capabilities within your chosen music production software. Whether you prefer the intuitive interface of Ableton Live, the robust features of Logic Pro, or the flexibility of FL Studio, integrating the Rock Band keyboard as a MIDI controller opens up a myriad of creative possibilities. Here's a comprehensive exploration of using the keyboard with music production software:
Seamless Integration
Upon launching your preferred music production software, the Rock Band keyboard, now functioning as a MIDI controller, seamlessly integrates into your setup. It becomes a tangible extension of your creative arsenal, offering tactile control over virtual instruments, effects, and various parameters within the software environment. The familiar layout of the keyboard, coupled with its responsive keys and intuitive controls, empowers you to interact with your musical ideas in a dynamic and expressive manner.
Instrument Control and Performance
One of the primary advantages of using the Rock Band keyboard as a MIDI controller is its ability to emulate traditional instruments within the software. Whether you're triggering piano sounds, emulating synthesizer leads, or controlling virtual drum kits, the keyboard's responsive keys and dynamic sensitivity enhance the authenticity of your performances. The nuanced control over velocity, aftertouch, and modulation adds depth and realism to your musical expressions, enriching your compositions with a human touch.
Creative Expression and Sound Design
Beyond emulating traditional instruments, the Rock Band keyboard serves as a versatile platform for sound design and creative exploration within your music production software. Its array of buttons, knobs, and controls can be mapped to manipulate parameters such as filter cutoff, resonance, envelope settings, and more. This hands-on approach to sound manipulation empowers you to sculpt and shape sonic textures, adding depth, movement, and character to your compositions with precision and flair.
Dynamic Performance and Recording
As a MIDI controller, the Rock Band keyboard enhances the dynamics and articulation of your performances within the music production software. Whether recording expressive piano melodies, crafting intricate synth sequences, or layering dynamic textures, the keyboard's responsive keys and assignable controls capture the subtleties of your playing style. This dynamic performance translates into captivating recordings, infusing your compositions with an organic and emotive quality that resonates with listeners.
Collaborative and Live Performance Capabilities
The versatility of the Rock Band keyboard as a MIDI controller extends beyond the confines of the studio, offering collaborative and live performance capabilities. Its portability, coupled with its expressive control features, makes it an ideal companion for live performances, jam sessions, and collaborative music-making endeavors. Whether triggering samples, controlling virtual instruments, or manipulating effects in real-time, the keyboard becomes a dynamic tool for musical expression in diverse performance settings.
By harnessing the capabilities of the Rock Band keyboard within your music production software, you embark on a creative journey that transcends conventional boundaries. The seamless integration, expressive performance capabilities, and dynamic sound manipulation empower you to craft captivating musical compositions that resonate with depth and emotion. As you explore the boundless creative potential of using the Rock Band keyboard as a MIDI controller, you unlock a world of artistic expression and innovation, shaping your musical vision with precision and passion.
Conclusion
In conclusion, repurposing your Rock Band keyboard as a MIDI controller opens the door to a world of creative possibilities within the realm of music production and performance. By following the comprehensive steps outlined in this guide, you have embarked on a transformative journey, harnessing the untapped potential of this versatile gaming peripheral and integrating it into your musical workflow.
Through meticulous setup and configuration, you have transformed the Rock Band keyboard into a powerful MIDI controller, enabling seamless communication with your preferred music production software. The tactile controls, responsive keys, and dynamic capabilities of the keyboard now serve as an extension of your creativity, empowering you to shape and sculpt musical elements with precision and artistry.
As you navigate the dynamic landscape of music production, the Rock Band keyboard, now repurposed as a MIDI controller, becomes a tangible conduit for your musical expressions. Whether triggering virtual instruments, manipulating sound parameters, or delivering expressive performances, the keyboard enriches your creative process with its intuitive interface and versatile control features.
Furthermore, the integration of the Rock Band keyboard as a MIDI controller extends beyond the confines of the studio, offering collaborative and live performance capabilities. Its portability and expressive control features make it an ideal companion for live settings, enabling dynamic interactions with virtual instruments, effects, and samples.
As you continue to explore the boundless potential of using the Rock Band keyboard as a MIDI controller, you embark on a journey characterized by innovation, expression, and artistic growth. The fusion of gaming technology with music production not only expands your creative toolkit but also fosters a deeper connection with your musical creations, infusing them with authenticity and emotion.
In essence, the transformation of the Rock Band keyboard into a MIDI controller represents a convergence of technology and creativity, transcending its original gaming context to become a catalyst for musical innovation. By embracing this fusion, you have unlocked a world of artistic expression and innovation, shaping your musical vision with precision and passion.
So, as you venture forth with your newly configured Rock Band keyboard as a MIDI controller, may its tactile interface and expressive capabilities inspire you to craft compelling compositions, deliver captivating performances, and embark on a musical journey filled with boundless creativity and endless possibilities.