Home>Production & Technology>Audio Cable>How To Use 2 Headphones With Virtual Audio Cable
Audio Cable
How To Use 2 Headphones With Virtual Audio Cable
Modified: January 22, 2024
Learn how to use virtual audio cable to connect and use two headphones simultaneously for an immersive audio experience. Maximize your audio setup with this step-by-step guide.
(Many of the links in this article redirect to a specific reviewed product. Your purchase of these products through affiliate links helps to generate commission for AudioLover.com, at no extra cost. Learn more)
Table of Contents
- Introduction
- What is Virtual Audio Cable?
- Why Use 2 Headphones with Virtual Audio Cable?
- Requirements
- Step 1: Download and Install Virtual Audio Cable
- Step 2: Set Up Virtual Audio Cable
- Step 3: Connect the First Headphone
- Step 4: Connect the Second Headphone
- Step 5: Adjust Audio Settings
- Step 6: Enjoy Dual Headphone Output
- Troubleshooting Tips
- Conclusion
Introduction
Welcome to the world of virtual audio cables! If you’re someone who loves to listen to music or play games with friends, you might have wondered if it’s possible to use two headphones with your computer simultaneously. The good news is that it is indeed possible, thanks to the wonders of technology and a handy tool called Virtual Audio Cable.
Virtual Audio Cable, also known as VAC, is a software application that allows you to create virtual audio devices on your computer. It acts as a bridge between audio applications, allowing you to route audio signals from one program to another. Simply put, it enables you to send audio from one source to multiple outputs, including two headphones.
In this article, we will guide you through the process of using two headphones with Virtual Audio Cable. Whether you want to share the audio experience with a friend while watching a movie or maintain your focus by listening to music while collaborating with teammates, this guide will help you set it up.
Let’s dive into the world of Virtual Audio Cable and discover how you can enjoy dual headphone output on your computer system.
What is Virtual Audio Cable?
Virtual Audio Cable, commonly abbreviated as VAC, is a software application that allows you to create virtual audio devices on your computer. These virtual audio cables act as conduits through which audio signals can be routed from one place to another within your system.
Why would you need such a tool, you might ask? Well, think of Virtual Audio Cable as a flexible audio routing solution. It allows you to send audio from one application or source to another, enabling you to customize and control the way audio is distributed across different programs and devices.
Virtual Audio Cable works by creating virtual input and output devices on your computer. These devices appear in your system’s audio settings and can be selected just like any physical audio devices. The beauty of this software is that it can connect any audio source or destination, whether it’s an application, a media player, a game, or even a physical hardware output, like headphones or speakers.
One of the main use cases for Virtual Audio Cable is to split audio between multiple devices. For example, if you want to listen to music using two separate headphones from the same source, Virtual Audio Cable allows you to duplicate the audio signals and send them to both devices simultaneously.
Additionally, Virtual Audio Cable also has other useful features, such as the ability to record audio from one application and stream it to another, or to connect audio streams to multiple recording devices for different purposes.
Overall, Virtual Audio Cable offers a powerful and convenient solution for managing audio routing on your computer. So, if you’ve ever found yourself needing to split audio or redirect it to different devices, this software can be a handy tool to have in your audio arsenal.
Why Use 2 Headphones with Virtual Audio Cable?
Using two headphones with Virtual Audio Cable opens up a whole new world of possibilities and benefits. Let’s explore some of the reasons why you might want to utilize this capability.
1. Sharing Audio: One of the primary reasons to use two headphones with Virtual Audio Cable is for sharing audio experiences with a friend or loved one. Whether you’re watching a movie, playing a game, or listening to music together, having the ability to connect two headphones allows both of you to immerse yourselves in the audio without disturbing others.
2. Collaborative Work: If you’re collaborating on a project with a colleague or partner, using two headphones can greatly enhance your productivity. For example, you can listen to background music or audio cues while discussing ideas or working on a joint task. This setup enables both of you to stay engaged and focused without the need to share a single pair of headphones.
3. Gaming and Virtual Reality: Virtual Audio Cable becomes especially valuable in gaming and virtual reality (VR) scenarios. With two headphones connected, you can experience true 3D audio, hearing sound cues and spatial effects precisely as intended by the game developers. This immerses you deeper in the gaming world and enhances your overall gaming experience.
4. DJ Mixing and Audio Production: If you’re a DJ or involved in audio production, Virtual Audio Cable’s dual headphone support can be a game-changer. You can cue up tracks and monitor different audio sources using separate headphones while mixing or producing. This allows for better track synchronization, seamless transitions, and precise audio adjustments.
5. Personal Convenience: Even in everyday situations, using two headphones can offer personal convenience. For instance, you might want to listen to music while someone else in the room is watching a movie or having a conversation. With Virtual Audio Cable, you can enjoy your own audio experience without disturbing or being disturbed by others.
In summary, the ability to use two headphones with Virtual Audio Cable opens up various opportunities for sharing, collaboration, enhanced gaming experiences, DJ mixing, audio production, and personal convenience. It’s an incredibly versatile feature that allows you to make the most out of your audio setups, providing flexibility, immersion, and improved productivity.
Requirements
Before you can begin using two headphones with Virtual Audio Cable, there are a few requirements that you need to meet. Here’s what you’ll need:
1. Virtual Audio Cable Software: First and foremost, you’ll need to download and install the Virtual Audio Cable software on your computer. This software acts as the bridge between your audio sources and the headphones. There are both free and paid versions available, so choose the one that suits your needs.
2. Compatible Operating System: Ensure that your computer is running a compatible operating system for Virtual Audio Cable. It is compatible with various versions of Windows, including Windows XP, Vista, 7, 8, and 10.
3. Audio Source: You’ll need an audio source that you want to listen to through two headphones simultaneously. This could be a media player, a streaming platform, a game, or any other application that plays audio. Make sure the audio source is set up and functioning correctly before proceeding.
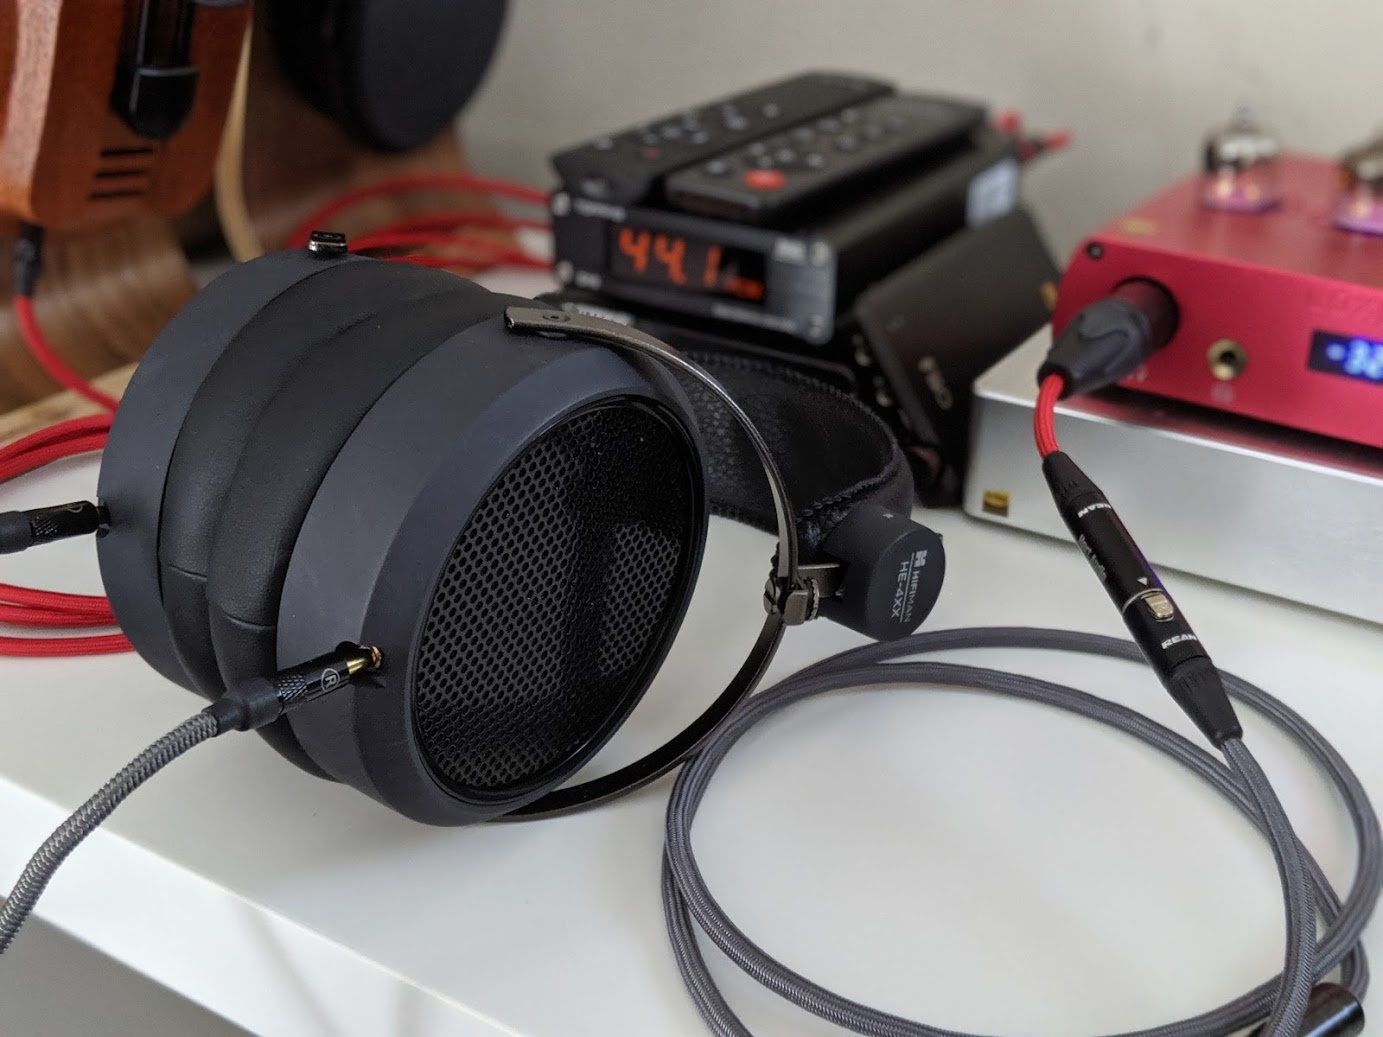
4. Headphones: Naturally, you’ll need two pairs of headphones to take advantage of this setup. Ensure that both headphones are in good working condition and properly connected to your computer.
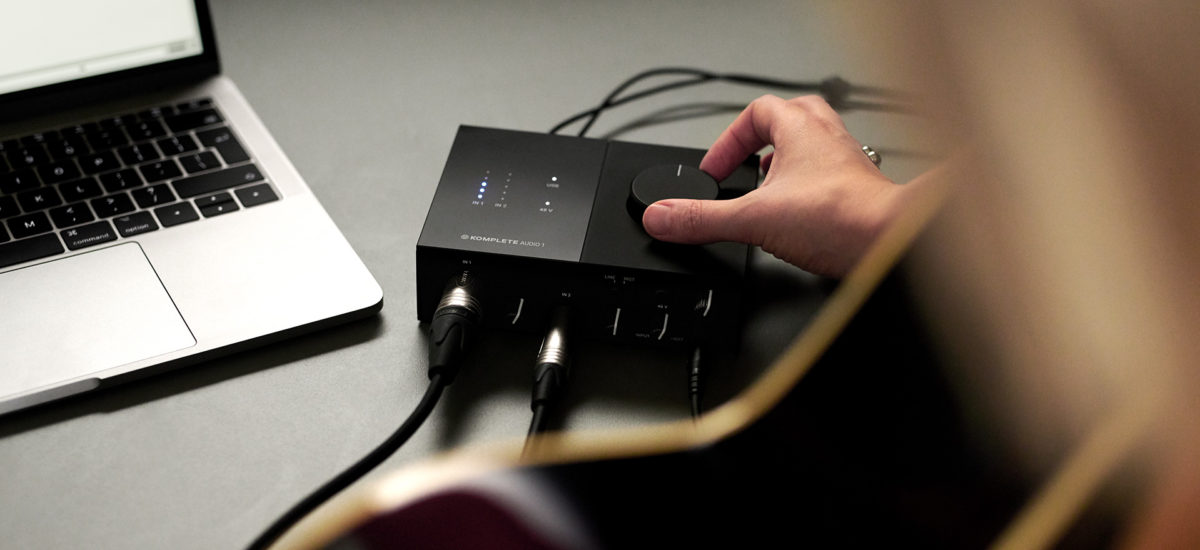
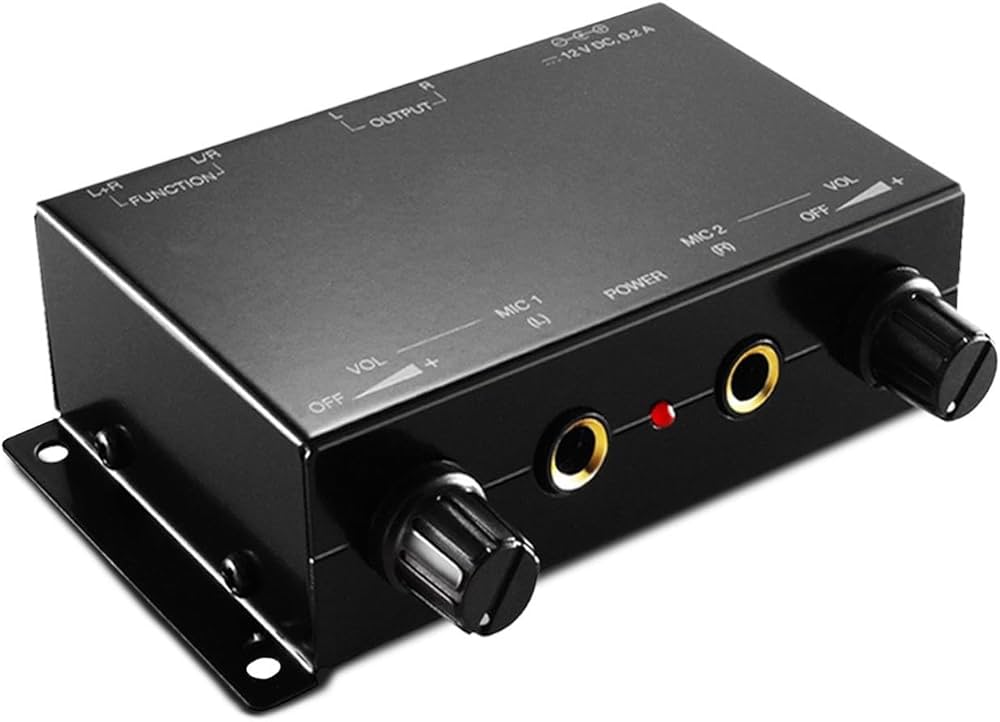
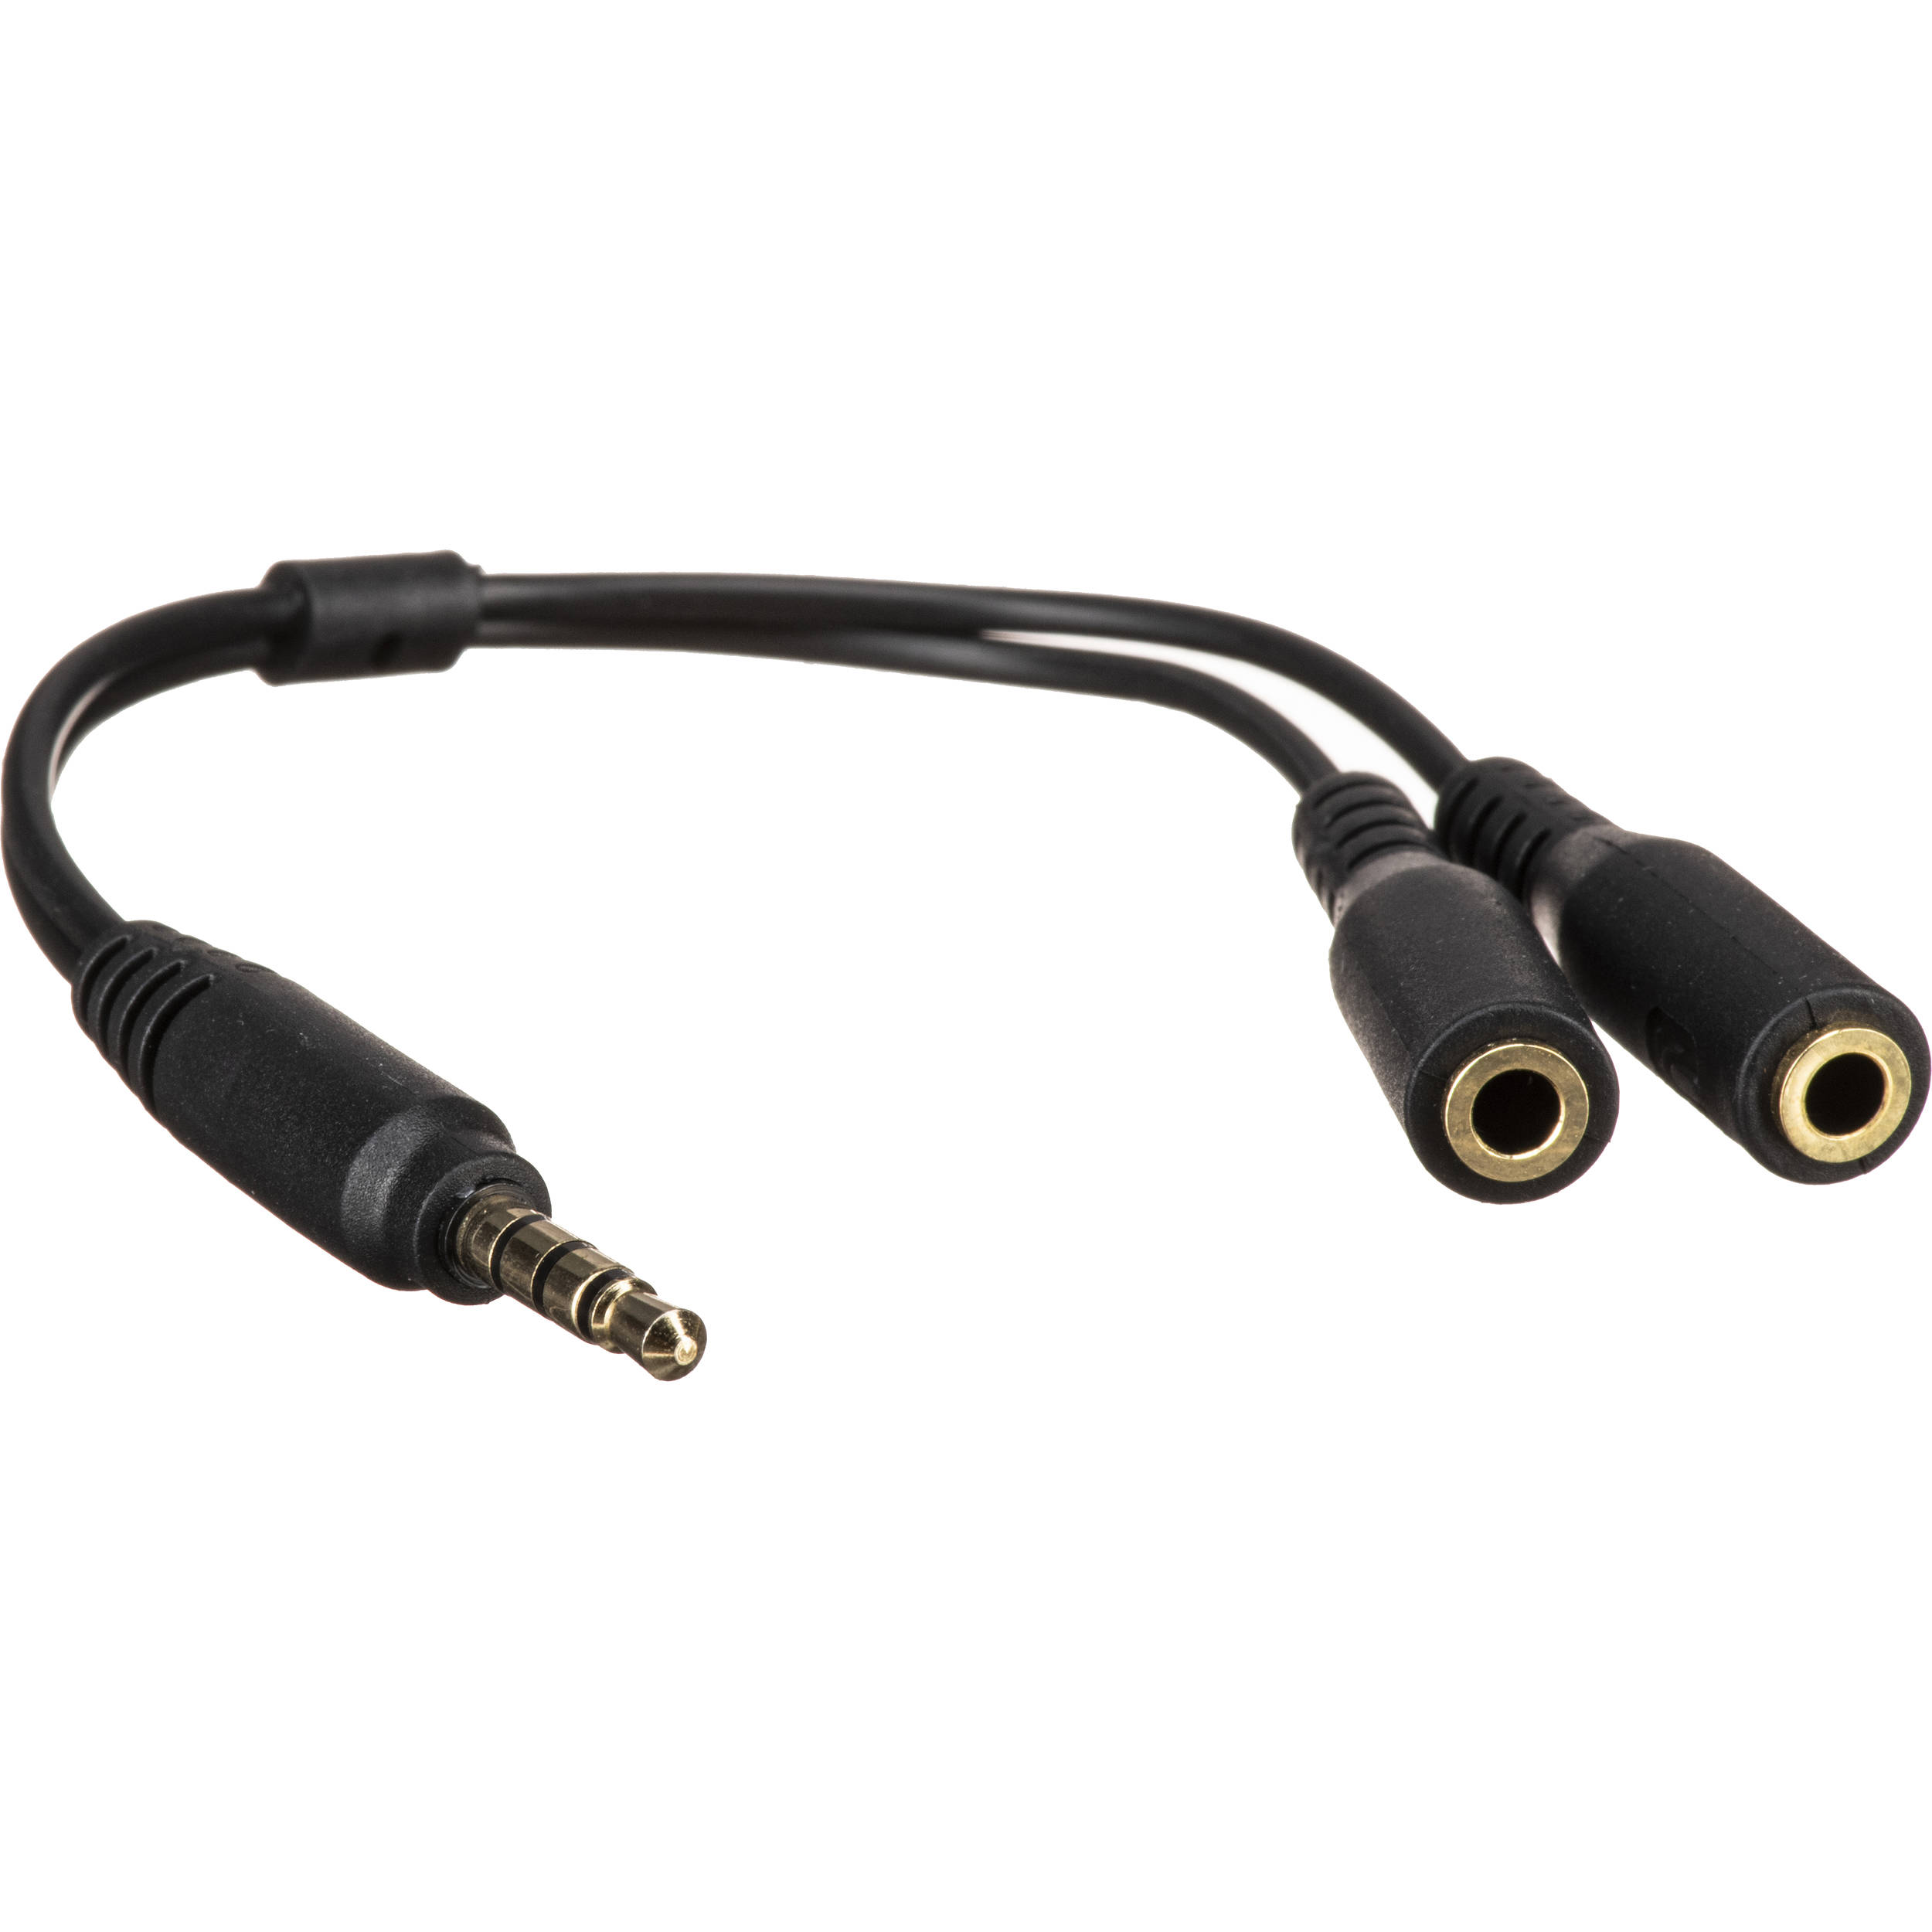
5. Audio Connections: Verify that your computer has the necessary audio connections to support two headphones. This typically includes having separate audio jacks or ports for each headphone. If your computer only has one audio jack, you may need an audio splitter or adapter to connect both headphones.
6. Basic Computer Knowledge: While not a strict requirement, having some basic computer knowledge will be helpful throughout the setup process. You should be comfortable with installing software and making changes to your computer’s audio settings.
By meeting these requirements, you’ll have everything you need to set up and use two headphones with Virtual Audio Cable. Once you have everything in place, you can proceed to the next steps and enjoy the benefits of dual headphone output on your computer system.
Step 1: Download and Install Virtual Audio Cable
The first step in using two headphones with Virtual Audio Cable is to download and install the software onto your computer. Follow these simple steps to get started:
- Search and Find: Open your preferred web browser and search for “Virtual Audio Cable” to find the official website or a trusted download source.
- Choose the Version: Once you’ve found a reliable source, choose the version of Virtual Audio Cable that suits your needs. There are free and paid versions available, each with varying features and capabilities.
- Download the Software: Click on the appropriate download link to start downloading the Virtual Audio Cable software. Depending on your internet connection speed, the download process may take a few moments to complete.
- Run the Installer: Locate the downloaded file on your computer and double-click on it to run the installer. The installation wizard will guide you through the process.
- Follow the Installation Steps: Follow the on-screen instructions provided by the installation wizard. Read through the license agreement if prompted and accept it to proceed. Choose the installation location and any additional options or preferences as desired.
- Finish the Installation: Once the installation process is complete, you’ll be notified that Virtual Audio Cable has been successfully installed on your computer. Ensure that any checkboxes for shortcuts or additional software are configured according to your preference.
- Restart Your Computer: After the installation, it’s a good idea to restart your computer to ensure that all changes take effect properly.
Once your computer has started up again, you’ll have Virtual Audio Cable installed and ready to use. The next step is to set up the software and configure it to work with your headphones. Continue to the following section to learn how to set up Virtual Audio Cable for dual headphone output.
Step 2: Set Up Virtual Audio Cable
Now that you have Virtual Audio Cable installed on your computer, it’s time to set it up and configure it for dual headphone output. Follow the steps below to get started:
- Open Virtual Audio Cable Control Panel: Locate the Virtual Audio Cable Control Panel on your computer. You can typically find it in your Start menu or by searching for “Virtual Audio Cable Control Panel”.
- Configure Virtual Cables: In the Virtual Audio Cable Control Panel, you’ll see a section labeled “Virtual Cables.” This is where you can configure the virtual audio devices that will be used for routing audio. By default, there may already be one cable listed. If you need multiple virtual cables, you can click on the “Cables” menu and choose “Add New Cable” to create additional ones.
- Set Audio Device Connections: Once you have the desired number of virtual cables, you need to assign the audio devices to these cables. This will determine which audio source(s) will be sent to the virtual cables. Click on the first virtual cable and select the input device that you want to use. This will typically be the audio source that you want to listen to through the headphones. Then, click on the second virtual cable and choose the output device. This will be the headphones you want to use.
- Adjust Settings (Optional): If you want to further customize the audio routing and settings, you can explore the various options and features offered by Virtual Audio Cable. This may include adjusting buffer sizes, sample rates, or other advanced settings. Keep in mind that modifying these settings should only be done if you have knowledge and understanding of their impact on audio performance.
- Apply Changes: Once you’re satisfied with the configuration, click on the “Apply” or “OK” button in the Virtual Audio Cable Control Panel to save the changes.
With Virtual Audio Cable set up and configured, you’re one step closer to enjoying dual headphone output on your computer. In the next steps, we’ll guide you through connecting the headphones and adjusting the audio settings to ensure everything is working correctly. Move on to the next section to continue the setup process.
Step 3: Connect the First Headphone
Now that you have Virtual Audio Cable set up and configured, it’s time to connect the first headphone to your computer. Follow these steps to ensure a proper connection:
- Locate the Audio Jack: Identify the audio jack or port on your computer that you will be using to connect the first headphone. This is typically a 3.5mm audio jack, often color-coded in green.
- Insert the Headphone Plug: Take the plug of the first headphone and insert it firmly into the audio jack on your computer. Ensure that it is securely connected to avoid any loose connections or audio issues.
- Verify Audio Output: Once the first headphone is connected, play some audio on your computer to verify that it is working correctly. You can test it by playing a song, a video, or any audio content. Make sure you can hear the audio clearly through the first headphone.
- Adjust Volume and Settings: If necessary, adjust the volume level on your computer or the headphone itself to a comfortable listening level. You can also check the audio settings on your computer to ensure that the correct audio output device is selected.
- Test Dual Headphone Output: With the first headphone connected and working properly, it’s time to test the dual headphone output. Open the Virtual Audio Cable application or the audio source you want to listen to through both headphones. Check if the audio is being routed to the first headphone as intended.
If you can hear the audio through the first headphone and everything is functioning correctly, you’re ready to move on to the next step and connect the second headphone. Continue to the following section for instructions on how to do so.
Step 4: Connect the Second Headphone
Now that you have successfully connected and tested the first headphone, it’s time to connect the second headphone to your computer. Follow these steps to ensure a proper connection:
- Locate the Audio Jack: Identify the second audio jack or port on your computer that you will be using to connect the second headphone. This might be a separate audio jack or a headphone jack splitter depending on your computer’s audio setup.
- Insert the Headphone Plug: Take the plug of the second headphone and insert it firmly into the second audio jack or the headphone jack splitter. If you’re using a splitter, ensure that both plugs are securely connected.
- Verify Audio Output: Once the second headphone is connected, play some audio on your computer to verify that it is working correctly. You can play the same audio content you tested with the first headphone to ensure both headphones are receiving the audio signal.
- Balance and Volume Control: If necessary, adjust the balance and volume settings on your computer or the headphones to achieve the desired audio experience. This will allow you to control the volume levels for each headphone independently.
- Test Dual Headphone Output: With both headphones connected, play audio through the Virtual Audio Cable application or the audio source you want to listen to. Confirm that the audio is being routed to both headphones simultaneously. You should now be able to enjoy the same audio experience through both headphones.
Once you have successfully connected the second headphone and verified that both headphones are receiving the audio signal, you have completed the process of setting up dual headphone output with Virtual Audio Cable. In the next step, we’ll guide you through adjusting the audio settings to ensure optimal performance and enjoy your audio experience to the fullest.
Step 5: Adjust Audio Settings
After connecting both headphones and confirming that the audio is being routed to both of them, it’s time to adjust the audio settings to ensure the best possible listening experience. Follow these steps to fine-tune the audio settings:
- Open Audio Settings: Access the audio settings on your computer. This can usually be done by right-clicking on the speaker icon in the system tray and selecting “Playback devices.”
- Select Virtual Audio Cable Output: In the playback devices window, locate the output device associated with Virtual Audio Cable. It may be listed as “Virtual Cable #” or something similar. Right-click on this device and set it as the default playback device.
- Configure Sound Levels: Choose the “Properties” or “Configure” option for the Virtual Audio Cable output device. In the properties or configuration window, you can adjust various sound settings, such as volume, equalizer settings, and enhancements. Customize these settings according to your preferences and the audio requirements of your headphones.
- Check Spatial Sound: If your headphones support spatial sound technologies, such as Windows Sonic or Dolby Atmos, enable them in the audio settings. These technologies enhance the spatial and positional audio experience, adding depth and immersion to your audio.
- Test the Audio: Once you have adjusted the audio settings, play some audio content through the Virtual Audio Cable application or the audio source you want to listen to. Verify that the audio is properly balanced between the two headphones and that it sounds clear and crisp.
- Make Further Adjustments: If you’re not completely satisfied with the sound quality or balance, you can go back to the audio settings and make additional adjustments. Keep experimenting until you find the optimal audio settings that suit your preferences.
By fine-tuning the audio settings and ensuring that the Virtual Audio Cable output is properly configured, you can ensure an enjoyable and immersive audio experience through both headphones.
Once you have adjusted the audio settings to your liking, you’re ready to enjoy the benefits of using two headphones with Virtual Audio Cable. Whether you’re sharing audio, collaborating, gaming, or working on audio production, this setup allows for a whole new level of audio versatility and immersion.
In the next section, we’ll provide some troubleshooting tips to help you address any potential issues you may encounter while using Virtual Audio Cable with two headphones.
Step 6: Enjoy Dual Headphone Output
Congratulations! You have successfully set up dual headphone output with Virtual Audio Cable. Now it’s time to sit back, relax, and enjoy your audio experience with two headphones. Here are a few tips to enhance your enjoyment:
- Explore Different Audio Content: Take advantage of your dual headphone setup by exploring a variety of audio content. Whether it’s listening to your favorite music, watching movies, playing games, or immersing yourself in virtual reality experiences, the dual headphone output allows you to fully appreciate the nuances and details of the audio.
- Adjust Volume and Balance: Depending on your preferences and the audio content, you may need to adjust the volume and balance settings for each headphone. Fine-tune the levels to achieve the perfect audio balance and ensure that you’re getting the most out of your dual headphone setup.
- Experiment with Surround Sound: If your headphones support surround sound technologies, such as virtual surround or 7.1 channel audio, try enabling these features. They can provide a more immersive and spatial audio experience, enhancing your overall enjoyment.
- Share the Audio Experience: If you’re using dual headphones to share audio with a friend or loved one, make sure to sit together and enjoy the content together. Discuss what you’re hearing, share your reactions, and create memorable audio moments together.
- Keep Virtual Audio Cable Updated: As with any software, it’s a good practice to keep Virtual Audio Cable up to date. Check for updates periodically on the official website and install any new versions or patches that are released. This ensures that you have access to the latest features, improvements, and bug fixes.
Remember, the purpose of using two headphones with Virtual Audio Cable is to enhance your audio experience, whether it’s for personal enjoyment, collaboration, gaming, or audio production. So, make the most of this setup and explore the possibilities that dual headphone output offers.
If you encounter any issues or have questions along the way, refer to the troubleshooting tips in the next section to help resolve any potential concerns. Happy listening!
Troubleshooting Tips
While setting up and using two headphones with Virtual Audio Cable is generally a smooth process, you may encounter some issues or challenges along the way. Here are some troubleshooting tips to help you overcome common problems:
- No Audio in One or Both Headphones: If you’re not getting any audio in one or both headphones, check the following: ensure the headphones are properly connected, verify that the Virtual Audio Cable output is set as the default playback device in your computer’s audio settings, and adjust the volume levels on both the headphones and your computer.
- Imbalanced Audio: If you notice that the audio is imbalanced, meaning one headphone is louder than the other, check the balance settings in your computer’s audio settings. Make sure the balance is set to the center or adjust it accordingly to achieve equal volume in both headphones.
- Audio Lag or Latency: If you experience audio lag or latency, where there is a delay between the audio and video, try adjusting the buffer size in the Virtual Audio Cable settings. A larger buffer size can help reduce latency, but it may also introduce some audio delay. Experiment with different buffer sizes to find the optimal balance.
- Choppy or Distorted Audio: If the audio is choppy or distorted, it may be due to insufficient system resources or conflicts with other audio-related applications. Close any unnecessary programs, disable any audio enhancements or effects, and adjust the buffer size in the Virtual Audio Cable settings to improve audio playback.
- Compatibility Issues: If you encounter compatibility issues with Virtual Audio Cable, such as the software not working on your operating system or conflicts with other audio software, make sure you have downloaded the latest version of Virtual Audio Cable from the official website. Additionally, search for any known compatibility issues or contact the software developer for assistance.
- Driver or Software Updates: If you recently updated your operating system, audio drivers, or Virtual Audio Cable software, and are experiencing issues, try rolling back the updates or reinstalling the previous version to see if the problem is resolved. Be sure to check for and install any available updates for your operating system and audio drivers.
If you encounter persistent issues that are not resolved by the troubleshooting tips above, it may be helpful to seek assistance from online forums, support communities, or the Virtual Audio Cable developer’s support channels. Providing detailed information about your computer’s specifications, software versions, and the specific issue you’re facing will help in troubleshooting and obtaining the necessary guidance.
Remember, patience and persistence are key when troubleshooting. With some troubleshooting and adjustments, you’ll be able to resolve any potential issues and enjoy the benefits of dual headphone output with Virtual Audio Cable.
Now that you’re armed with troubleshooting knowledge, you’re ready to embark on your audio journey with two headphones. Have a fantastic experience!
Conclusion
Congratulations! You’ve reached the end of this guide on using two headphones with Virtual Audio Cable. By following the steps outlined in this article, you’ve learned how to set up Virtual Audio Cable, connect two headphones, adjust audio settings, and troubleshoot common issues. Now, you can enjoy an enhanced audio experience whether you’re sharing audio with a friend, collaborating on work, gaming, or immersing yourself in virtual reality.
Virtual Audio Cable serves as a powerful tool that allows you to route audio signals from one source to multiple outputs, enabling the use of two headphones simultaneously. With this setup, you can create unique audio experiences and make the most out of your computer’s audio capabilities.
Remember to explore different types of audio content, adjusting volume and balance settings to suit your preferences. Take advantage of spatial sound technologies if your headphones support them for a more immersive audio experience.
If you encounter any issues, refer back to the troubleshooting tips provided to help resolve them. Keep your Virtual Audio Cable software up to date and stay informed about any updates or compatibility issues to ensure optimal performance.
Whether you’re sharing audio, collaborating with colleagues, gaming, or engaging in audio production, using two headphones with Virtual Audio Cable opens up a world of possibilities. Enjoy the flexibility, immersion, and improved audio experience that this setup offers.
So, grab your favorite pair of headphones, set up Virtual Audio Cable, and embark on your audio journey with the powerful combination of two headphones and Virtual Audio Cable. Happy listening!