Home>Production & Technology>Audio Interface>How To Use Traktor Kontrol Z2 As An Audio Interface

Audio Interface
How To Use Traktor Kontrol Z2 As An Audio Interface
Modified: March 5, 2024
Learn how to use Traktor Kontrol Z2 as an audio interface and unlock its full potential. Connect your devices and enjoy professional-grade audio quality for your music production and DJ sets.
(Many of the links in this article redirect to a specific reviewed product. Your purchase of these products through affiliate links helps to generate commission for AudioLover.com, at no extra cost. Learn more)
Table of Contents
Introduction
Welcome to the world of audio interfaces, where the Traktor Kontrol Z2 stands out as a powerful and versatile option. Whether you’re a DJ, music producer, or simply someone who enjoys high-quality audio, the Traktor Kontrol Z2 offers a seamless integration of hardware and software that will elevate your audio experience.
Designed by Native Instruments, the Traktor Kontrol Z2 is a 2+2 channel mixer and controller that not only allows you to mix and perform with precision but also serves as a capable audio interface. With its robust construction, intuitive layout, and extensive connectivity options, it has become a go-to choice for many professionals and enthusiasts alike.
In this article, we will explore the various aspects of using the Traktor Kontrol Z2 as an audio interface. We will guide you through the setup process, explain how to connect it to your computer, configure the audio settings in Traktor, and even demonstrate how it can be used with other software.
Whether you’re a beginner who just unboxed your Traktor Kontrol Z2 or an experienced user looking to expand your knowledge, this article will provide valuable insights and practical tips to help you maximize the potential of this powerful audio interface.
Overview of the Traktor Kontrol Z2
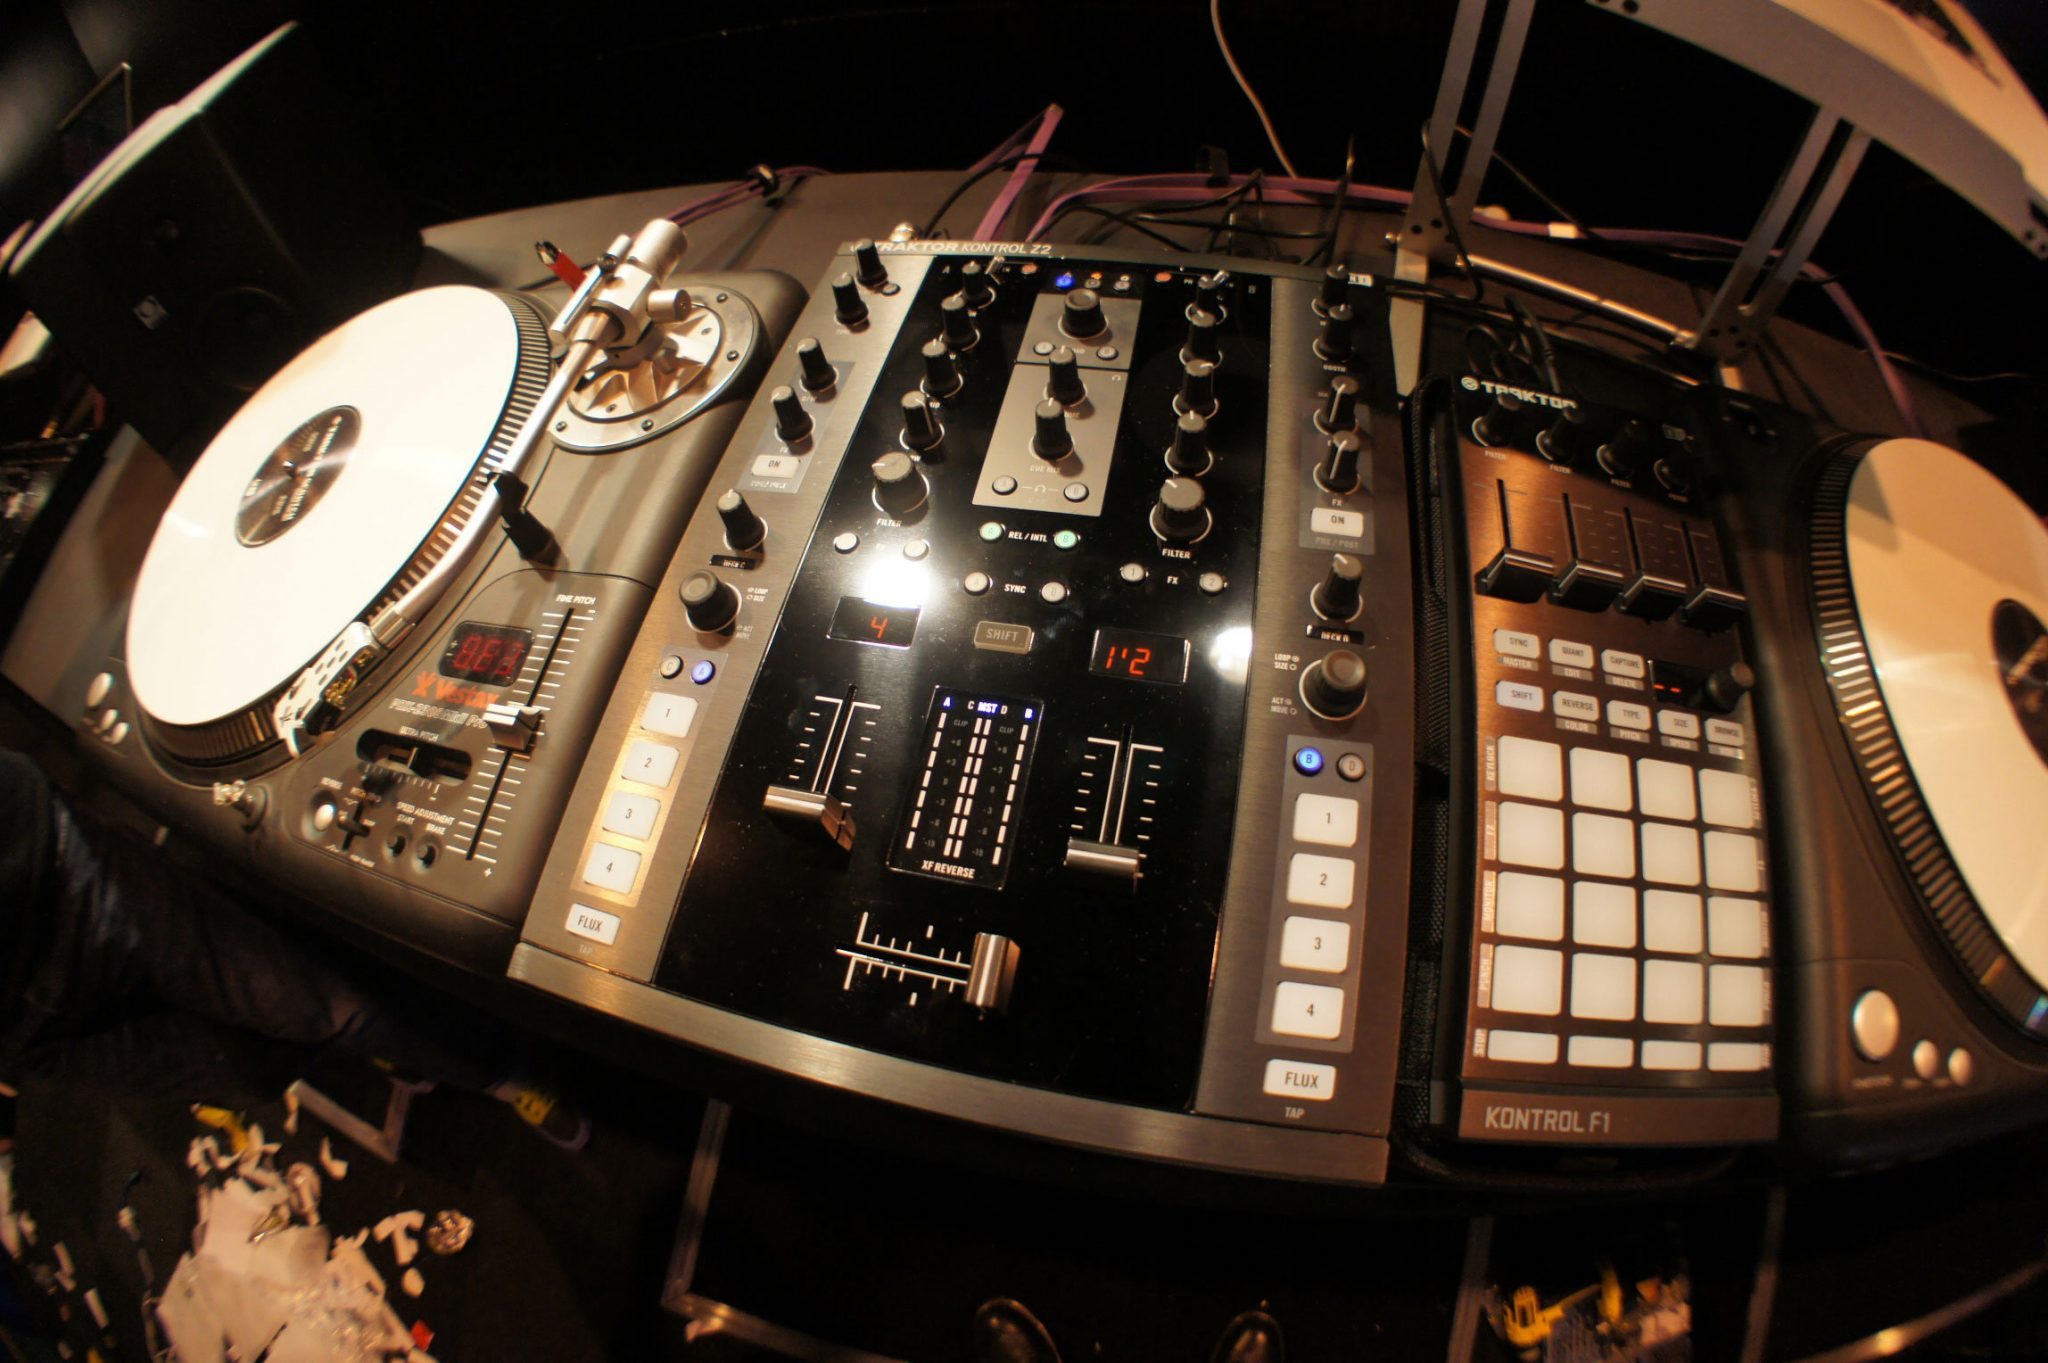
The Traktor Kontrol Z2 is a feature-packed audio interface that is specifically designed for DJs and music producers. It combines the functionality of a 2+2 channel mixer with a powerful hardware controller, allowing you to seamlessly mix and manipulate your tracks. With its robust construction and intuitive design, the Traktor Kontrol Z2 is built to withstand the rigors of live performances and studio sessions.
One of the standout features of the Traktor Kontrol Z2 is its integration with Native Instruments’ Traktor software. This software provides a comprehensive platform for DJing, including track selection, mixing, effects, and looping capabilities. The Traktor Kontrol Z2 acts as a dedicated controller for Traktor, allowing you to take full advantage of all its features and functions.
In addition to its mixing capabilities, the Traktor Kontrol Z2 also functions as a high-quality audio interface. It features premium 24-bit/48kHz analog-to-digital and digital-to-analog converters, ensuring pristine audio quality during playback and recording. With both RCA and XLR connections, it provides versatile connectivity options for connecting to speakers, headphones, and other audio equipment.
The Traktor Kontrol Z2 also offers a range of performance-enhancing features such as dedicated filter knobs, Innofaders for smooth crossfading and scratching, cue points, and Remix Decks control. These features allow you to manipulate your tracks in real-time, adding creative effects and creating unique mixes.
With its sturdy build quality, responsive controls, and seamless integration with Traktor software, the Traktor Kontrol Z2 has become a top choice for DJs and music producers worldwide. Its versatility, reliability, and impressive audio performance make it a go-to option for those seeking professional-level audio interface and mixing capabilities.
Setting up the Traktor Kontrol Z2 as an Audio Interface
Setting up the Traktor Kontrol Z2 as an audio interface is a straightforward process that will allow you to enjoy high-quality audio playback and recording. Follow these steps to get started:
- First, ensure that you have downloaded and installed the latest drivers and firmware for the Traktor Kontrol Z2. This ensures compatibility and optimal performance between the hardware and software.
- Connect the Traktor Kontrol Z2 to your computer using a USB cable. Make sure to use a high-quality USB cable to ensure a stable connection.
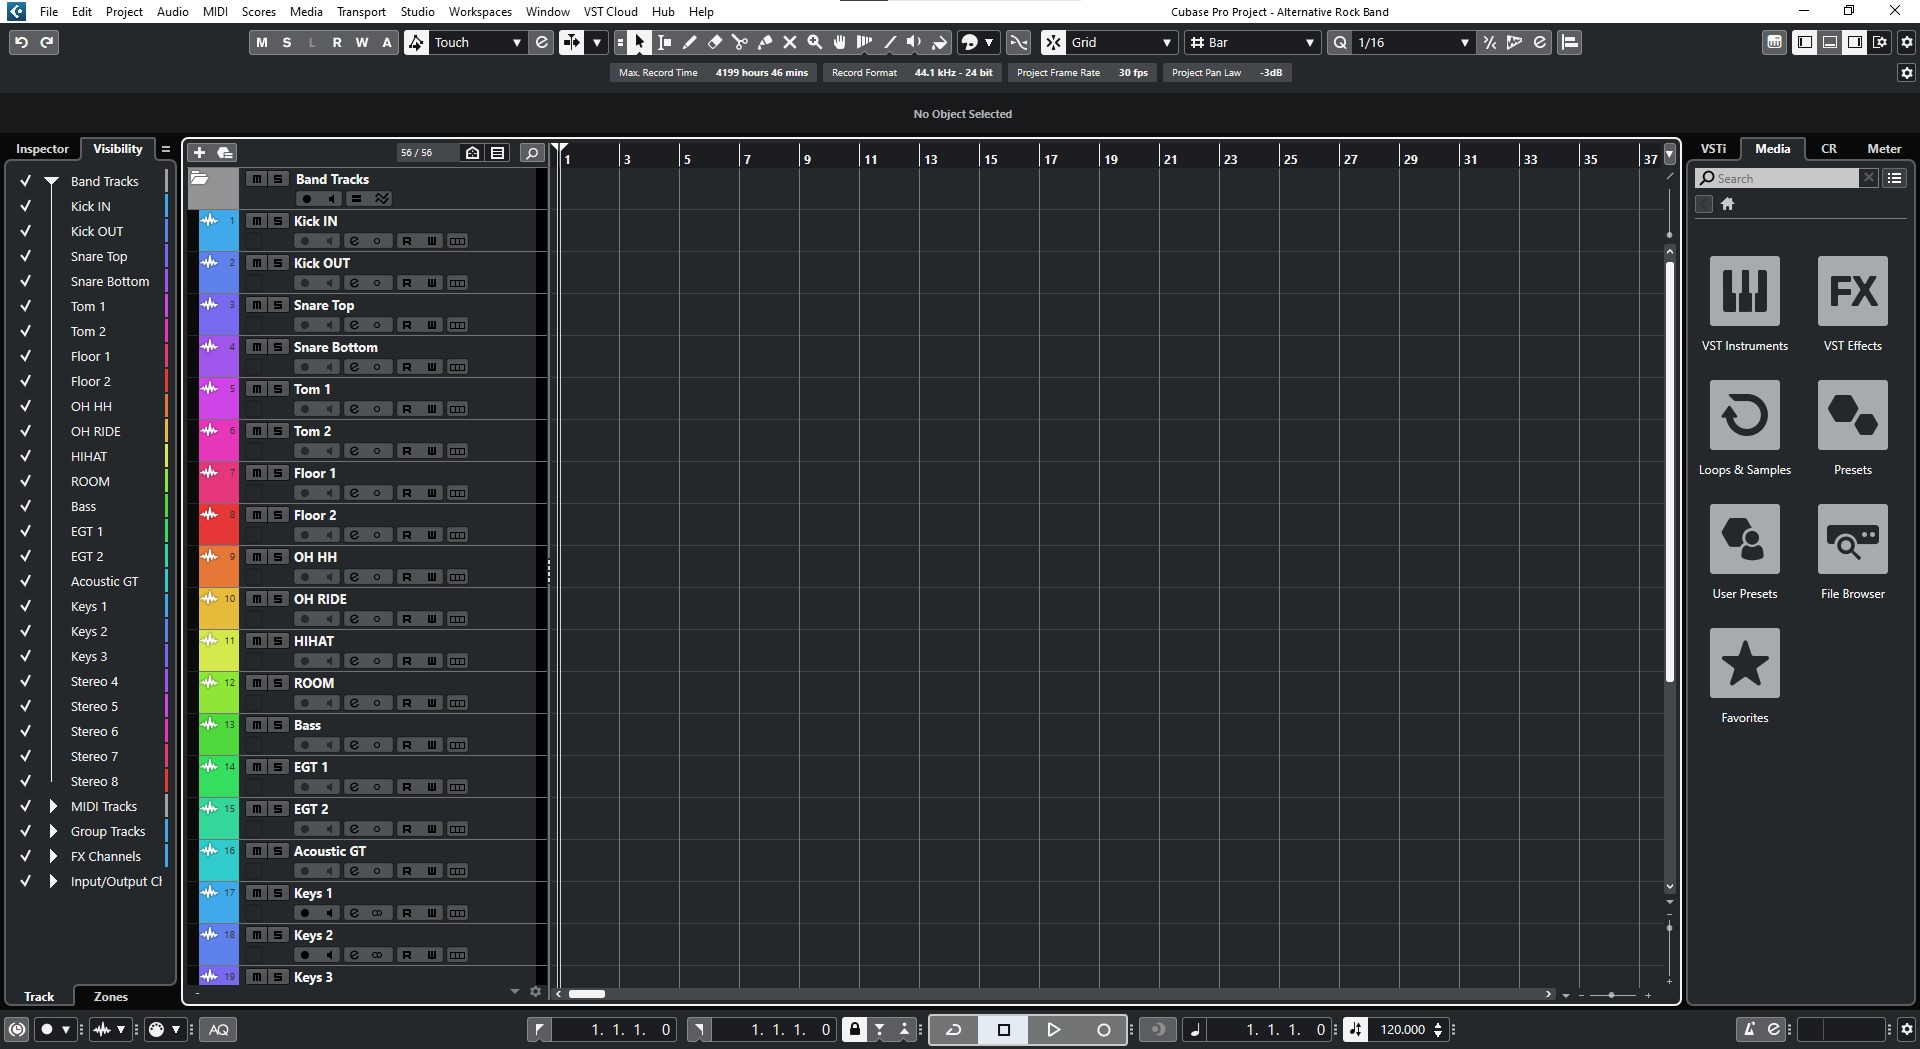
- Once connected, open your preferred audio software or Digital Audio Workstation (DAW).
- In the audio settings of your software or DAW, select the Traktor Kontrol Z2 as the default input and output device. This will route the audio signals through the Traktor Kontrol Z2’s audio interface.
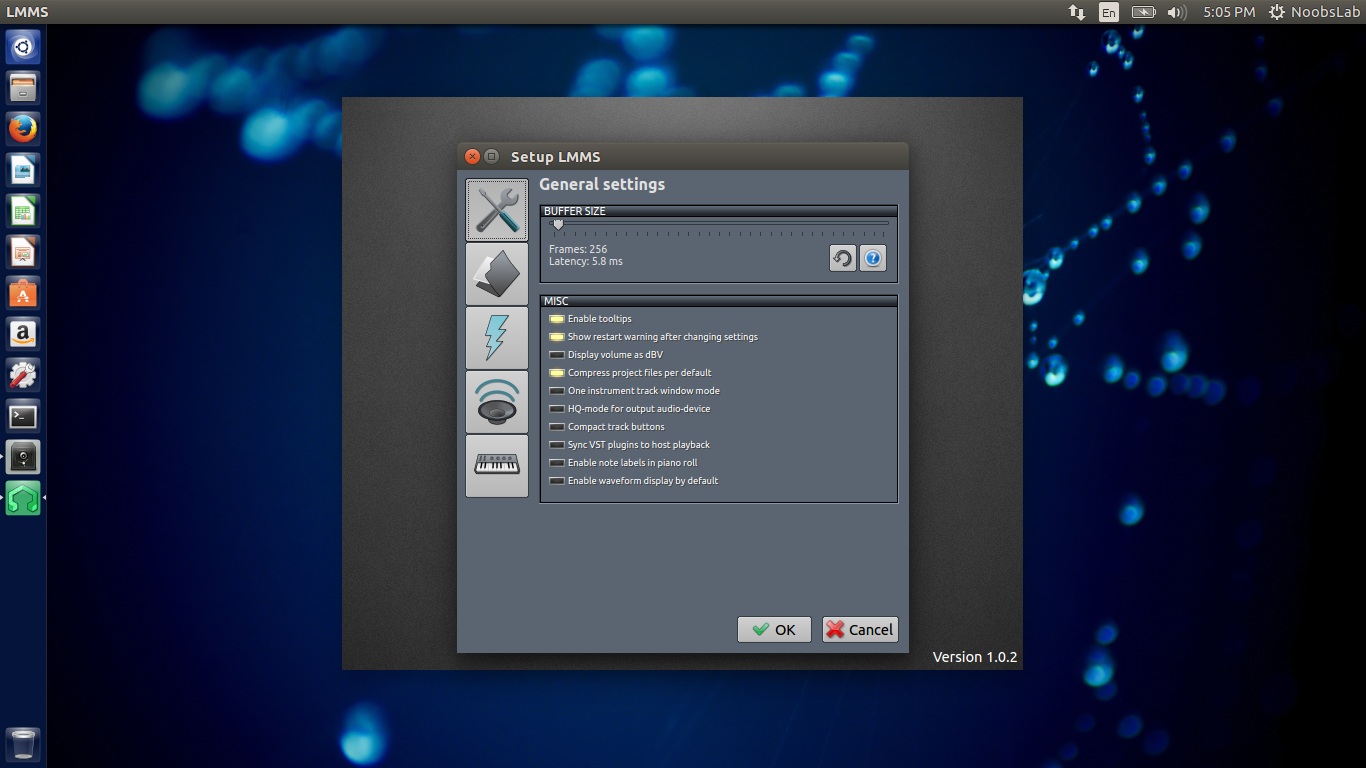
- Adjust the audio settings, such as sample rate and buffer size, according to your preference and the requirements of your project.
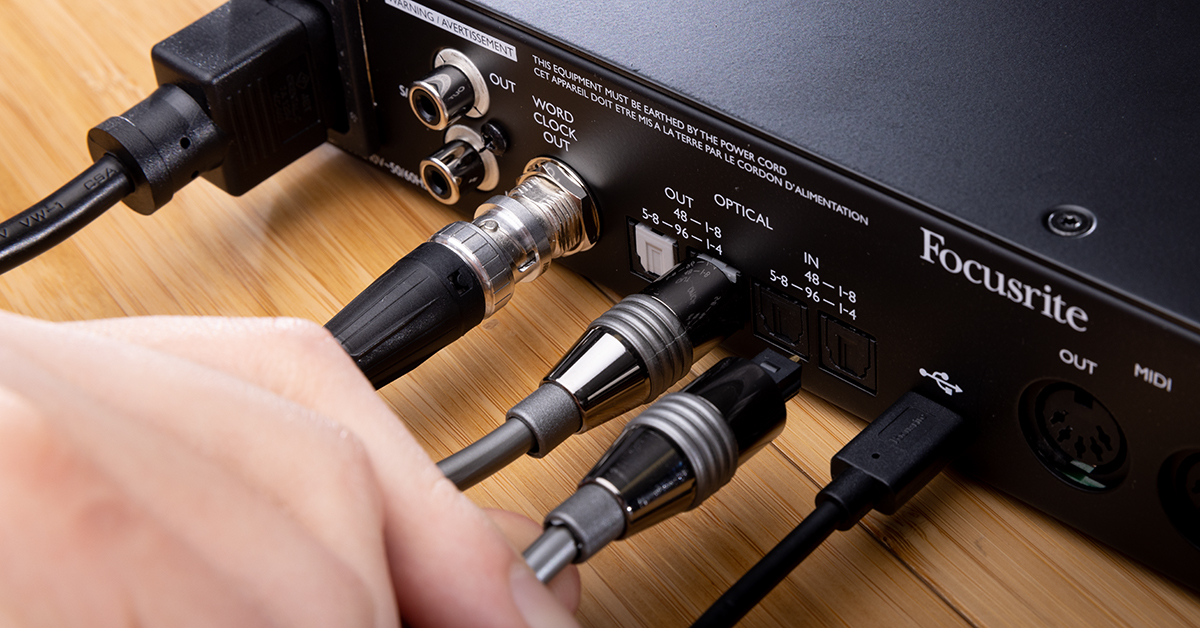
- Connect your speakers or headphones to the appropriate outputs on the Traktor Kontrol Z2. The Traktor Kontrol Z2 provides both RCA and XLR outputs, allowing you to connect a wide range of audio equipment.
- Ensure that the Traktor Kontrol Z2’s volume knobs are set at an appropriate level to avoid any clipping or distortion.
- Start playing audio in your software or DAW, and you should hear the audio playback through your connected speakers or headphones.
With these simple steps, you have successfully set up the Traktor Kontrol Z2 as an audio interface. Now you can enjoy the enhanced audio quality and take advantage of its versatile connectivity options for your DJ performances or music production projects. Make sure to consult the user manual or refer to the Native Instruments website for more detailed instructions and troubleshooting tips.
Connecting the Traktor Kontrol Z2 to your Computer
Connecting the Traktor Kontrol Z2 to your computer is a crucial step in utilizing its audio interface capabilities. Follow these steps to ensure a proper and stable connection:
- Start by locating the USB port on the Traktor Kontrol Z2. It is typically located on the rear panel of the device.
- Take a USB cable and connect one end of the cable to the USB port on the Traktor Kontrol Z2.
- On the other end of the USB cable, connect it to an available USB port on your computer. Make sure to use a USB 2.0 or higher cable for optimal data transfer speed.
- Once connected, power on the Traktor Kontrol Z2 by plugging it into a power outlet or using a USB power source, if applicable.
- Your computer should recognize the Traktor Kontrol Z2 as a connected device. It may automatically install the necessary drivers, or you may need to manually install them from the Native Instruments website.
- Verify that the connection is successful by opening your computer’s audio settings or software. The Traktor Kontrol Z2 should appear as an available audio device.
- If the Traktor Kontrol Z2 is not recognized, try disconnecting and reconnecting the USB cable or using a different USB port on your computer.
- Ensure that the Traktor Kontrol Z2 is set as the default audio device in your computer’s audio settings. This ensures that all audio signals are routed through the device.
- Once connected and recognized, you are ready to start using the Traktor Kontrol Z2 as an audio interface for playback, recording, or DJing.
By following these steps, you can establish a reliable connection between the Traktor Kontrol Z2 and your computer. This connection allows you to harness the full potential of the audio interface, enabling you to enjoy high-quality audio playback, recording, and performance capabilities.
Configuring Audio Settings in Traktor
Once you have connected the Traktor Kontrol Z2 to your computer and selected it as the default audio device, it’s essential to configure the audio settings in Traktor to ensure optimal performance. Here’s how you can do it:
- Launch the Traktor software on your computer.
- In Traktor, navigate to the preferences or settings menu. This is usually located in the top toolbar of the software.
- Within the preferences or settings menu, locate the audio setup section. This is where you can configure the audio settings specific to the Traktor Kontrol Z2.
- Select the Traktor Kontrol Z2 as the audio device in the audio setup section. This ensures that Traktor routes audio signals through the Traktor Kontrol Z2’s internal audio interface.
- Set the sample rate to match the sample rate of your audio files or project. The default sample rate is usually 44.1kHz, but you can adjust it for higher quality audio if desired.
- Configure the audio routing options according to your needs. You can choose to route the audio through the Traktor Kontrol Z2’s internal mixer, or you can bypass it and route the audio directly to external mixers or audio equipment.
- Adjust the buffer size to balance between audio latency and system performance. A smaller buffer size reduces latency but requires more processing power. Experiment with different buffer sizes to find the sweet spot for your setup.
- Configure the input and output channels as needed for your DJ setup or production workflow. It’s recommended to follow the Traktor Kontrol Z2’s documentation for the recommended channel configurations.
- Save the audio settings once you have made the necessary adjustments.
Configuring the audio settings in Traktor ensures that the software communicates effectively with the Traktor Kontrol Z2. It enables seamless integration between the hardware and software, resulting in smooth playback, accurate signal routing, and minimized latency.
Remember to consult the Traktor Kontrol Z2’s user manual or the Native Instruments website for more detailed instructions and troubleshooting tips specific to your setup. By configuring the audio settings correctly, you can optimize your Traktor experience and unlock the full potential of the Traktor Kontrol Z2 as an audio interface.
Using the Traktor Kontrol Z2 with Other Software
The Traktor Kontrol Z2 is not limited to being used exclusively with Native Instruments’ Traktor software. It can also be utilized as a versatile audio interface with other DJ software, digital audio workstations (DAWs), and music production software. Here’s how you can use the Traktor Kontrol Z2 with other software:
- Ensure that you have installed the necessary drivers and firmware for the Traktor Kontrol Z2 on your computer.
- Start by launching the software you wish to use with the Traktor Kontrol Z2.
- In the software’s audio settings, select the Traktor Kontrol Z2 as the default audio device. This will allow the software to send and receive audio signals through the Traktor Kontrol Z2’s audio interface.
- Configure the audio settings within the software, such as sample rate, buffer size, and routing options, to match your needs and project requirements.
- Ensure that the input and output channels are assigned correctly in the software. Most DJ software and DAWs provide options to select the desired channels for audio input and output.
- Connect your speakers, headphones, or other audio equipment to the appropriate outputs on the Traktor Kontrol Z2.
- Verify the connectivity and audio routing by playing audio through the software. You should hear the audio playback through your connected speakers or headphones.
- Take advantage of the Traktor Kontrol Z2’s hardware controls, such as faders, knobs, and buttons, to manipulate your tracks, apply effects, and mix to your preference.
- Enjoy the seamless integration of the Traktor Kontrol Z2’s high-quality audio interface with your preferred software, allowing you to unleash your creativity and enhance your DJ performances or music production projects.
By using the Traktor Kontrol Z2 with other software, you can take advantage of its robust audio interface capabilities and hardware control functionality across a variety of applications. Whether you’re DJing, producing music, or recording audio, the Traktor Kontrol Z2 provides a flexible and reliable solution to elevate your workflow and enhance your audio experience.
Remember to consult the user manuals or documentation of the software you are using for specific instructions on configuring the Traktor Kontrol Z2. Each software may have its own unique settings and configurations that need to be adjusted to ensure seamless integration with the audio interface.
Troubleshooting and Common Issues
While the Traktor Kontrol Z2 is a reliable audio interface, you may encounter some common issues or occasional glitches. Here are a few troubleshooting tips to help you overcome these challenges:
- No audio playback: If you’re not hearing any audio playback through the Traktor Kontrol Z2, first check that the volume knobs on the device are appropriately adjusted. Ensure that the correct audio device is selected in your software’s audio settings. Also, verify that your speakers or headphones are properly connected to the appropriate outputs on the Traktor Kontrol Z2.
- Audio latency: If you experience noticeable audio delay or latency, try adjusting the buffer size in your software’s audio settings. Increasing the buffer size can help reduce latency but may result in higher CPU usage. Finding the right balance between low latency and system performance is key.
- Driver or firmware issues: If you’re encountering issues with the Traktor Kontrol Z2, such as connection problems or software compatibility, ensure that you have installed the latest drivers and firmware from the Native Instruments website. These updates often include bug fixes and improvements for seamless operation.
- USB connectivity problems: If you’re experiencing intermittent USB connectivity issues, try using a different USB cable or USB port on your computer. Sometimes, faulty cables or ports can cause connection problems. Additionally, avoid using USB hubs or adapters that may interfere with the Traktor Kontrol Z2’s connection.
- Inconsistent audio levels: If you notice variations in audio levels or uneven volume when using the Traktor Kontrol Z2, make sure that you have set appropriate gain levels for your inputs and outputs. Adjust the gain knobs on the device to balance the audio levels and prevent signal clipping or distortion.
- Software compatibility: If you intend to use the Traktor Kontrol Z2 with third-party DJ software or DAWs, always check for compatibility and ensure that you have the latest drivers or mapping files required for proper integration. Refer to the software’s documentation or support resources for specific instructions.
If you continue to experience issues with the Traktor Kontrol Z2, consult the user manual, visit the Native Instruments support page, or reach out to their customer support for further assistance. Remember, thorough troubleshooting and seeking support can often resolve most common issues and ensure a smooth experience with your Traktor Kontrol Z2 audio interface.
Conclusion
The Traktor Kontrol Z2 is not just a mixing console and controller, but also a versatile audio interface that delivers exceptional audio performance. Whether you’re a DJ, music producer, or audio enthusiast, the Traktor Kontrol Z2 offers a seamless integration of hardware and software, allowing you to unleash your creativity and elevate your audio experience.
In this article, we explored the various aspects of using the Traktor Kontrol Z2 as an audio interface. We discussed the setup process, connecting it to your computer, configuring audio settings in Traktor, and even using it with other software. By following these guidelines, you can effectively harness the power of the Traktor Kontrol Z2 and maximize its potential as an audio interface.
The Traktor Kontrol Z2’s robust construction, intuitive design, and extensive connectivity options make it a top choice for professionals and enthusiasts alike. Its integration with Native Instruments’ Traktor software provides a comprehensive platform for DJing, while its compatibility with other software expands its versatility in the world of music production.
Remember, troubleshooting common issues and seeking support when needed can help you overcome any challenges you may encounter along the way. Whether it’s tweaking audio settings, updating drivers, or adjusting hardware connections, a little troubleshooting can go a long way in ensuring a seamless and enjoyable experience with the Traktor Kontrol Z2.
So, dive into the world of audio interfaces and unleash your creativity with the Traktor Kontrol Z2. Whether you’re performing live sets, producing tracks, or simply enjoying high-quality audio playback, this powerful audio interface will take your audio journey to new heights.

