Home>Instruments>Bass>How To Draw A Bass Clef
Bass
How To Draw A Bass Clef
Published: November 29, 2023
Learn how to draw a bass clef in a few simple steps. Improve your music theory skills and master the symbol that represents the low notes of a bass instrument.
(Many of the links in this article redirect to a specific reviewed product. Your purchase of these products through affiliate links helps to generate commission for AudioLover.com, at no extra cost. Learn more)
Table of Contents
Introduction
The bass clef is an essential symbol in musical notation that represents the lower pitch ranges. It is primarily used for instruments that play in the lower register, such as the bass guitar, double bass, and tuba. Understanding how to draw a bass clef is not only useful for musicians, but it can also be a fascinating skill to learn for anyone with an interest in music theory or art.
In this step-by-step guide, we will walk you through the process of drawing a bass clef. Whether you’re an aspiring musician, an art enthusiast, or simply curious about the mechanics behind this musical symbol, this tutorial will provide you with the knowledge and techniques needed to create an accurate representation of a bass clef.
Discover the artistry behind drawing a bass clef as we explore the necessary materials and guide you through each step of the process. By the end of this tutorial, you will have a firm understanding of how to create a visually appealing and recognizable bass clef symbol.
Materials Needed
To get started on drawing a bass clef, you will need a few essential materials. Don’t worry, these items are relatively simple and can be easily found at your local art supply store or even in your own home. Here’s what you’ll need:
- Pencil: A good quality drawing pencil will help you achieve precision while allowing you to make adjustments if necessary.
- Paper: Choose a clean sheet of paper that is smooth and suitable for drawing. It can be a plain white paper or a sketchbook page.
- Ruler: A ruler will come in handy for drawing straight lines and ensuring accuracy in your bass clef drawing.
- Eraser: Having an eraser nearby will allow you to correct any mistakes or make adjustments to your drawing as needed.
Once you have gathered these materials, you’re ready to dive into the process of drawing a bass clef. Remember, the key to a successful drawing is patience and practice. So, ensure that you have a comfortable workspace and let’s get started!
Step 1: Drawing the Circle
The first step in creating a bass clef is to draw a large circle. This circle will serve as the foundation for the rest of the symbol. Start by lightly sketching a circular shape using your pencil. You can use the edge of a round object, such as a coin or a small cup, to help guide you in creating a smooth and even circle.
Keep in mind that the size of the circle may vary depending on your preference and the scale of your drawing. As a general guideline, aim for a circle that is approximately two-thirds the height of your paper. However, feel free to adjust the size to suit your artistic vision.
Once you have drawn the circle, go over the outline with more defined lines. Use your pencil to darken the shape, making sure to maintain a smooth and continuous line. Take your time and pay attention to the proportions of the circle, as it will ultimately determine the overall appearance of your bass clef.
Remember, don’t worry too much about achieving perfection in this step. The circle is just the starting point, and you can make adjustments as you progress through the remaining steps. The goal is to create a solid foundation for the rest of the bass clef drawing.
Step 2: Drawing the Tail
Now that we have the circle as the starting point, we can move on to drawing the tail of the bass clef. The tail is one of the defining features of the symbol and adds character to the overall design.
To begin, imagine the circle as the head of a fish and envision the tail extending gracefully from it. Starting at the top-right side of the circle, draw a slightly curved line that descends diagonally towards the bottom-left direction. This line will form the outline of the tail.
As you draw the tail line, keep in mind that it should be fluid and graceful, with a gentle curve. Avoid making it too straight or rigid, as this can detract from the aesthetic appeal of the bass clef.
Once you have the basic outline for the tail, add a small triangular shape at the end of the line. This triangle will signify the end of the tail and give it a distinct point. Ensure that the triangle is proportionate to the size of the tail and complements the overall design of the bass clef.
After drawing the initial tail shape, go over it with darker and more defined lines. Refine the curves and edges, paying attention to the flow and symmetry of the tail. The result should be a smooth and visually pleasing form that complements the circular head of the bass clef.
With the tail of the bass clef complete, you have successfully added another crucial element to the symbol. The next step will involve adding dots to enhance its appearance and make it even more recognizable.
Step 3: Adding the Dots
Now that you have drawn the circle and the tail, it’s time to add the dots to the bass clef. These dots are essential for the symbol’s identification and serve as a unique characteristic.
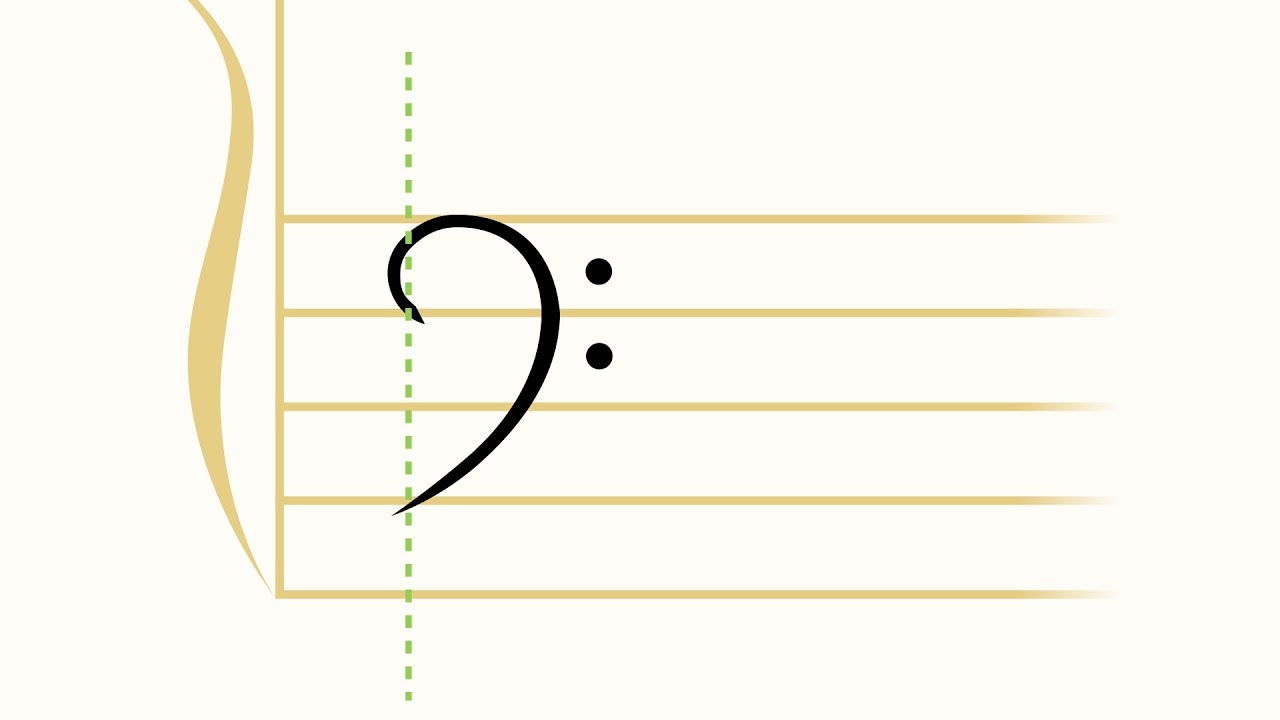
Start by identifying the three spots where the dots will be placed. These dots are traditionally located at the top, middle, and bottom of the circular head of the bass clef.
To create the dots, simply draw small circles or ovals within the boundaries of the main circle. Make sure the dots are evenly spaced and relatively symmetrical. The dot at the top should be positioned slightly above the center of the circle, while the bottom dot should be slightly below the center. The middle dot should be placed in line with the horizontal diameter of the circle.
Once you have the dots sketched, darken them with your pencil to make them more distinct. Take your time and ensure that the dots are well-defined without overpowering the other elements of the bass clef.
Keep in mind that the size of the dots may vary, depending on personal preference and the scale of your drawing. However, it’s important to maintain a balance between the dots and the other components of the symbol to ensure visual harmony.
With the addition of the dots, your bass clef is starting to take shape and become recognizable. The next step will involve drawing a curved line that connects the head and the tail, further enhancing the unity of the symbol.
Step 4: Drawing the Curved Line
In this step, you will draw a curved line that connects the circular head of the bass clef to its tail, creating a cohesive and fluid design.
To begin, imagine the line as an arc or a gentle wave. Starting from the right side of the circle, draw a curved line that gradually slopes downward towards the top of the tail. The curve should flow smoothly and seamlessly, creating a visually pleasing transition between the head and the tail.
As you draw the curved line, pay attention to the proportions and balance. The line should complement the overall shape of the bass clef and enhance its aesthetic appeal.
Keep in mind that the curvature of the line can vary slightly based on personal preference and style. Some artists may prefer a more pronounced curve, while others may opt for a subtler transition. Experiment with different variations to find the one that resonates with you.
Once you have sketched the basic outline of the curved line, go over it with a darker pencil or pen to make it more defined. Adjust any areas that need refinement, ensuring a smooth and continuous flow from the head to the tail.
With the curved line added, your bass clef is nearing completion. The final step will involve adding some final details to bring the symbol to life.
Step 5: Adding the Final Details
Now that the main components of the bass clef are in place, it’s time to add some final details to perfect the symbol.
Start by examining your drawing and making any necessary adjustments to ensure symmetry and proportion. Refine the curves, lines, and dots, smoothing out any rough edges or inconsistencies.
Next, take a moment to evaluate the overall darkness and contrast of your bass clef. If necessary, use your pencil to darken certain areas to create depth and contrast. Pay attention to the shadows and highlights to make the symbol visually appealing and dimensional.
Additionally, you can add some artistic flourishes to enhance the aesthetics of the bass clef. This can include adding subtle shading or texture to the circular head or tail, or even incorporating decorative elements within the design.
Remember, the final details are an opportunity for you to infuse your own artistic style and creativity into the bass clef drawing. Have fun and experiment with different techniques to make your drawing truly unique.
Once you are satisfied with the final details and overall look of the bass clef, use an eraser to carefully remove any remaining pencil marks or smudges. Clean up the drawing to ensure crisp lines and a polished finish.
And there you have it – you have successfully drawn a bass clef! Take a step back and admire your creation. Whether you are an artist or a music enthusiast, you have now acquired a skill that will not only impress others but also deepen your understanding and appreciation of the world of music.
Conclusion
Congratulations on completing the journey of drawing a bass clef! By following the step-by-step process outlined in this tutorial, you have learned how to create a visually appealing and accurate representation of this essential musical symbol.
Remember, the key to mastering any skill is practice. Take the time to refine your drawing technique and explore different variations of the bass clef. Experiment with different styles, sizes, and artistic flourishes to personalize your creations.
Whether you are a musician, an art enthusiast, or simply curious about the mechanics of musical notation, drawing a bass clef is a valuable skill to have. It not only helps you understand the symbol’s structure but also allows you to express your creativity and add a touch of artistry to your musical journey.
So, grab your pencil and paper, and let your imagination flow. The world of bass clef drawing is yours to explore and enjoy. Have fun experimenting, and don’t forget to share your artwork with others. Who knows, you may inspire someone else to embark on their own creative journey!
Now, go forth and continue your exploration of the fascinating world of music and art!