Home>Events & Info>Note>How To Draw Music Note
Note
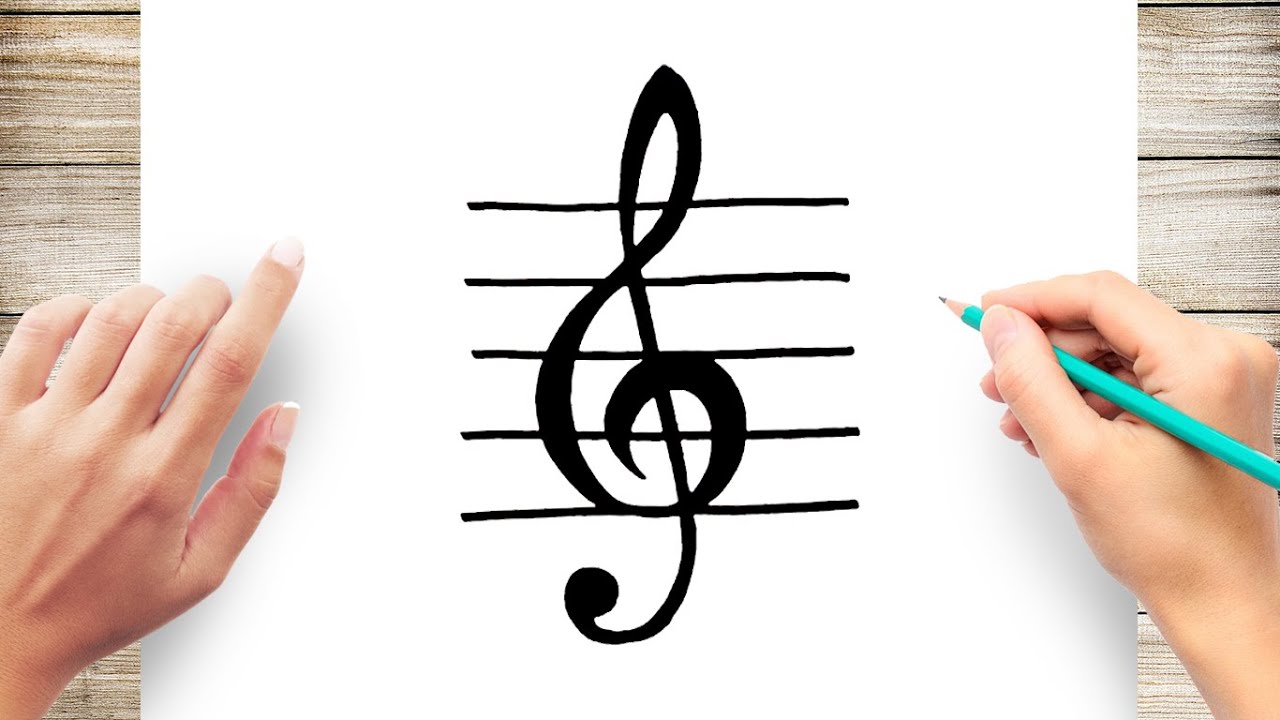
How To Draw Music Note
Modified: January 22, 2024
Learn how to draw music notes and create beautiful melodies with our step-by-step tutorial. Enhance your artistic skills and start composing your own songs today.
(Many of the links in this article redirect to a specific reviewed product. Your purchase of these products through affiliate links helps to generate commission for AudioLover.com, at no extra cost. Learn more)
Table of Contents
Introduction
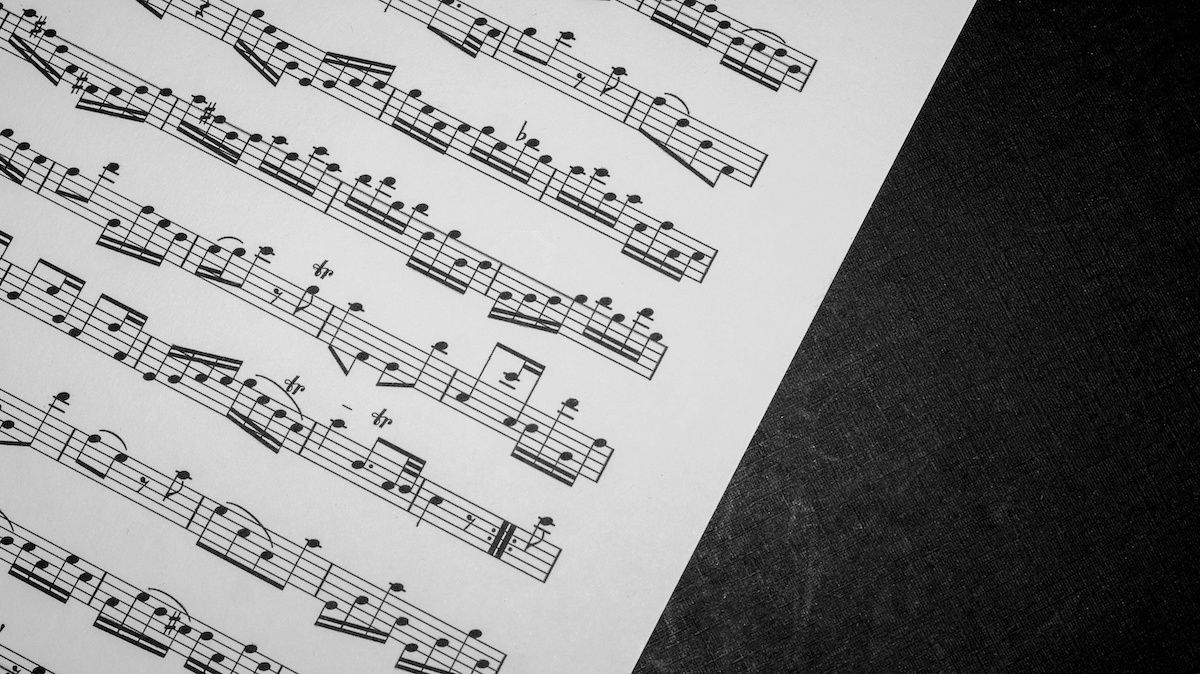
Welcome to this step-by-step guide on how to draw a music note! Whether you’re a musician, an artist, or simply someone looking to explore their creative side, learning how to draw a music note can be a fun and rewarding experience. Music notes are not only iconic symbols in the world of music, but they also have a certain elegance and rhythm to their design that can make them a fascinating subject to draw.
By following the steps outlined in this article, you’ll be able to create your very own music note drawing. Whether you want to sketch a music note on its own, or incorporate it into a larger artwork or composition, this guide will provide you with the necessary techniques to bring your drawing to life. So, grab your drawing tools and let’s get started!
To successfully draw a music note, you’ll need some basic materials. These include:
– Pencil: A graphite pencil is a great tool to start with, as it allows for easy erasing and shading if needed.
– Paper: Choose a smooth paper surface that is suitable for drawing. A sketchbook or drawing pad will work well.
– Eraser: An eraser will come in handy to correct any mistakes or make adjustments to your drawing.
– Pen or marker (optional): If you want to add more definition and depth to your drawing, you can use a pen or marker to outline and enhance certain areas.
Now that you have your materials ready, let’s dive into the step-by-step process of drawing a music note!
Materials Needed
Before we get started, make sure you have the following materials at hand:
– Pencil: You’ll need a pencil for sketching and outlining your music note.
– Paper: Choose a good quality drawing paper or sketchbook that can handle pencil marks and erasing.
– Eraser: Having a good quality eraser will help you make corrections and adjustments as you draw.
– Ruler: A ruler can be useful for creating straight lines and measuring proportions.
– Pens or markers (optional): If you want to add more depth and definition to your drawing, you can use pens or markers of different thicknesses for outlining and shading.
– Colored pencils or markers (optional): If you want to add color to your music note, having colored pencils or markers will allow you to bring your drawing to life.
It’s important to choose materials that you feel comfortable working with. You don’t need to invest in expensive art supplies to create a beautiful music note drawing. Use what you have available or feel free to explore different materials as you gain more experience.
Step 1: Drawing the Base
The first step in drawing a music note is to create the base shape. This will serve as the foundation for the rest of the drawing. Follow these simple steps to draw the base:
1. Start by drawing a small oval shape towards the top center of your paper. This oval will represent the note head.
2. From the bottom of the oval, draw a vertical line downwards. This line will serve as the stem of the note.
3. At the bottom of the stem, add a small horizontal line that curves slightly to the left. This is the beginning of the flag of the note.
4. Connect the end of the flag to the bottom of the oval using a curved line. This completes the base shape of the music note.
Remember, these are just the basic guidelines for drawing the base shape of a music note. You can adjust the size and proportions according to your preference. Keep the lines light, as they will serve as a guide for the rest of the drawing.
Step 2: Adding the Stem
Now that you have drawn the base shape of the music note, it’s time to add the stem. The stem is an important component that adds balance and structure to the overall design. Follow these steps to add the stem:
1. Start at the bottom of the oval, where the stem will connect. Draw a straight line downwards, extending below the base of the note.
2. Extend the line below the base of the note to create the desired length of the stem. The length of the stem can vary depending on the size and style of your music note.
3. At the bottom of the stem, draw a small horizontal line that connects back to the stem. This line is called the flag.
4. To give the stem a more polished appearance, draw a gentle curve from the bottom of the note head to the top of the stem, connecting the two.
Remember to keep the lines light and the proportions accurate. The angle of the stem can vary, so feel free to experiment and find the look that you prefer. The stem should align vertically with the note head and be in proportion to the overall size of the music note.
Step 3: Drawing the Flag
Adding a flag to the stem of the music note is an important step in completing the design. The flag adds a sense of movement and direction to the note. Follow these steps to draw the flag:
1. Locate the horizontal line at the bottom of the stem, which was created in the previous step.
2. Starting from the left side of the stem, draw a diagonal line that extends upwards and to the right. This line should be slightly curved.
3. Connect the end of the diagonal line to the top of the stem using a horizontal line. This will form the top edge of the flag.
4. From the right end of the top edge, draw a diagonal line that extends downwards and to the right, mirroring the shape of the first diagonal line.
5. Connect the end of the second diagonal line to the bottom of the stem using a horizontal line. This completes the flag.
Keep in mind that the length and angle of the flag can vary depending on the style of music note you are drawing. Experiment with different shapes and proportions to achieve the desired look. The flag should flow gracefully along the stem and complement the overall form of the note.
Step 4: Adding the Note Head
The note head is a key element of a music note, and adding it will give your drawing a recognizable shape. Follow these steps to draw the note head:
1. Begin by locating the oval shape that you drew in Step 1. This oval represents the note head.
2. To give the note head a three-dimensional appearance, add a small curved line on the right side of the oval. This line will create a sense of depth.
3. On the left side of the oval, draw a short, curved line that connects to the top portion of the oval. This will enhance the rounded shape of the note head.
4. Erase any unnecessary guidelines and darken the outline of the note head, making it more distinct.
Remember to keep the note head proportionate to the rest of the music note. It should fit snugly on top of the stem and be in harmony with the overall design. The shape and style of the note head can vary depending on the type of music note you are drawing, so don’t be afraid to experiment and add your own artistic flair.
Step 5: Adding Details
Now that you have the basic structure of the music note, you can add some final details to bring your drawing to life. Here are some additional elements you can consider:
– Shading: Use your pencil to add light shading to create depth and dimension. Shade the areas that would be in shadow, such as under the note head or along the stem. This will give your drawing a more realistic and three-dimensional look.
– Texture: You can add texture to the note head by adding small, curved lines or dots on the surface. This will give it a more realistic and interesting appearance.
– Expression: Experiment with the angles and curves of the stem and flag to give the music note a dynamic and expressive feel. Play with different variations to find the look that resonates with the mood or style you want to convey.
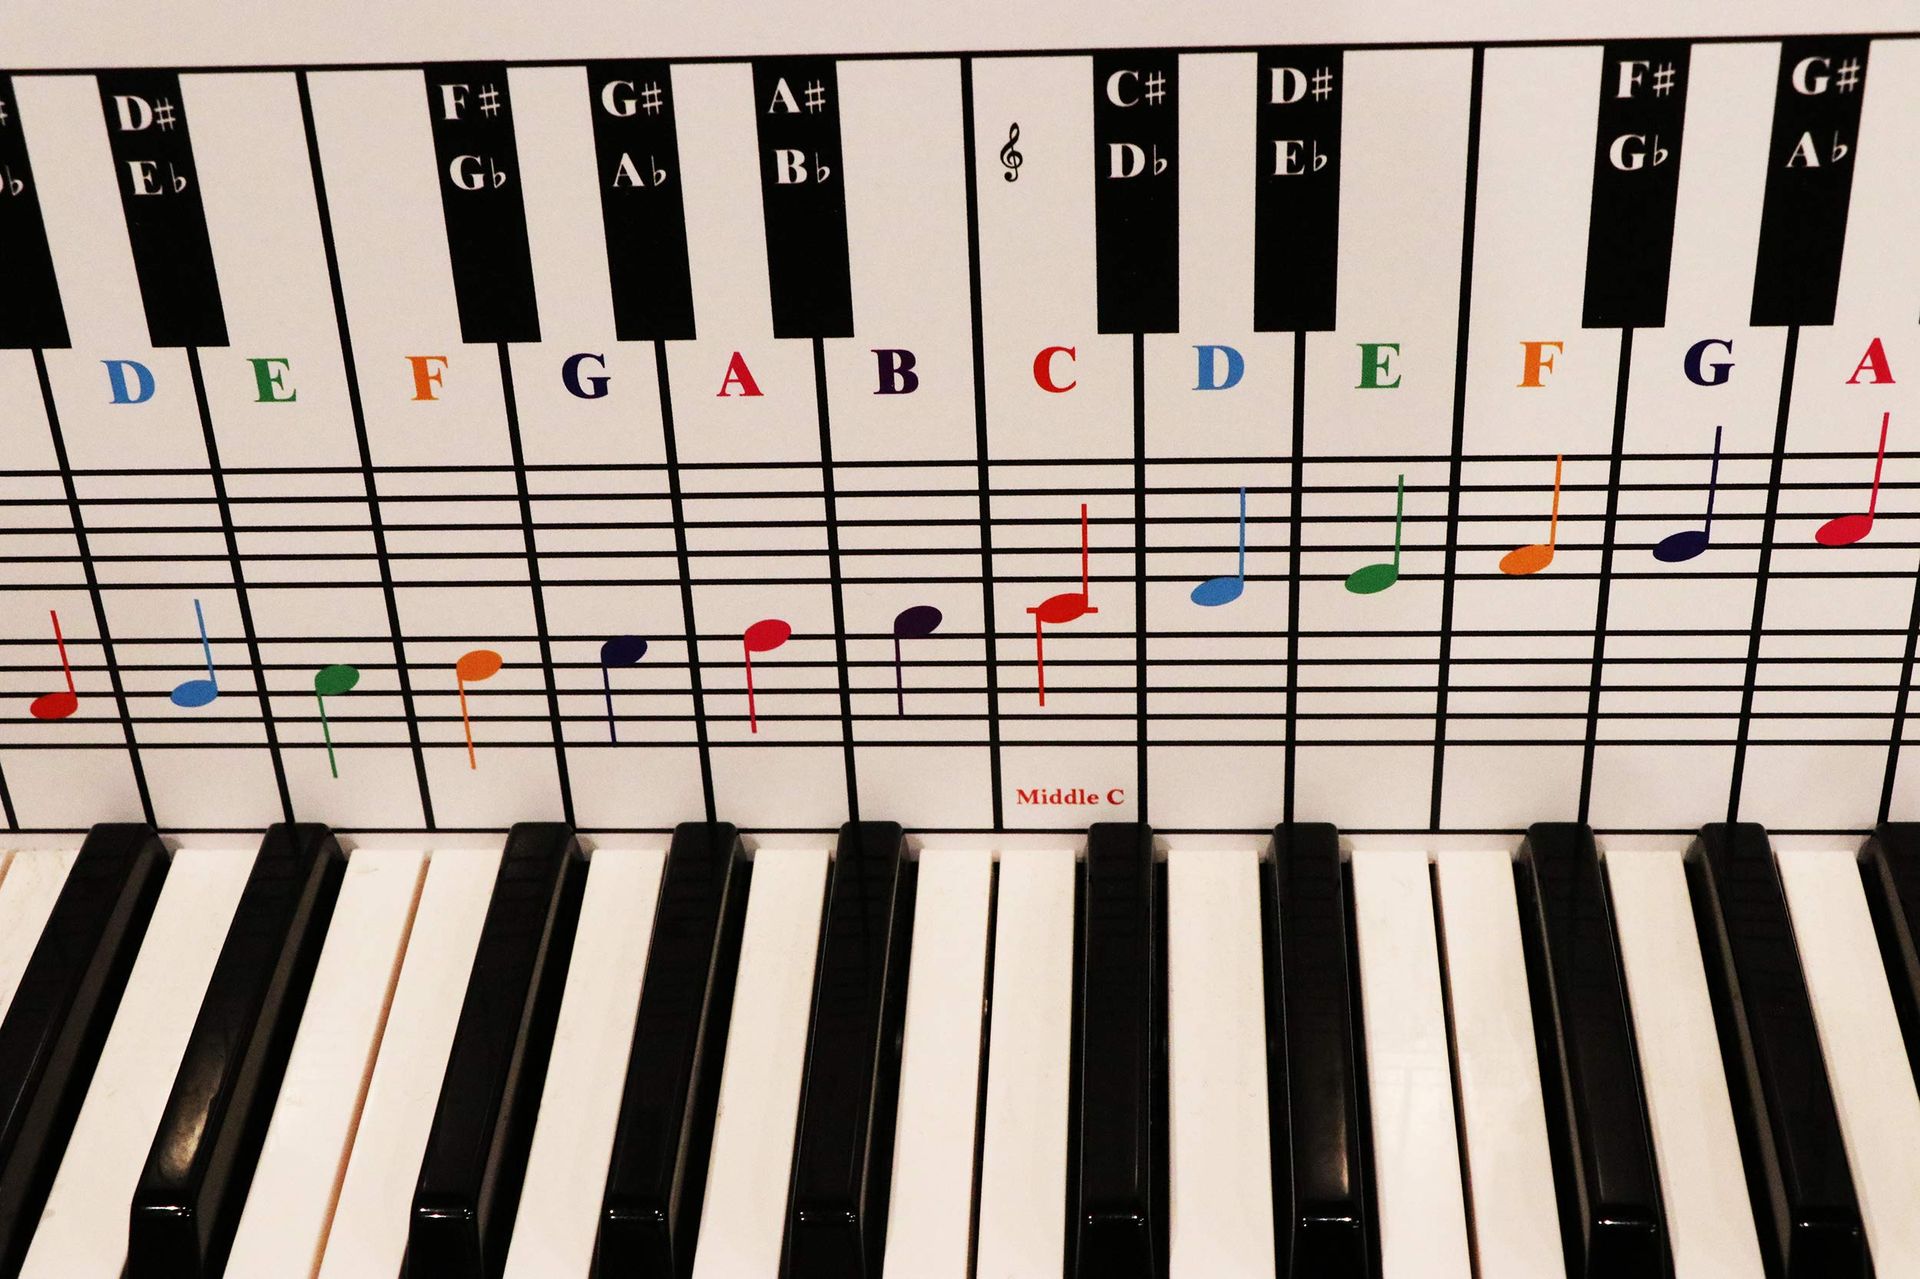
– Variation: Explore different styles of music notes, such as eighth notes, half notes, or whole notes. Each type has its own unique shape and characteristics. You can incorporate multiple music notes into your composition to create a visually appealing and harmonious design.
Remember to take your time and have fun with the details. The little touches you add can make a big difference in the final outcome of your drawing. Don’t be afraid to experiment and put your own artistic spin on the music note.
Conclusion
Congratulations! You have successfully learned how to draw a music note. By following the step-by-step instructions in this guide, you have created your very own music note drawing. Drawing a music note can be a fun and rewarding creative endeavor, whether you are an artist, musician, or simply someone looking to explore their artistic skills.
Remember that practice makes perfect. The more you practice drawing music notes, the more confident and skilled you will become. As you continue to explore your artistic abilities, don’t be afraid to experiment with different styles, sizes, and variations of music notes. You can incorporate them into larger compositions or use them as standalone pieces of art.
Now that you have mastered the basics of drawing a music note, you can further develop your artistic skills by exploring different musical symbols and incorporating them into your drawings. The world of music offers a rich variety of symbols and notations that can inspire your creativity.
So grab your pencils, paper, and imagination, and let your creativity soar as you continue to explore the world of art and music. Enjoy the process and have fun expressing yourself through your drawings. Happy drawing!