Home>Production & Technology>DJ>Virtual DJ: How To Record Your Mix
DJ
Virtual DJ: How To Record Your Mix
Published: March 4, 2024
Learn how to record your DJ mix with Virtual DJ. Follow these simple steps to capture your performance and share it with your fans. Discover the best practices for recording your DJ sets.
(Many of the links in this article redirect to a specific reviewed product. Your purchase of these products through affiliate links helps to generate commission for AudioLover.com, at no extra cost. Learn more)
Table of Contents
Introduction
So, you've been working on your DJ skills, mixing tracks and creating seamless transitions that keep the crowd moving. But have you ever thought about capturing your mixes to share with others or simply to listen back and analyze your performance? Recording your DJ mixes can be a valuable tool for improving your skills, sharing your talent with others, and preserving your creative work.
In this article, we'll explore the process of recording your DJ mixes using Virtual DJ, a popular and versatile software that provides the tools you need to capture your mixes with ease. Whether you're a seasoned pro or just starting out, learning how to record your mixes can open up new opportunities for showcasing your talent and honing your craft.
Recording your DJ mixes allows you to create a digital archive of your performances, which can be a great way to track your progress and identify areas for improvement. Additionally, sharing your recorded mixes online can help you build a following and connect with other music enthusiasts and potential fans. It's a fantastic way to showcase your unique style and creativity to a wider audience.
Virtual DJ offers a user-friendly interface and a range of features that make recording your mixes a straightforward process. By following the steps outlined in this guide, you'll be able to capture your mixes with precision and clarity, ensuring that every nuance of your performance is faithfully preserved.
So, whether you're looking to share your mixes with the world, create a portfolio of your work, or simply enjoy listening back to your performances, learning how to record your DJ mixes with Virtual DJ is a valuable skill that can elevate your DJing experience to new heights. Let's dive into the process and unleash the power of recording your mixes with Virtual DJ.
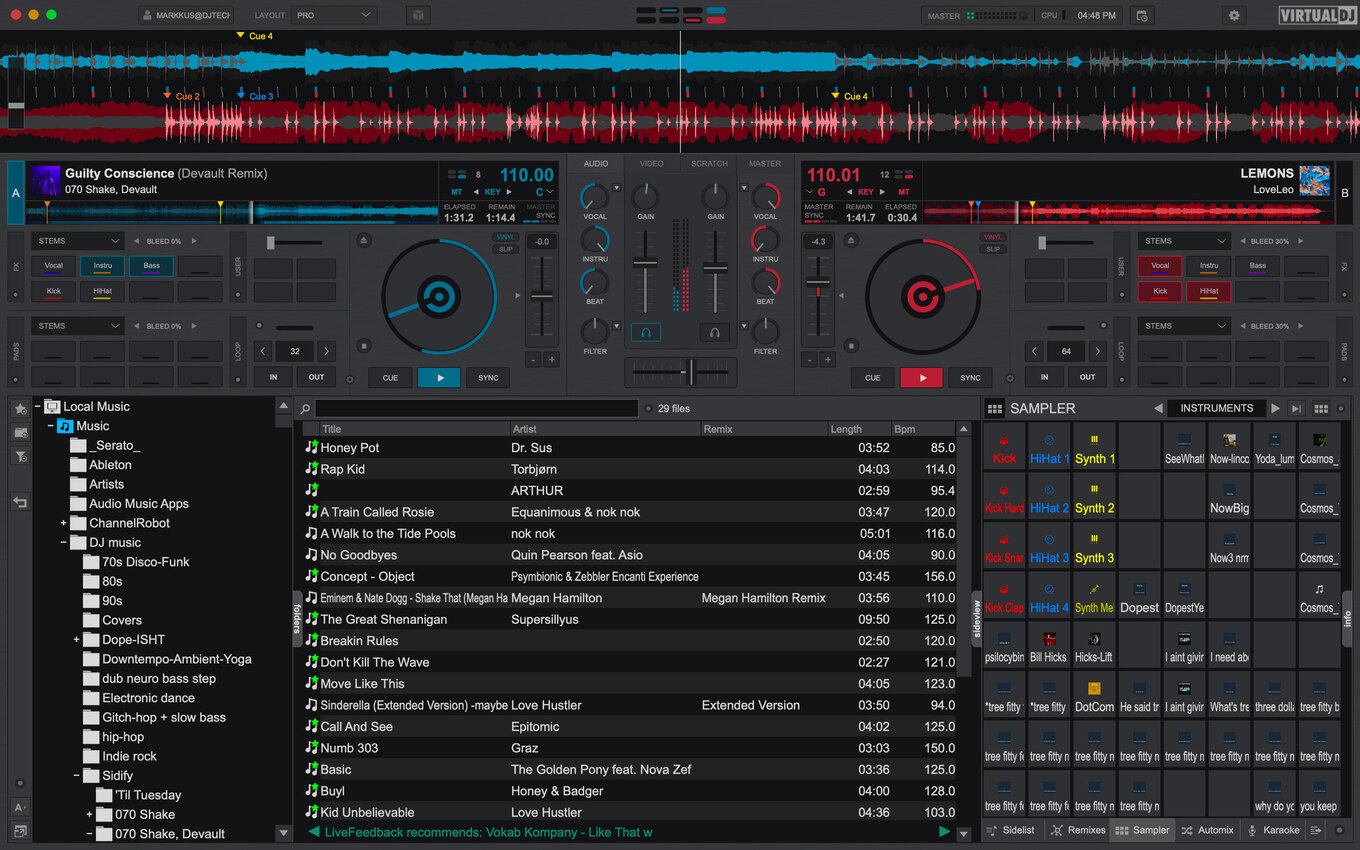
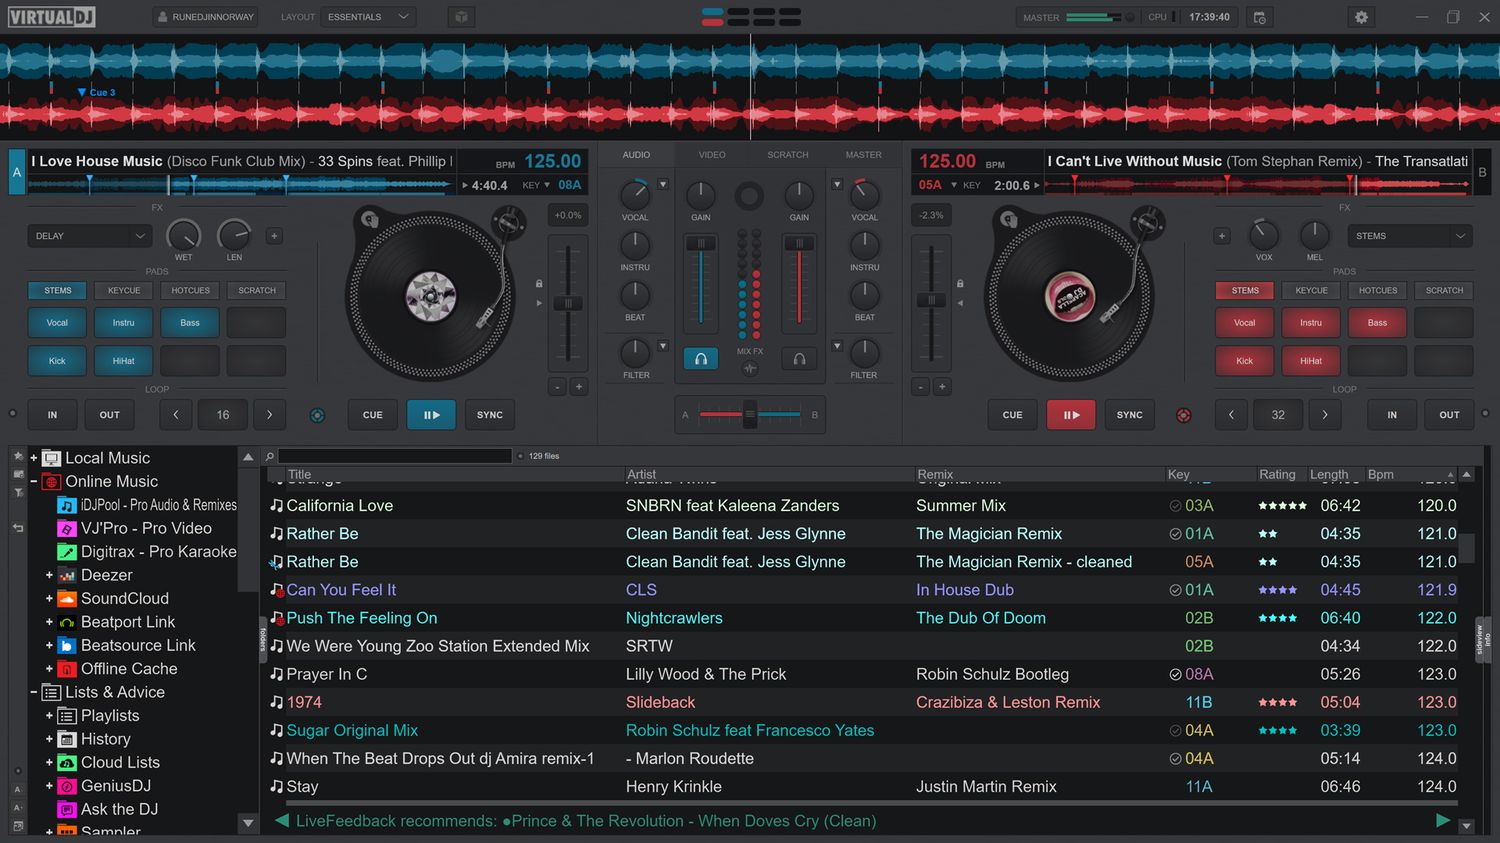
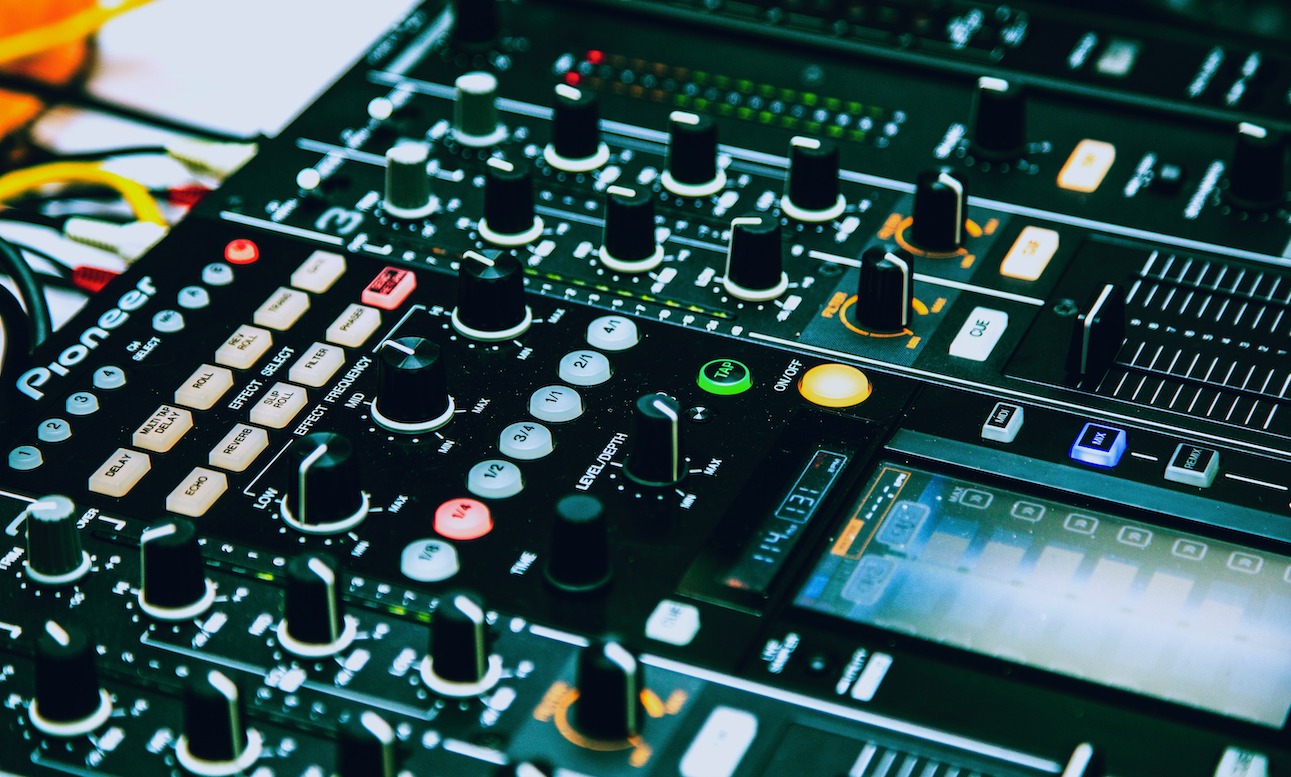
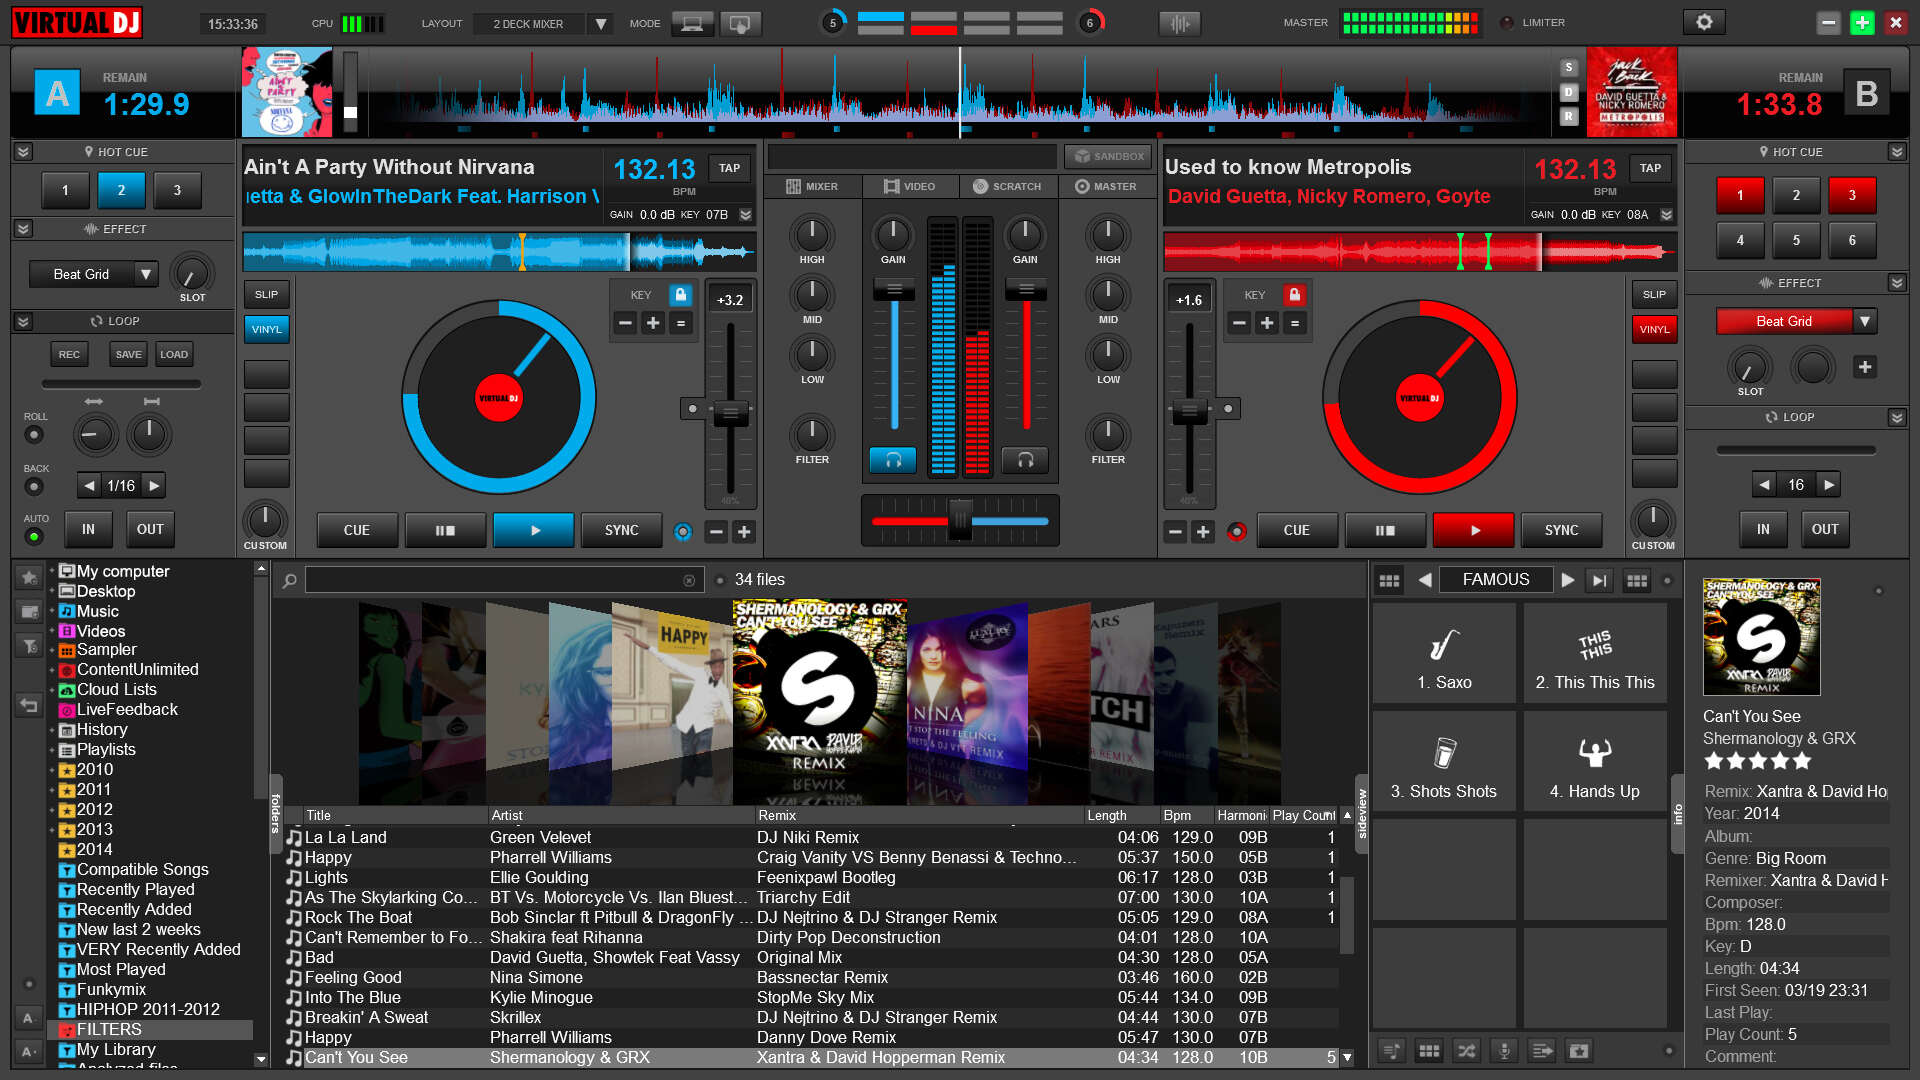
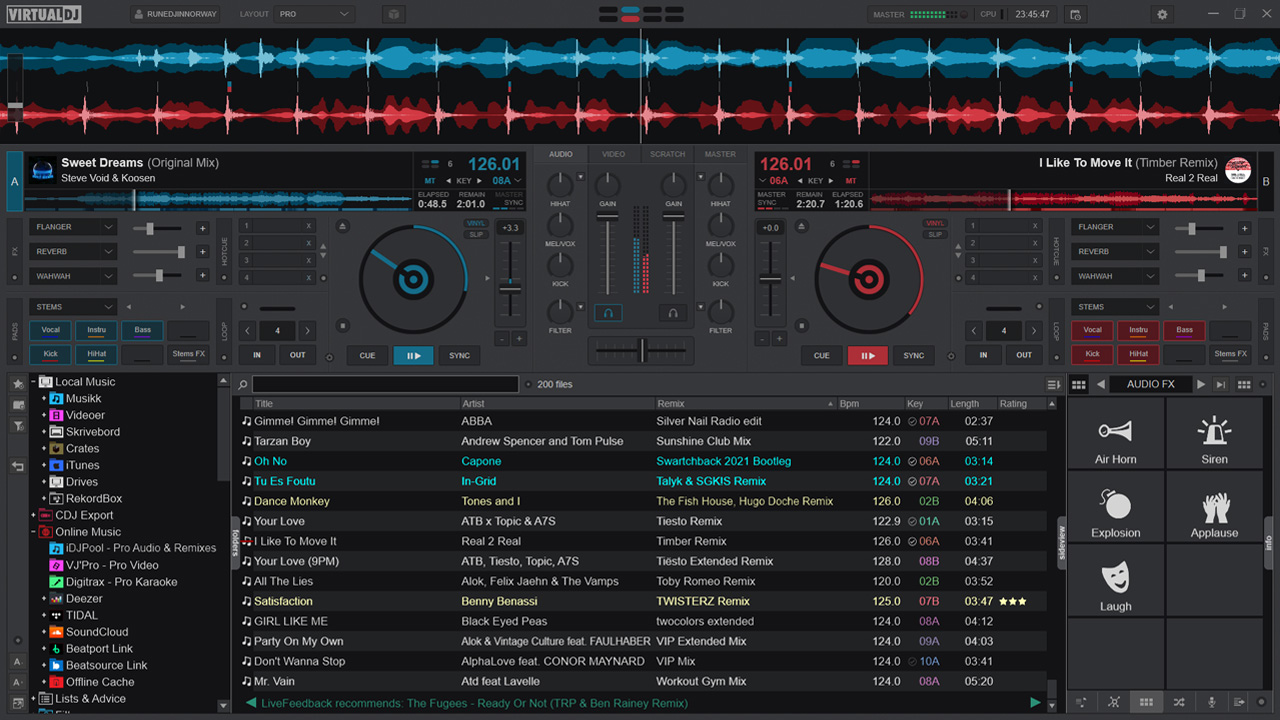
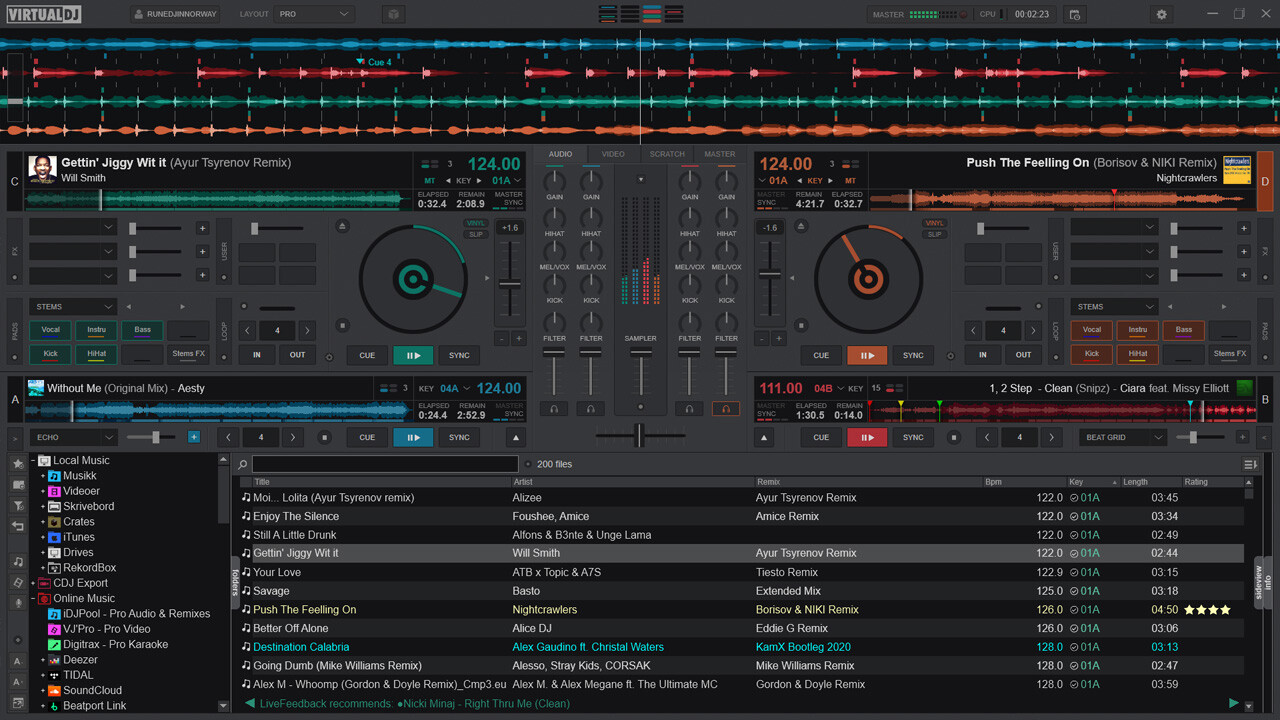
Setting up your recording
Before diving into the exciting process of recording your DJ mix, it's essential to ensure that your setup is optimized for capturing high-quality audio. Setting up your recording environment in Virtual DJ involves configuring the software settings and audio input options to ensure that your mix is captured accurately and with the best possible sound quality.
-
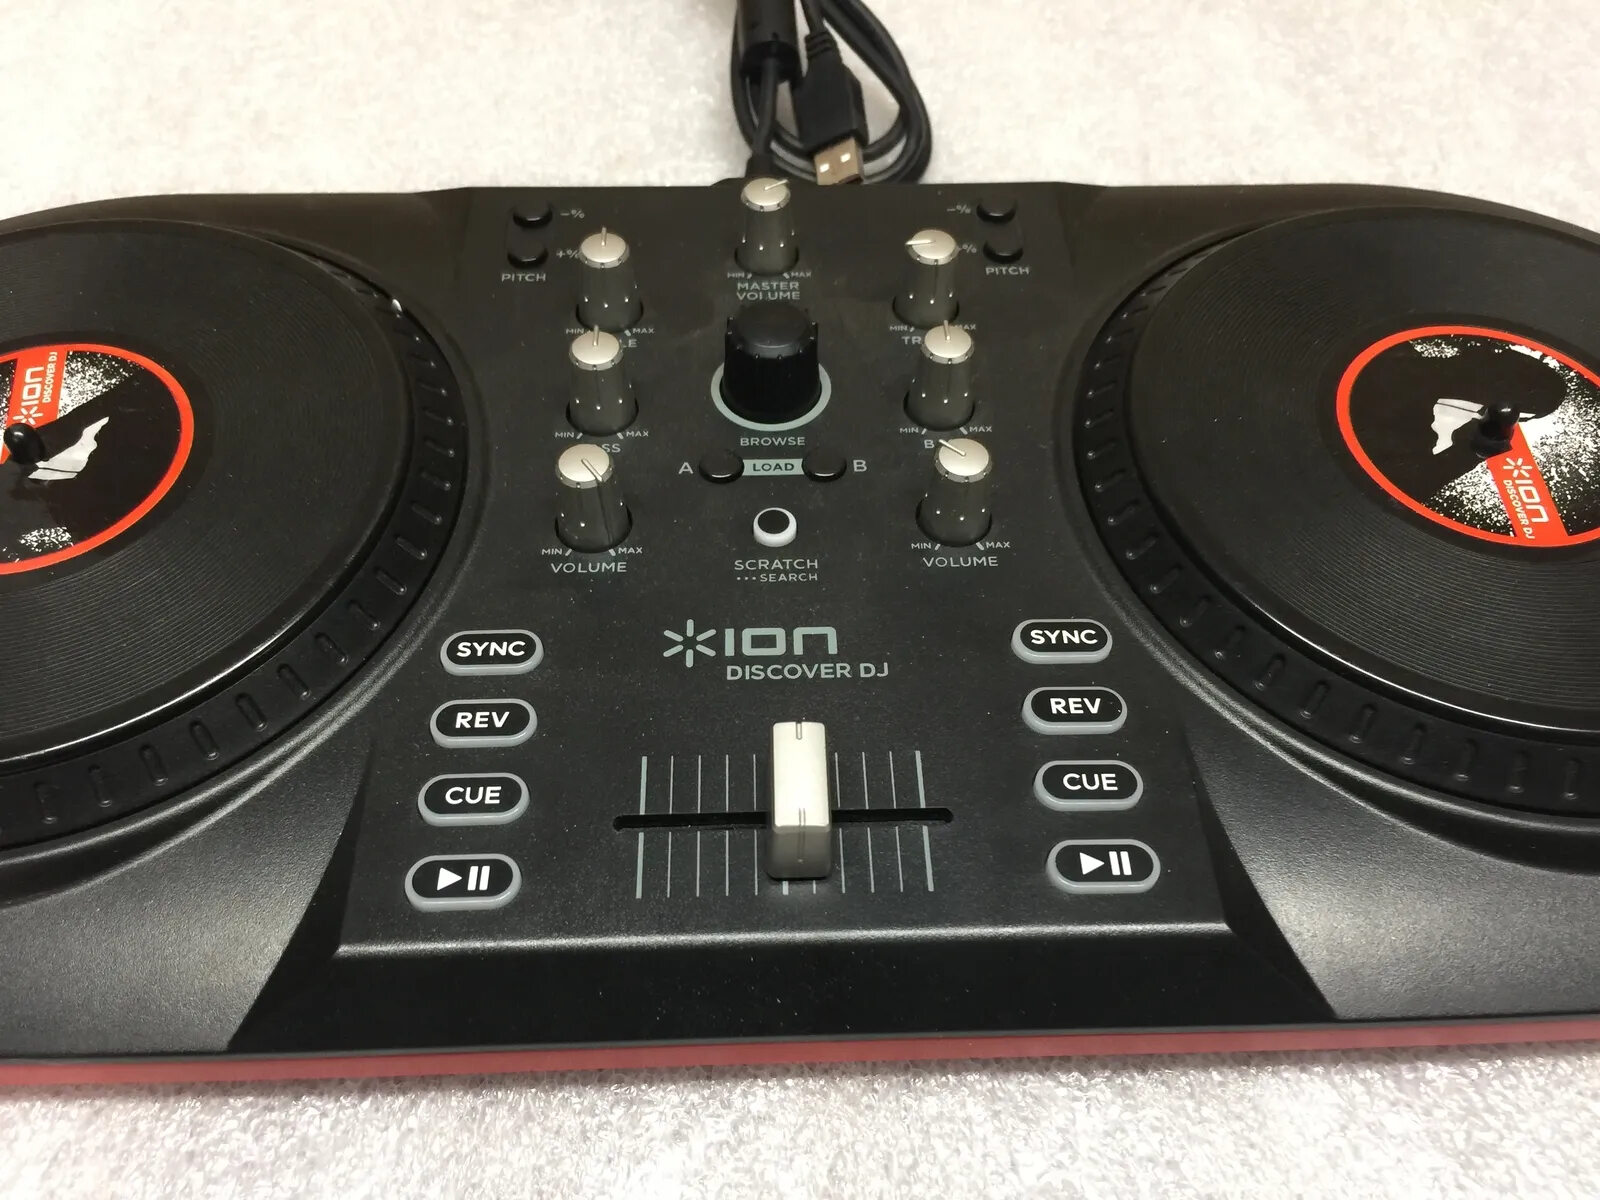
Selecting the Recording Source: In Virtual DJ, the first step in setting up your recording is to choose the correct input source for capturing your mix. Navigate to the software's settings or preferences menu and locate the recording options. Here, you'll be able to select the input source for your recording. Ensure that you choose the input corresponding to the audio output from your DJ controller or mixer. This step is crucial for capturing the audio output from your performance accurately.
-
Adjusting Recording Settings: Once you've selected the appropriate input source, it's important to configure the recording settings to meet your preferences. Virtual DJ offers options to adjust the recording quality, format, and other parameters. Consider the desired file format (such as WAV or MP3), bit depth, and sampling rate. These settings can impact the overall quality and file size of your recorded mix, so it's essential to choose settings that align with your specific requirements.
-
Checking Levels and Audio Quality: Before initiating the recording process, take a moment to ensure that the audio levels are optimized and that the sound quality meets your expectations. Use the software's audio monitoring features to gauge the input levels and make adjustments as needed. Monitoring the audio quality in real-time allows you to identify and address any issues related to sound levels, distortion, or other audio anomalies before commencing the recording.
-
Testing the Recording Setup: Once you've configured the recording settings and verified the audio input, it's advisable to conduct a brief test recording. This test allows you to confirm that the software is capturing the audio from your DJ setup accurately and that the recorded output meets your quality standards. By conducting a test recording, you can preemptively address any potential issues and make refinements to the setup before embarking on a full-length recording session.
By following these steps to set up your recording in Virtual DJ, you can ensure that your mix is captured with precision and fidelity, preserving the nuances of your performance in a high-quality recording. With your recording environment optimized and ready to go, you're now prepared to move on to the next exciting phase: recording your mix.
Remember, the setup process is crucial for achieving a successful recording, so take the time to configure your recording settings thoughtfully and ensure that your equipment is ready to capture your DJ mix flawlessly. With Virtual DJ as your recording platform, you're well-equipped to embark on a recording journey that will showcase your DJing prowess and creativity in the best possible light.
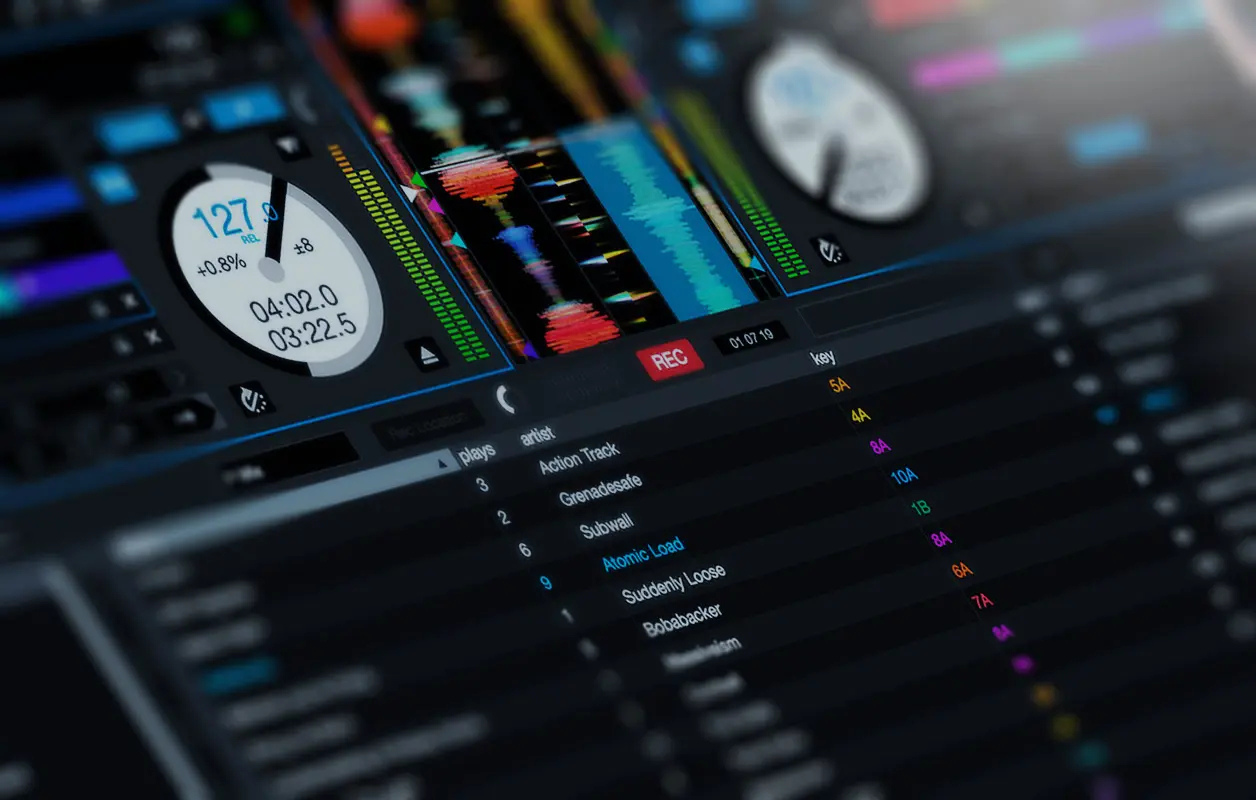
Recording your mix
With your recording environment optimized and your Virtual DJ settings configured, you're ready to embark on the exhilarating process of capturing your DJ mix. Recording your mix in Virtual DJ is a straightforward and seamless endeavor, allowing you to preserve your performance with precision and clarity. Let's delve into the steps for recording your mix and immortalizing your creative expression.
-
Initiating the Recording: Once your setup is primed, initiating the recording process in Virtual DJ is a breeze. Navigate to the recording controls within the software interface and locate the option to start recording. With a simple click or keystroke, Virtual DJ will commence capturing the audio output from your DJ setup, ensuring that every beat, transition, and sonic detail is faithfully preserved in the recording.
-
Executing Your Mix: With the recording in progress, it's time to unleash your DJ skills and deliver a captivating mix. Whether you're crafting seamless transitions, layering tracks, or infusing your signature style into the performance, Virtual DJ diligently captures every element of your mix, preserving the energy and creativity of your performance in real-time.
-
Monitoring the Recording: Throughout your mix, Virtual DJ provides real-time feedback on the recording process, allowing you to monitor the levels and ensure that the audio is being captured accurately. Keep an eye on the recording indicators within the software to verify that the levels are optimal and that the recording is proceeding smoothly.
-
Capturing the Culmination: As your mix reaches its climax, Virtual DJ continues to capture the crescendo of your performance, ensuring that every moment of musical brilliance is immortalized in the recording. Whether you're building tension, dropping a crowd-pleasing track, or executing a flawless transition, Virtual DJ faithfully preserves the essence of your mix, ready to be shared and enjoyed by others.
-
Finalizing the Recording: Once your mix is complete, Virtual DJ provides a seamless process for concluding the recording. With a simple command, you can stop the recording and finalize the captured audio, ensuring that your performance is preserved as a standalone file that can be revisited, shared, and enjoyed at your convenience.
By following these steps, you can leverage the power of Virtual DJ to record your mix with precision and clarity, creating a digital artifact of your DJ prowess and musical creativity. With Virtual DJ as your recording companion, you can confidently express your unique style and talent, knowing that every detail of your performance is faithfully preserved in the recorded mix.
Recording your mix with Virtual DJ is not just about capturing the audio; it's about immortalizing the essence of your creativity and skill as a DJ. With Virtual DJ as your recording platform, you can unleash your musical vision and share your artistry with the world, one captivating mix at a time.
Saving and exporting your mix
Once you've completed the exhilarating process of recording your DJ mix in Virtual DJ, the next crucial step is to save and export your masterpiece. Virtual DJ offers a seamless and intuitive workflow for preserving your recorded mix as a standalone file, ready to be shared, archived, or further refined. Let's explore the steps for saving and exporting your mix with precision and convenience.
-
Stopping the Recording: After your mix reaches its culmination, you can seamlessly halt the recording process within Virtual DJ. This action finalizes the captured audio, ensuring that your performance is preserved as a standalone file that can be revisited and shared at your convenience.
-
Naming and Tagging: Virtual DJ empowers you to assign a meaningful name and relevant tags to your recorded mix. By providing a descriptive title and pertinent tags, you can enhance the discoverability and organization of your mix within your music library and when shared with others.
-
Selecting the File Format: Before exporting your mix, consider the optimal file format for your intended use. Virtual DJ offers a range of file format options, including popular choices such as WAV and MP3. Select the format that aligns with your requirements for audio quality, file size, and compatibility with various playback devices and platforms.
-
Exporting the Mix: With Virtual DJ, exporting your recorded mix is a straightforward process. The software provides intuitive controls for exporting the recorded audio as a standalone file, ensuring that your performance is encapsulated in a high-quality and easily shareable format.
-
Quality Assurance: Before finalizing the export, take a moment to review the exported mix and verify that the audio fidelity meets your expectations. Virtual DJ's export process maintains the integrity of your mix, preserving the nuances and dynamics of your performance with precision.
-
Archiving and Sharing: Once your mix is saved and exported, you can seamlessly integrate it into your music library for future enjoyment and analysis. Additionally, Virtual DJ offers direct sharing options, allowing you to disseminate your recorded mix across digital platforms, social media, and music communities, fostering connections and showcasing your DJ prowess to a wider audience.
By following these steps, you can leverage the capabilities of Virtual DJ to save and export your recorded mix with efficiency and fidelity. Whether you're building a collection of recorded mixes, sharing your performances with fans and fellow DJs, or seeking to preserve your creative expressions for posterity, Virtual DJ equips you with the tools to encapsulate your DJing journey in captivating audio recordings. With your mix saved and exported, you're poised to share your artistry and immerse listeners in the magic of your DJ performances.
Tips for recording a high-quality mix
Recording a high-quality DJ mix goes beyond simply capturing the audio output; it involves optimizing your setup, leveraging the capabilities of your recording software, and implementing best practices to ensure that every detail of your performance is faithfully preserved. Whether you're a seasoned DJ or an aspiring artist, these tips will elevate the quality of your recorded mixes, allowing you to showcase your talent with precision and clarity.
-
Optimize Audio Levels: Before initiating the recording, carefully calibrate the audio levels within your DJ software and on your mixing console or controller. Balancing the levels ensures that the recorded mix maintains a consistent and optimal volume, preventing distortion or excessively low levels that can compromise the overall quality.
-
Choose the Right File Format: Selecting the appropriate file format for your recorded mix is crucial for preserving audio fidelity and compatibility. While formats like WAV offer uncompressed audio with pristine quality, MP3 provides a balance between quality and file size. Consider the intended use of the recording and choose a format that aligns with your requirements.
-
Monitor Recording Levels: Throughout the recording process, keep an eye on the levels within your DJ software to ensure that the audio is being captured within the optimal range. Monitoring the levels allows you to make real-time adjustments and address any issues related to clipping or excessive gain, safeguarding the integrity of the recorded mix.
-
Minimize Ambient Noise: Create an environment conducive to recording by minimizing ambient noise and extraneous distractions. If possible, isolate your recording setup from sources of background noise or utilize acoustic treatments to enhance the clarity of the recorded audio, resulting in a pristine mix free from unwanted interference.
-
Utilize High-Quality Audio Cables: The use of high-quality audio cables and connectors can significantly impact the fidelity of the recorded mix. Opt for shielded cables and robust connectors to minimize signal degradation and interference, ensuring that the audio signal remains pristine as it travels from your DJ setup to the recording interface.
-
Test and Refine Recording Settings: Conduct test recordings to fine-tune your recording settings, including input levels, format options, and audio processing parameters. By refining your recording settings through iterative testing, you can optimize the quality of the recorded mix and tailor the settings to your specific DJ setup and performance style.
By incorporating these tips into your recording process, you can elevate the quality of your recorded DJ mixes, capturing your performances with precision and fidelity. With Virtual DJ as your recording platform and these best practices at your disposal, you're well-equipped to create captivating mixes that showcase your artistry and technical prowess in the best possible light.