Home>Production & Technology>Noise Cancellation>Cloud Stinger How To Activate Noise Cancellation
Noise Cancellation
Cloud Stinger How To Activate Noise Cancellation
Modified: January 22, 2024
Learn how to activate noise cancellation on the Cloud Stinger headset. Enjoy a more immersive and distraction-free gaming experience with this feature.
(Many of the links in this article redirect to a specific reviewed product. Your purchase of these products through affiliate links helps to generate commission for AudioLover.com, at no extra cost. Learn more)
Table of Contents
Introduction
Welcome to the world of advanced audio technology with the Cloud Stinger Noise Cancellation feature. In today’s bustling environment, finding a quiet space to enjoy your favorite music or engage in an online conference can be challenging. Thankfully, with the Cloud Stinger Noise Cancellation, you can immerse yourself in crystal-clear sound without any disturbances from the outside world.
Noise cancellation technology has revolutionized the way we listen to audio and communicate with others. Whether you’re a music enthusiast, a gamer, or a professional on the go, the Cloud Stinger Noise Cancellation feature is designed to deliver an optimized audio experience by effectively reducing external noise.
In this article, we will delve into the workings of noise cancellation, explore the features of the Cloud Stinger Noise Cancellation, and guide you through the steps to activate this incredible feature on your Cloud Stinger headphones.
So, sit back, relax, and let the Cloud Stinger Noise Cancellation transport you to a world of pure, uninterrupted audio bliss.
Understanding Noise Cancellation
Noise cancellation technology is a remarkable innovation that allows you to enjoy audio without interference from external sounds. It works by using advanced algorithms and microphones to detect and neutralize background noise, providing a serene listening experience even in noisy environments.
There are two main types of noise cancellation: passive and active. Passive noise cancellation relies on the physical design of the headphones to block out external noise. It is achieved through the use of dense materials and a snug fit that creates a seal around the ears, minimizing the amount of external sound that reaches the ears.
On the other hand, active noise cancellation (ANC) takes noise cancellation to the next level. It uses built-in microphones to capture outside noises and generates inverted sound waves called anti-noise. When these anti-noise waves combine with the incoming sounds, they cancel each other out, effectively reducing the ambient noise.
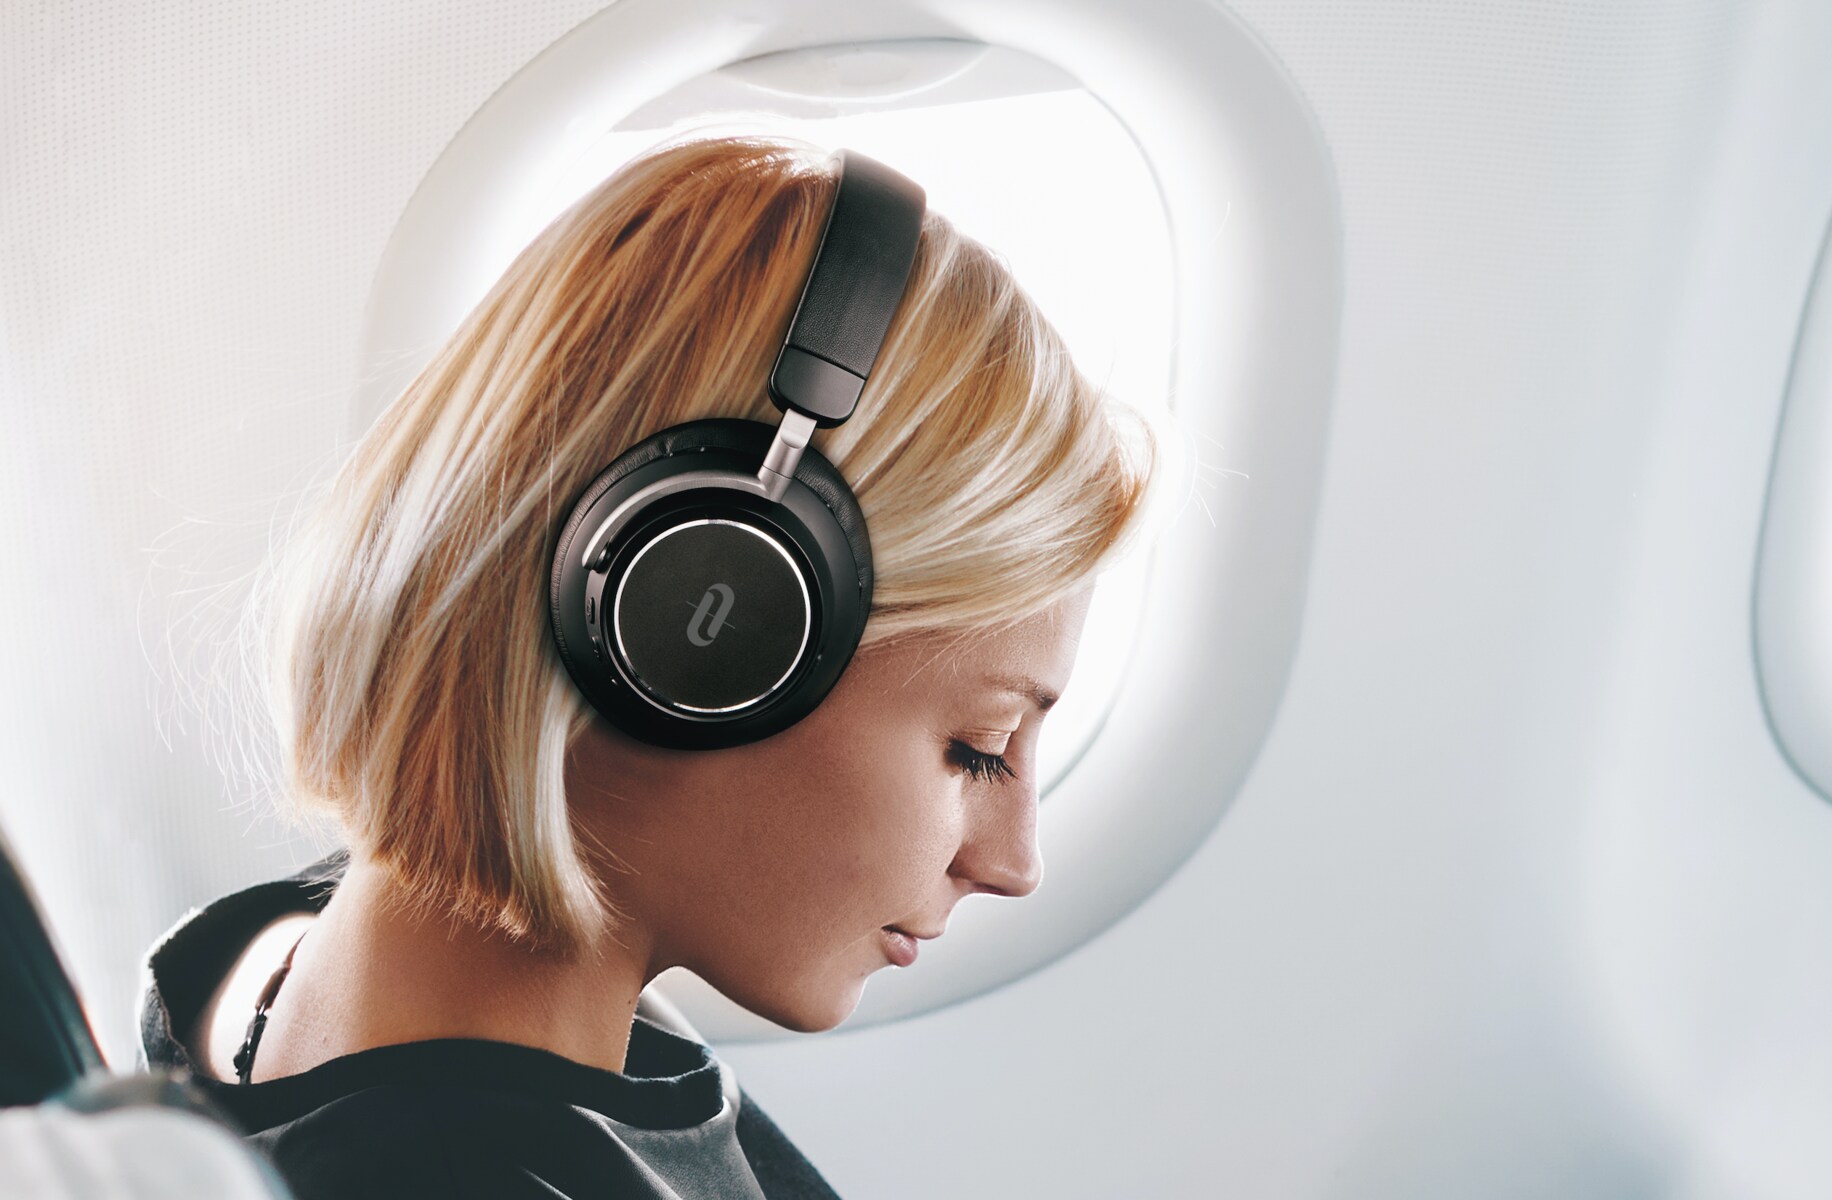
The Cloud Stinger Noise Cancellation feature utilizes active noise cancellation technology to create a tranquil audio environment. Whether you’re in a crowded coffee shop, on public transportation, or in a noisy office, the Cloud Stinger headphones can help to eliminate distracting background noise and provide you with a more immersive audio experience.
It’s important to note that while noise cancellation is highly effective at reducing steady, low-frequency sounds like engine noises or air conditioning hum, it may not completely eliminate all types of noise. Sudden, sharp sounds or voices may still be audible to a certain extent.
Now that you understand the basics of noise cancellation, let’s explore the exceptional features of the Cloud Stinger Noise Cancellation and how you can activate it to enhance your audio adventures.
Features of Cloud Stinger Noise Cancellation
The Cloud Stinger Noise Cancellation feature is packed with a host of impressive capabilities that elevate your audio experience to new heights. Here are some key features that make it a standout choice:
- Active Noise Cancellation: The Cloud Stinger headphones employ advanced active noise cancellation technology to effectively reduce ambient noise, allowing you to immerse yourself in your favorite audio without distractions.
- Customizable Noise Cancellation Levels: With the Cloud Stinger, you have the option to adjust the level of noise cancellation according to your preferences. Whether you want to completely block out all external noise or allow a bit of ambient sound through, the adjustable settings give you the flexibility to tailor the experience to your liking.
- Exceptional Sound Quality: The Cloud Stinger Noise Cancellation feature doesn’t compromise on audio quality. You can expect crisp and clear sound reproduction across various frequencies, ensuring that every detail of your music or game is rendered with precision.
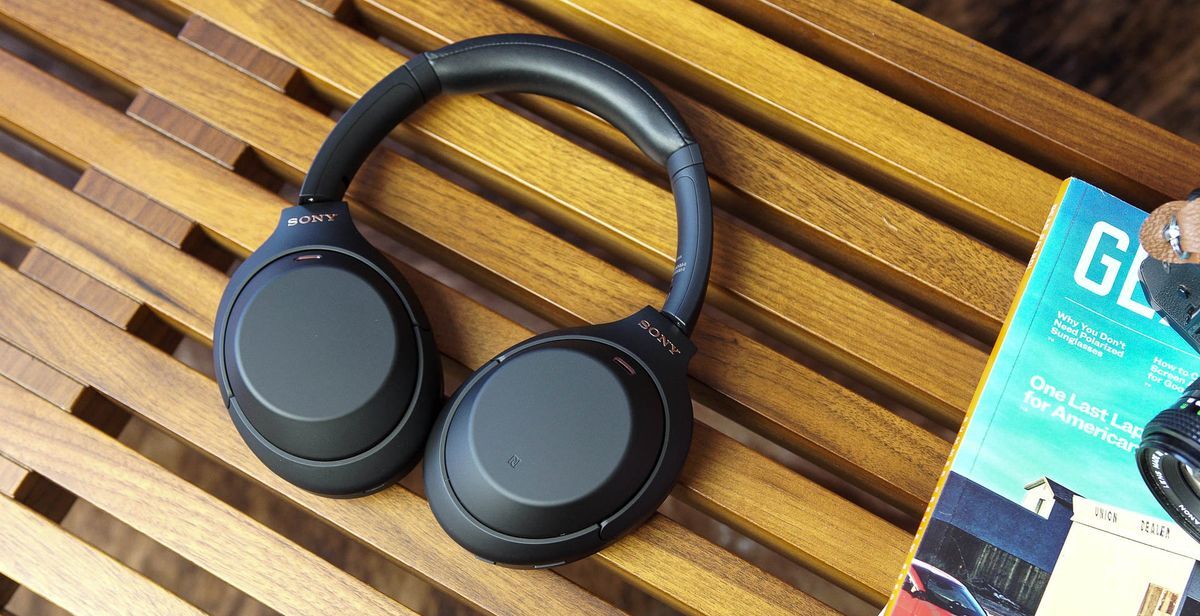
- Comfortable Design: The Cloud Stinger headphones are ergonomically designed with plush ear cushions and an adjustable headband, providing a comfortable fit even during extended listening sessions. The lightweight construction makes them easy to wear for long periods without causing discomfort.
- Long Battery Life: The Cloud Stinger Noise Cancellation feature is powered by a long-lasting battery that enables you to enjoy uninterrupted audio for hours on end. Whether you’re on a long flight or a road trip, you won’t have to worry about running out of battery power.
The combination of active noise cancellation, customizable settings, superior sound quality, comfort, and long battery life makes the Cloud Stinger headphones an excellent choice for those seeking an immersive and uninterrupted audio experience.
Now that you’re familiar with the remarkable features of the Cloud Stinger Noise Cancellation, let’s move on to the steps to activate this feature and make the most out of your headphones.
Steps to Activate Noise Cancellation on Cloud Stinger
Activating the Noise Cancellation feature on your Cloud Stinger headphones is a breeze. Follow these simple steps to unleash the power of noise-free audio:
- Ensure Sufficient Battery Power: Before activating the Noise Cancellation feature, make sure your Cloud Stinger headphones have enough battery power. Connect them to a power source using the supplied USB cable and allow them to charge fully.
- Power On your Cloud Stinger Headphones: Press and hold the power button on your Cloud Stinger headphones until the power indicator LED lights up. This indicates that your headphones are powered on and ready to use.
- Access the Noise Cancellation Feature: Locate the noise cancellation button on your Cloud Stinger headphones. It is usually marked with an icon depicting sound waves or noise cancellation.
- Press the Noise Cancellation Button: Press the noise cancellation button firmly to activate the noise cancellation feature. You may hear a confirmation sound indicating that noise cancellation is activated.
- Adjust the Noise Cancellation Level: Depending on your preferences, you can adjust the level of noise cancellation by using the volume controls on your Cloud Stinger headphones. Increase or decrease the noise cancellation level until you find the perfect balance of ambient sound and audio immersion.
- Enjoy Noise-Free Audio: Once the noise cancellation feature is activated and adjusted to your liking, you can now enjoy your audio with minimal interference from external noise. Sit back, relax, and immerse yourself in your favorite music, movies, or games.
That’s it! You have successfully activated the Noise Cancellation feature on your Cloud Stinger headphones. Now, you can experience a whole new level of audio clarity and immersion, free from the distractions of the surrounding environment.
If you encounter any issues or have trouble activating the noise cancellation feature, refer to the troubleshooting section below for some common solutions.
Troubleshooting Common Issues
While the Cloud Stinger Noise Cancellation feature is designed to provide a seamless and uninterrupted audio experience, you may encounter some issues along the way. Here are some common problems you may face and their possible solutions:
- Noise Cancellation Not Turning On: If you’re having trouble activating the noise cancellation feature, check the battery level of your Cloud Stinger headphones. Ensure they are adequately charged. If the issue persists, try resetting the headphones by turning them off and on again.
- Inadequate Noise Reduction: If you find that the noise cancellation isn’t effectively reducing external noise, check the fit of your Cloud Stinger headphones. Ensure they are snugly placed over your ears and create a proper seal. Adjust the noise cancellation level to a higher setting if necessary.
- Interference or Buzzing Sounds: If you hear any interference or buzzing sounds while using the noise cancellation feature, try updating the firmware of your Cloud Stinger headphones. You can typically do this by visiting the manufacturer’s website and downloading the latest firmware version.
- Poor Audio Quality: If you notice a decline in audio quality when the noise cancellation is activated, try adjusting the volume level. Sometimes, improper volume settings can affect the overall audio experience. Additionally, ensure that your audio source is of high quality and properly connected to the Cloud Stinger headphones.
- Compatibility Issues: If you’re experiencing compatibility issues with other devices or software while using the noise cancellation feature, ensure that your Cloud Stinger headphones are compatible with the specific device or application. Refer to the user manual or contact the manufacturer for further assistance.
If you’ve tried the troubleshooting steps above and are still experiencing issues with the Cloud Stinger Noise Cancellation feature, it’s recommended to reach out to the manufacturer’s support team for further assistance. They will be able to provide specialized guidance and address any specific concerns you may have.
Remember, every technical issue can have a unique solution, so don’t hesitate to seek expert help when needed. The goal is to ensure that you can fully enjoy the benefits of noise cancellation and have a rewarding audio experience.
Conclusion
The Cloud Stinger Noise Cancellation feature offers an incredible audio experience by reducing unwanted background noise and immersing you in pure, uninterrupted sound. Whether you’re a music enthusiast, a gamer, or a professional in need of a quiet space, the Cloud Stinger Noise Cancellation can transform your audio adventures.
In this article, we explored the concept of noise cancellation and how it works to eliminate external noise. We discussed the exceptional features of the Cloud Stinger Noise Cancellation, such as customizable noise cancellation levels, superior sound quality, comfort, and long battery life.
Activating the Noise Cancellation feature on your Cloud Stinger headphones is a simple process. By following the steps we provided, you can quickly activate the feature and adjust the noise cancellation level to suit your preferences.
If you encounter any issues, we also provided troubleshooting tips to help you resolve common problems and ensure optimal performance.
With the Cloud Stinger Noise Cancellation, you can block out distractions and fully immerse yourself in your audio experience. Whether you’re enjoying your favorite music, engaging in intense gaming sessions, or participating in important conference calls, the Noise Cancellation feature can enhance your overall audio enjoyment.
So, don’t let external noise hinder your audio experience any longer. Get your Cloud Stinger headphones and activate the Noise Cancellation feature to enjoy uninterrupted, high-quality sound wherever you go.
Experience the power of noise cancellation with the Cloud Stinger headphones and elevate your audio adventures to new heights!