Home>Production & Technology>Noise Cancellation>How To Activate Noise Cancellation On Galaxy Buds
Noise Cancellation
How To Activate Noise Cancellation On Galaxy Buds
Modified: January 22, 2024
Learn how to activate noise cancellation on Galaxy Buds and enjoy an immersive audio experience. Enhance your music and block out unwanted background noise.
(Many of the links in this article redirect to a specific reviewed product. Your purchase of these products through affiliate links helps to generate commission for AudioLover.com, at no extra cost. Learn more)
Table of Contents
Introduction
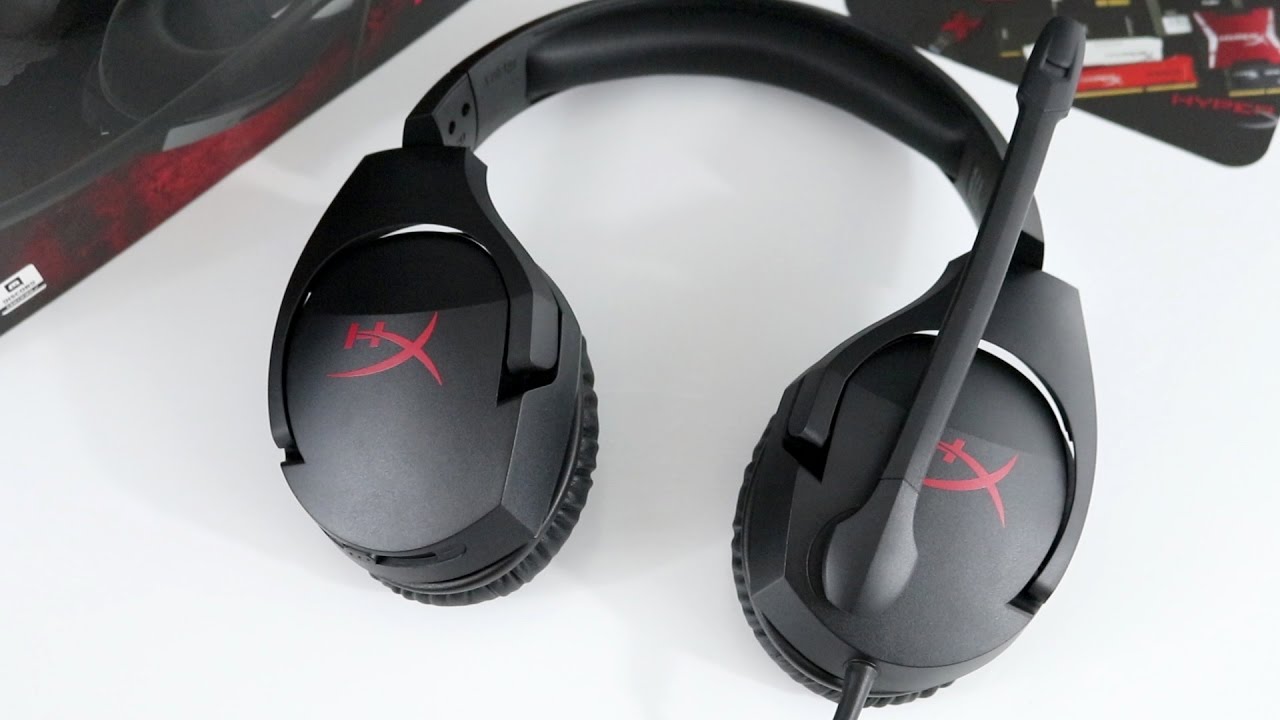
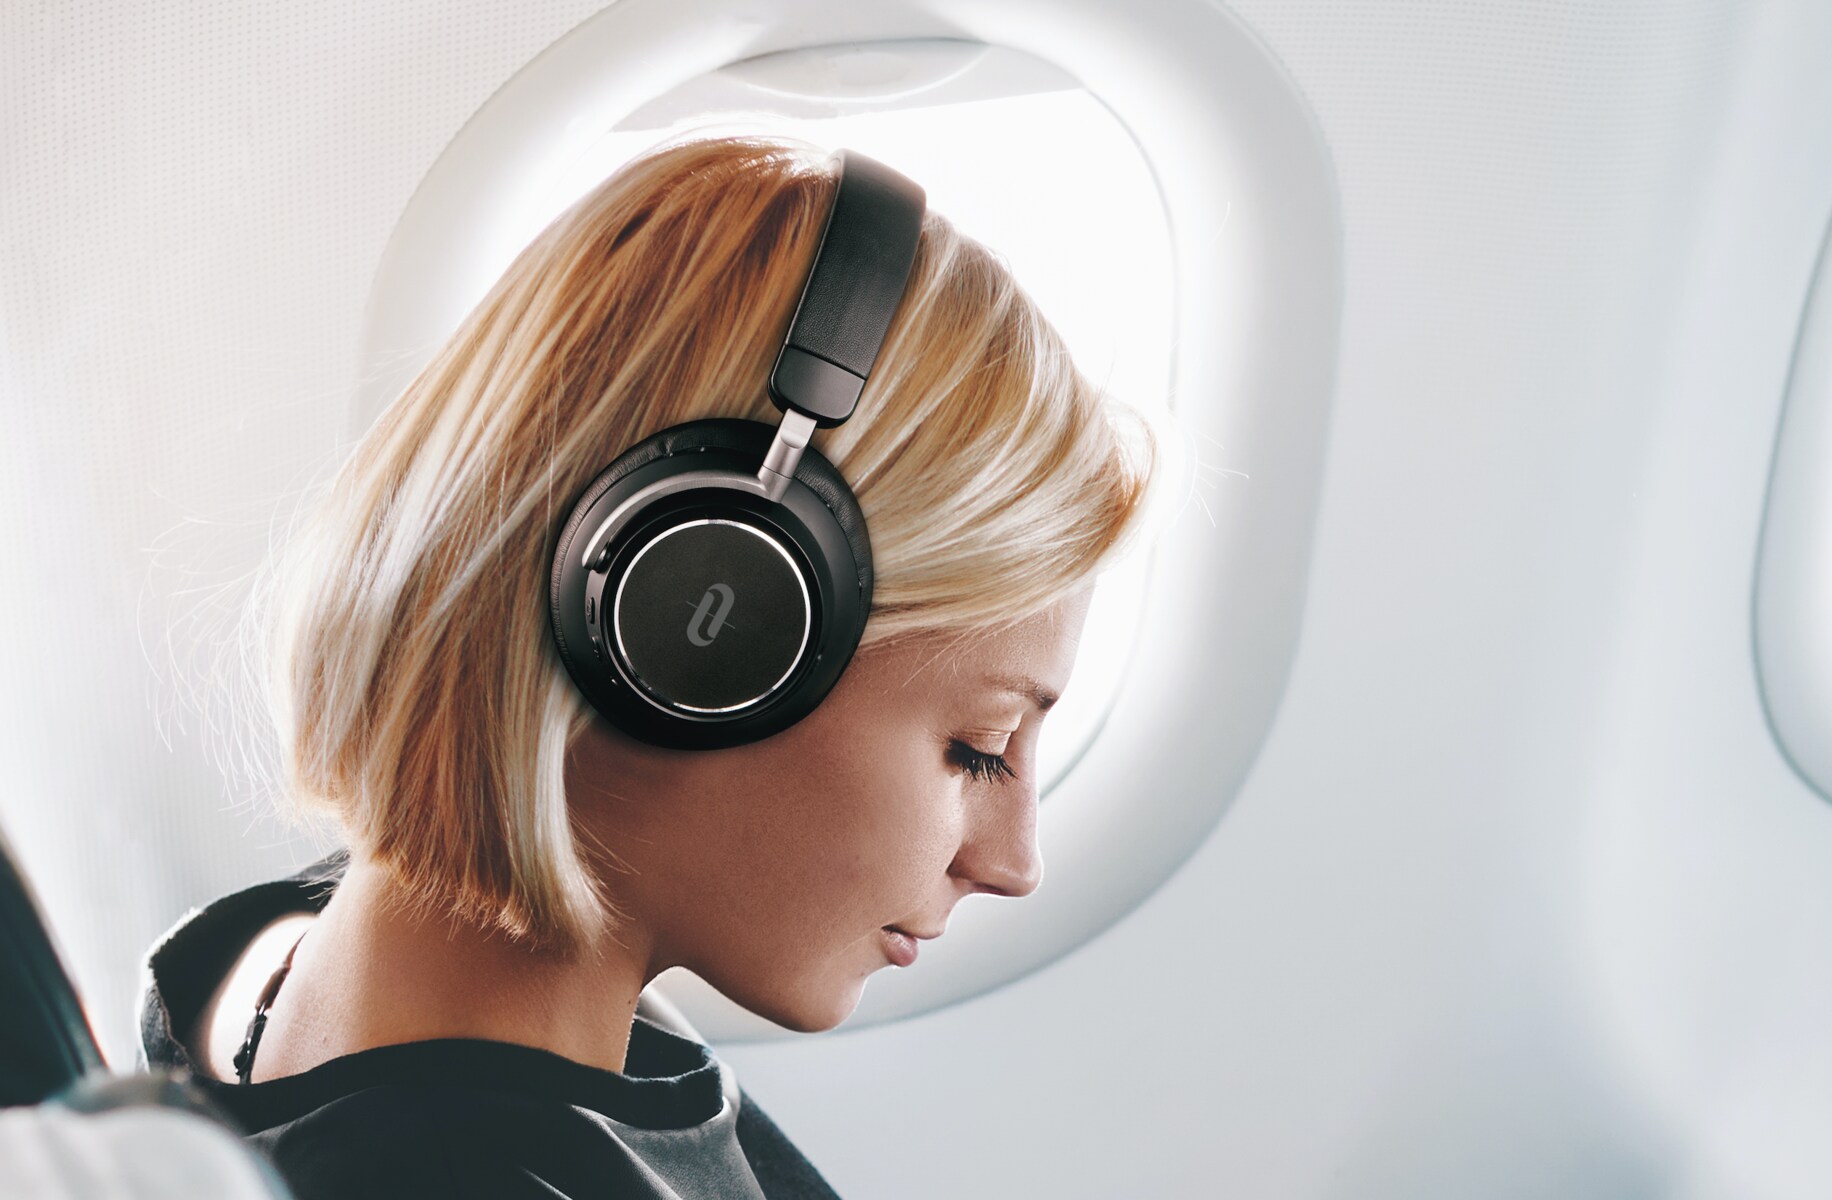
Welcome to the world of noise cancellation technology! If you’re tired of dealing with unwanted background noise while enjoying your favorite music or taking important calls, then activating noise cancellation on your Galaxy Buds could be a game-changer for you. Whether you commute in a noisy city, work in a bustling office, or simply seek a moment of tranquility, noise cancellation can help you create your own personal oasis of sound.
The Galaxy Buds, manufactured by Samsung, are a popular choice among wireless earbuds enthusiasts. They offer a variety of features, including noise cancellation, which can dramatically improve your listening experience by blocking out external disturbances. By activating this feature, you can immerse yourself in your music, focus on important tasks, or silence the world around you with just a few simple steps.
In this article, we’ll guide you through the process of activating noise cancellation on your Galaxy Buds, ensuring that you can enjoy all the benefits these earbuds have to offer. Whether you’re a tech-savvy individual or a newcomer to the world of wireless audio devices, rest assured that we’ll provide you with clear and concise instructions to make your noise cancellation experience seamless.
But before we dive into the steps, let’s ensure that your Galaxy Buds are compatible with noise cancellation technology and that you have the necessary software and firmware updates. This will ensure that you have the best possible noise cancellation experience.
Step 1: Checking Compatibility
The first step in activating noise cancellation on your Galaxy Buds is to check if your earbuds are compatible with this feature. While most newer models of Galaxy Buds come with noise cancellation capabilities, it’s always a good idea to verify this before proceeding.
To check the compatibility, start by locating the model number of your Galaxy Buds. You can typically find this information on the packaging or on the earbuds themselves. Once you have the model number, visit the official Samsung website or refer to the user manual to confirm if noise cancellation is supported on your specific model.
If you find that your Galaxy Buds are indeed compatible, you’re ready to move on to the next step. However, if noise cancellation is not supported on your model, don’t worry! You can still enjoy other features of the Galaxy Buds and consider upgrading to a compatible model in the future.
Now that we’ve determined the compatibility, let’s proceed to the next step: updating the Galaxy Wearable app on your connected device.
Step 2: Updating the Galaxy Wearable App
Before diving into the world of noise cancellation with your Galaxy Buds, it is essential to ensure that you have the latest version of the Galaxy Wearable app installed on your connected device. The Galaxy Wearable app is the control center for your Galaxy Buds, allowing you to access various settings and features.
To update the Galaxy Wearable app, follow these simple steps:
- Open the app store on your connected device.
- Search for “Galaxy Wearable” in the search bar.
- Once you find the official app, tap on it to access the app page.
- If an update is available, you will see an “Update” button. Tap on it to begin the update process.
- Wait for the app to download and install the latest version on your device.
It’s important to have the most up-to-date version of the app as it ensures compatibility with your Galaxy Buds and provides access to the latest features and enhancements, including noise cancellation.
Once you have successfully updated the Galaxy Wearable app, proceed to the next step, which is connecting your Galaxy Buds to your device.
Step 3: Connecting the Galaxy Buds
Now that you have the updated Galaxy Wearable app, it’s time to connect your Galaxy Buds to your device. Follow these steps to establish a seamless connection:
- Open the Galaxy Wearable app on your connected device.
- Ensure that Bluetooth is enabled on your device.
- Place your Galaxy Buds in their charging case and keep the lid open.
- On the Galaxy Wearable app, tap on the “Connect” or “Pair” button.
- The app will search for nearby devices. Select your Galaxy Buds from the list of available devices.
- Follow the on-screen instructions to complete the pairing process.
- Once the pairing is successful, you will see a confirmation message on the app, indicating that your Galaxy Buds are now connected to your device.
Now that your Galaxy Buds are successfully connected to your device, you can proceed to the next step and access the Galaxy Buds settings.
Note: If you encounter any issues during the pairing process, ensure that your Galaxy Buds are charged and in close proximity to your device. If the problem persists, you may need to reset your Galaxy Buds and try the pairing process again.
Step 4: Accessing the Galaxy Buds Settings
Now that your Galaxy Buds are connected to your device, it’s time to access the settings and prepare for activating noise cancellation. Follow these steps to access the Galaxy Buds settings:
- Open the Galaxy Wearable app on your connected device.
- Ensure that your Galaxy Buds are connected and recognized by the app.
- Tap on the “Settings” icon, usually represented by a gear or cogwheel.
- In the settings menu, you will find various options and features available for your Galaxy Buds.
- Scroll down or navigate through the menu options to locate the “Noise Cancellation” or “ANC” (Active Noise Cancellation) feature.
- Once you find the noise cancellation option, you are ready to activate this feature on your Galaxy Buds.
The settings menu offers additional customization options, such as ambient sound settings or equalizer adjustments. Feel free to explore these options to further enhance your audio experience with the Galaxy Buds.
With the Galaxy Buds settings accessed, you’re now ready to activate noise cancellation on your earbuds. Let’s move on to the next step.
Step 5: Activating Noise Cancellation
Activate the noise cancellation feature on your Galaxy Buds to enjoy a blissful audio experience free from external disturbances. Here are the steps to activate noise cancellation:
- Open the Galaxy Wearable app on your connected device.
- Navigate to the settings menu and locate the “Noise Cancellation” or “ANC” option.
- Tap on the “Noise Cancellation” or “ANC” option to enable it.
- Wait for a moment while the Galaxy Buds configure the noise cancellation settings.
- Once noise cancellation is activated, you should notice a change in the audio environment, with background noise minimized and your audio playback enhanced.
Congratulations! You have successfully activated noise cancellation on your Galaxy Buds. Now, let’s move on to the next step and explore how to adjust the noise cancellation settings according to your preferences.
Step 6: Adjusting Noise Cancellation Settings
While noise cancellation is activated on your Galaxy Buds, you may want to customize the settings to suit your specific preferences or the environment you’re in. Follow these steps to adjust the noise cancellation settings:
- Open the Galaxy Wearable app on your connected device.
- Navigate to the settings menu and locate the “Noise Cancellation” or “ANC” option.
- Tap on the “Noise Cancellation” or “ANC” option to access the detailed settings.
- Depending on your Galaxy Buds model, you may have various options to adjust the noise cancellation intensity or customize other related parameters.
- You can try different levels of noise cancellation to find the ideal balance between blocking outside noise and maintaining audio clarity.
- Some Galaxy Buds models may even offer a transparency mode, allowing you to hear your surroundings without removing the earbuds.
Take some time to experiment with the noise cancellation settings and find the configuration that suits your needs best. It’s worth noting that certain settings may impact battery life, so you can customize it based on personal preference and the duration of your usage.
Now that you have adjusted the noise cancellation settings, let’s move on to the final step and test the noise cancellation feature on your Galaxy Buds.
Step 7: Testing the Noise Cancellation Feature
Now that you have activated and adjusted the noise cancellation settings on your Galaxy Buds, it’s time to put the feature to the test and experience the difference. Here’s how you can do it:
- Ensure that your Galaxy Buds are securely in your ears.
- Play your favorite music, podcast, or any audio content on your connected device.
- Find a noisy environment, such as a bustling cafe or a crowded street.
- Put the noise cancellation feature to the test by immersing yourself in the audio while paying attention to the reduction in external noise.
- Observe how the noise cancellation feature effectively minimizes the surrounding sounds, allowing you to enjoy your audio without distractions.
- You can also try enabling the transparency mode, if available, to hear and engage with your surroundings while still wearing your Galaxy Buds.
As you test the noise cancellation feature, take note of how it enhances your audio experience and allows you to focus on what you’re listening to, whether it’s music, podcasts, or important phone calls.
Congratulations! You have successfully activated, adjusted, and tested the noise cancellation feature on your Galaxy Buds. Enjoy the immersive audio experience they provide in any environment.
Conclusion
Congratulations on successfully activating and experiencing the noise cancellation feature on your Galaxy Buds! By following the steps outlined in this guide, you’ve taken a big step towards creating a more immersive and distraction-free audio experience.
Noise cancellation technology has revolutionized the way we listen to music, make phone calls, and enjoy audio content. With the Galaxy Buds, you can now enjoy your favorite sounds without the interference of external noise, whether you’re commuting, working in a busy office, or simply seeking a moment of tranquility.
Remember to regularly update the Galaxy Wearable app to ensure you have access to the latest features and improvements. Additionally, don’t hesitate to explore the various settings and customization options available for your Galaxy Buds, allowing you to fine-tune the noise cancellation experience to align with your preferences.
Now that you’re equipped with the knowledge and know-how to activate and utilize noise cancellation on your Galaxy Buds, go ahead and enjoy a world of immersive audio. Embrace the freedom to focus on your music, calls, or audio content, without being disturbed by the external environment.
Thank you for choosing the Galaxy Buds as your wireless earbuds, and we hope this guide has been informative and helpful. Happy listening!