Home>Production & Technology>Noise Cancellation>How To Activate Noise Cancellation On IPhone
Noise Cancellation
How To Activate Noise Cancellation On IPhone
Modified: January 22, 2024
Learn how to activate noise cancellation on your iPhone and enjoy a truly immersive audio experience. Enhance your listening with simple steps!
(Many of the links in this article redirect to a specific reviewed product. Your purchase of these products through affiliate links helps to generate commission for AudioLover.com, at no extra cost. Learn more)
Table of Contents
- Introduction
- What is Noise Cancellation?
- Supported iPhone Models
- How to Check Noise Cancellation Compatibility
- How to Activate Noise Cancellation on iPhone
- Step 1: Open the Settings App
- Step 2: Navigate to the Accessibility Settings
- Step 3: Tap on Audio/Visual
- Step 4: Enable Noise Cancellation
- Step 5: Adjust the Noise Cancellation Level
- Step 6: Test and Customize Noise Cancellation
- Troubleshooting Tips
- Conclusion
Introduction
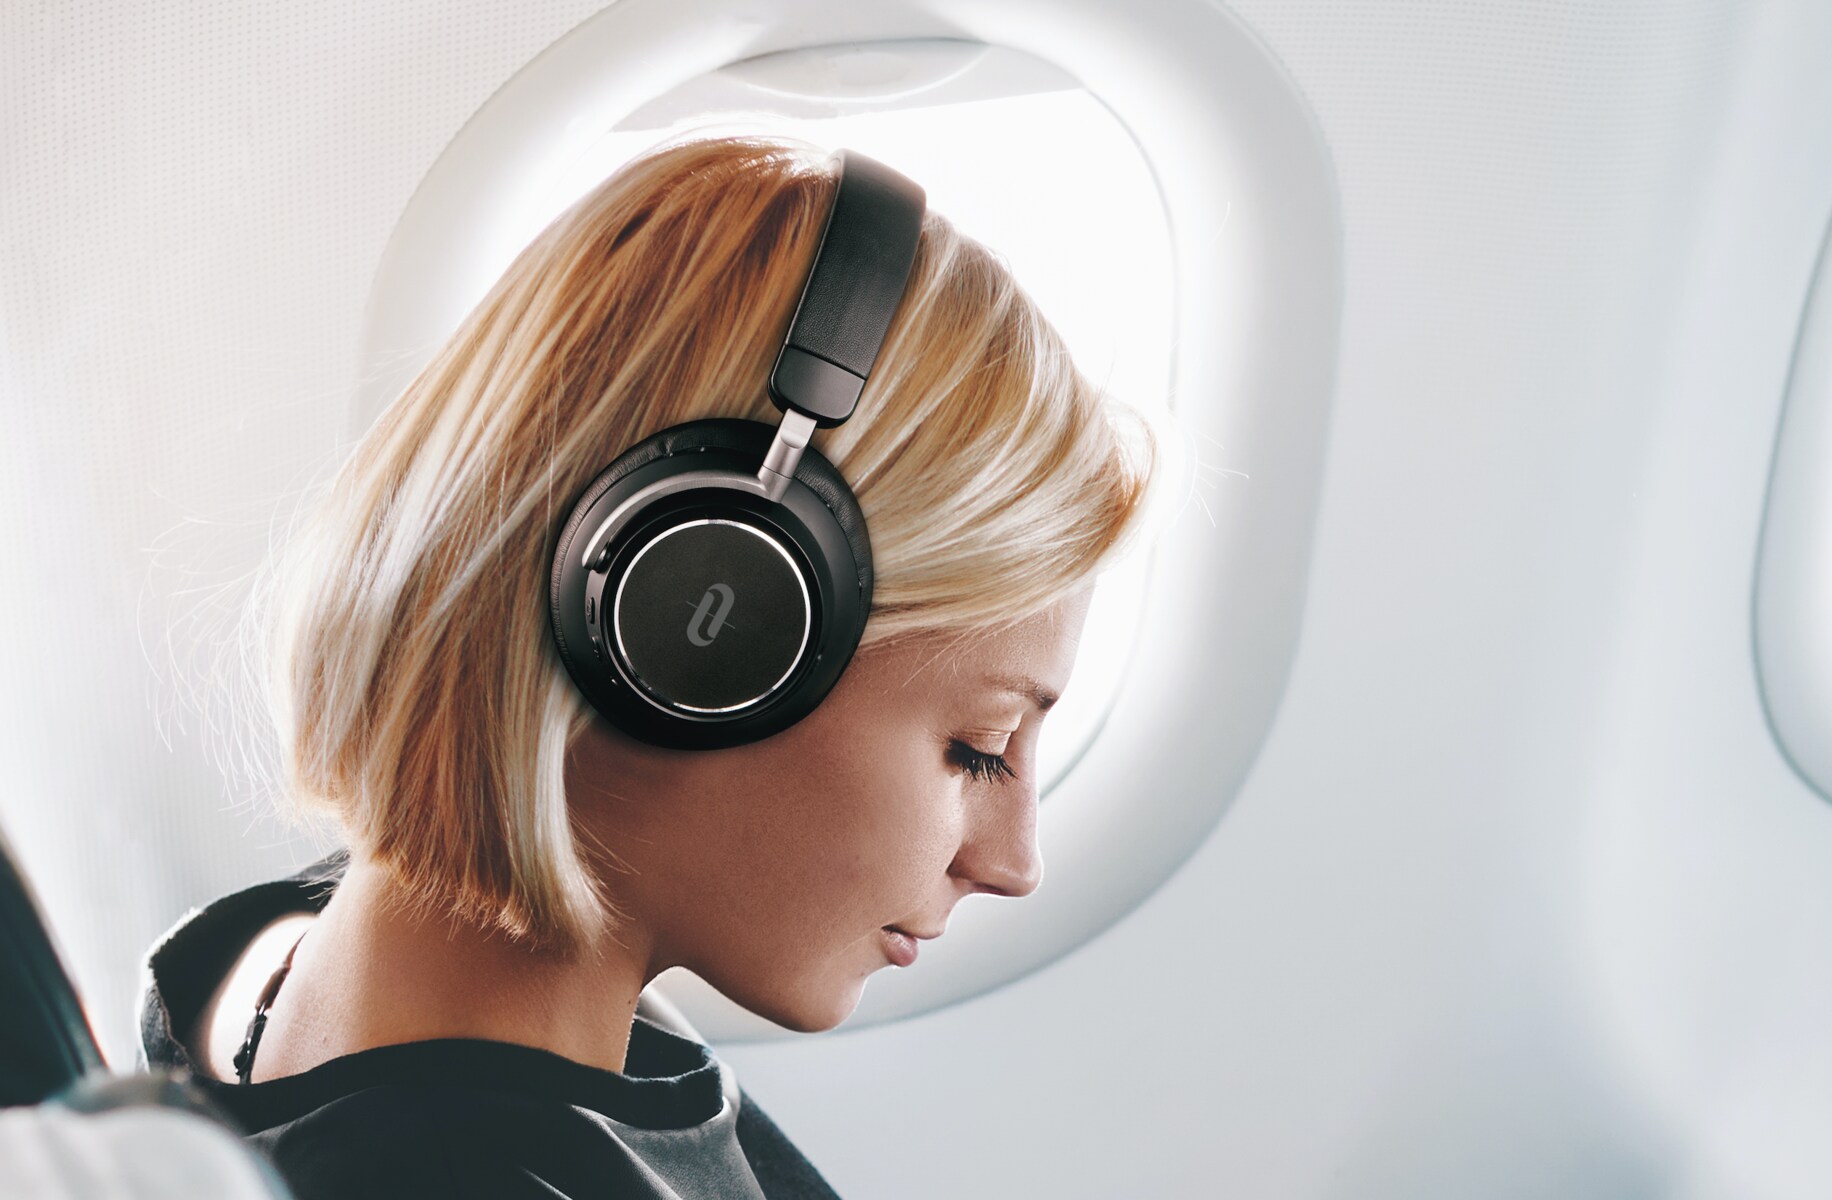
Noise cancellation has become an essential feature for many people, especially in today’s fast-paced and bustling world. Whether you’re commuting, working in a noisy environment, or simply trying to enjoy some quiet time, the ability to block out unwanted noise can greatly enhance your experience. Fortunately, if you own an iPhone, you have access to advanced noise cancellation technology right at your fingertips.
In this article, we’ll explore how to activate noise cancellation on your iPhone and make the most of this powerful feature. We’ll cover the basics of what noise cancellation is, the iPhone models that support this feature, and step-by-step instructions on how to activate it. Whether you’re a seasoned iPhone user or new to the iOS ecosystem, this guide will help you harness the full potential of noise cancellation and create a more immersive audio experience.
Imagine being able to escape the cacophony of a crowded city street or effortlessly block out the sound of a bustling cafe. With noise cancellation, you can transform your iPhone into a personal sanctuary, allowing you to focus on what matters most – whether it’s enjoying music, watching videos, or simply finding peace and tranquility in your surroundings.
But what exactly is noise cancellation? How does it work, and what benefits does it offer? Let’s delve into these questions to gain a deeper understanding of this technology before we dive into the specifics of activating it on your iPhone.
What is Noise Cancellation?
Noise cancellation is a technology designed to reduce the level of unwanted ambient noise in the background, allowing you to focus on the audio that you want to hear. It works by using built-in microphones to detect external sounds and then generating an equal but opposite sound wave to cancel out the noise. This process is known as “destructive interference.”
By using noise cancellation, you can effectively eliminate distractions and immerse yourself in your audio content. Whether you’re listening to music, watching videos, or even making phone calls, noise cancellation ensures that the sounds you want to hear come through crystal clear, while minimizing the impact of external noise.
There are two main types of noise cancellation: active and passive. Passive noise cancellation involves physically blocking out external noise through the use of materials like foam or padding. This method is commonly used in headphones that fit snugly over your ears, creating a seal to prevent sound from entering. While passive noise cancellation is effective to some extent, it may not completely eliminate all background noise.
On the other hand, active noise cancellation takes the process a step further by actively generating sound waves to counteract external noise. This is achieved through the use of complex algorithms and advanced signal processing technology. By producing sound waves that are the exact opposite of the incoming noise, active noise cancellation is able to neutralize and cancel out unwanted sounds more effectively.
Active noise cancellation is particularly useful in environments with continuous or low-frequency background noise, such as airplanes, trains, or busy city streets. It allows you to enjoy your audio without the need to increase the volume, resulting in a more comfortable and enjoyable listening experience. Whether you’re a frequent traveler, a remote worker, or simply someone who enjoys their audio in peace, noise cancellation is a game-changer.
Now that you have a better understanding of what noise cancellation is and how it works, let’s explore which iPhone models support this feature and how you can check if your device is compatible.
Supported iPhone Models
Noise cancellation is a feature that provides immense value to iPhone users, but it’s important to note that not all iPhone models support this functionality. Apple has introduced noise cancellation technology primarily in its newer models, starting from the iPhone 7 and later.
Here is a list of iPhone models that support noise cancellation:
- iPhone 7 and 7 Plus
- iPhone 8 and 8 Plus
- iPhone X, XR, XS, and XS Max
- iPhone 11, 11 Pro, and 11 Pro Max
- iPhone SE (2nd generation)
- iPhone 12, 12 mini, 12 Pro, and 12 Pro Max
If you own one of the aforementioned iPhone models, you have the ability to take advantage of noise cancellation technology. With each new generation, Apple has made improvements to the noise cancellation capabilities, providing users with even better performance and an enhanced audio experience.
It’s worth noting that noise cancellation may vary slightly between iPhone models. While newer devices tend to have more advanced noise cancellation algorithms and better microphone technology, even older models such as the iPhone 7 and 8 can still deliver a noticeable reduction in background noise.
If you’re unsure about whether your iPhone supports noise cancellation or if you have an older model, don’t worry! You can easily check the compatibility of your device by following a few simple steps, which we’ll explore in the next section.
How to Check Noise Cancellation Compatibility
To determine if your iPhone supports noise cancellation, you can simply follow these easy steps:
- Open the “Settings” app on your iPhone. It can be easily identified by the gear icon.
- Scroll down and tap on “Accessibility.” This section is designed to provide various accessibility features and options.
- In the accessibility settings, locate and tap on “Audio/Visual.” This category includes settings related to audio and visual enhancements.
- Look for the “Noise Cancellation” option. If your iPhone model is compatible with noise cancellation, you will find this option listed here.
If you see the “Noise Cancellation” option in the Audio/Visual settings, congratulations! Your iPhone supports noise cancellation technology. You can proceed to activate it and customize the settings to suit your preferences. However, if you don’t see this option, it means that your iPhone model does not have noise cancellation capabilities.
It’s important to note that the availability of noise cancellation may also depend on the iOS version running on your device. Make sure your iPhone is running the latest version of iOS to access all the features and enhancements. If you’re running an older version, consider updating your device to ensure you have the latest functionalities.
Now that you have confirmed the noise cancellation compatibility of your iPhone, let’s explore the steps to activate this feature and elevate your audio experience to the next level.
How to Activate Noise Cancellation on iPhone
Activating noise cancellation on your iPhone is a straightforward process. Once you’ve confirmed that your device supports this feature, follow the steps below to enable it and start enjoying a more immersive audio experience:
- Step 1: Open the Settings App
- Step 2: Navigate to the Accessibility Settings
- Step 3: Tap on Audio/Visual
- Step 4: Enable Noise Cancellation
- Step 5: Adjust the Noise Cancellation Level
- Step 6: Test and Customize Noise Cancellation
Locate the “Settings” app on your iPhone’s home screen and tap on it to open the settings menu.
Scroll down and look for the “Accessibility” option. Tap on it to access the accessibility settings of your iPhone.
In the accessibility settings menu, find and tap on the “Audio/Visual” option. This section contains various audio and visual settings for your device.
Scroll down until you see the “Noise Cancellation” option. Toggle the switch next to it to enable noise cancellation on your iPhone.
Once enabled, you can fine-tune the level of noise cancellation to suit your preferences. Drag the slider that appears below the “Noise Cancellation” option to adjust the intensity. Moving it to the right increases the noise cancellation, while moving it to the left decreases it.
With noise cancellation activated, you can now test it in various environments. Put on your headphones, play some audio, and see how effectively it blocks out external noise. Additionally, you can explore other audio settings in the Accessibility menu to further customize your audio experience.
Congratulations! You have successfully enabled noise cancellation on your iPhone. Now you can enjoy a more immersive and focused audio experience, whether you’re listening to music, watching videos, or making phone calls. Experiment with different noise cancellation levels to find the one that suits you best.
In the event that you encounter any issues or need assistance, the next section provides some troubleshooting tips to help you resolve common problems related to noise cancellation on your iPhone.
Step 1: Open the Settings App
To activate noise cancellation on your iPhone, the first step is to open the Settings app. This app serves as the control center for all the settings and configurations on your device. By following these simple steps, you’ll be on your way to accessing the noise cancellation feature:
- Locate the “Settings” app on your iPhone’s home screen. The icon resembles a gear or cogwheel and is typically found on the first page of the home screen.
- Tap on the “Settings” app to launch it. The app will open, revealing the various settings categories and options available for customization.
Opening the Settings app is the first step towards unleashing the noise cancellation capabilities of your iPhone. By accessing the settings menu, you’ll have control over a wide range of features and functionalities that can enhance your overall user experience.
The Settings app is not only a gateway to noise cancellation but also a hub for personalizing your device to meet your specific needs. From Wi-Fi and Bluetooth to display and sound settings, this app gives you the power to fine-tune your iPhone’s settings to align with your preferences and optimize your user experience.
Now that you have successfully opened the Settings app, you’re ready to navigate to the Accessibility settings to enable noise cancellation. In the next step, we will guide you on how to do just that.
Step 2: Navigate to the Accessibility Settings
After opening the Settings app on your iPhone, the next step is to navigate to the Accessibility settings. The Accessibility settings provide a wide range of features and options to enhance the usability and accessibility of your device. By following these simple steps, you’ll be able to access the necessary settings to enable noise cancellation:
- Scroll through the settings menu and locate the “Accessibility” option. It is usually represented by an icon featuring a person in a wheelchair. Tap on it to enter the Accessibility settings.
The Accessibility settings on your iPhone are designed to make your device more accessible to individuals with different needs and preferences. Whether you require visual enhancements, hearing support, or assistance with motor and physical skills, the Accessibility settings offer a variety of features to cater to your needs.
By accessing the Accessibility settings, you’re not only enabling noise cancellation but also gaining access to numerous other accessibility features. These include VoiceOver, Magnifier, Display accommodations, and much more. Take the time to explore these settings and discover how they can enhance your overall iPhone experience.
Keep in mind that the Accessibility settings provide a wide range of customization options to suit your individual requirements. From text size and contrast settings to audio adjustments, these settings allow you to tailor your iPhone to meet your specific accessibility needs.
Now that you’ve successfully navigated to the Accessibility settings, the next step is to proceed to the specific Audio/Visual settings, where you’ll be able to enable noise cancellation. In the next step, we’ll guide you through accessing these settings to activate this feature.
Step 3: Tap on Audio/Visual
Once you have entered the Accessibility settings on your iPhone, the next step is to locate and tap on the “Audio/Visual” option. By accessing this section, you will gain access to various settings related to audio and visual enhancements, including the option to activate noise cancellation. Follow these simple steps to proceed:
- Scroll through the Accessibility settings until you find “Audio/Visual.” You can typically identify it by the icon resembling a speaker or headphones.
- Tap on “Audio/Visual” to enter this specific settings category.
The Audio/Visual settings category is designed to provide you with greater control over the audio and visual elements of your iPhone. Within this section, you can customize various aspects of your device’s audio and visual experience to suit your preferences and accessibility needs.
In addition to enabling noise cancellation, the Audio/Visual settings allow you to adjust features such as audio balance, mono audio, spoken content, and more. By exploring these settings, you can enhance the quality of audio playback and tailor it to your specific requirements.
Furthermore, the visual settings within this category offer options for adapting the display to your needs, including text size, color filters, and display accommodations. These settings play a crucial role in making your iPhone more accessible and user-friendly, ensuring that you can comfortably interact with your device.
Now that you have successfully accessed the Audio/Visual settings, you’re one step closer to activating noise cancellation on your iPhone. In the next step, we will guide you through the process of enabling this feature to enhance your audio experience.
Step 4: Enable Noise Cancellation
Now that you have accessed the Audio/Visual settings within the Accessibility menu on your iPhone, it’s time to enable noise cancellation. By turning on this feature, you can effectively block out unwanted background noise and enjoy a more immersive audio experience. Follow these simple steps to enable noise cancellation:
- Within the Audio/Visual settings, look for the “Noise Cancellation” option. It is usually represented by a toggle switch or checkbox.
- To enable noise cancellation, toggle the switch to the “On” or “Enabled” position. This action will activate the noise cancellation feature on your iPhone.
Once noise cancellation is turned on, your iPhone will use its built-in microphones and advanced algorithms to detect and counteract external sounds, allowing you to focus on the audio you want to hear while reducing background noise.
Enabling noise cancellation brings a myriad of benefits, whether you’re listening to music, watching videos, or making phone calls. It provides a more immersive and engaging audio experience by eliminating distractions and allowing you to hear your content more clearly.
Remember that noise cancellation may differ depending on the specific model of your iPhone. Newer models often feature improved noise cancellation algorithms and enhanced microphone technology, resulting in more effective noise reduction. However, even older iPhone models can still deliver a noticeable reduction in background noise when noise cancellation is enabled.
Now that noise cancellation is activated on your iPhone, you can further refine and adjust the level of noise cancellation according to your liking. In the next step, we’ll guide you through adjusting the noise cancellation level to suit your preferences for an optimized audio experience.
Step 5: Adjust the Noise Cancellation Level
After enabling noise cancellation on your iPhone, you have the flexibility to adjust the level of noise cancellation to suit your preferences and the environment you’re in. Whether you want to block out all external noise or allow some ambient sound to come through, follow these steps to customize the noise cancellation level:
- Within the Audio/Visual settings, locate the noise cancellation level adjustment. It is typically represented by a slider or a series of numerical values.
- Drag the slider or adjust the numerical value to increase or decrease the intensity of noise cancellation. Moving the slider to the right increases the level of noise cancellation, while moving it to the left decreases it.
By adjusting the noise cancellation level, you can optimize your iPhone’s audio experience based on your surroundings and personal preferences. In a noisy environment where you need maximum concentration, you may want to increase the noise cancellation level to block out as much background noise as possible. Conversely, in a situation where you want to remain aware of your surroundings, such as when walking outside, you may want to lower the noise cancellation level to allow some ambient sound to come through.
It’s important to note that the noise cancellation level adjustment may vary depending on the iPhone model and the iOS version you’re using. Some models offer multiple levels to choose from, while others provide a continuous adjustment scale. Explore the available options on your device to find the right balance between noise reduction and situational awareness.
Take some time to experiment with different noise cancellation levels to find the setting that suits your preferences and enhances your audio experience. Remember, everyone’s preferences may differ, so there is no right or wrong setting. Trust your ears and make adjustments accordingly to optimize your noise cancellation experience on your iPhone.
Now that you have adjusted the noise cancellation level, it’s time to test and enjoy the enhanced audio experience. In the next step, we will guide you in testing and customizing noise cancellation to ensure it meets your expectations and requirements.
Step 6: Test and Customize Noise Cancellation
After enabling noise cancellation on your iPhone and adjusting the level to your preference, it’s important to test and customize the feature to ensure it provides the desired audio experience. Follow these steps to test and customize noise cancellation on your device:
- Put on your headphones or earbuds to immerse yourself in the audio experience.
- Play some audio content, such as music or a video, on your iPhone.
- Observe the effectiveness of the noise cancellation feature. Notice how external sounds are reduced or eliminated, allowing you to focus more on the audio content.
- If you find that the noise cancellation is not meeting your expectations, return to the Accessibility settings and adjust the noise cancellation level accordingly.
- Continue testing and fine-tuning the noise cancellation level until you achieve the optimal balance between audio clarity and reduction of unwanted background noise.
During the testing phase, pay attention to the audio quality, as noise cancellation may affect certain frequencies or nuances in the sound. Adjust the noise cancellation level as needed to strike the right balance between isolating the audio you want to hear and maintaining audio fidelity.
In addition to adjusting the noise cancellation level, experiment with different audio content and environments to further customize your experience. Test noise cancellation in various scenarios, such as a busy coffee shop, a busy street, or even during a phone call, to see how effectively it reduces background noise in different situations.
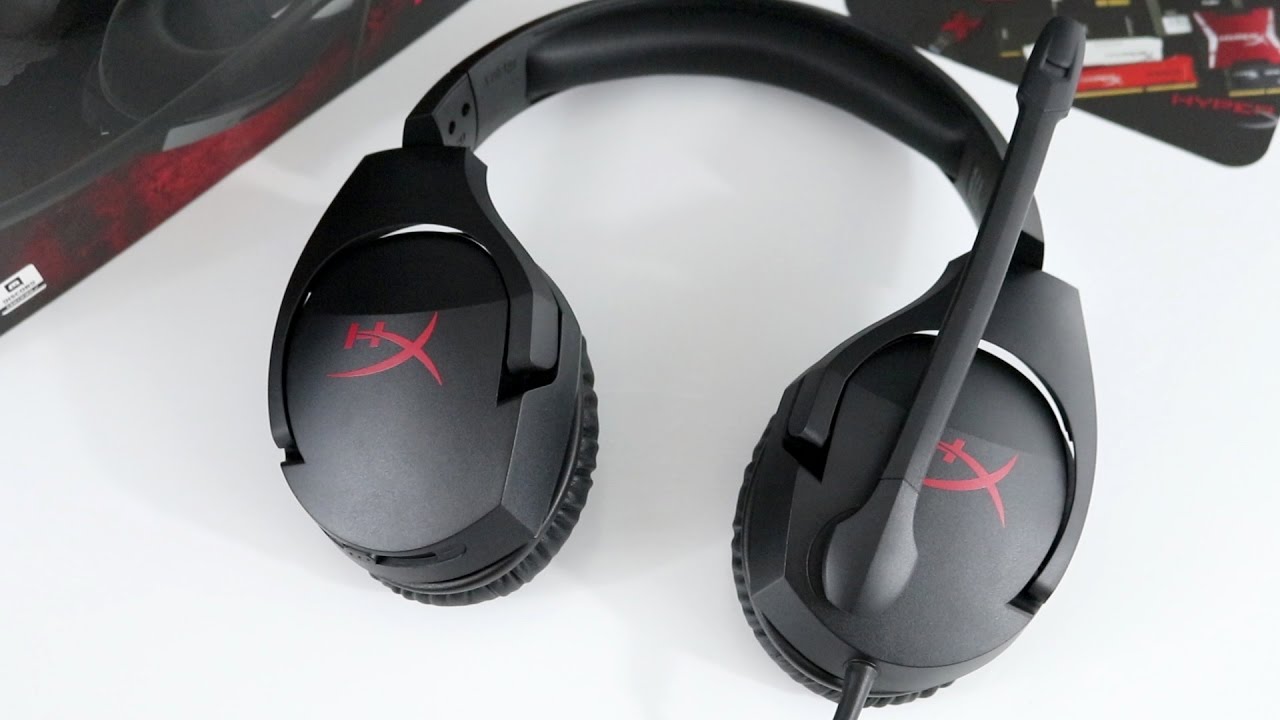
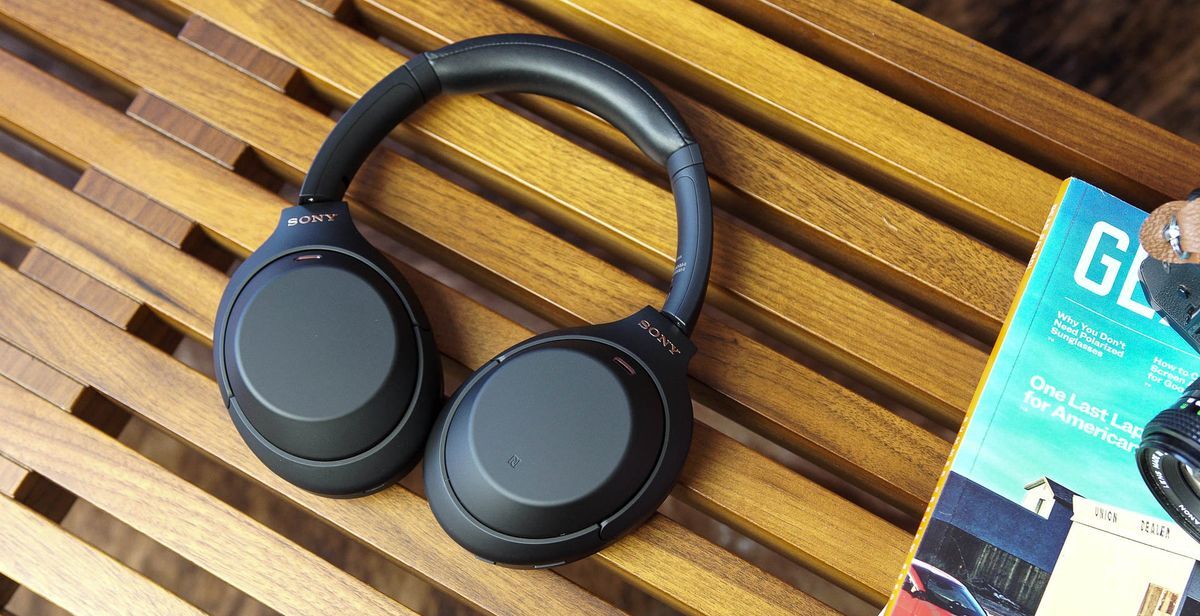
If you’re using third-party headphones that offer their own noise cancellation feature, you may need to consult the instruction manual or the manufacturer’s app to ensure compatibility and optimize the noise cancellation settings.
By testing and customizing noise cancellation on your iPhone, you can tailor the feature to your specific needs, preferences, and surroundings. Enjoy the enhanced audio experience and the ability to immerse yourself in your favorite content without the distractions of the surrounding noise.
Now that you have successfully activated, adjusted, and tested noise cancellation on your iPhone, you can navigate through your daily activities with improved focus and audio clarity. Should you encounter any issues or seek further assistance, the next section will provide you with troubleshooting tips to help address common noise cancellation concerns.
Troubleshooting Tips
While noise cancellation on your iPhone is designed to provide a seamless and immersive audio experience, you may encounter some common issues or concerns. Here are a few troubleshooting tips to help you address and resolve potential problems:
- Ensure that noise cancellation is enabled: Double-check that you have enabled noise cancellation in the Accessibility settings. If it’s disabled, toggle the switch to enable it.
- Update your iOS: Ensure that your iPhone is running the latest version of iOS. Apple often releases updates that include bug fixes and improvements to the noise cancellation feature.
- Restart your iPhone: Sometimes, a simple restart can resolve minor software glitches that may be affecting the performance of noise cancellation.
- Check for headphone compatibility: If you’re using third-party headphones with noise cancellation capabilities, ensure they are compatible with your iPhone model and that you have followed the manufacturer’s instructions for activation.
- Clean your headphones: If you notice a decrease in noise cancellation effectiveness over time, it may be due to dirt, debris, or earwax buildup on your headphones. Clean them carefully according to the manufacturer’s instructions to optimize performance.
- Reset all settings: If none of the above steps resolve the issue, you can try resetting all settings on your iPhone. Go to Settings > General > Reset > Reset All Settings. Note that this action will reset all your personalized settings, so proceed with caution and be prepared to reconfigure your preferences.
- Contact Apple Support: If you have tried all the troubleshooting steps and noise cancellation still doesn’t work as expected, consider reaching out to Apple Support for further assistance.
By following these troubleshooting tips, you can overcome common hurdles and ensure that noise cancellation on your iPhone performs optimally, providing you with an immersive and hassle-free audio experience.
With these solutions in mind, you can confidently activate noise cancellation on your iPhone, knowing that you have the ability to troubleshoot and address any potential issues that may arise. By doing so, you’ll be able to fully enjoy the benefits of noise cancellation and immerse yourself in a world of clear, uninterrupted audio.
Conclusion
Noise cancellation is a powerful feature available on certain iPhone models that allows you to block out unwanted background noise and enjoy a more immersive audio experience. By following the steps outlined in this guide, you can easily activate and customize noise cancellation on your iPhone to suit your preferences and surroundings.
We began this journey by understanding what noise cancellation is and how it works. We then explored the iPhone models that support this feature and learned how to check noise cancellation compatibility on your device. From there, we delved into the step-by-step process of enabling noise cancellation, adjusting the noise cancellation level, and testing the feature to ensure optimal performance.
By fine-tuning noise cancellation to your liking, you can create an audio environment that suits your individual needs and preferences. Whether you crave a quiet sanctuary to escape the hustle and bustle of everyday life or require focused audio during work or leisure activities, noise cancellation empowers you to curate the perfect audio experience on your iPhone.
If you encounter any challenges along the way, the troubleshooting tips provided in this guide can help you address common issues that may arise. Remember to update your iOS, clean your headphones, and verify headphone compatibility for the best noise cancellation performance.
With noise cancellation activated on your iPhone, you can elevate your audio experience and immerse yourself in your favorite music, movies, and phone calls without distraction. Whether you’re commuting, working in a noisy environment, or simply seeking tranquility, noise cancellation technology transforms your iPhone into a personal sanctuary, delivering crystal-clear sound that you can enjoy anywhere, anytime.
So go ahead, activate noise cancellation on your iPhone, and embrace a world of immersive audio. Let yourself be captivated by the music you love, the movies you watch, and the clarity of every phone conversation. With noise cancellation, the power to control your audio experience is at your fingertips.