Home>Production & Technology>Noise Cancellation>How Do I Disable Noise Cancellation On My IPhone
Noise Cancellation
How Do I Disable Noise Cancellation On My IPhone
Modified: January 22, 2024
"Learn how to turn off noise cancellation on your iPhone and improve your audio experience. Follow our step-by-step guide to disable this feature easily."
(Many of the links in this article redirect to a specific reviewed product. Your purchase of these products through affiliate links helps to generate commission for AudioLover.com, at no extra cost. Learn more)
Table of Contents
Introduction
Do you ever find yourself in a situation where you want to disable noise cancellation on your iPhone? Noise cancellation technology has become increasingly popular in smartphones, including iPhones. It works by using sophisticated algorithms to cancel out background noise, allowing you to have clearer conversations and enjoy better audio quality. However, there may be times when you prefer to disable this feature.
In this article, we will explore the concept of noise cancellation on iPhones and discuss the reasons why you might want to disable it. We will also provide a step-by-step guide on how to disable noise cancellation on your iPhone. Additionally, we will present alternative methods to reduce background noise, allowing you to customize your audio experience according to your preferences.
Whether you need to disable noise cancellation to hear ambient sounds, improve microphone performance, or simply experiment with different audio settings, this guide will help you navigate through the process. So, let’s dive in and learn more about noise cancellation on iPhones!
Understanding Noise Cancellation on iPhone
Before diving into how to disable noise cancellation on your iPhone, it’s important to understand what noise cancellation is and how it works. Noise cancellation is a feature that uses built-in microphones and advanced algorithms to reduce background noise during phone calls or media playback.
When you enable noise cancellation on your iPhone, it actively listens for and analyzes external sounds. The algorithms then produce an inverse waveform that cancels out the incoming noise, resulting in a clearer audio experience.
Apple has implemented noise cancellation technology in its iPhones to enhance the overall user experience. It is particularly effective in crowded or noisy environments, such as busy streets, cafes, or airports, where background noise can interfere with phone conversations or media playback.
By reducing ambient noise, noise cancellation allows you to focus more on the intended audio content, whether it’s a phone call, music, or videos. This feature can greatly improve the clarity of your conversations and make your media consumption more enjoyable.
It’s worth mentioning that noise cancellation on iPhones is not limited to just phone calls. It also applies to various audio scenarios, including listening to music, watching videos, or using voice assistants like Siri. The technology works in real-time, continuously adapting to the surrounding environment to ensure a seamless audio experience.
Now that we have a better understanding of the concept, let’s explore the reasons why you may want to disable noise cancellation on your iPhone.
Reasons to Disable Noise Cancellation
While noise cancellation can be a valuable feature, there are situations where you may prefer to disable it on your iPhone. Here are a few common reasons to consider:
- Improved situational awareness: In certain situations, such as when you’re walking or jogging outdoors, it’s important to be aware of your surroundings. Disabling noise cancellation allows you to hear ambient sounds, such as approaching vehicles or people around you, ensuring your safety.
- Enhanced microphone performance: Noise cancellation can sometimes result in reduced microphone sensitivity, making your voice sound muffled or distant to the person on the other end of the call. By disabling noise cancellation, you can ensure that your voice is clear and easily understood by the person you’re speaking to.
- Better audio quality for music production or audio recording: If you’re involved in music production or audio recording, disabling noise cancellation can be beneficial. It allows you to capture the true, unaltered audio environment, which can be essential for accurate sound mixing or capturing natural background noise for artistic purposes.
- Compatibility with certain audio accessories: Some audio accessories, such as external microphones or audio interfaces, may work better when noise cancellation is disabled. Disabling noise cancellation ensures that these accessories can capture the audio accurately without any interference or complications.
- Preference for natural ambient sounds: Some individuals simply enjoy the presence of ambient noise as it adds to the atmosphere or creates a sense of calmness. By turning off noise cancellation, you can allow yourself to fully immerse in the natural sounds of your environment.
Keep in mind that these reasons are subjective, and there may be other personal preferences or specific situations where disabling noise cancellation on your iPhone can be beneficial.
Now that we’ve explored why you might want to disable noise cancellation, let’s move on to the step-by-step process of turning off this feature on your iPhone.
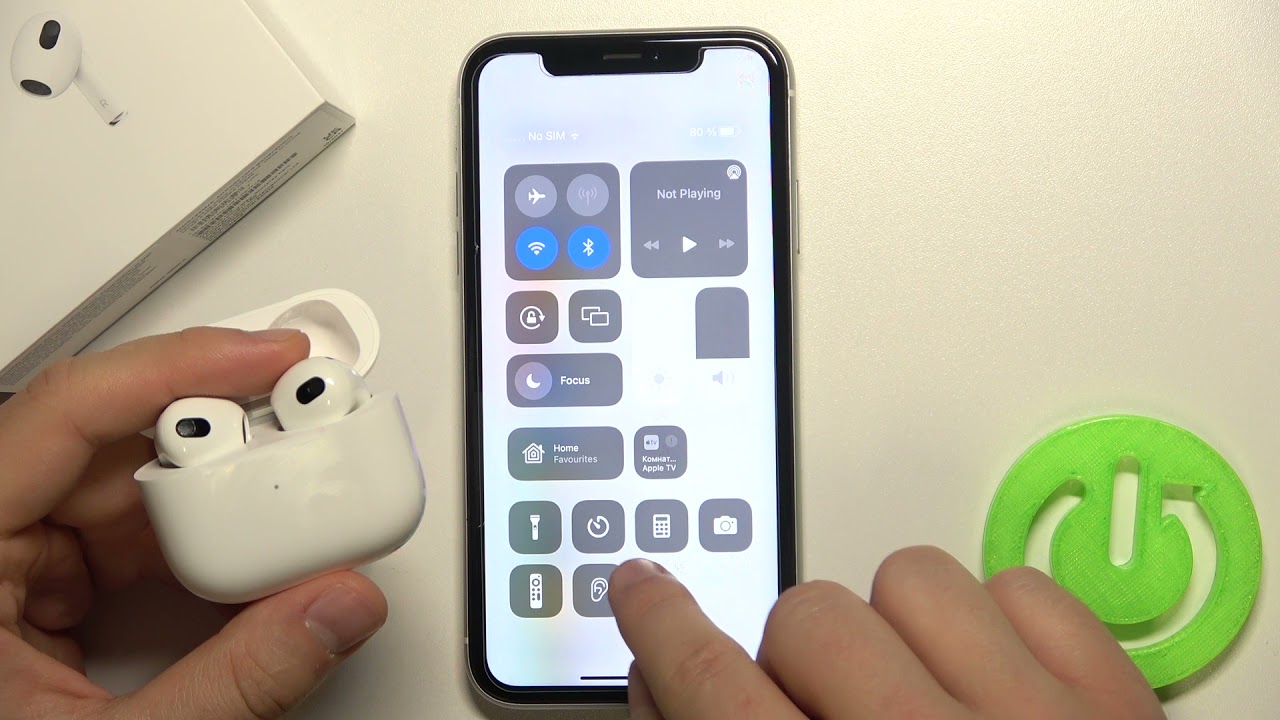
How to Disable Noise Cancellation on iPhone
Disabling noise cancellation on your iPhone is a straightforward process. Just follow these simple steps:
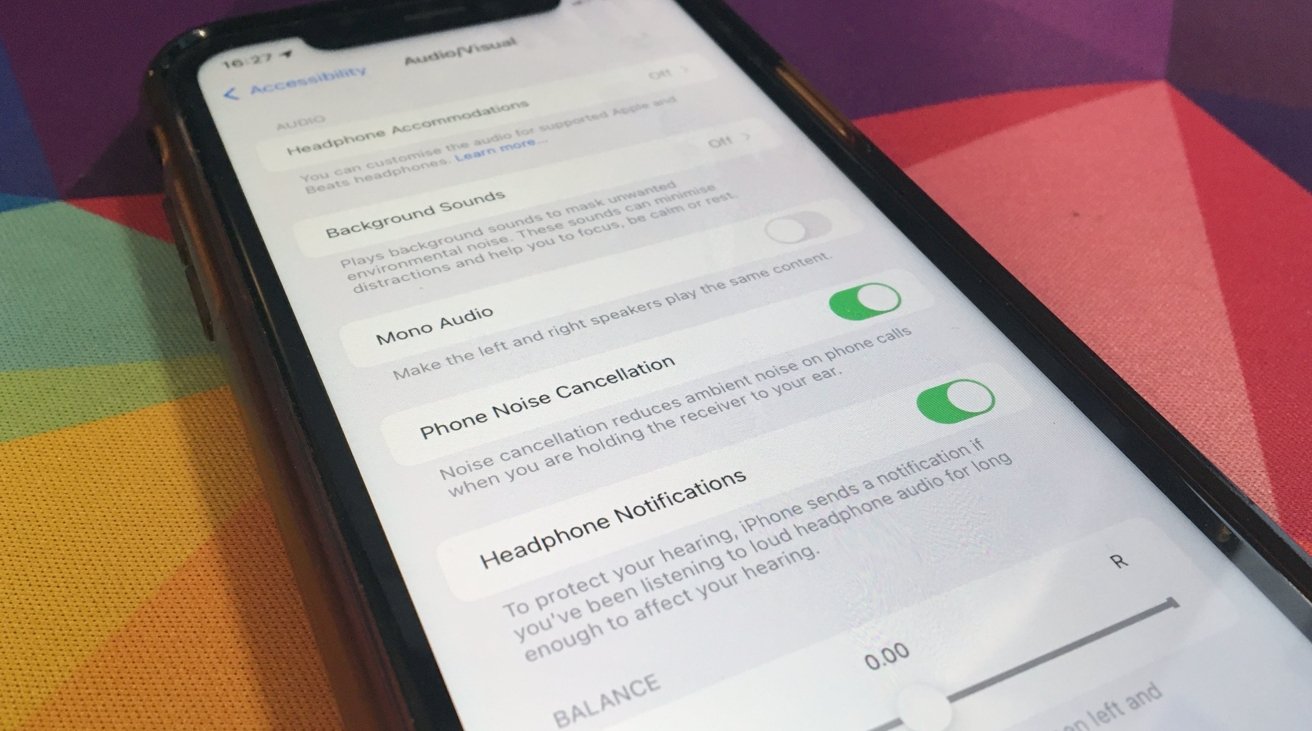
- Unlock your iPhone and go to the Settings app on the home screen.
- Scroll down and tap on Accessibility.
- In the Accessibility menu, tap on Audio/Visual.
- Under the Audio section, you’ll find the option for Noise Cancellation. Tap on it.
- Finally, toggle off the Noise Cancellation switch to disable the feature. It will turn from green to white.
That’s it! You have successfully disabled noise cancellation on your iPhone. You can now enjoy the ambient sounds around you or experience improved microphone performance during phone calls or audio recordings.
If you ever want to re-enable noise cancellation, simply follow the same steps mentioned above and toggle the Noise Cancellation switch back on.
It’s worth noting that the location of the Noise Cancellation option may vary depending on your iPhone model and iOS version. However, the general process of accessing the settings remains similar.
Now that you know how to disable noise cancellation, let’s explore alternative methods to reduce background noise on your iPhone.
Alternative Methods to Reduce Background Noise
If you’re looking to reduce background noise on your iPhone without relying on noise cancellation, here are some alternative methods to consider:
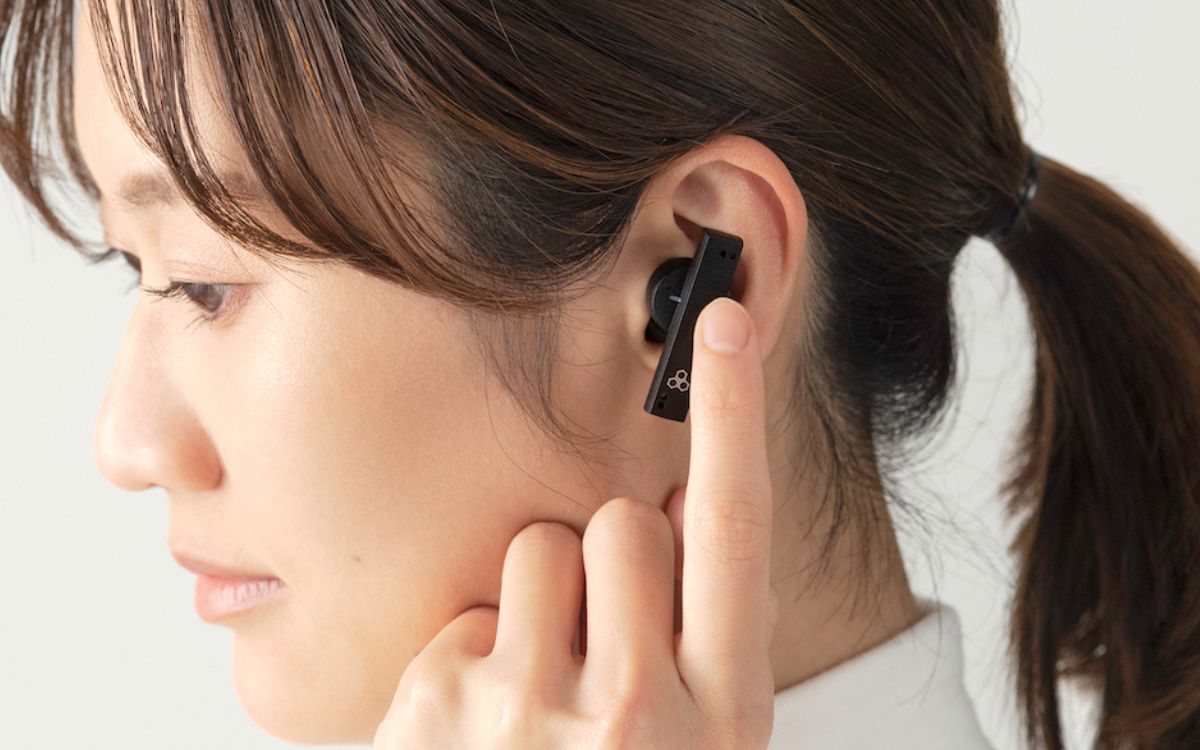
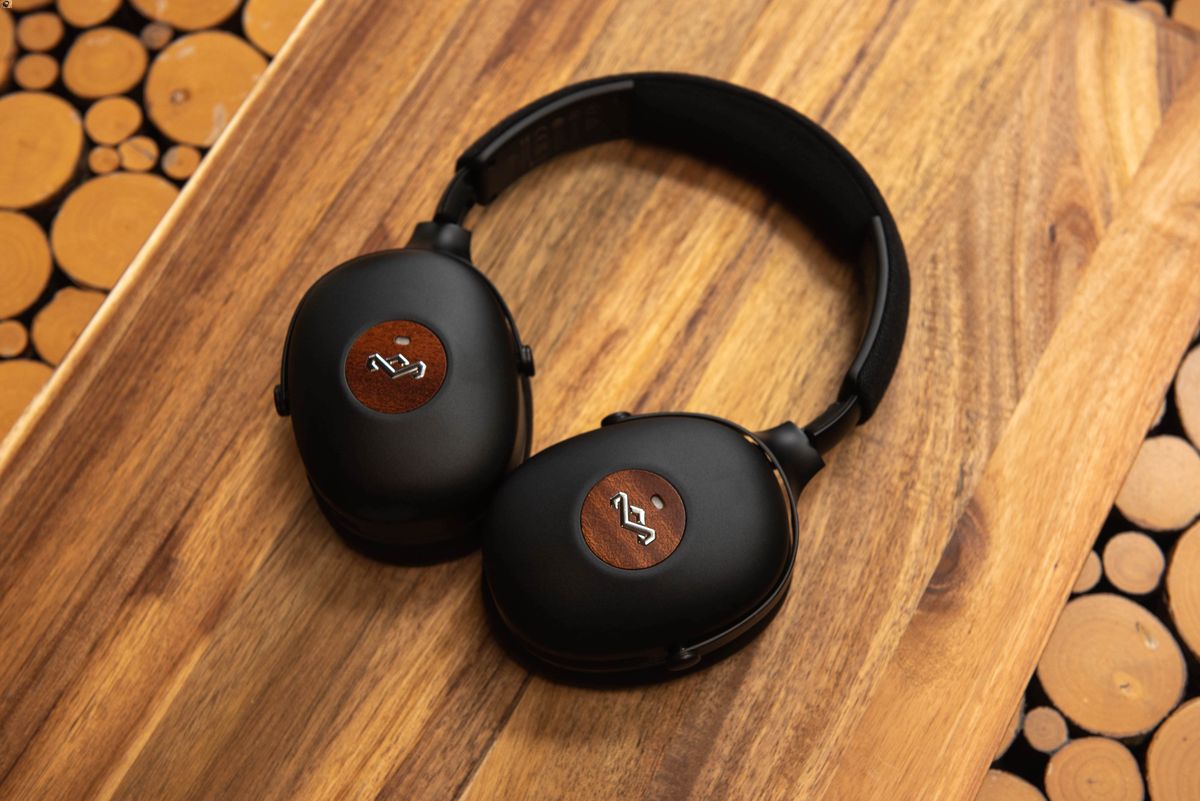
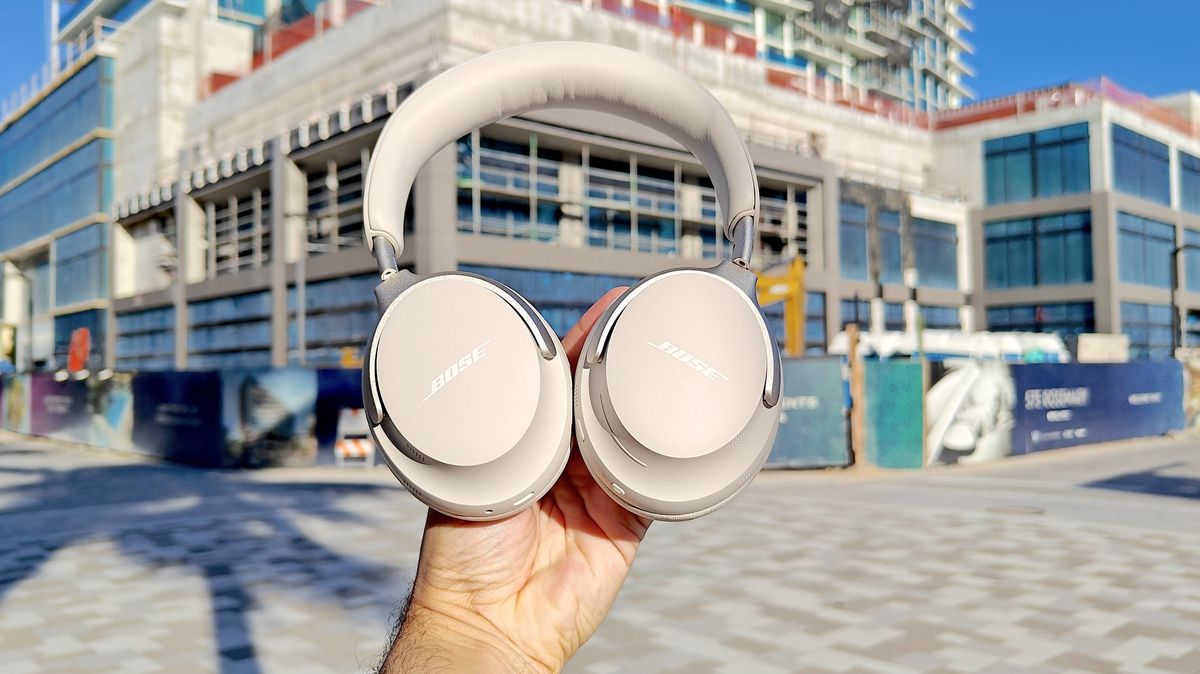
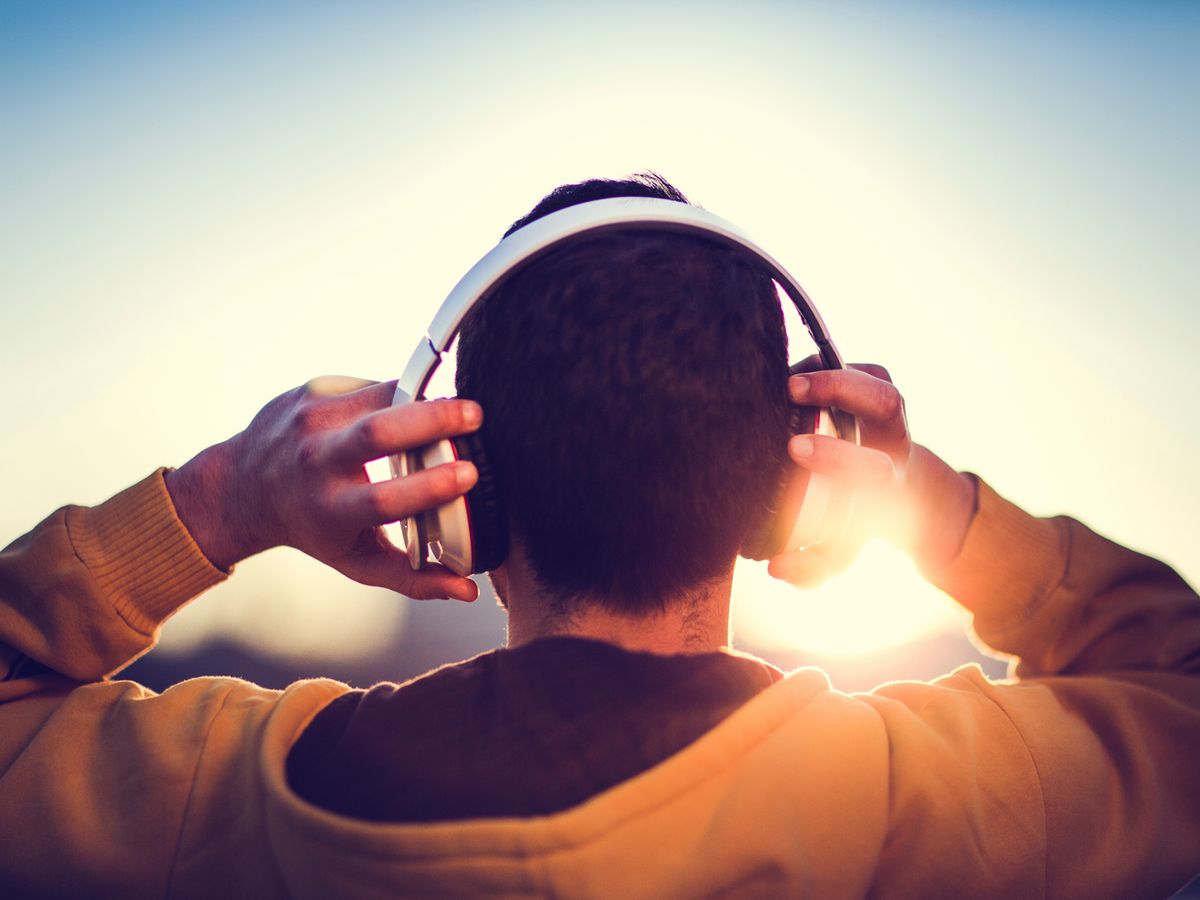
- Use headphones or earphones: Investing in high-quality headphones or earphones can significantly reduce background noise. Look for models that offer passive noise isolation or active noise cancellation features to provide a more immersive audio experience.
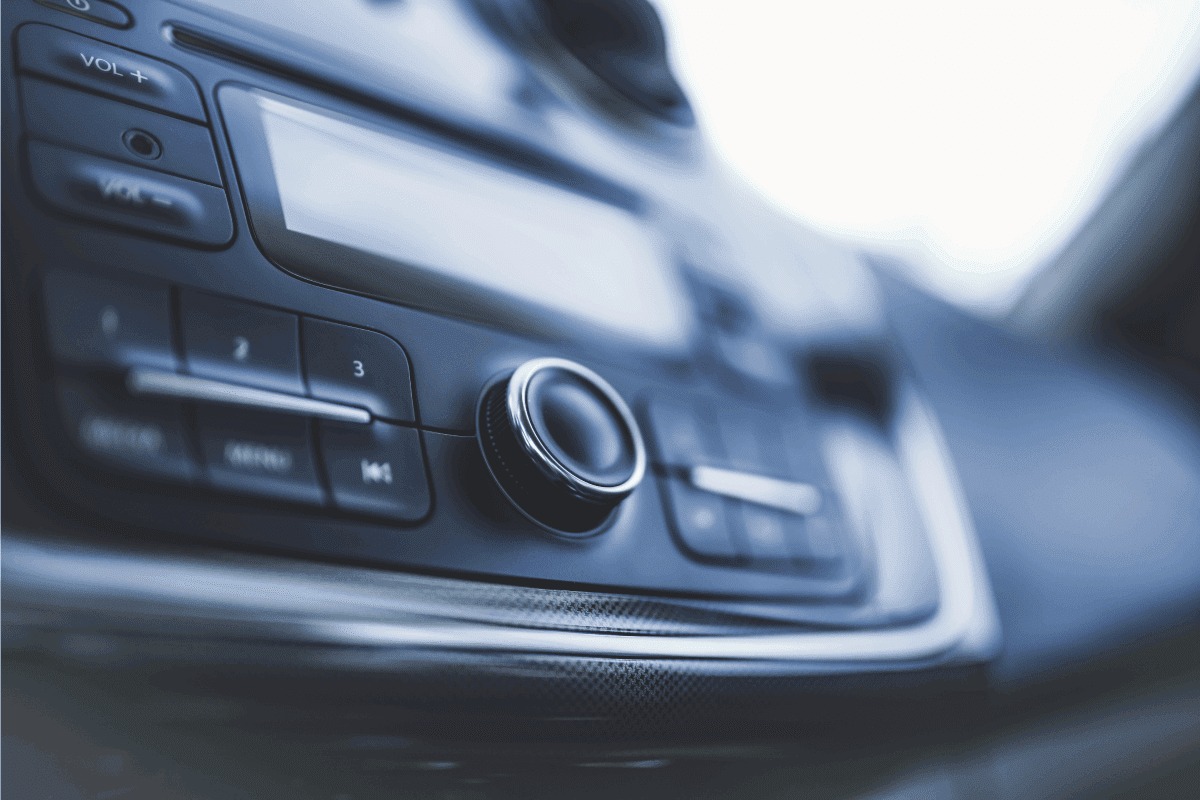
- Adjust volume settings: By increasing the volume on your iPhone, you can drown out some of the background noise. However, take care not to set the volume too high, as it may affect your hearing in the long term.
- Find a quieter location: If possible, move to a quieter area where the background noise is naturally lower. This can make it easier to have conversations or enjoy media without distractions.
- Use a microphone or speakerphone: If you’re facing issues with microphone performance due to noise cancellation, using an external microphone or switching to speakerphone mode can sometimes provide better audio clarity for your conversations.
- Make use of noise reduction apps: There are several noise reduction apps available on the App Store that can help reduce background noise during calls or recordings. These apps use advanced algorithms to enhance the audio quality and minimize unwanted noise.
- Experiment with EQ settings: Your iPhone allows you to customize the equalizer settings for audio playback. By adjusting the EQ sliders, you can emphasize certain frequencies and reduce the impact of background noise.
Remember, these methods may not completely eliminate background noise, but they can help mitigate its impact and improve your audio experience on the iPhone.
Now that you have a range of options to reduce background noise, you can choose the method that suits your preferences and specific scenario.
Conclusion
Noise cancellation is a useful feature on iPhones that helps reduce background noise during phone calls and media playback. However, there are times when disabling noise cancellation can be beneficial for improved situational awareness, microphone performance, or personal preferences.
In this article, we discussed the concept of noise cancellation on iPhones and explored the reasons why you might want to disable it. We also provided a step-by-step guide on how to disable noise cancellation on your iPhone, ensuring you can easily toggle this feature on and off as needed.
Additionally, we explored alternative methods to reduce background noise on your iPhone, including using headphones, adjusting volume settings, finding quieter locations, utilizing external microphones or speakerphone mode, exploring noise reduction apps, and experimenting with EQ settings.
Remember that the specific process for disabling noise cancellation may vary depending on your iPhone model and iOS version. However, the general steps mentioned in this article will guide you in the right direction.
By understanding noise cancellation and its potential benefits, you can make informed decisions about when to enable or disable this feature on your iPhone, ensuring an optimal audio experience that suits your needs and preferences.
So, whether you want to enjoy the natural sounds of your surroundings, improve microphone performance, or explore alternative methods to reduce background noise, you now have the knowledge and tools to do so.
Experiment with the different settings and techniques discussed in this article to personalize your audio experience and make the most out of your iPhone’s capabilities.
Now go ahead and start fine-tuning your audio settings to suit your preferences. Happy listening!