Home>Production & Technology>Noise Cancellation>How To Enable Noise Cancellation In Teams
Noise Cancellation
How To Enable Noise Cancellation In Teams
Published: November 3, 2023
Learn how to enable noise cancellation in Teams and create a distraction-free environment for enhanced communication and productivity. Take control of unwanted background noise with our simple step-by-step guide.
(Many of the links in this article redirect to a specific reviewed product. Your purchase of these products through affiliate links helps to generate commission for AudioLover.com, at no extra cost. Learn more)
Table of Contents
Introduction
Noise cancellation technology has become increasingly important in today’s digital world, as remote working and online communication have become the norm. Whether you’re attending virtual meetings, conducting interviews, or participating in online classes, the presence of background noise can be distracting and hinder effective communication.
Luckily, noise cancellation features can help mitigate these challenges. With noise cancellation, you can minimize unwanted sounds and create a more focused audio experience. One popular platform that offers this feature is Microsoft Teams, a widely used communication and collaboration tool.
In this article, we will walk you through the process of enabling noise cancellation in Teams, both on desktop and mobile devices. We will also provide tips for testing and adjusting the noise cancellation settings, as well as troubleshooting common issues that may arise.
Whether you’re seeking a quieter environment for your virtual meetings or need to enhance the clarity of your online conversations, enabling noise cancellation in Teams can greatly improve your audio experience. Let’s dive in and discover how to unlock this powerful feature.
Prerequisites
Before you proceed with enabling noise cancellation in Teams, make sure you meet the following prerequisites:
- A computer or mobile device with a compatible operating system
- A stable internet connection
- The latest version of the Teams application installed
- An active Microsoft Teams account
- Permission to access audio settings and make changes
It’s important to note that not all devices or operating systems may support noise cancellation in Teams. Check the Teams documentation or consult the manufacturer’s specifications for detailed information on compatibility.
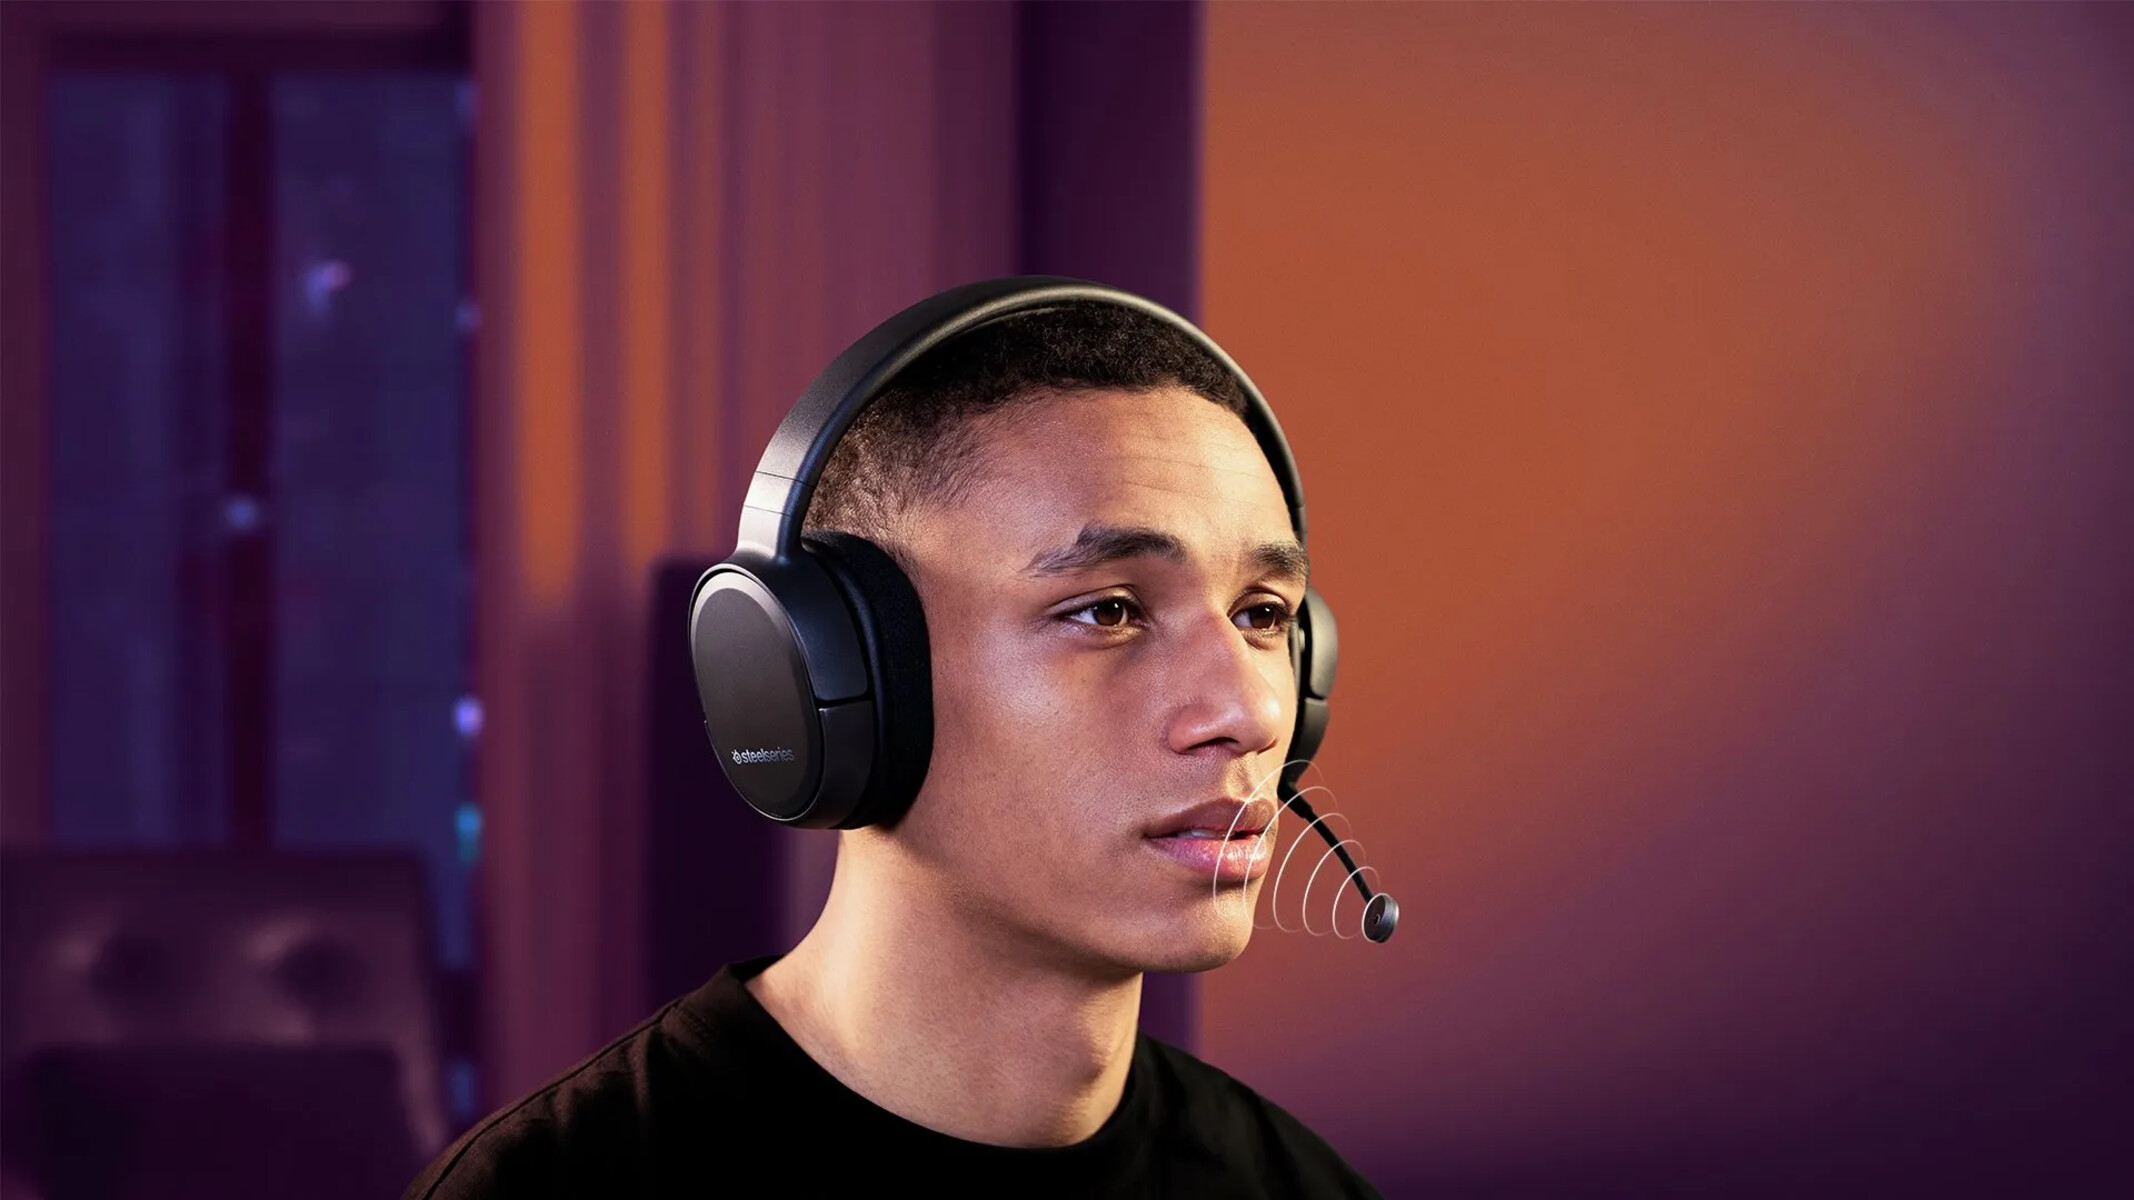
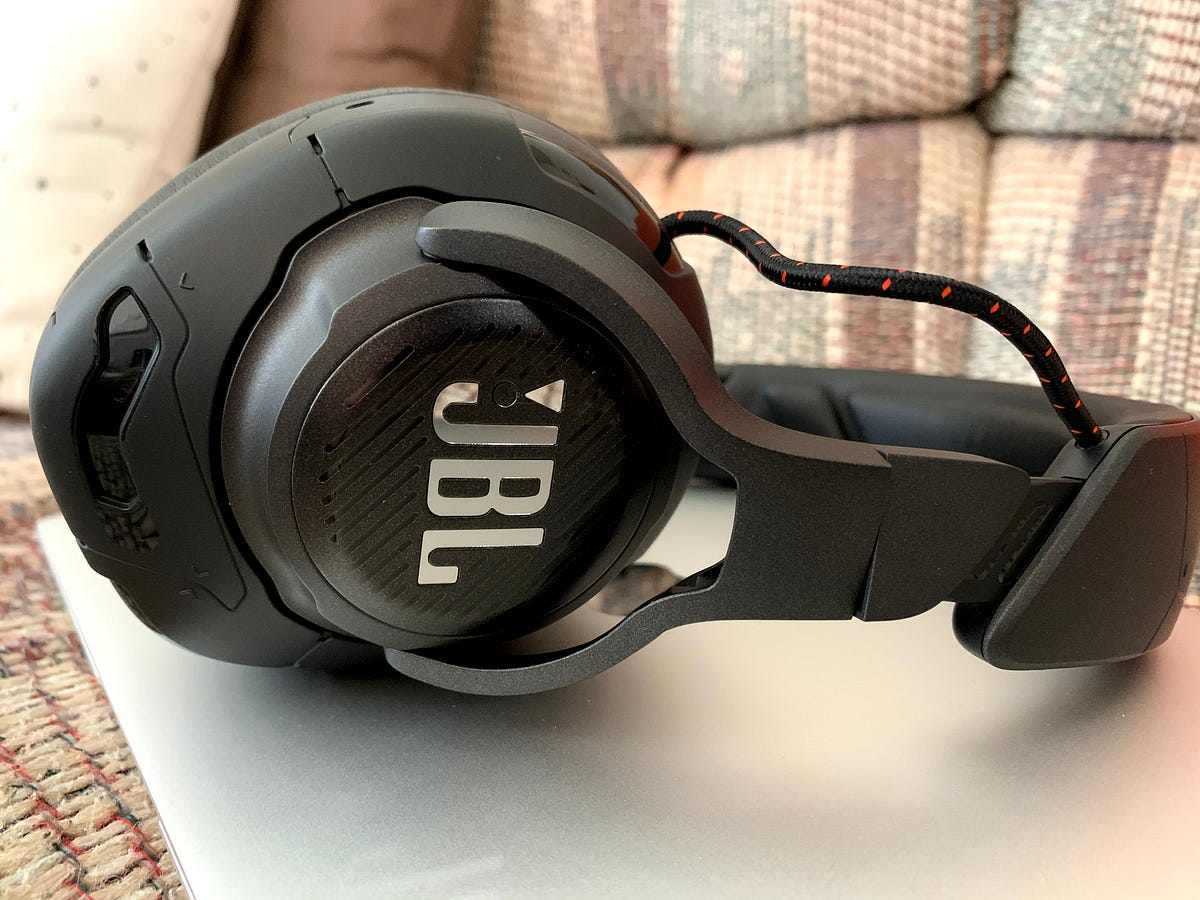
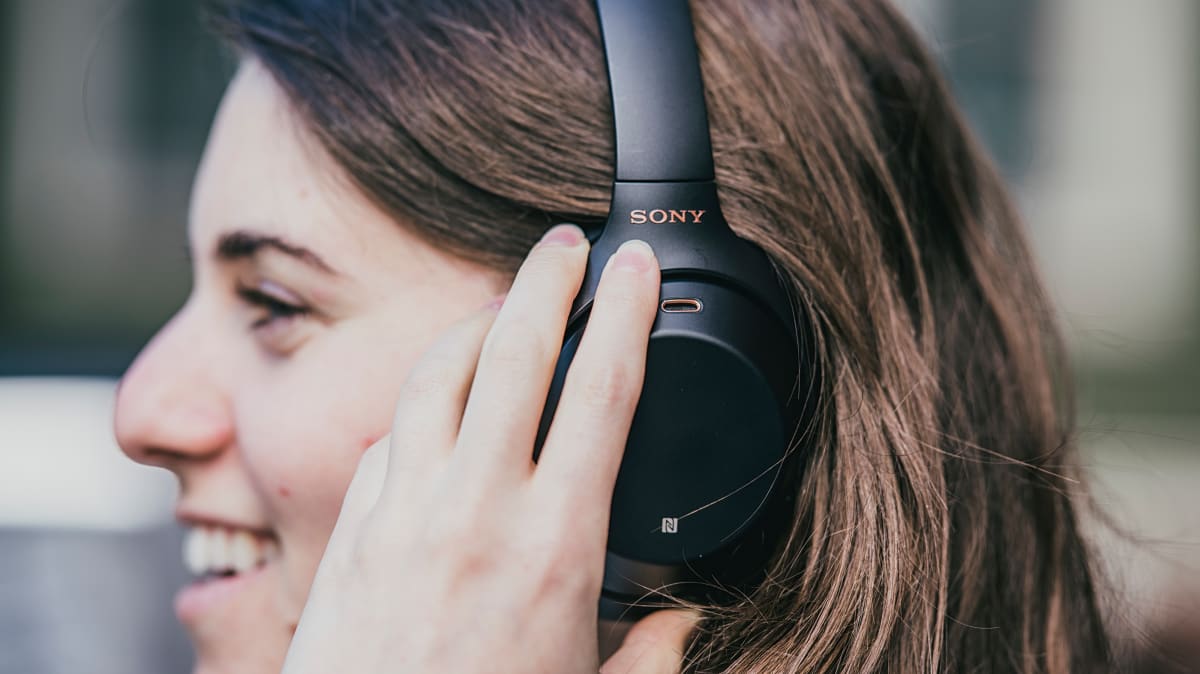
If your device or operating system doesn’t support noise cancellation in Teams, you may consider using external hardware devices such as headphones with noise-canceling capabilities or microphones with built-in noise reduction features.
Once you have confirmed that your device meets the prerequisites, you’re ready to proceed with enabling noise cancellation in Teams.
Enabling Noise Cancellation on Desktop
To enable noise cancellation in Teams on your desktop, follow these steps:
- Launch the Teams application on your computer and sign in to your Microsoft Teams account.
- Click on your profile picture or initials in the top right corner of the app to open the menu.
- Select “Settings” from the drop-down menu. This will open the “Settings” window.
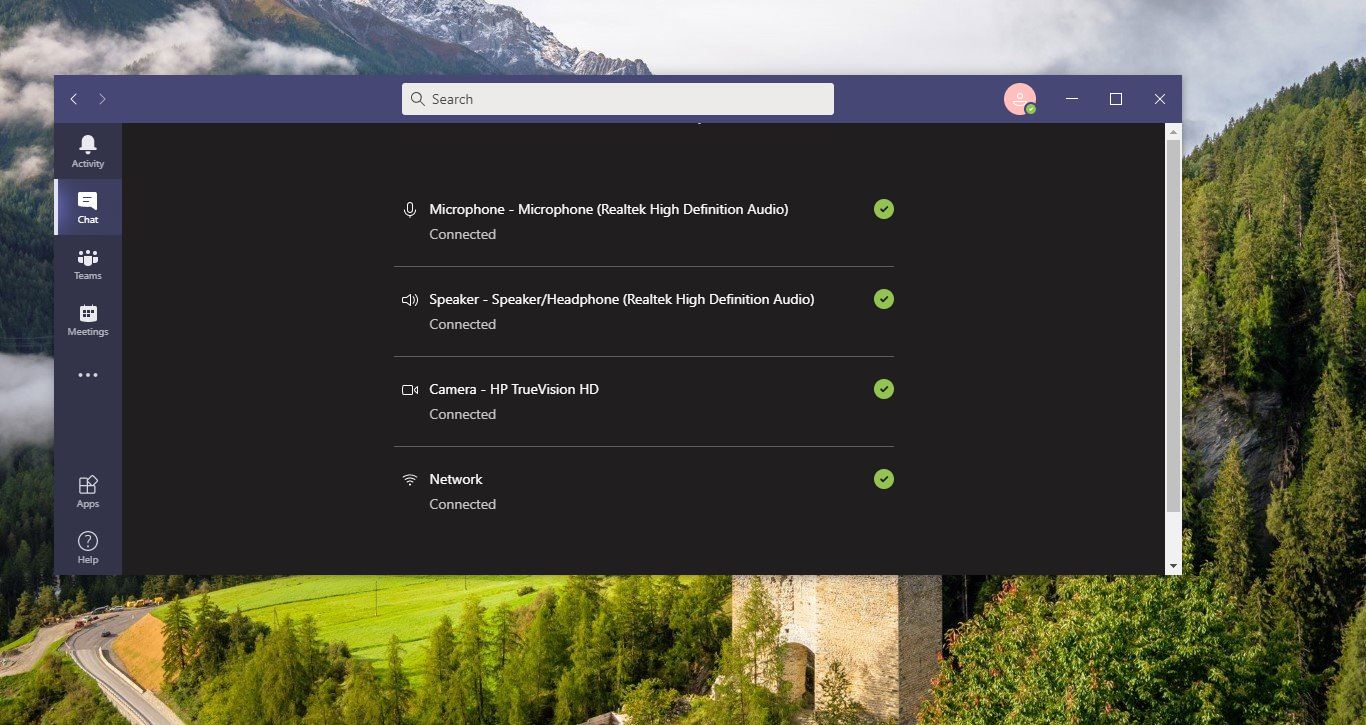
- In the left navigation pane, select “Devices.”
- Under the “Audio devices” section, you will find the “Noise cancellation” option.
- Toggle the switch next to “Noise cancellation” to the “On” position.
- You can further adjust the level of noise cancellation by moving the slider below the toggle switch. Move it to the left for less aggressive noise cancellation and to the right for more aggressive noise cancellation.
- Once you have enabled noise cancellation and adjusted the settings to your preference, close the “Settings” window.
Now, Teams will apply the noise cancellation feature to your audio, helping to eliminate background noise during your calls and meetings. Keep in mind that noise cancellation might not eliminate all sounds completely, but it will significantly reduce their impact.
Note: The availability and functionality of noise cancellation in Teams may vary depending on the version of the application and your device’s specifications. If you don’t see the noise cancellation option in your Teams settings, make sure you have the latest version of the application installed and that your device meets the necessary requirements.
Enabling Noise Cancellation on Mobile
If you’re using the Teams mobile app, you can enable noise cancellation by following these steps:
- Open the Teams app on your mobile device and sign in to your Microsoft Teams account.
- Tap on the “Settings” icon, typically represented by three horizontal lines or a gear icon, located at the top left or bottom right corner of the app screen.
- In the settings menu, tap on “Devices” or “Audio and video.” The specific option may vary depending on your device and app version.
- Look for the “Noise cancellation” setting, and ensure that it is toggled to the “On” position.
- You can also adjust the level of noise cancellation by sliding the toggle or adjusting a slider, if available.
- Once you have enabled noise cancellation and made any desired adjustments, navigate back to the main screen of the app.
With noise cancellation enabled in Teams on your mobile device, you can enjoy clearer and more focused audio during your calls and meetings, even in noisy environments.
It’s important to note that noise cancellation may not completely eliminate all background noise, but it will significantly reduce its impact and improve audio quality.
Remember to keep your Teams app up to date to ensure you have the latest features and enhancements, including noise cancellation capabilities.
Testing and Adjusting the Noise Cancellation Settings
Once you have enabled noise cancellation in Teams, it’s a good idea to test the settings and make any necessary adjustments to suit your preferences and environment. Here are some steps you can take to test and adjust the noise cancellation settings:
- Start a Teams call or join a meeting with other participants.
- While on the call or in the meeting, pay attention to the audio quality and any background noise you can hear.
- If you find that the noise cancellation is not working effectively or is eliminating important audio, you may need to adjust the noise cancellation settings.
- If the noise cancellation is too aggressive and is blocking out important sounds, such as someone’s voice or specific audio cues, consider reducing the level of noise cancellation. Access the noise cancellation settings and adjust the slider or toggle to decrease the cancellation level.
- Conversely, if you find that the noise cancellation is not blocking out enough background noise and it is still interfering with your conversation, you can increase the level of cancellation by adjusting the settings accordingly.
- Continue testing and adjusting the noise cancellation settings until you find the optimal balance that works for you and your specific environment.
Remember that noise cancellation settings can vary depending on the device you’re using and the version of the Teams application. Experiment with the settings to find the right level of noise cancellation that enhances your overall audio experience without compromising important sounds.
By testing and adjusting the noise cancellation settings, you can tailor the audio output to suit your needs and ensure clear communication in your Teams calls and meetings.
Troubleshooting Noise Cancellation Issues
While noise cancellation in Teams is designed to enhance your audio experience, you may encounter certain issues or challenges. Here are some troubleshooting steps to help resolve common noise cancellation issues:
- If you’re unable to find the noise cancellation option in your Teams settings, make sure that you have the latest version of the Teams application installed. If not, update the application to ensure you have access to the noise cancellation feature.
- Ensure that your device meets the necessary requirements to support noise cancellation in Teams. Refer to the manufacturer’s specifications or the Teams documentation for compatibility information.
- If you’ve enabled noise cancellation but still notice excessive background noise, check your device’s microphone and audio settings. Ensure that the microphone is working properly and that it’s positioned correctly to capture your voice and minimize surrounding noise.
- If you’re using external audio devices, such as headphones or microphones, ensure that they are compatible and functioning correctly. Disconnect and reconnect them if necessary.
- In some cases, the performance of noise cancellation may be affected by the quality of your internet connection. If you’re experiencing issues, try connecting to a more stable network or troubleshooting your network connectivity.
- If you’re using Teams on a mobile device and still experiencing noise issues, try using headphones or external microphones with noise cancellation capabilities to improve the audio quality.
- If the above troubleshooting steps do not resolve the issue, consider reaching out to the Teams support team or consulting the Microsoft Teams community for further assistance.
It’s important to remember that noise cancellation may not completely eliminate all background noise, especially in challenging environments. However, adjusting the settings and addressing any potential issues can help you achieve a better audio experience overall.
By troubleshooting noise cancellation issues, you can ensure that Teams effectively filters out unwanted sounds and enables clear communication during your calls and meetings.
Conclusion
Noise cancellation technology has revolutionized the way we communicate and collaborate in virtual environments. By enabling noise cancellation in Microsoft Teams, you can minimize distracting background noise and enhance the clarity of your audio during calls and meetings.
In this article, we explored how to enable noise cancellation in Teams on both desktop and mobile devices. We also discussed the importance of testing and adjusting the noise cancellation settings to find the optimal balance between reducing unwanted noise and maintaining the quality of important audio.
Additionally, we provided troubleshooting tips to address common noise cancellation issues that you may encounter. By following these steps, you can overcome any obstacles and enjoy a better audio experience while using Teams.
Remember, noise cancellation may not completely eliminate all background noise, but it can significantly reduce its impact and improve the overall quality of your calls and meetings. Don’t hesitate to explore other hardware options, such as headphones or microphones with noise isolation features, to further enhance your audio experience.
To make the most of noise cancellation in Teams, ensure that you have the latest version of the application, a stable internet connection, and a compatible device. Stay up to date with any new features or enhancements introduced to the Teams platform, as noise cancellation capabilities may also evolve over time.
Now that you have the knowledge and tools to enable noise cancellation in Teams, go ahead and create a more focused and productive virtual communication experience. Happy noise-free collaborating!