Home>Production & Technology>Remix>How To Remix A Snap And Put It On Your Story
Remix
How To Remix A Snap And Put It On Your Story
Published: November 19, 2023
Learn how to remix a snap and easily share it on your story. Enhance your social media experience with this step-by-step guide.
(Many of the links in this article redirect to a specific reviewed product. Your purchase of these products through affiliate links helps to generate commission for AudioLover.com, at no extra cost. Learn more)
Table of Contents
Introduction
Remixing snaps and putting them on your story is a fun and creative way to personalize your social media presence. Whether you want to add your own unique flair to a snap or showcase your editing skills, remixing can take your social media game to the next level. In this article, we will explore the step-by-step process of remixing a snap and putting it on your story.
Remixing is not just about adding filters or captions to existing snaps; it’s about using your imagination and creativity to modify and enhance them. By remixing a snap, you can transform a mundane picture or video into a masterpiece that captures attention and engages your followers.
With the advent of various remix apps and features, the process of remixing has become more accessible and user-friendly. These tools provide a wide range of options and effects that allow you to customize your snaps according to your preferences and style. From adding stickers and text overlays to applying filters and transitions, there are endless possibilities to explore.
Moreover, remixing goes beyond just creating visually appealing content. It allows you to express your personality, emotions, and thoughts through the art of storytelling. By remixing snaps, you can tell a captivating narrative and capture the attention of your audience, making them feel connected and invested in your story.
In the following sections, we will guide you through the process of remixing a snap and putting it on your story. We will discuss the tools and techniques you can use to create stunning and engaging remixes. So, get ready to unleash your creativity and let your imagination run wild!
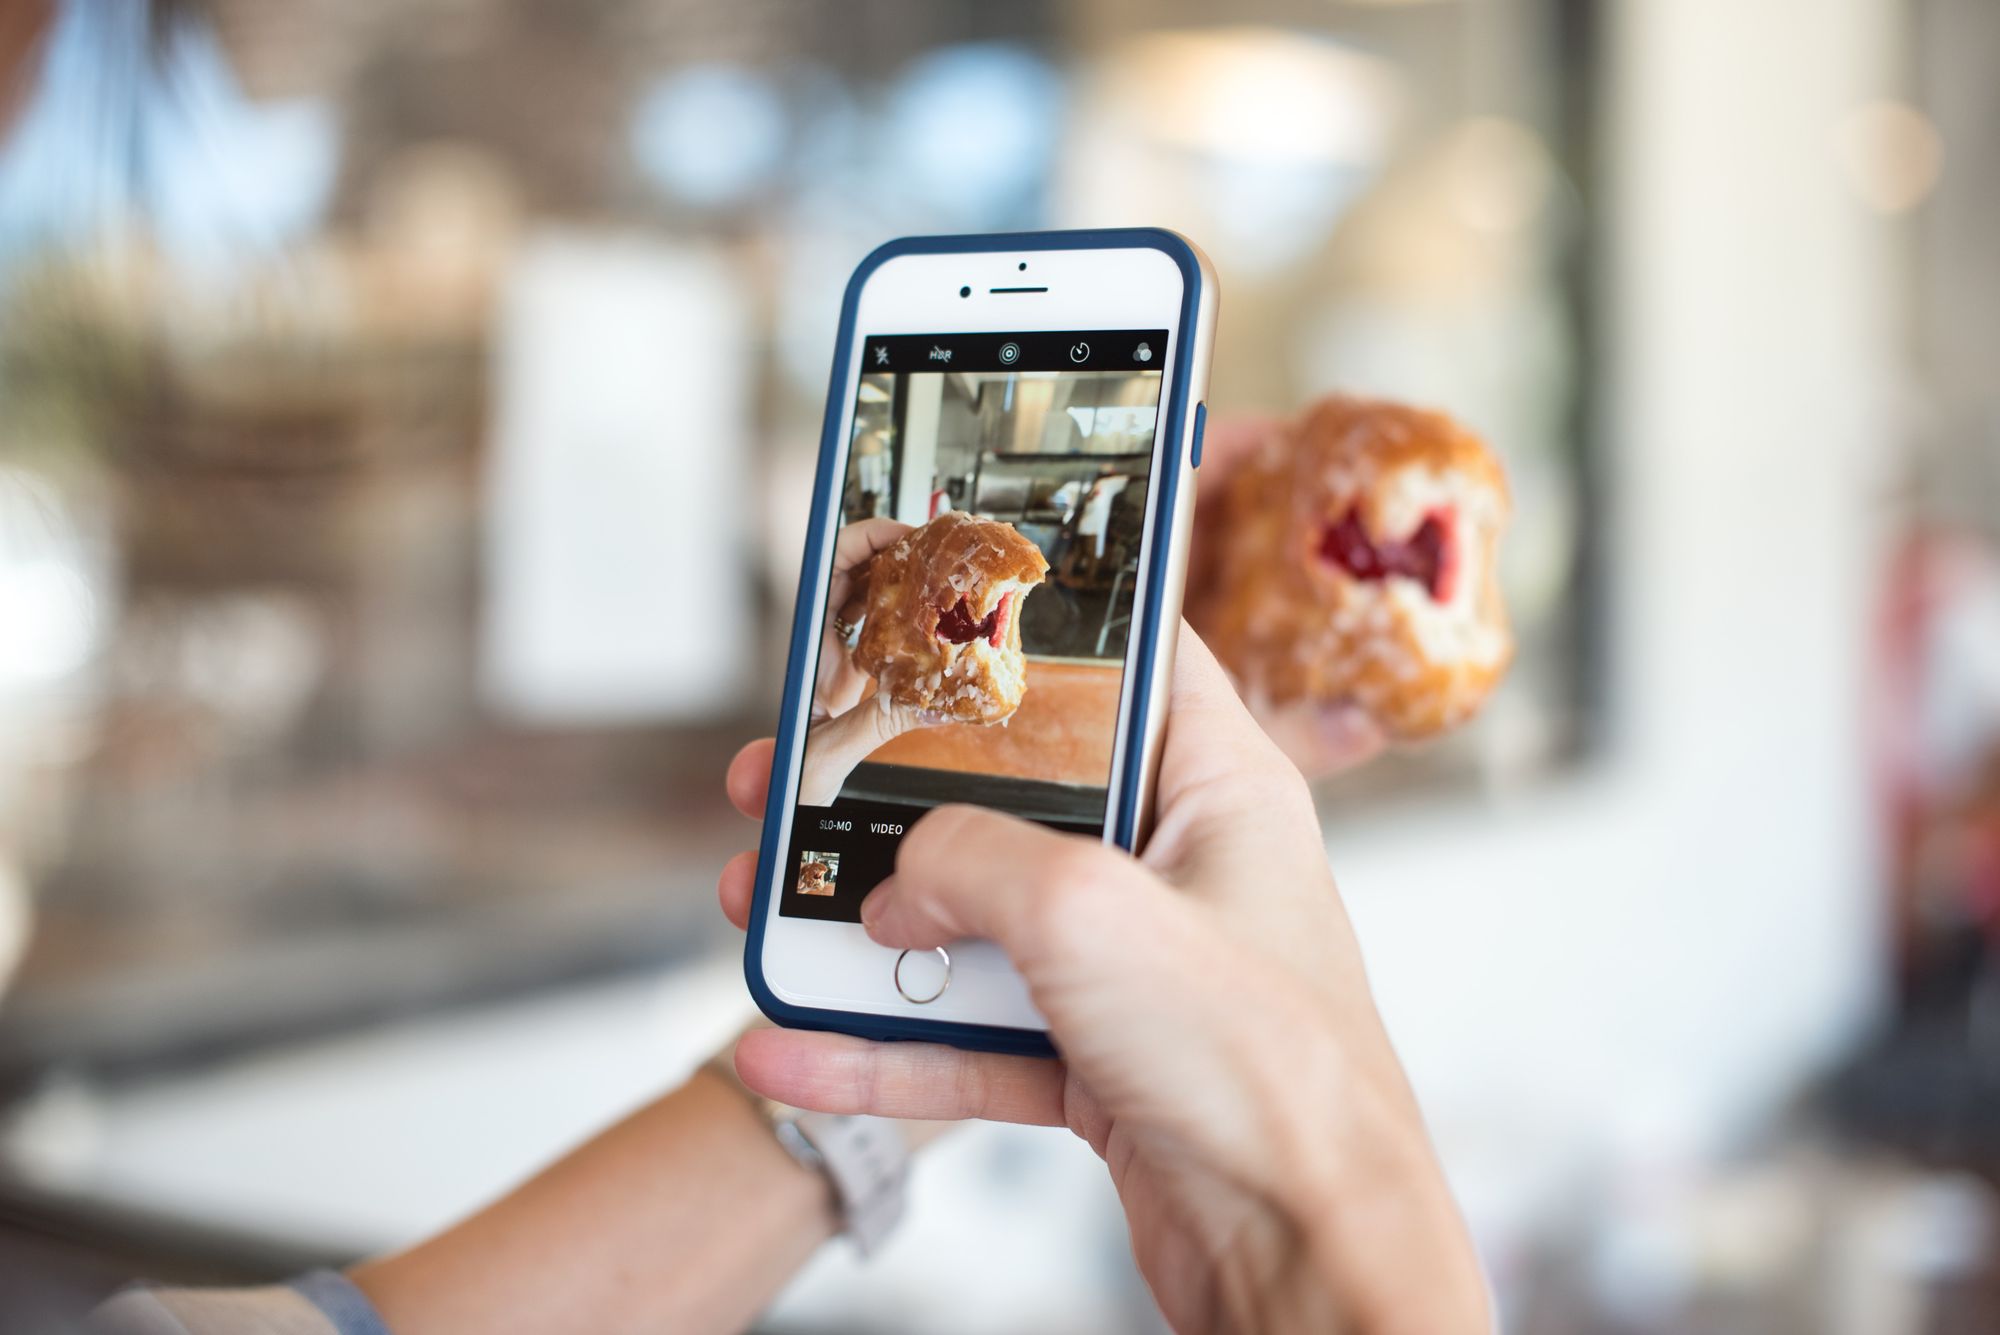
Step 1: Choose a Snap to Remix
The first step in remixing a snap is selecting the perfect snap to work with. This snap can be a photo or a video that you want to modify and add your own creative touch to. It can be a snap you’ve previously taken or downloaded from your device’s gallery.
When choosing a snap, consider the theme or message you want to convey. Do you want to create a humorous remix, a nostalgic throwback, or a visually stunning masterpiece? Think of the emotions and reactions you want to evoke from your audience.
Additionally, keep in mind the aspect ratio and resolution of the snap. For most social media platforms, square or vertical formats work best, as they fit well within the viewing window. If your snap is in a different format, you may need to crop or resize it to ensure optimal visibility.
Once you’ve selected the snap you want to remix, it’s time to move on to the next step: using a remix app or feature to bring your creative vision to life.
Step 2: Use a Remix App or Feature
After choosing the perfect snap, it’s time to explore the various remixing apps and features available to bring your creative vision to life. These tools provide a wide range of options and effects that can transform your snap into a captivating masterpiece.
There are several popular remix apps and features that you can use, depending on the platform you’re using and your personal preferences. Here are a few options:
- Snapchat Remix: Snapchat offers a built-in remix feature that allows you to add stickers, text, filters, and even draw on your snap. This feature provides a convenient and user-friendly option for remixing directly within the app.
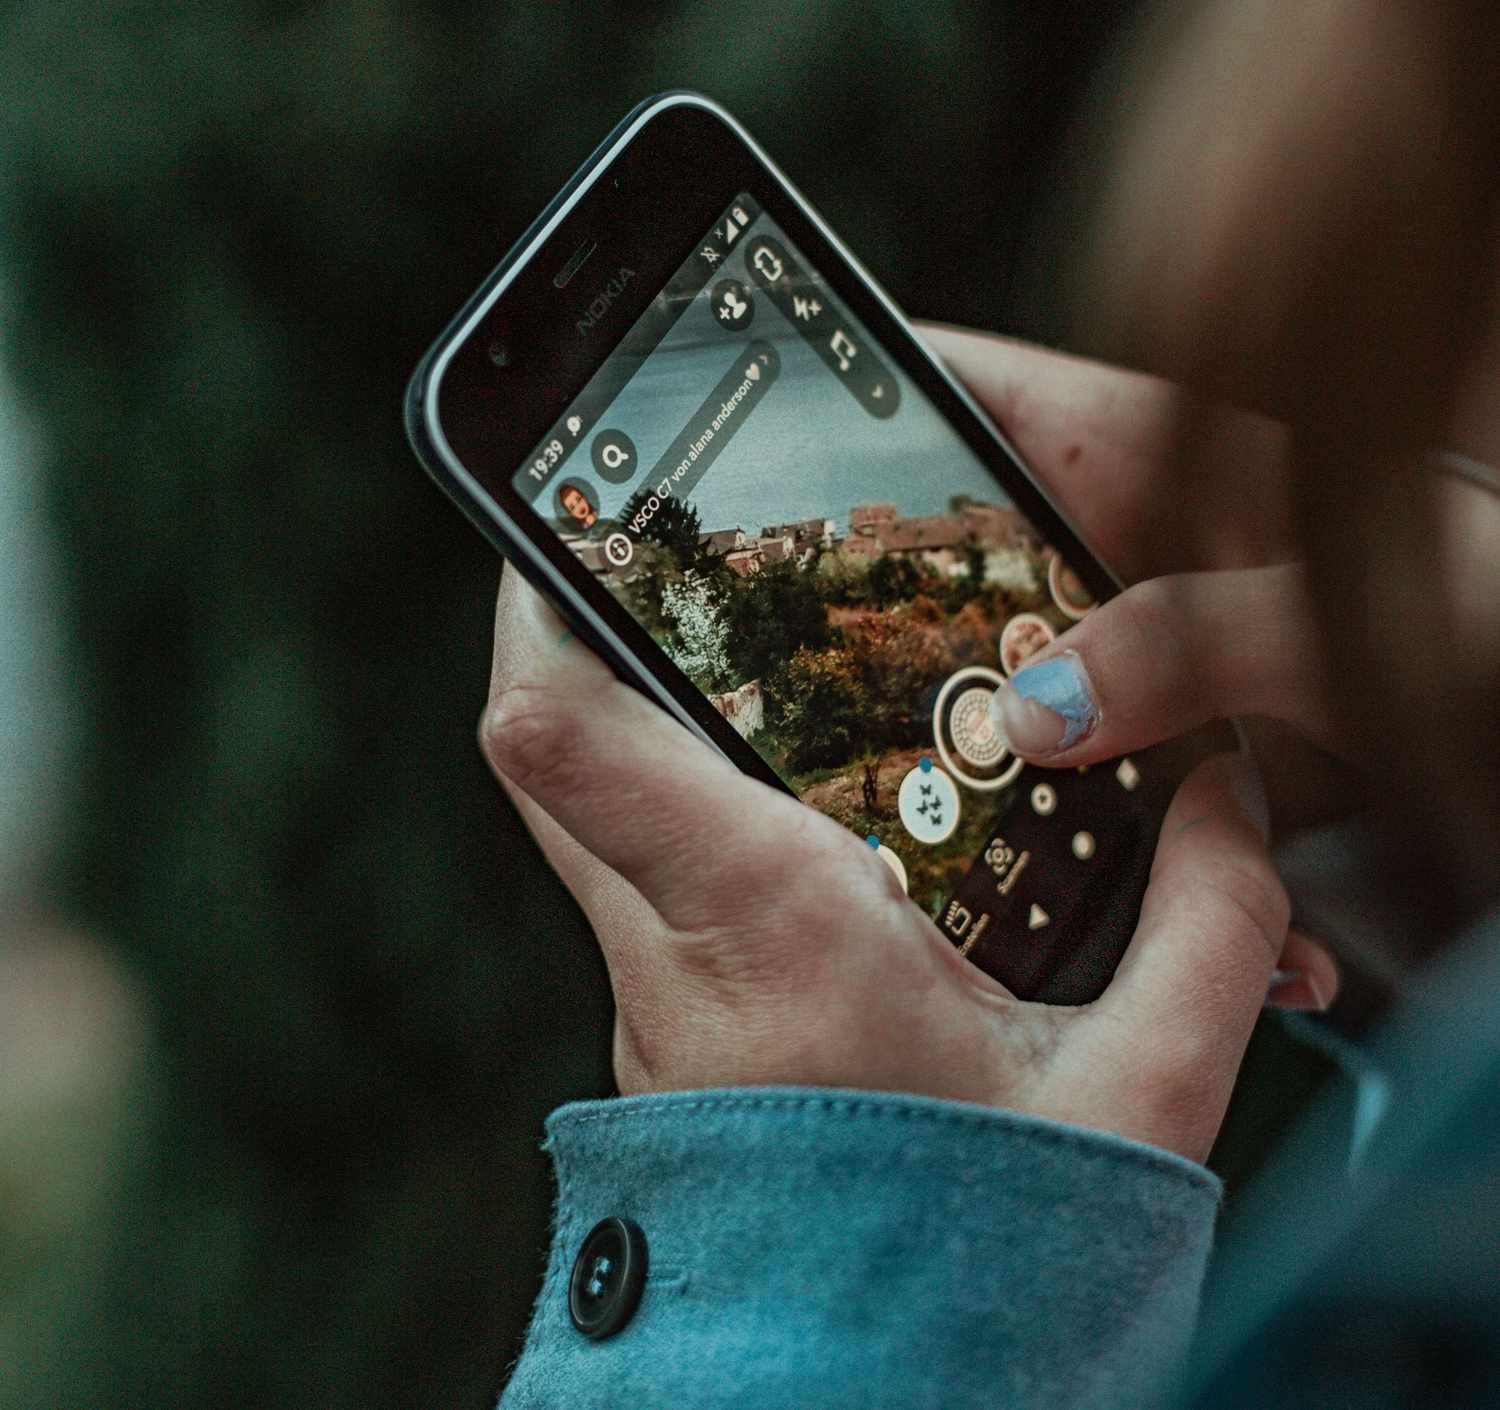
- Third-Party Apps: There are numerous third-party apps available that specialize in remixing snaps. These apps offer a wide range of features, including advanced editing tools, filters, effects, and even AI-powered enhancements. Some popular options include VSCO, PicsArt, and Adobe Photoshop Express.
- Social Media Platform Tools: Many social media platforms have their own built-in remixing tools. For example, Instagram offers various creative tools, such as filters, text overlays, and stickers, that allow you to remix your snaps directly within the app.
When choosing a remixing app or feature, consider factors such as ease of use, available features, and compatibility with your device and social media platforms. Experiment with different options to find the one that best suits your needs and preferences.
Once you’ve chosen your preferred remixing tool, it’s time to move on to the next step: adding your own creative touch to the snap.
Step 3: Add Your Own Touch
Now that you have your selected snap and the remixing app or feature at your disposal, it’s time to unleash your creativity and add your own unique touch to the snap.
Start by exploring the various customization options provided by the remixing tool. Depending on the app or feature, you may have access to a wide range of editing tools, filters, effects, stickers, text overlays, and more. Experiment with different combinations to achieve the desired look and feel.
Consider the elements that can enhance your snap. If you’re adding text, think about the font, size, and color that best complements the content. If you’re using stickers or overlays, choose ones that align with the mood or theme of your snap. Don’t be afraid to get creative and think outside the box!
Moreover, consider the timing and duration of each element in a video snap. This is particularly important if you’re creating a remix with multiple clips. Adjust the transitions and timing to create a seamless and visually pleasing sequence.
Don’t forget about the power of filters and effects. They can completely transform the mood and atmosphere of your snap. Play around with different filters to enhance colors, create vintage looks, or add dramatic effects.
Remember, the key is to express yourself and convey your personal style through the remix. Whether it’s through witty captions, artistic edits, or unique combinations of elements, add your own touch to make the snap truly yours.
Once you’re satisfied with your masterpiece, it’s time to move on to the next step: saving and exporting your remix.
Step 4: Save and Export Your Remix
After adding your own creative touch to the snap, it’s important to save and export your remix in a format that is compatible with your intended platform. This ensures that your remix is ready to be shared with your audience and showcased on your social media story.
The process of saving and exporting your remix may vary depending on the remixing app or feature you’re using. However, here are some general steps to follow:
- Save a Copy: Before exporting, it’s always a good idea to save a separate copy of your remix. This allows you to have a backup in case you want to make further edits or modifications in the future.
- Select Export Format: Choose the format that is optimized for your platform. For social media platforms like Instagram or Snapchat, videos are often preferred in MP4 format and photos in JPEG or PNG format.
- Select Quality and Resolution: Depending on the platform and your preferences, you may have the option to customize the quality and resolution of your exported remix. Consider the platform’s guidelines to ensure the best viewing experience for your audience.
- Export and Save: Once you’ve selected the desired settings, initiate the export process. The app or feature will process and save your remix to your device’s gallery or a specified location.
While exporting, double-check the file size and ensure it meets the platform’s guidelines. Social media platforms often have restrictions on file sizes to ensure smooth playback and quick loading times.
After saving and exporting your remix, it’s time for the final step: putting your remix on your story to share with your followers.
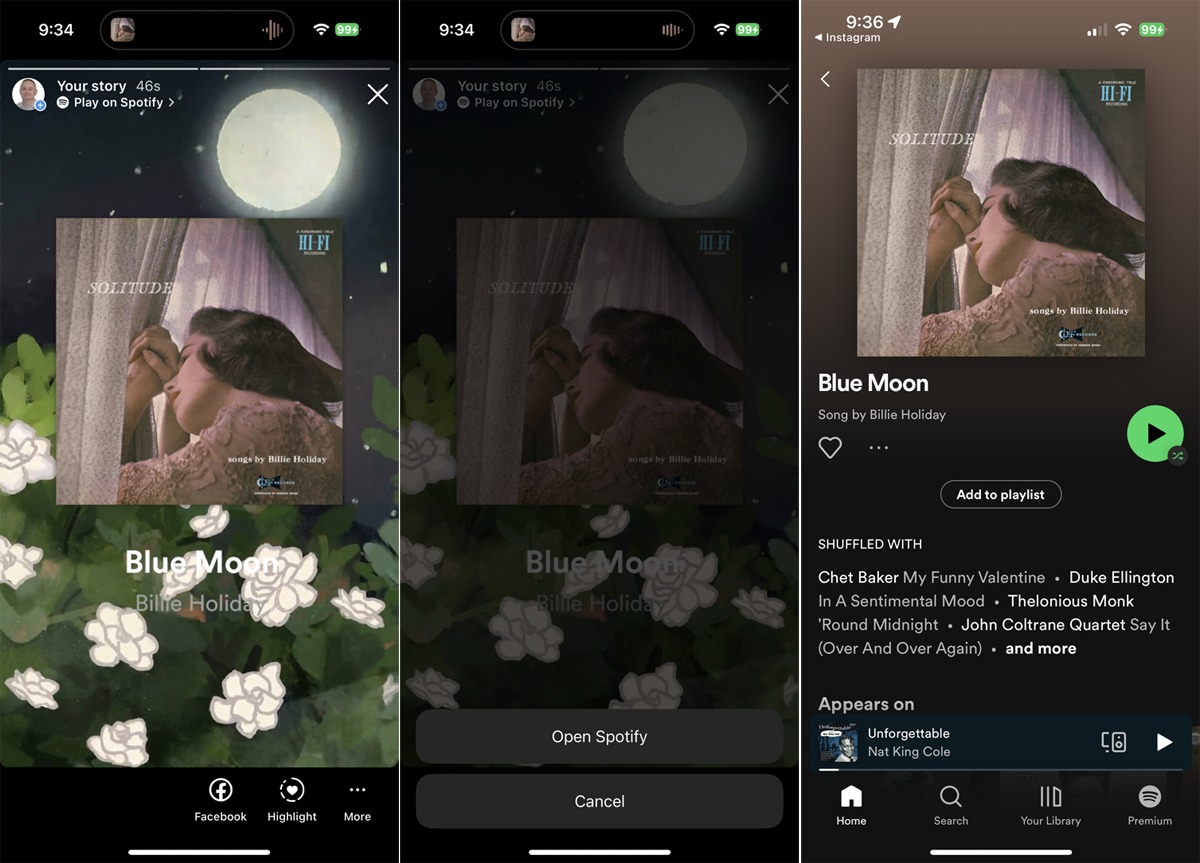
Step 5: Put the Remix on Your Story
Now that you have your beautifully remixed snap saved and exported, it’s time to share it with your audience by putting it on your story. This step may vary slightly depending on the platform you’re using, but the general process remains similar.
Here’s how to put your remix on your story:
- Open the App: Launch the social media app on your device and navigate to the story feature. On most platforms, this can be accessed through the camera icon or by swiping right.
- Select your Remix: Choose the option to add media to your story. Depending on the platform, you may be able to select your remix directly from the gallery on your device.
- Customize and Add Details: Before posting, you may have the option to customize your story by adding text, stickers, location tags, or interactive features like polls or questions. This allows you to engage with your audience and make your story more interactive.
- Post to Your Story: Once you’re satisfied with the customization, hit the “Post” or “Publish” button to make your remix visible on your story. Depending on the platform, your story may last for 24 hours before disappearing.
Remember to preview your story before posting to ensure everything looks as you intended. Check for any typos, misplaced elements, or formatting issues. You can also take advantage of features like scheduling or saving drafts, depending on the capabilities of the platform.
Once your remix is live on your story, your followers can view, engage with, and react to it. Encourage your audience to interact with your story by responding to prompts, sending direct messages, or sharing it with their own followers.
And there you have it! You’ve successfully remixed a snap and put it on your story. Enjoy the engagement and feedback from your followers, and get ready to create more captivating remixes in the future!
Conclusion
Remixing snaps and putting them on your story is a fantastic way to express your creativity and engage with your audience on social media. By following the step-by-step process outlined in this article, you can create stunning remixes that capture attention and leave a lasting impression.
With the wide array of remixing apps and features available, you have the tools at your disposal to transform a simple snap into a work of art. From adding filters and stickers to incorporating text overlays and effects, the possibilities are endless.
Through the process of remixing, you have the opportunity to personalize your social media presence and stand out from the crowd. Your remixes can tell stories, evoke emotions, and reflect your unique style and personality.
Remember to choose the snap you want to remix thoughtfully, with an understanding of the message you want to convey. Take advantage of the various remixing apps and features to add your own touch, experiment with different elements, and create visually captivating remixes.
Once your remix is complete, save and export it in the appropriate format for your chosen platform. Then, confidently put it on your story and enjoy the engagement and reactions from your audience.
Remixing snaps is an ongoing journey of self-expression and creativity. Continuously explore new techniques, experiment with different styles, and stay updated with the latest trends. With each remix, you’ll refine your skills and continue to captivate your followers.
So, what are you waiting for? Start remixing your snaps and watch your social media presence soar to new heights!