Home>Production & Technology>Sound>Why Do My Airpods Sound Muffled

Sound
Why Do My Airpods Sound Muffled
Modified: January 22, 2024
Discover why your Airpods may sound muffled and how to fix it. Find solutions to improve sound quality and enjoy crystal clear audio.
(Many of the links in this article redirect to a specific reviewed product. Your purchase of these products through affiliate links helps to generate commission for AudioLover.com, at no extra cost. Learn more)
Table of Contents
- Introduction
- Possible Causes of Muffled Sound in AirPods
- Dirty or Clogged Ear Tips
- Ear Wax Buildup
- Water or Moisture Damage
- Bluetooth Interference
- Software or Firmware Issues
- Troubleshooting Steps for Muffled AirPods Sound
- Clean the Ear Tips
- Remove Ear Wax
- Dry AirPods Properly
- Check for Bluetooth Interference
- Update Software or Firmware
- Conclusion
Introduction
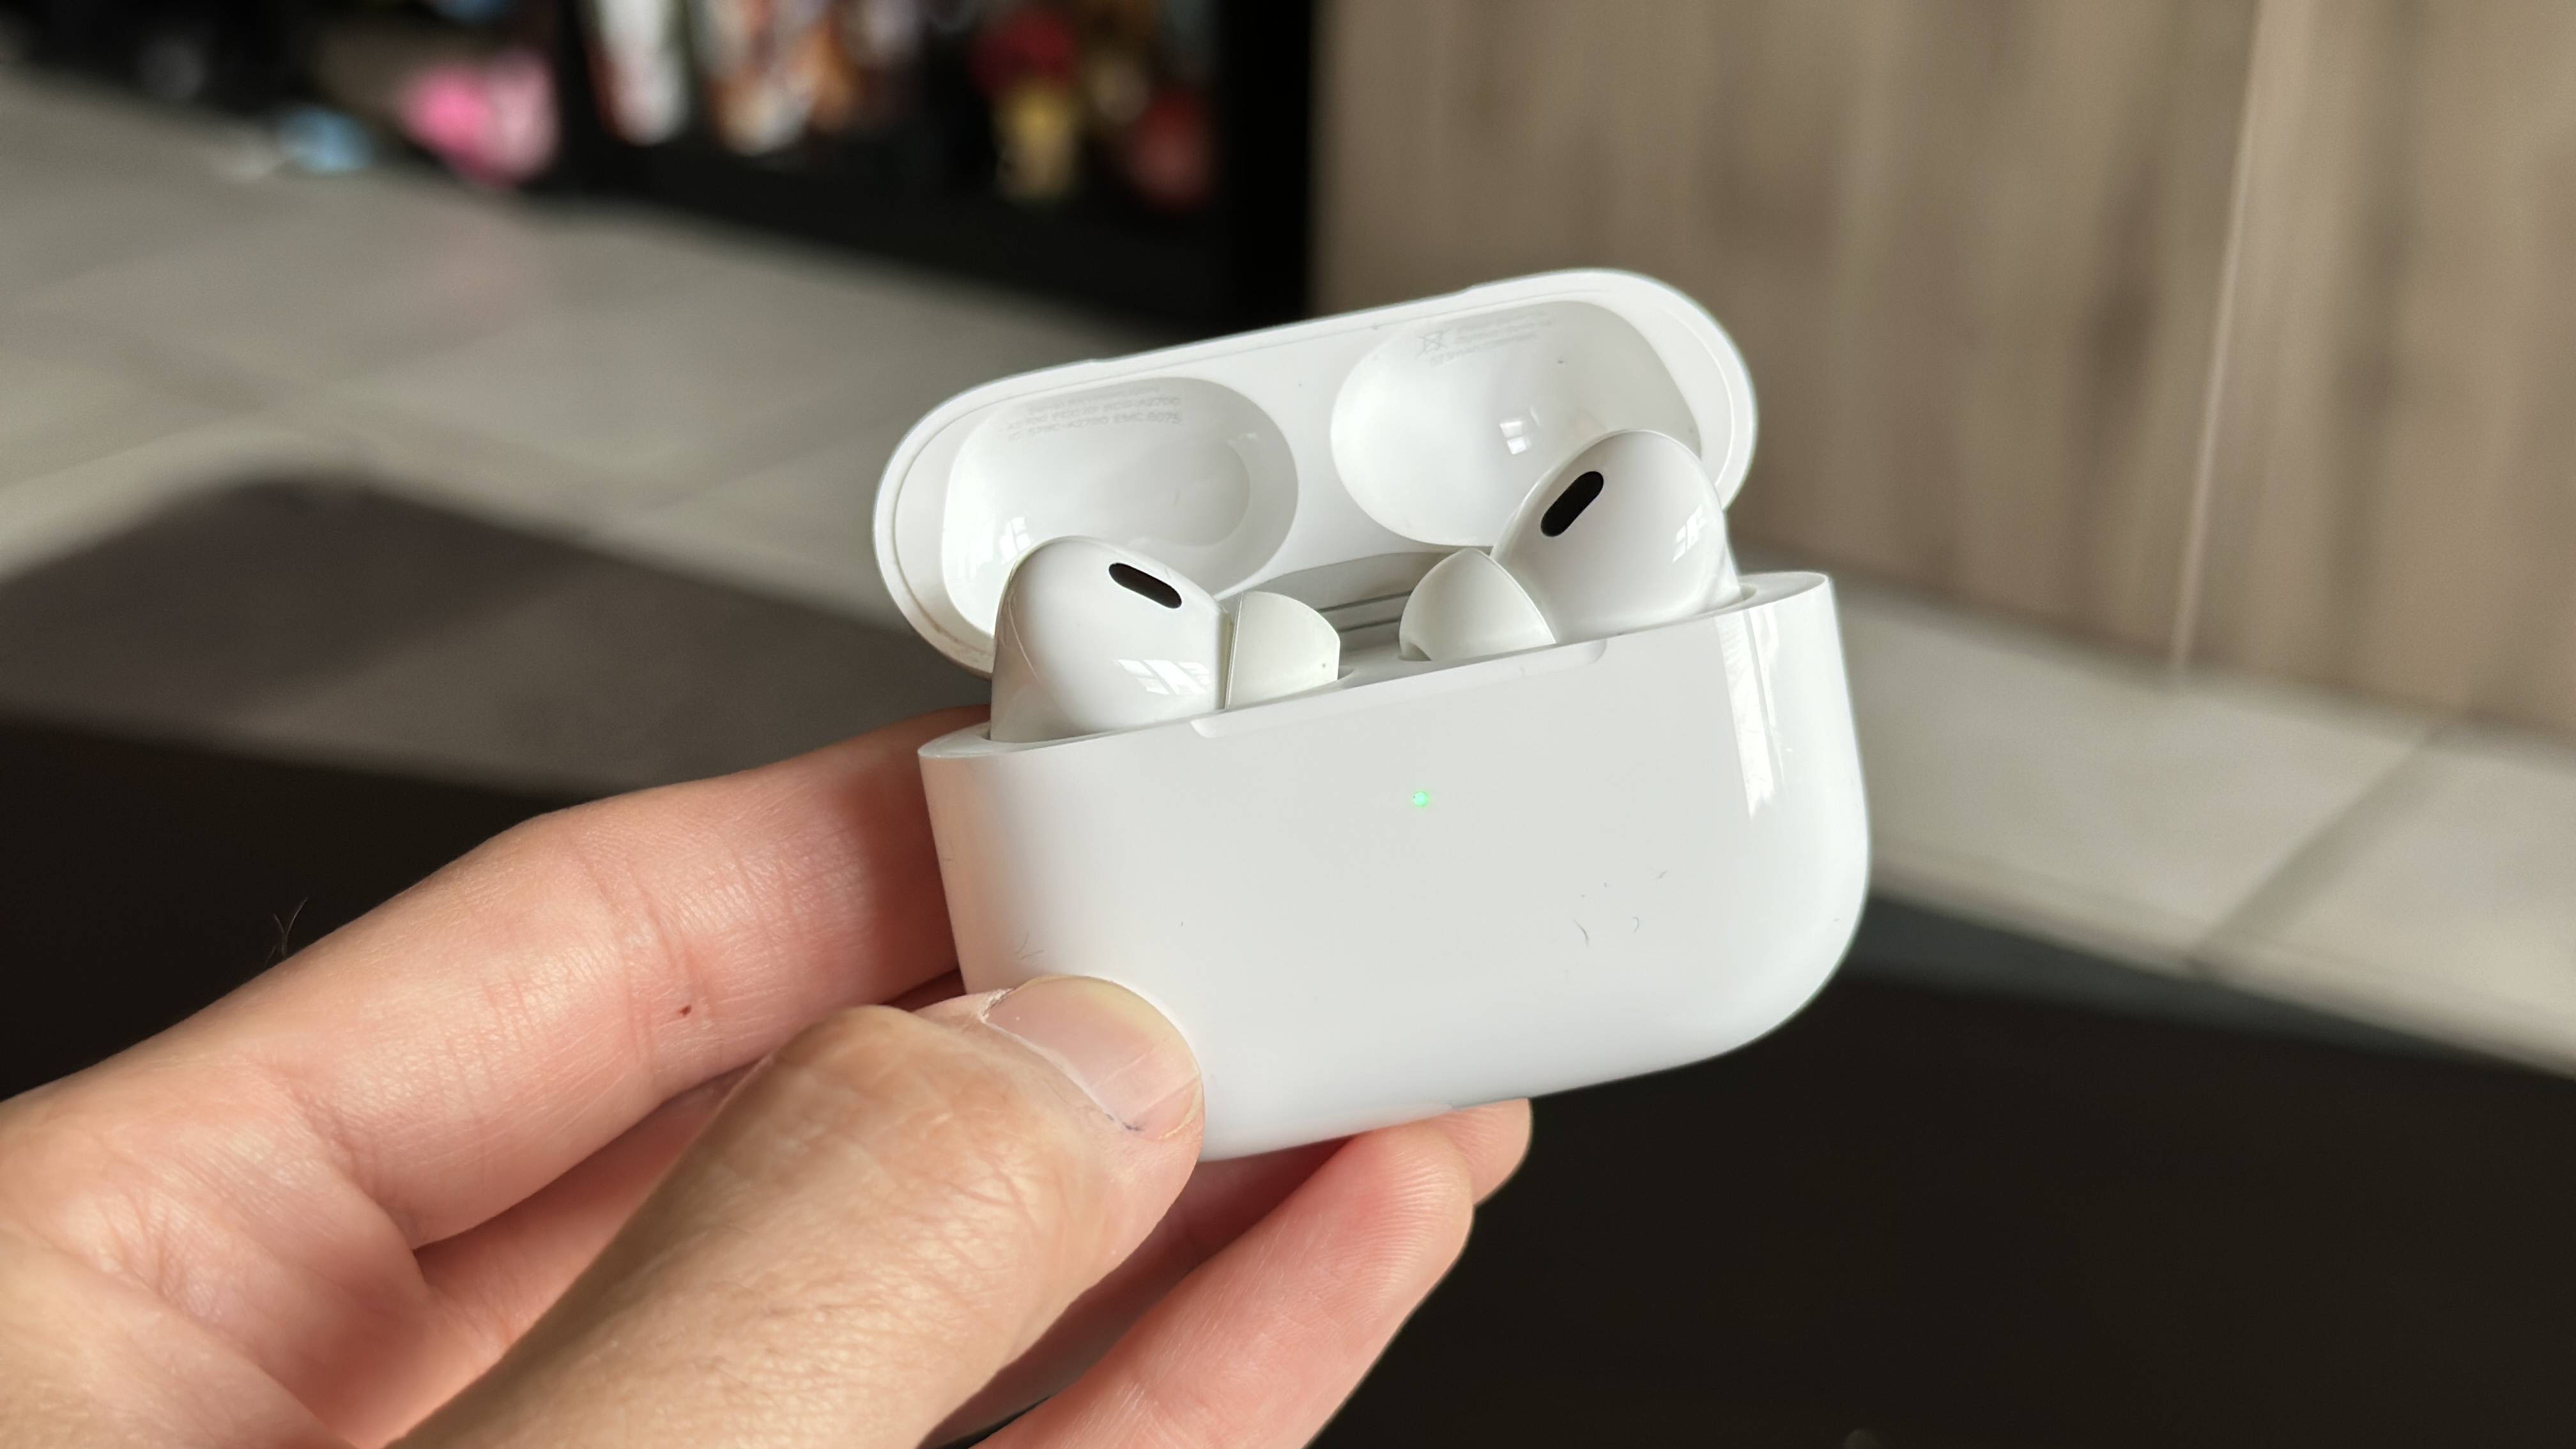
Are your AirPods sounding muffled? If you’ve noticed a decrease in sound quality or a loss of clarity in your beloved wireless earbuds, it can be quite frustrating. But fear not! In this article, we will explore the possible causes of muffled sound in AirPods and provide you with troubleshooting steps to help restore their audio performance.
Apple’s AirPods have revolutionized the way we listen to music, make phone calls, and interact with our devices. Their sleek design, seamless connectivity, and impressive sound quality have won over many users worldwide. However, like any electronic device, AirPods can encounter issues over time, one of which is a decrease in sound clarity or muffled audio.
There are several reasons why your AirPods may sound muffled. It could be due to dirty or clogged ear tips, ear wax buildup, water or moisture damage, Bluetooth interference, or software and firmware issues. By understanding these potential causes, you’ll be equipped with the knowledge to troubleshoot the problem accordingly.
Before we dive into the troubleshooting steps, it’s important to note that not all muffled audio issues can be resolved by the user. If you’ve tried all the troubleshooting steps and the problem persists, it’s advisable to reach out to Apple Support or visit an authorized service provider for further assistance.
Now, let’s explore each possible cause of muffled sound in AirPods in more detail and discover how you can rectify the issue.
Possible Causes of Muffled Sound in AirPods
1. Dirty or Clogged Ear Tips: Over time, the ear tips of your AirPods can accumulate dirt, debris, and earwax, which can block the sound output and result in muffled audio.
2. Ear Wax Buildup: If you frequently use your AirPods, there is a possibility that earwax can get trapped inside the speaker mesh or on the ear tips, obstructing the sound waves and causing a decrease in audio quality.
3. Water or Moisture Damage: AirPods are not waterproof and can be damaged by exposure to water or excessive moisture. If your AirPods have been subjected to water damage, it can affect the sound output and result in muffled or distorted audio.
4. Bluetooth Interference: Interference from other Bluetooth devices or environmental factors can disrupt the wireless connection between your AirPods and your device, leading to a decrease in sound quality or muffled audio.
5. Software or Firmware Issues: Occasionally, software or firmware bugs can affect the performance of your AirPods, including sound quality. In some cases, an outdated or corrupted firmware may be the culprit behind the muffled sound.
It’s important to keep in mind that these are potential causes, and the actual reason behind muffled sound in your AirPods may vary. By understanding these possibilities, you can now proceed to troubleshoot and resolve the issue. Keep reading to explore the troubleshooting steps in detail.
Dirty or Clogged Ear Tips
One of the most common reasons for muffled sound in AirPods is dirty or clogged ear tips. Over time, dirt, debris, and earwax can accumulate on the ear tips, obstructing the sound output and causing audio quality to suffer.
To address this issue, you can follow these steps:
1. Remove the ear tips: Gently detach the ear tips from your AirPods. Some models may have detachable ear tips, while others may require you to twist and pull them off. Check the user manual or Apple’s support website for instructions specific to your AirPods model.
2. Rinse with water (if applicable): If your ear tips are water-resistant, rinse them under lukewarm water. Avoid using hot water or harsh chemicals, as they may damage the ear tips. It’s important to note that not all AirPods models have water-resistant ear tips, so make sure to verify this before proceeding.
3. Clean with a soft cloth or brush: Gently wipe the ear tips with a soft, lint-free cloth or brush to remove any dirt, debris, or wax buildup. Take care not to apply excessive pressure, as this may damage the ear tips.
4. Dry thoroughly: Make sure the ear tips are completely dry before reattaching them to your AirPods. Moisture can cause further issues, so allow them to air dry or use a soft, dry cloth to absorb any remaining moisture.
5. Reattach the ear tips: Once the ear tips are dry, carefully reattach them to your AirPods. Ensure they are securely fastened to prevent any sound leakage or instability.
By regularly cleaning your AirPods’ ear tips, you can prevent dirt and earwax buildup, ensuring optimal sound quality and reducing the chances of muffled audio. It’s recommended to clean the ear tips every few weeks or as needed, depending on your usage and the environment in which you use your AirPods.
If cleaning the ear tips did not resolve the muffled sound issue, move on to the next troubleshooting step to address potential earwax buildup, which will be explained in the next section.
Ear Wax Buildup
Another potential cause of muffled sound in your AirPods is earwax buildup. If you frequently use your AirPods, there is a possibility that earwax can get trapped inside the speaker mesh or on the ear tips, obstructing the sound waves and resulting in reduced audio quality.
To address this issue, follow these steps:
1. Remove the ear tips: Gently detach the ear tips from your AirPods, following the instructions specific to your model. Take care not to apply excessive force to prevent any damage.
2. Inspect the speaker mesh: Examine the speaker mesh for any visible earwax buildup. If you notice a significant amount of wax, you can use a soft, dry brush or a slightly damp cloth to gently remove it. Avoid using sharp or pointed objects that may damage the speaker mesh.
3. Clean the ear tips: Remove the ear tips and rinse them under lukewarm water, if they are water-resistant. Gentle rubbing with your fingertips can help dislodge any trapped earwax. Avoid using hot water or harsh chemicals, as they may damage the ear tips.
4. Dry thoroughly: Ensure the ear tips are completely dry before reattaching them to your AirPods. Allow them to air dry or use a soft, dry cloth to absorb any remaining moisture. Moisture should be avoided, as it can cause further issues with the sound quality.
5. Reattach the ear tips: Once dry, carefully reattach the ear tips to your AirPods, ensuring they are securely fastened.
By regularly cleaning the speaker mesh and ear tips, you can prevent earwax buildup and maintain optimal sound quality. It’s recommended to clean the ear tips every few weeks or as needed, depending on the amount of earwax accumulation and your usage.
If cleaning the ear tips and speaker mesh did not resolve the muffled sound issue, continue to the next troubleshooting step to address any water or moisture damage, which will be explained in the next section.
Water or Moisture Damage
Water or moisture exposure can be another reason for muffled sound in your AirPods. While AirPods are not waterproof, they can withstand some level of moisture. However, excessive exposure to water can cause damage to the internal components and affect the sound output.
If you suspect water or moisture damage, follow these steps to potentially resolve the issue:
1. Remove the AirPods from the case: Take both AirPods out of the charging case and leave them separated for a while. This allows any moisture trapped inside the AirPods or charging case to evaporate.
2. Air dry at room temperature: Place the AirPods at room temperature in a well-ventilated area to allow them to air dry naturally. Avoid using heat sources like hair dryers or direct sunlight as they can cause further damage.
3. Wait for at least 24-48 hours: It’s important to be patient and give enough time for the AirPods to completely dry. Waiting for 24-48 hours will ensure that all moisture has evaporated before attempting to use them again.
4. Test for sound quality: Once you are confident that the AirPods are dry, pair them with your device and check the sound quality. If the sound is still muffled, move on to the next troubleshooting step.
If the muffled sound persists after attempting to dry your AirPods, it is possible that water damage has occurred internally. In this case, it is recommended to contact Apple Support or visit an authorized service provider for further assistance or a possible repair or replacement.
However, if the sound quality has improved after the drying process, then it was likely caused by water or moisture damage. To prevent future issues, it’s important to be cautious and avoid exposing your AirPods to excessive moisture or water, such as wearing them in the rain or using them during intense physical activities that may cause perspiration.
In the next section, we will look into the possibility of Bluetooth interference as a potential cause of muffled sound in AirPods.
Bluetooth Interference
Bluetooth interference can affect the wireless connection between your AirPods and your device, leading to a decrease in sound quality or muffled audio. This interference can be caused by various factors, including the presence of other Bluetooth devices or environmental factors.
To address potential Bluetooth interference, follow these steps:
1. Move away from other Bluetooth devices: If you are in close proximity to other Bluetooth devices, such as speakers, smartphones, or smartwatches, it can cause interference. Try moving away from these devices and see if it improves the sound quality on your AirPods.
2. Turn off other Bluetooth devices: If moving away from other devices is not possible, try turning off the Bluetooth functionality on those devices temporarily. This can help reduce potential interference and improve the connection between your AirPods and your device.
3. Adjust the position of your device: Sometimes, the position of your device can affect the Bluetooth signal strength and result in muffled audio. Experiment with different positions or angles to see if it makes a difference in sound quality.
4. Reduce Wi-Fi interference: Wi-Fi signals can also interfere with Bluetooth connections. If you are experiencing muffled sound in your AirPods, try moving away from Wi-Fi routers or reducing the number of Wi-Fi devices in close proximity to your AirPods.
By minimizing Bluetooth interference, you can potentially improve the sound quality of your AirPods. However, if the muffled sound issue persists, there may be software or firmware-related problems. In the next section, we will explore how updating the software or firmware can help resolve such issues.
Software or Firmware Issues
In some cases, muffled sound in AirPods can be attributed to software or firmware issues. This can occur if there are bugs, glitches, or outdated firmware that affect the audio performance of your AirPods.
To address software or firmware issues, follow these troubleshooting steps:
1. Check for software updates: Ensure that your device is running the latest software update. Apple periodically releases software updates that can address bugs and improve compatibility with AirPods. Open the Settings app on your device, go to the Software Update section, and check for any available updates.
2. Update AirPods firmware (if available): AirPods have their own firmware, which can be updated to fix known issues and improve performance. Make sure your AirPods are connected to your device, open the Settings app, go to the Bluetooth section, and select your AirPods. If a firmware update is available, follow the on-screen instructions to update it.
3. Reset AirPods: If updating the firmware doesn’t resolve the issue, you can try resetting your AirPods. To do this, go to the Bluetooth settings on your device, tap the “i” icon next to your AirPods, and select “Forget This Device.” Then, put your AirPods back in the charging case, keep the lid open, and press and hold the setup button on the back of the case until the LED on the front starts flashing amber. Follow the on-screen instructions to re-pair your AirPods.
4. Contact Apple Support: If none of the above steps resolves the muffled sound issue, it’s advisable to reach out to Apple Support or visit an authorized service provider for further assistance. They can provide specialized guidance and potentially diagnose any underlying software or hardware issues.
Updating the software or firmware of your devices can help resolve muffled sound issues that are caused by compatibility or glitch-related problems. By staying up to date with the latest updates, you can ensure the best audio experience with your AirPods.
With these troubleshooting steps, you now have a comprehensive guide to address the most common causes of muffled sound in your AirPods. Remember to follow the steps carefully and reach out for professional assistance if needed.
Let’s wrap up the article in the next section.
Troubleshooting Steps for Muffled AirPods Sound
If you are experiencing muffled sound in your AirPods, here are some troubleshooting steps you can take to address the issue:
1. Clean the Ear Tips: Remove the ear tips from your AirPods and clean them using a soft cloth or brush. Make sure to remove any dirt, debris, or earwax buildup that may be obstructing the sound output.
2. Remove Ear Wax: If there is earwax buildup in the speaker mesh or on the ear tips, gently clean them using a dry cloth or a slightly damp cloth if they are water-resistant. Be careful not to use sharp objects that may damage the AirPods.
3. Dry AirPods Properly: If your AirPods have been exposed to water or excessive moisture, remove them from the case and let them air dry at room temperature for at least 24-48 hours. Avoid using heat sources or direct sunlight, as they can cause further damage.
4. Check for Bluetooth Interference: Move away from other Bluetooth devices or turn off the Bluetooth functionality on nearby devices to reduce potential interference. Also, ensure that your AirPods and device are within a reasonable range for a stable connection.
5. Update Software or Firmware: Check for software updates on your device and update your AirPods’ firmware if available. Keeping your devices up to date can resolve compatibility issues and improve performance.
If the muffled sound issue persists after following these troubleshooting steps, it may be necessary to contact Apple Support or visit an authorized service provider for further assistance. They can provide additional guidance and potentially diagnose any underlying hardware or software issues.
Remember to regularly clean your AirPods and keep them away from water or excessive moisture to maintain optimal audio performance. Taking proper care of your AirPods will help ensure that you can enjoy crisp and clear sound for a long time.
In the next section, we will conclude the article.
Clean the Ear Tips
One of the first steps to take when experiencing muffled sound in your AirPods is to clean the ear tips. Over time, earwax, dirt, and debris can accumulate on the ear tips, leading to a decrease in sound quality. Cleaning the ear tips can help restore the clarity of the audio and improve your overall listening experience.
To clean the ear tips of your AirPods, follow these steps:
1. Remove the Ear Tips: Gently detach the ear tips from your AirPods. Depending on the model, they may twist off, snap on and off, or have a removable silicone sleeve. Refer to the user manual or Apple’s support website for specific instructions.
2. Wipe with a Soft Cloth: Use a soft, lint-free cloth or microfiber cloth to gently wipe the ear tips. Make sure to remove any visible dirt or debris. Avoid using harsh chemicals or abrasive materials that could damage the ear tips.
3. Use a Toothbrush or Soft Brush: For a more thorough cleaning, you can use a clean, dry toothbrush or a soft brush specifically designed for cleaning delicate surfaces. Gently brush the ear tips to remove any stubborn dirt or wax buildup. Be careful not to apply too much pressure, as it could damage the ear tips.
4. Rinse (if applicable): If your AirPods have water-resistant ear tips, you can rinse them under lukewarm water. This can help remove any remaining residue. Avoid using hot water, as it may damage the ear tips or affect their shape.
5. Dry Completely: After cleaning or rinsing, ensure that the ear tips are completely dry before reattaching them to your AirPods. You can air dry them or use a clean, dry cloth to absorb any moisture. Remember that moisture can affect the sound quality, so ensuring they are completely dry is crucial.
6. Reattach the Ear Tips: Once the ear tips are dry, carefully reattach them to your AirPods. Make sure they are securely fastened to prevent any sound leakage or instability during use.
By regularly cleaning the ear tips of your AirPods, you can prevent the buildup of dirt, debris, and earwax that can lead to muffled sound. Aim to clean them every few weeks or as needed, depending on your usage and the environment in which you use your AirPods.
If cleaning the ear tips did not resolve the muffled sound issue, proceed with the troubleshooting steps outlined in the subsequent sections of this article.
Remove Ear Wax
Ear wax buildup is a common culprit behind muffled sound in AirPods. When earwax accumulates on the speaker mesh or the ear tips, it can block sound waves and affect the audio quality. Removing earwax from your AirPods can help restore clear and crisp sound.
Follow these steps to remove earwax from your AirPods:
1. Remove the Ear Tips: Gently detach the ear tips from your AirPods. Refer to the user manual or Apple’s support website for specific instructions on how to remove them from your particular model.
2. Inspect for Ear Wax: Check the speaker mesh on each AirPod and the ear tips for any visible earwax buildup. If you see significant wax accumulation, it’s important to remove it to improve sound quality.
3. Use a Soft Cloth or Brush: Take a clean, soft cloth or a small, dry brush and gently wipe or brush away any visible earwax. Be careful not to apply too much pressure or insert the cloth or brush too deeply into the speaker mesh to avoid damaging your AirPods.
4. Rinse (if applicable): If your AirPods’ ear tips are water-resistant, you can rinse them under lukewarm water to help remove stubborn earwax. Avoid using hot water or harsh chemicals, as they can damage the ear tips.
5. Dry Thoroughly: After rinsing, make sure to dry the ear tips completely before reattaching them to your AirPods. Use a clean, dry cloth or let them air dry at room temperature. It’s important to ensure they are dry to prevent moisture from affecting the sound quality.
6. Reattach the Ear Tips: Once the ear tips are dry, carefully reattach them to your AirPods. Make sure they are properly aligned and securely attached.
Regularly removing earwax buildup from your AirPods can help prevent muffled sound issues and maintain optimal audio performance. If you find that the earwax buildup persists or significantly affects the sound quality despite cleaning, it’s advisable to seek professional assistance from Apple Support or an authorized service provider.
Now that you have removed any earwax from your AirPods, continue with the troubleshooting steps outlined in the subsequent sections of this article to address any remaining muffled sound issues.
Dry AirPods Properly
If your AirPods have been exposed to water or excessive moisture, it’s crucial to dry them properly to prevent muffled sound and potential damage. Water or moisture can seep into the internal components and affect the audio quality of your AirPods.
Follow these steps to ensure your AirPods are dried properly:
1. Remove AirPods from the Case: Take both AirPods out of the charging case and separate them. It’s important to remove them from the case as any moisture trapped inside can evaporate more effectively when they are separated.
2. Air Dry at Room Temperature: Place the AirPods in a well-ventilated area at room temperature. Avoid direct sunlight or using heat sources such as hair dryers, as excessive heat can damage the internal components. Let the AirPods air dry naturally.
3. Allow Sufficient Drying Time: It’s essential to be patient and allow enough time for the AirPods to dry completely. Depending on the level of moisture exposure, it may take anywhere from 24 to 48 hours for the internal components to dry thoroughly. Rushing the process may result in residual moisture and potential damage.
4. Verify Dryness: After the recommended drying time, check the AirPods for any signs of moisture. Inspect the charging contacts, speaker meshes, and other openings for any water droplets or dampness. If you notice any moisture, continue the drying process until they are completely dry.
5. Recharge Before Use: Once you’re confident that the AirPods are dry, place them back into the charging case and allow them to charge for a few hours. This ensures that both the AirPods and the case are fully charged before using them again.
By properly drying your AirPods, you can help prevent muffled sound and potential damage caused by water or moisture exposure. Remember, if your AirPods were submerged in water or exposed to excessive moisture for an extended period, it’s advisable to contact Apple Support or an authorized service provider for further assistance.
Now that you’ve successfully dried your AirPods, continue with the remaining troubleshooting steps outlined in the subsequent sections to address any remaining muffled sound issues.
Check for Bluetooth Interference
Bluetooth interference can disrupt the wireless connection between your AirPods and your device, leading to muffled sound or a decrease in audio quality. Several factors can contribute to Bluetooth interference, including the presence of other Bluetooth devices nearby or environmental factors.
To address potential Bluetooth interference and improve the sound quality of your AirPods, follow these steps:
1. Move Away from Other Bluetooth Devices: If you’re experiencing muffled sound, check if there are other Bluetooth devices nearby that may be causing interference. Move away from these devices to reduce potential signal conflicts. Sometimes, simply increasing the distance between your AirPods and other Bluetooth devices can improve the audio quality.
2. Turn Off Bluetooth on Nearby Devices: If moving away from other devices is not possible, try temporarily turning off Bluetooth on those devices. This can help eliminate potential interference and create a clearer connection between your AirPods and your device. Remember to turn Bluetooth back on when you’re done using your AirPods.
3. Adjust the Position of Your Device: The position of your device in relation to your AirPods can impact the Bluetooth signal strength. Experiment with different positions or angles to find the optimal placement that ensures a stable and strong connection. Moving your device closer to your AirPods or ensuring there are minimal obstacles between them can help reduce interference.
4. Reduce Wi-Fi Interference: Wi-Fi signals can also interfere with Bluetooth connections, especially if they operate on similar frequencies. If you’re experiencing muffled sound, try moving away from Wi-Fi routers or reducing the number of Wi-Fi devices near your AirPods. This can help minimize potential signal conflicts and improve the overall audio quality.
By checking for Bluetooth interference and taking measures to reduce it, you can optimize the wireless connection between your AirPods and your device, resulting in improved sound quality and potentially resolving the issue of muffled sound.
If the muffled sound issue persists despite addressing potential Bluetooth interference, continue with the remaining troubleshooting steps outlined in the subsequent sections to investigate other possible causes and solutions.
Update Software or Firmware
Software or firmware issues can occasionally cause muffled sound in AirPods. Bugs, glitches, or outdated firmware can affect the performance of your AirPods and impact the audio quality. Updating the software or firmware can help resolve these issues and ensure optimal sound output.
To update the software or firmware of your AirPods, follow these steps:
1. Check for Device Software Updates: Ensure that your device (iPhone, iPad, or Mac) is running the latest software update. Apple periodically releases updates that address bugs and improve compatibility with AirPods. Connect your device to Wi-Fi, go to the Settings (or System Preferences) menu, and look for the Software Update option. If an update is available, follow the on-screen instructions to download and install it.
2. Update AirPods Firmware (if applicable): AirPods have their own firmware that controls their operation. Updating the firmware can fix known issues and enhance performance. To check for AirPods firmware updates, make sure your AirPods are connected to your device. Open the Settings app (or Bluetooth settings), find your AirPods in the list, and if a firmware update is available, you’ll be prompted to install it. Follow the on-screen instructions to complete the update.
3. Restart Your Device: After updating the software or firmware, it may be helpful to restart your device. This can ensure that any changes or updates take full effect and improve the performance of your AirPods.
Updating the software and firmware of your device and AirPods can often resolve muffled sound issues caused by compatibility or glitch-related problems. By staying up-to-date with the latest updates, you can ensure the best audio experience with your AirPods.
If updating the software or firmware didn’t resolve the muffled sound issue, continue with the remaining troubleshooting steps outlined in the subsequent sections to explore other potential causes and solutions.
Conclusion
Experiencing muffled sound in your AirPods can be frustrating, but with the troubleshooting steps outlined in this article, you can work towards restoring their audio quality. We’ve explored common causes of muffled sound, including dirty or clogged ear tips, earwax buildup, water or moisture damage, Bluetooth interference, and software or firmware issues.
To address these issues, we’ve provided step-by-step instructions, such as cleaning the ear tips, removing earwax, drying the AirPods properly, checking for Bluetooth interference, and updating the software or firmware. Following these steps can help improve sound quality and potentially resolve the muffled sound issues you may be facing.
It’s important to note that if the muffled sound persists after attempting the troubleshooting steps, it may be necessary to seek professional assistance from Apple Support or an authorized service provider. They have the expertise to diagnose and address any underlying hardware or software issues that may be causing the problem.
To prevent future issues, it’s recommended to keep your AirPods clean, avoid exposing them to excessive moisture or water, and regularly update the software and firmware of your devices.
Remember, the sound quality and audio performance of your AirPods can greatly enhance your listening experience. By taking proper care of them and troubleshooting any issues that arise, you can continue to enjoy crystal clear sound and make the most of your wireless earbuds.
Thank you for reading, and we hope that this article has been helpful in resolving the muffled sound in your AirPods!


