Home>Production & Technology>Soundproofing>Where To Position Soundproofing
Soundproofing
Where To Position Soundproofing
Published: January 26, 2024
Looking for the best spots to place soundproofing materials in your home? Discover effective soundproofing techniques with our expert guide.
(Many of the links in this article redirect to a specific reviewed product. Your purchase of these products through affiliate links helps to generate commission for AudioLover.com, at no extra cost. Learn more)
Table of Contents
Introduction
Having a soundproof space can greatly enhance comfort and privacy, whether it’s for a home office, recording studio, or bedroom. Soundproofing is the process of reducing or eliminating unwanted noise by creating barriers and minimizing sound transmission. One crucial factor in achieving effective soundproofing is determining the right position for soundproofing materials and treatments.
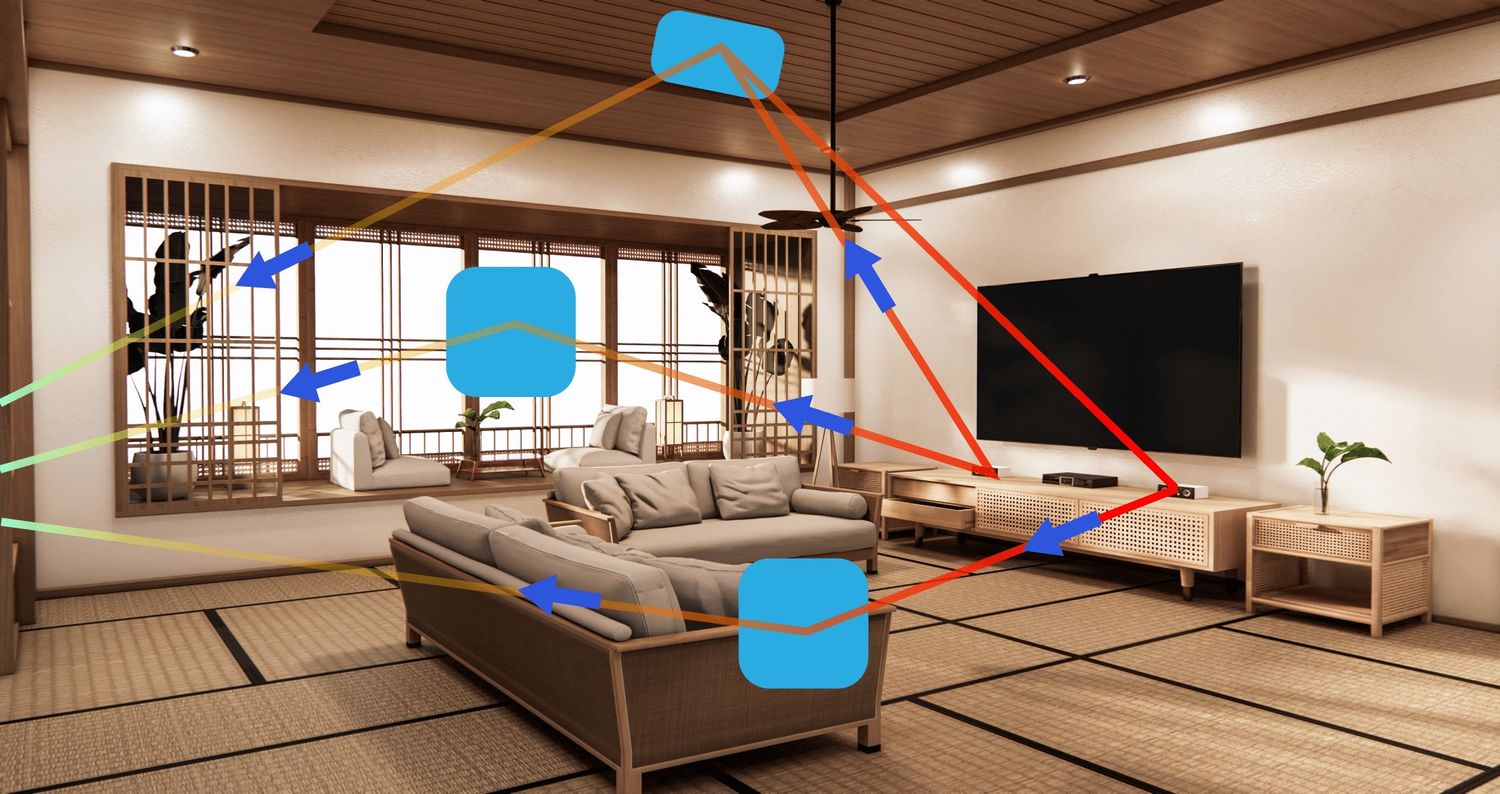
When it comes to soundproofing, every room is different, and the location of soundproofing materials can significantly impact their effectiveness. Various factors influence the placement of soundproofing elements, including the structural design, room layout, and the noise sources you’re trying to minimize. In this article, we’ll explore different areas within a room where soundproofing is essential and discuss the best strategies for positioning soundproofing materials.
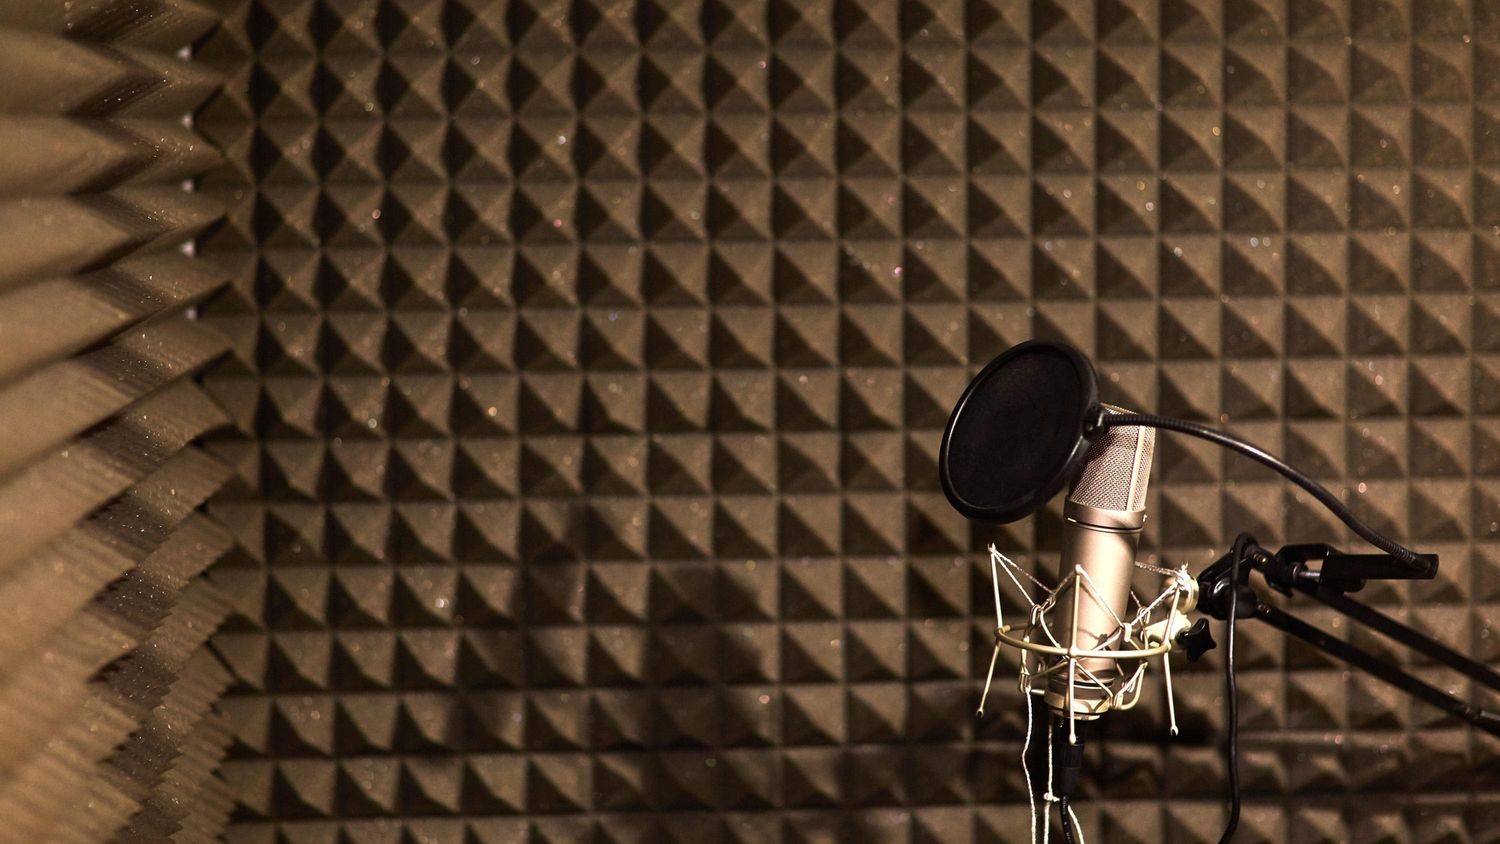
Before we dive into the specific areas, it’s important to note that soundproofing is often most effective when you employ a combination of techniques. Sound absorbing materials, like acoustic panels, can help reduce the reverberation of sound within a room. Sound blocking materials, such as mass-loaded vinyl or soundproofing curtains, are designed to prevent sounds from entering or leaving a space. By strategically placing these materials, you can effectively control sound and achieve desired noise reduction.
In the following sections, we’ll explore the different areas within a room where soundproofing is crucial, and provide guidance on how to position soundproofing materials to achieve optimal results.
Choosing the Right Room
When it comes to soundproofing, not all rooms are created equal. The first step in creating a soundproof environment is choosing the right room for your specific needs. Factors to consider include the room’s location within the building, its size, and its proximity to external noise sources.
Ideally, you should choose a room that is isolated from high-traffic areas and noise-generating sources such as roads, railways, or busy common areas. Interior rooms without windows or with minimal windows are typically better candidates for soundproofing, as they naturally have reduced external noise infiltration. Additionally, larger rooms tend to be easier to soundproof due to the availability of more surface area for sound-absorbing and blocking materials.
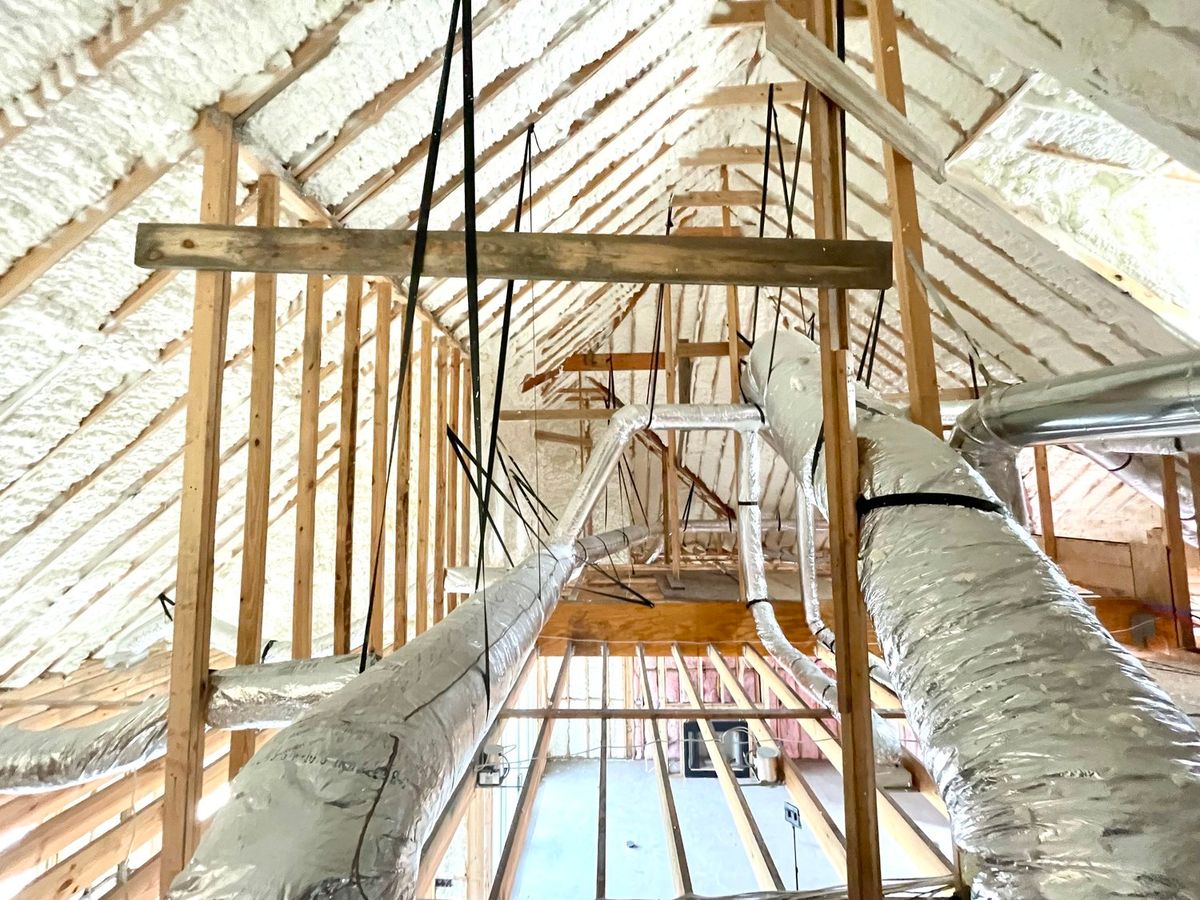
If you have the flexibility to choose from multiple rooms, consider the layout and purpose of each room. For example, a basement or an attic can often serve as an excellent option for soundproofing as they are naturally more isolated from the main living spaces.
Furthermore, consider the intended use of the room. If it will be used as a home office or a recording studio, you might prefer a room with minimal outside noise to ensure productivity and high-quality recordings. On the other hand, if it’s a bedroom, you may want to focus on preventing noise from neighboring rooms or street noises from disrupting sleep.
Lastly, consider the feasibility of soundproofing in the chosen room. Some rooms may have structural limitations that make it more challenging to achieve optimal soundproofing results. For example, rooms with large windows or open floor plans may require additional measures to effectively reduce sound transmission.
By carefully selecting the most suitable room for your needs, you can lay the foundation for successful soundproofing. It’s important to assess the unique characteristics of each room and consider how they align with your specific soundproofing goals.
Exterior Walls
The exterior walls of a room are often the primary source of noise infiltration, particularly if you live in a busy urban area or near a noisy street. Soundproofing these walls can significantly reduce the amount of external noise that enters your space.
To effectively soundproof exterior walls, you have a few options. One approach is to add an additional layer of insulation to the walls. Insulation materials, such as fiberglass or foam, can help absorb and dampen sound vibrations. This can be done by removing the existing drywall and installing the insulation between the wall studs before reapplying the drywall.
Another option is to use mass-loaded vinyl (MLV) or soundproofing panels on the walls. These dense materials are designed to block sound transmission and can be applied directly to the existing walls. MLV can be installed behind drywall or as an additional layer on top of it, acting as a barrier to limit sound penetration.
When positioning soundproofing materials on exterior walls, it’s important to cover as much surface area as possible. Pay close attention to areas around windows and doors, as they can be susceptible to sound leakage. Additionally, sealing any gaps or cracks in the walls with acoustical caulk can help prevent sound from seeping through.
It’s worth noting that the effectiveness of soundproofing measures on exterior walls can vary depending on the construction of the building and the noise sources you’re trying to block. If you live in an apartment or shared building, it may be beneficial to communicate with neighbors and property management to address any underlying structural issues or explore additional soundproofing options.
By focusing on the soundproofing of exterior walls, you can create a quieter and more peaceful environment within your room, free from the disturbances of the outside world.
Interior Walls
While exterior walls are often the main source of noise infiltration, interior walls can also contribute to sound transmission between different rooms or areas within a building. Soundproofing interior walls can help maintain privacy and minimize disturbances from adjacent spaces.
One effective method of soundproofing interior walls is the installation of soundproof drywall or resilient channels. Soundproof drywall is specifically designed to block sound transmission, as it is made with layers of gypsum and sound-dampening materials. Resilient channels are metal strips that are attached to the studs before drywall installation. They create an air gap between the drywall and the studs, reducing sound transmission vibrations.
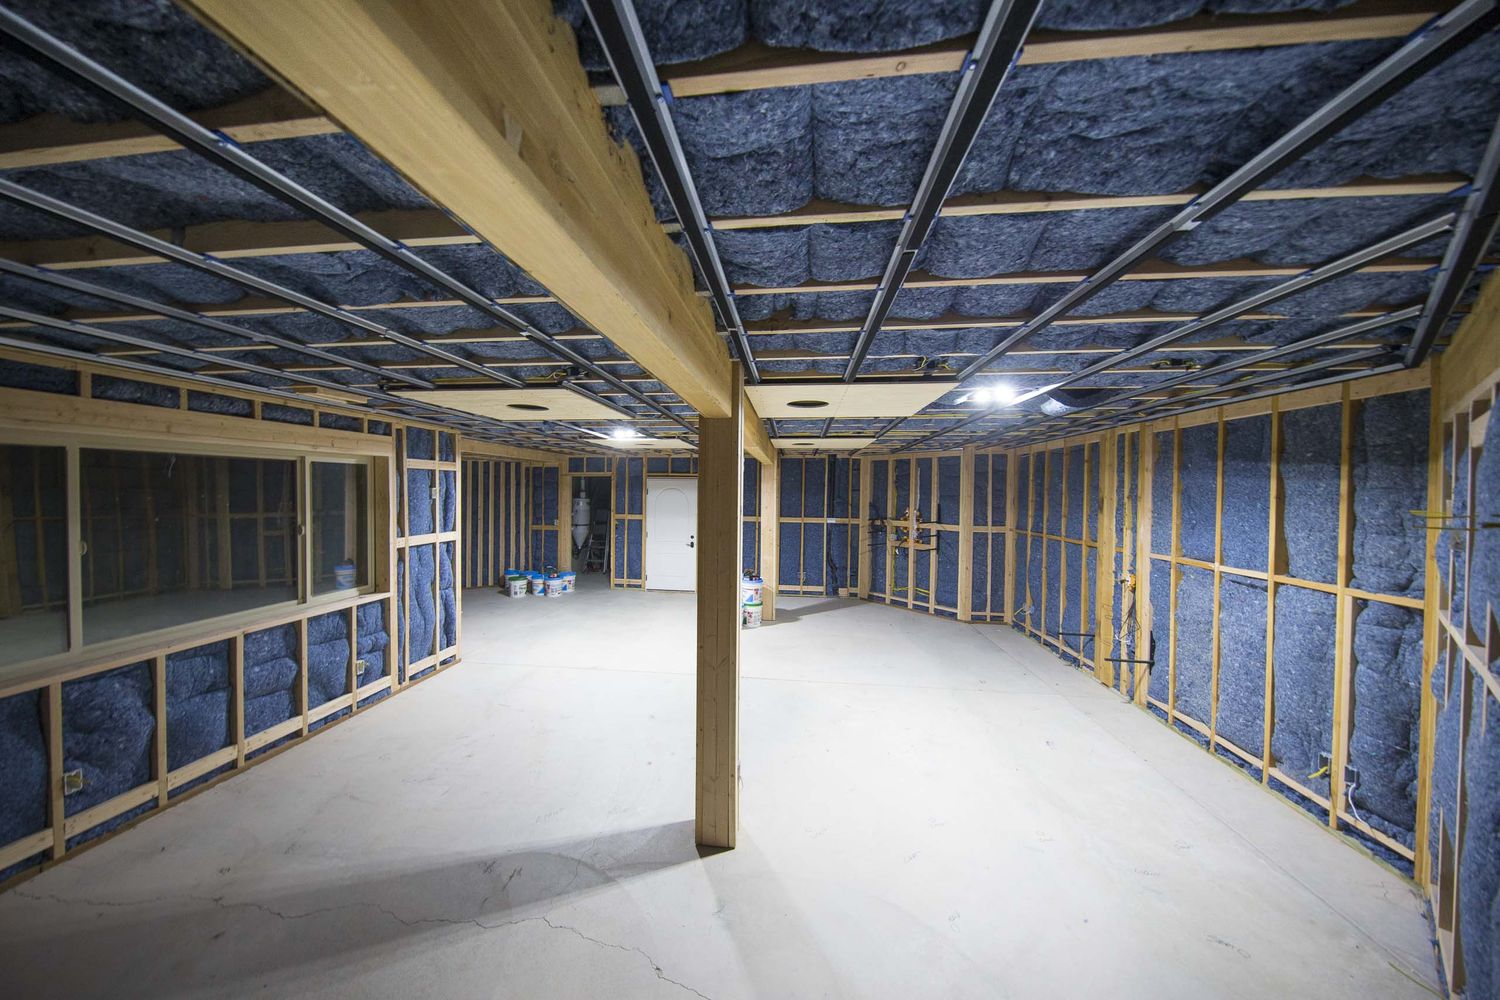
In addition to using specialized materials, adding insulation between interior walls can also enhance soundproofing. Insulation acts as a barrier to absorb sound and prevent it from traveling between rooms. Fiberglass insulation or foam insulation can be installed within the wall cavities to reduce sound transmission.
When positioning soundproofing materials on interior walls, it’s important to cover the entire surface area to maximize effectiveness. Pay attention to common sound transfer areas, such as electrical outlets or wall switches, and consider using soundproofing gaskets to seal any gaps around them.
If you’re dealing with particularly problematic areas where sound leaks are a concern, such as walls adjoining a home theater or a noisy neighbor’s room, adding an additional layer of mass-loaded vinyl (MLV) or acoustic panels can provide further soundproofing benefits.
Remember, achieving optimal soundproofing in interior walls often requires a combination of techniques. By using a combination of soundproofing materials, insulation, and strategic placement, you can effectively minimize sound transmission and create a quieter and more private space.
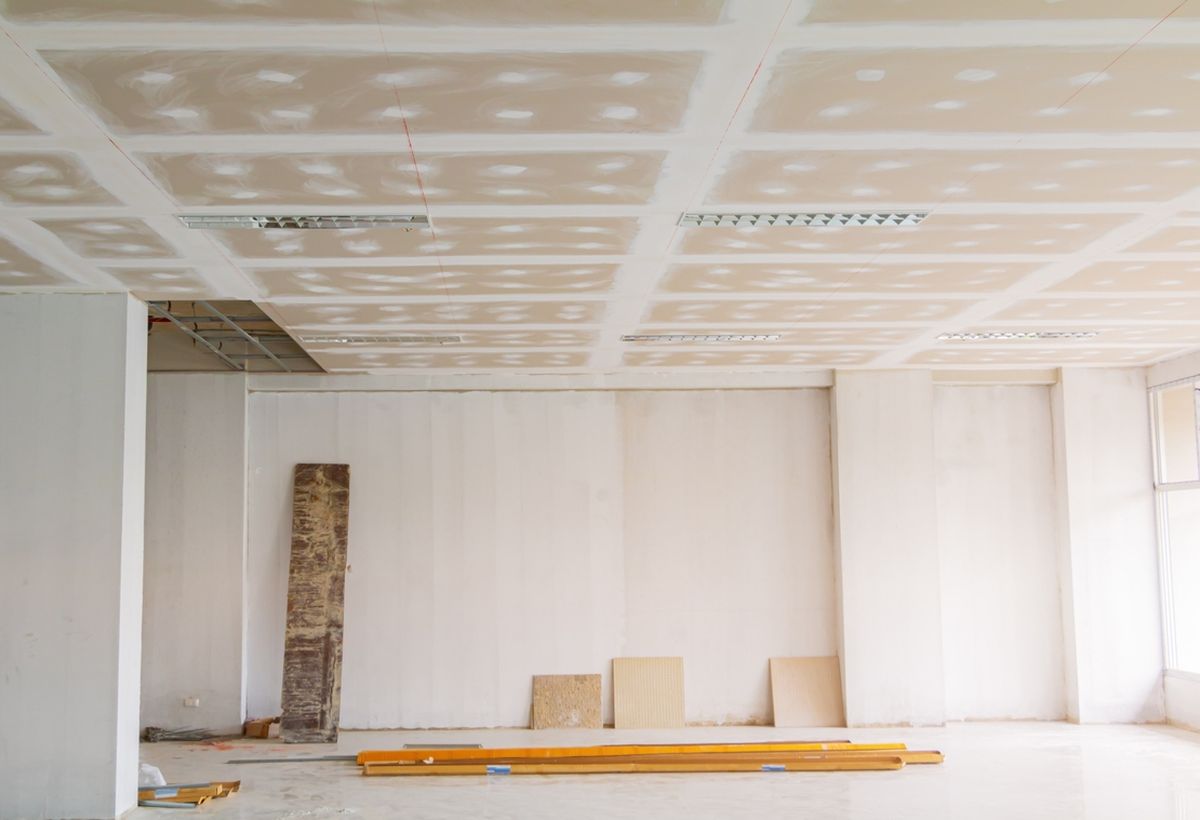
Floors and Ceilings
When it comes to soundproofing, it’s crucial not to overlook the impact of floors and ceilings. Sound can easily travel through these surfaces, especially in multi-story buildings or shared spaces. Soundproofing floors and ceilings can help reduce noise transmission both within a room and between different floors.
To soundproof floors, one effective method is to install carpeting or rugs with thick padding. The soft fibers of these materials help absorb sound vibrations and prevent them from bouncing off hard surfaces. Additionally, using acoustic underlayment beneath the flooring can further enhance soundproofing by reducing impact noise, such as footsteps or dropped objects.
If you’re dealing with particularly noisy neighbors or sources of sound from above, adding a layer of mass-loaded vinyl (MLV) beneath the flooring can provide additional soundproofing benefits. MLV acts as a barrier to block sound transmission, preventing it from traveling between floors.
For ceilings, soundproofing can be achieved by adding acoustic panels or ceiling tiles. These materials are designed to absorb sound and reduce echo or reverberation within a room. They can be installed directly onto the ceiling surface or suspended from the ceiling with the use of mounting hardware.
Another option for soundproofing ceilings is the use of resilient channels. Similar to their application on interior walls, resilient channels can be added to the ceiling structure before the installation of drywall. This helps create an air gap that minimizes the transfer of sound vibrations.
When positioning soundproofing materials on floors and ceilings, it’s essential to cover as much surface area as possible. Pay attention to areas where sound leakage is most significant, such as around light fixtures or air vents. Using acoustical caulk or foam seals can help seal any gaps and prevent sound from traveling through.
By addressing sound transmission through floors and ceilings, you can create a more peaceful and enjoyable environment, free from the disturbances of both internal and external noise sources.
Doors and Windows
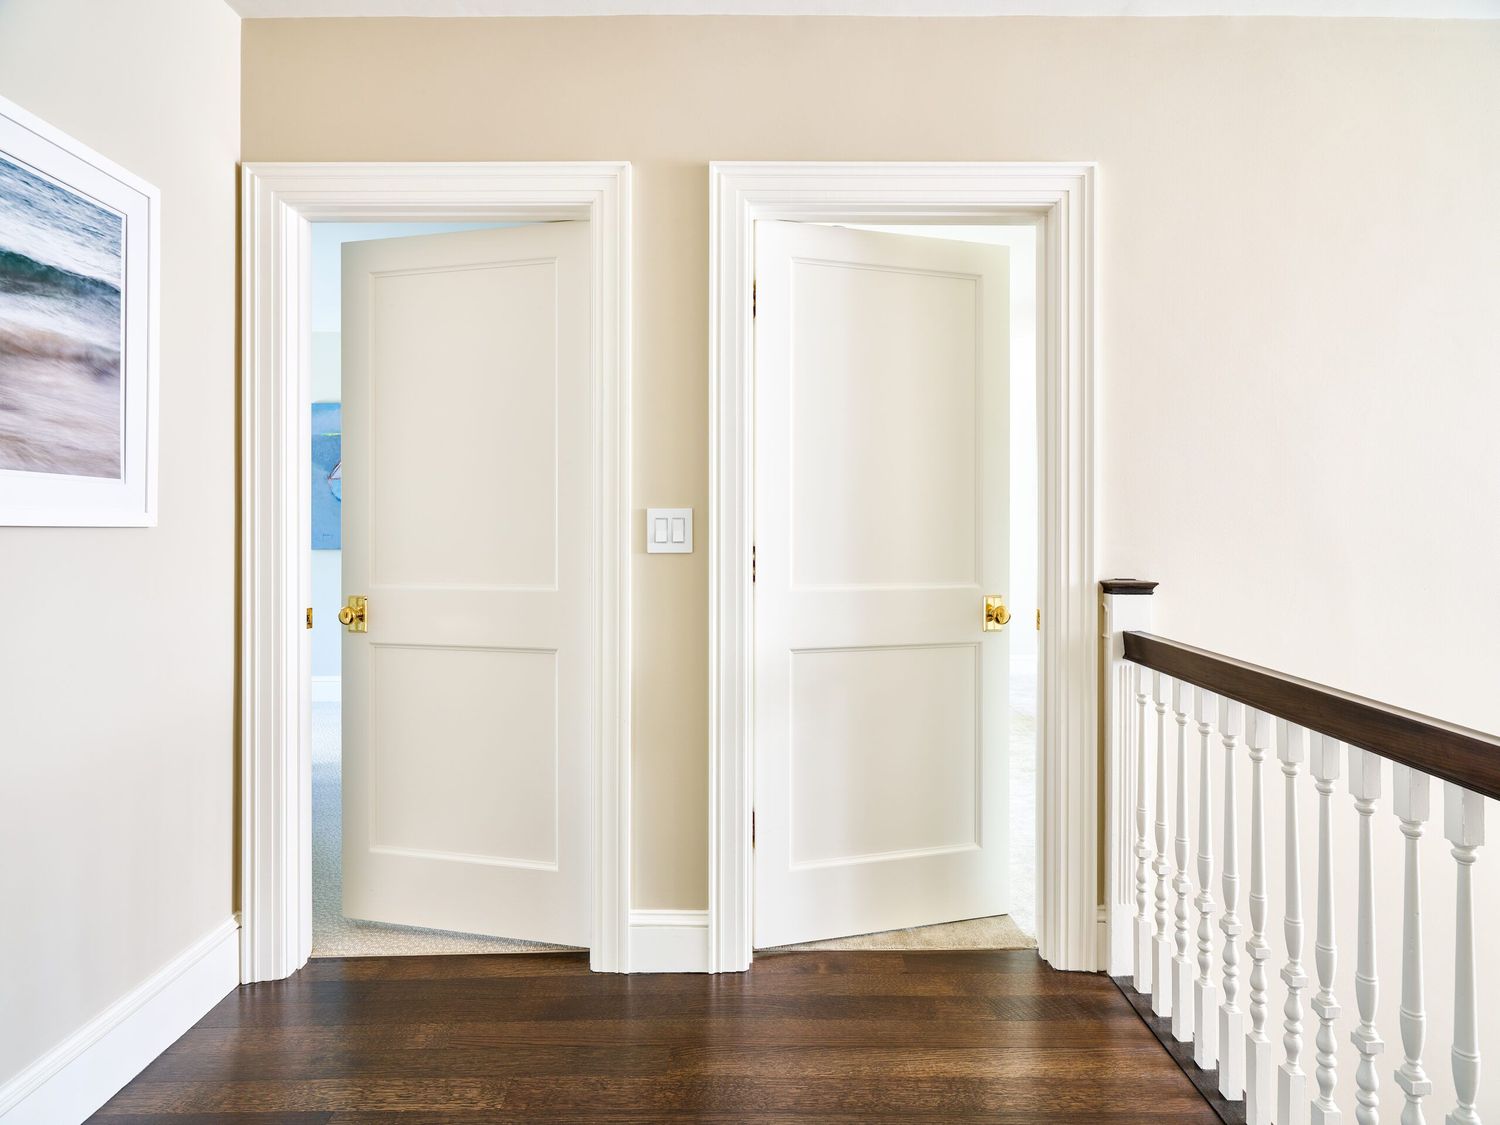
Doors and windows are notorious culprits for sound leakage, as they often have gaps and less insulation compared to solid walls. However, with the right soundproofing techniques, you can significantly reduce sound transmission through these openings.
One effective method for soundproofing doors is to install a door sweep or draft stopper along the bottom edge. Door sweeps are weatherstrips that seal the gap between the door and the floor, preventing sound from seeping through. You can also use weatherstripping tape around the sides and top of the door to create a tighter seal.
If you’re looking for more advanced soundproofing solutions for doors, consider using door panels made of soundproofing materials such as mass-loaded vinyl (MLV). These panels can be hung on the doors or installed as a secondary layer to block sound transmission.
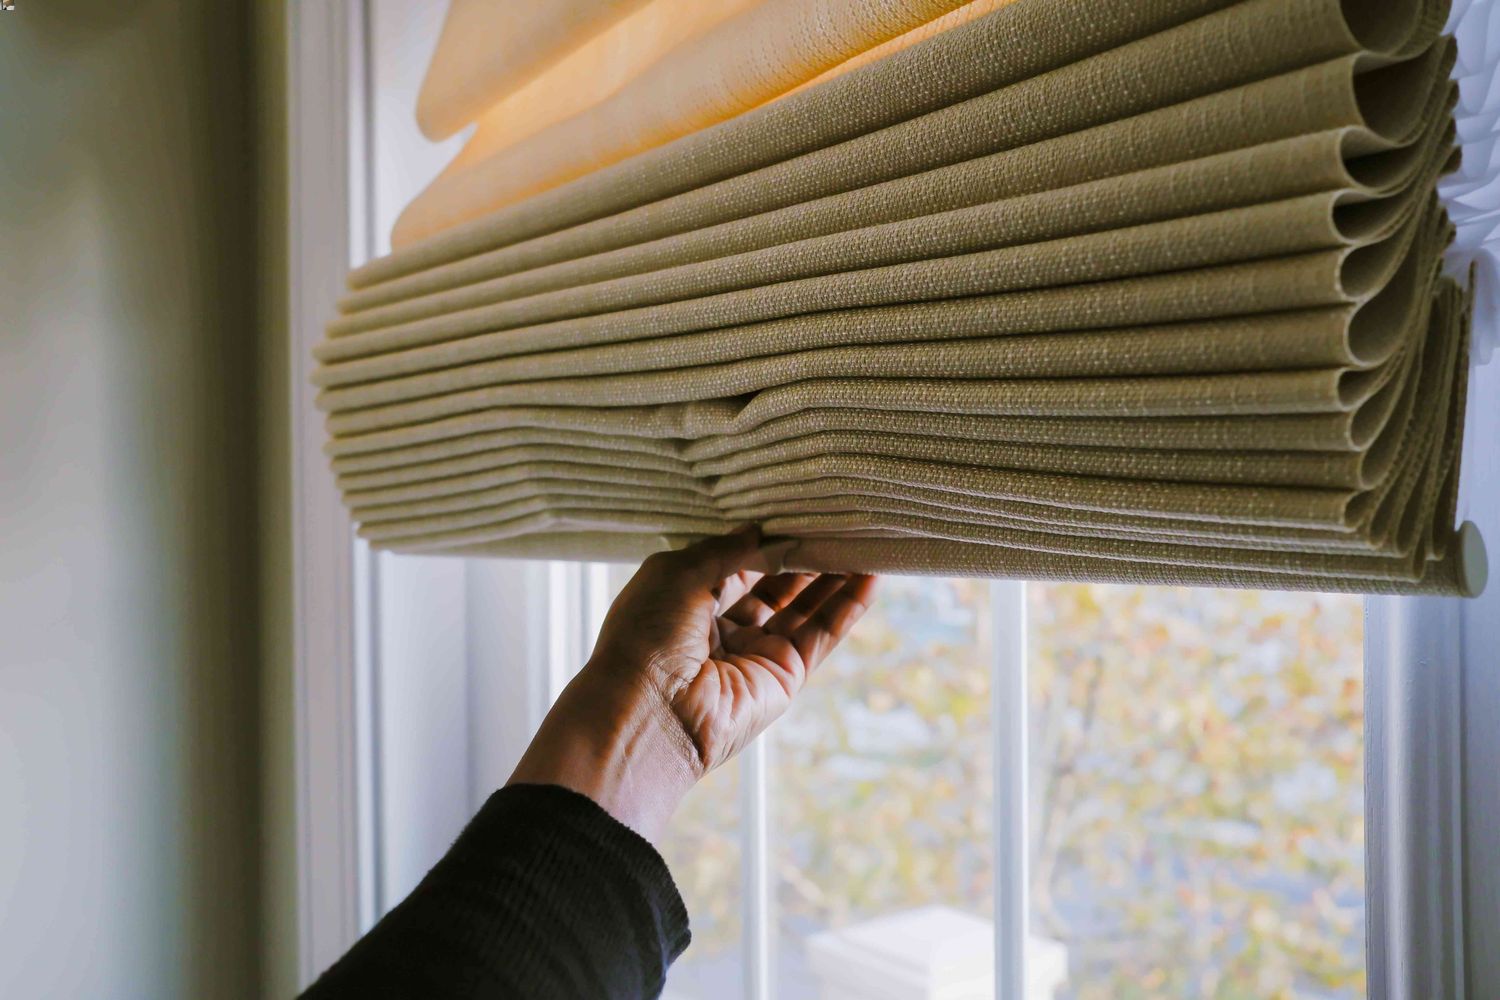
Similarly, windows can be a significant source of noise infiltration. Double or triple-pane windows are excellent for soundproofing, as they provide an added layer of insulation and reduce sound vibrations. If replacing the windows is not an option, you can use soundproofing curtains or window inserts to minimize sound transmission. Soundproof curtains are designed with dense materials, such as quilted fabric or vinyl, to absorb sound and block external noise. Window inserts are fitted to the existing window frame and provide an additional layer of insulation.
When soundproofing doors and windows, it’s important to address any gaps or cracks. Using acoustical caulk or foam seals around the frames can help seal these openings and prevent sound leakage.
For added soundproofing benefits, consider using overlapping layers of sound-absorbing materials on doors and windows. Combining materials such as MLV, acoustic foam, or soundproof composite boards can create a more effective barrier against sound transmission.
Soundproofing doors and windows is essential in creating a quiet and comfortable space, shielding your room from both external noise sources and sound generated in adjoining areas.
Air Vents and Ducts
Air vents and ducts are important components of a building’s HVAC system, but they can also be pathways for sound transmission. The sound of air flowing through vents or the vibrations of the ductwork can easily travel between rooms and disrupt the peace and quiet of your space. Fortunately, there are ways to soundproof air vents and ducts to minimize this noise.
One method for soundproofing air vents is to install sound baffles or acoustic foam around the vent openings. These materials are designed to absorb sound waves and reduce the amount of noise that escapes into the room. Placing sound baffles or foam behind the vent grilles can also help prevent sound from entering the ducts.
In addition to sound-absorbing materials, it’s important to ensure that the vents and ducts are properly sealed. Any gaps or leaks in the ductwork can contribute to sound transmission. Using specialized duct sealing tape or mastic sealant can help close these gaps and reduce air and sound leakage.
If you have flexible ductwork, consider adding insulation around the ducts. Insulation materials, such as fiberglass or foam, can help dampen sound vibrations and further reduce noise transmission through the ductwork.
Another option for soundproofing ducts is to use acoustic duct liners. These liners are designed to line the inside of the ducts, absorbing sound and reducing noise transmission. They are typically made of dense fiberglass or foam with a noise-blocking outer layer.
When soundproofing air vents and ducts, it’s important to strike a balance between noise reduction and proper airflow. Always ensure that the vents and ducts are still able to function efficiently after applying soundproofing materials.
By addressing the sound transmission through air vents and ducts, you can create a quieter living or working environment, free from the constant hum and vibration of the HVAC system.
Electrical Outlets and Switches
Electrical outlets and switches are often overlooked when it comes to soundproofing, but they can be sources of sound leakage in a room. The gaps around these fixtures can allow sound to seep through, reducing the effectiveness of your soundproofing efforts. However, there are simple techniques to minimize sound transmission around electrical outlets and switches.
One straightforward method is to use acoustic putty pads or foam gaskets. These materials are designed to seal the gaps between the outlet or switch box and the surrounding wall. By applying the putty or inserting the foam gaskets, you create a barrier that prevents sound waves from escaping or entering through these openings.
Another option for soundproofing electrical outlets and switches is to install soundproofing materials directly behind the outlet covers or switch plates. Mass-loaded vinyl (MLV) or sound-dampening foam can be cut to fit the dimensions of the electrical box and placed behind the cover. This method helps block sound transmission and reduce noise leakage.
It’s important to note that when soundproofing electrical outlets and switches, safety should always be a top priority. Make sure to turn off the electricity before working on these fixtures, and consult a professional if you’re unsure about any electrical work.
In addition to soundproofing, you can further enhance the effect by addressing other potential sources of sound leakage. For example, using sound-absorbing materials, such as acoustic panels or curtains, on nearby walls can help minimize sound reflection and improve overall soundproofing in the room.
By paying attention to the small details, like electrical outlets and switches, you can ensure that your soundproofing efforts are comprehensive and effective. Minimizing sound transmission through these fixtures can contribute to a quieter and more peaceful environment.
Conclusion
Soundproofing plays a crucial role in creating a comfortable and peaceful environment, whether for a home office, recording studio, or bedroom. By strategically positioning soundproofing materials in various areas of a room, you can significantly reduce unwanted noise and enhance privacy.
When soundproofing, take into consideration the unique characteristics of each room and the specific noise sources you’re trying to minimize. Start by choosing the right room, considering factors such as location, size, and proximity to external noise sources. From there, focus on key areas within the room, including exterior and interior walls, floors and ceilings, doors and windows, air vents and ducts, and electrical outlets and switches.
For each area, utilize appropriate soundproofing techniques and materials. This may include adding insulation, using mass-loaded vinyl (MLV), installing acoustic panels or foam, sealing gaps and cracks, or incorporating specialized soundproofing products. By covering as much surface area as possible and ensuring proper installation, you can achieve optimal soundproofing results.
It’s important to remember that soundproofing is often most effective when using a combination of techniques. Different rooms may require customized approaches to address their unique challenges. Additionally, striking a balance between soundproofing and maintaining proper ventilation and airflow is crucial to ensure a comfortable living or working environment.
In conclusion, soundproofing is a valuable investment that can greatly improve the quality of your living or working space. By understanding the key areas to focus on and employing the appropriate soundproofing strategies, you can create a quieter, more secluded environment that allows you to fully enjoy your space without the disturbances of unwanted noise.