Home>Devices & Equipment>Earbuds>How To Pair Bose Qc Earbuds
Earbuds
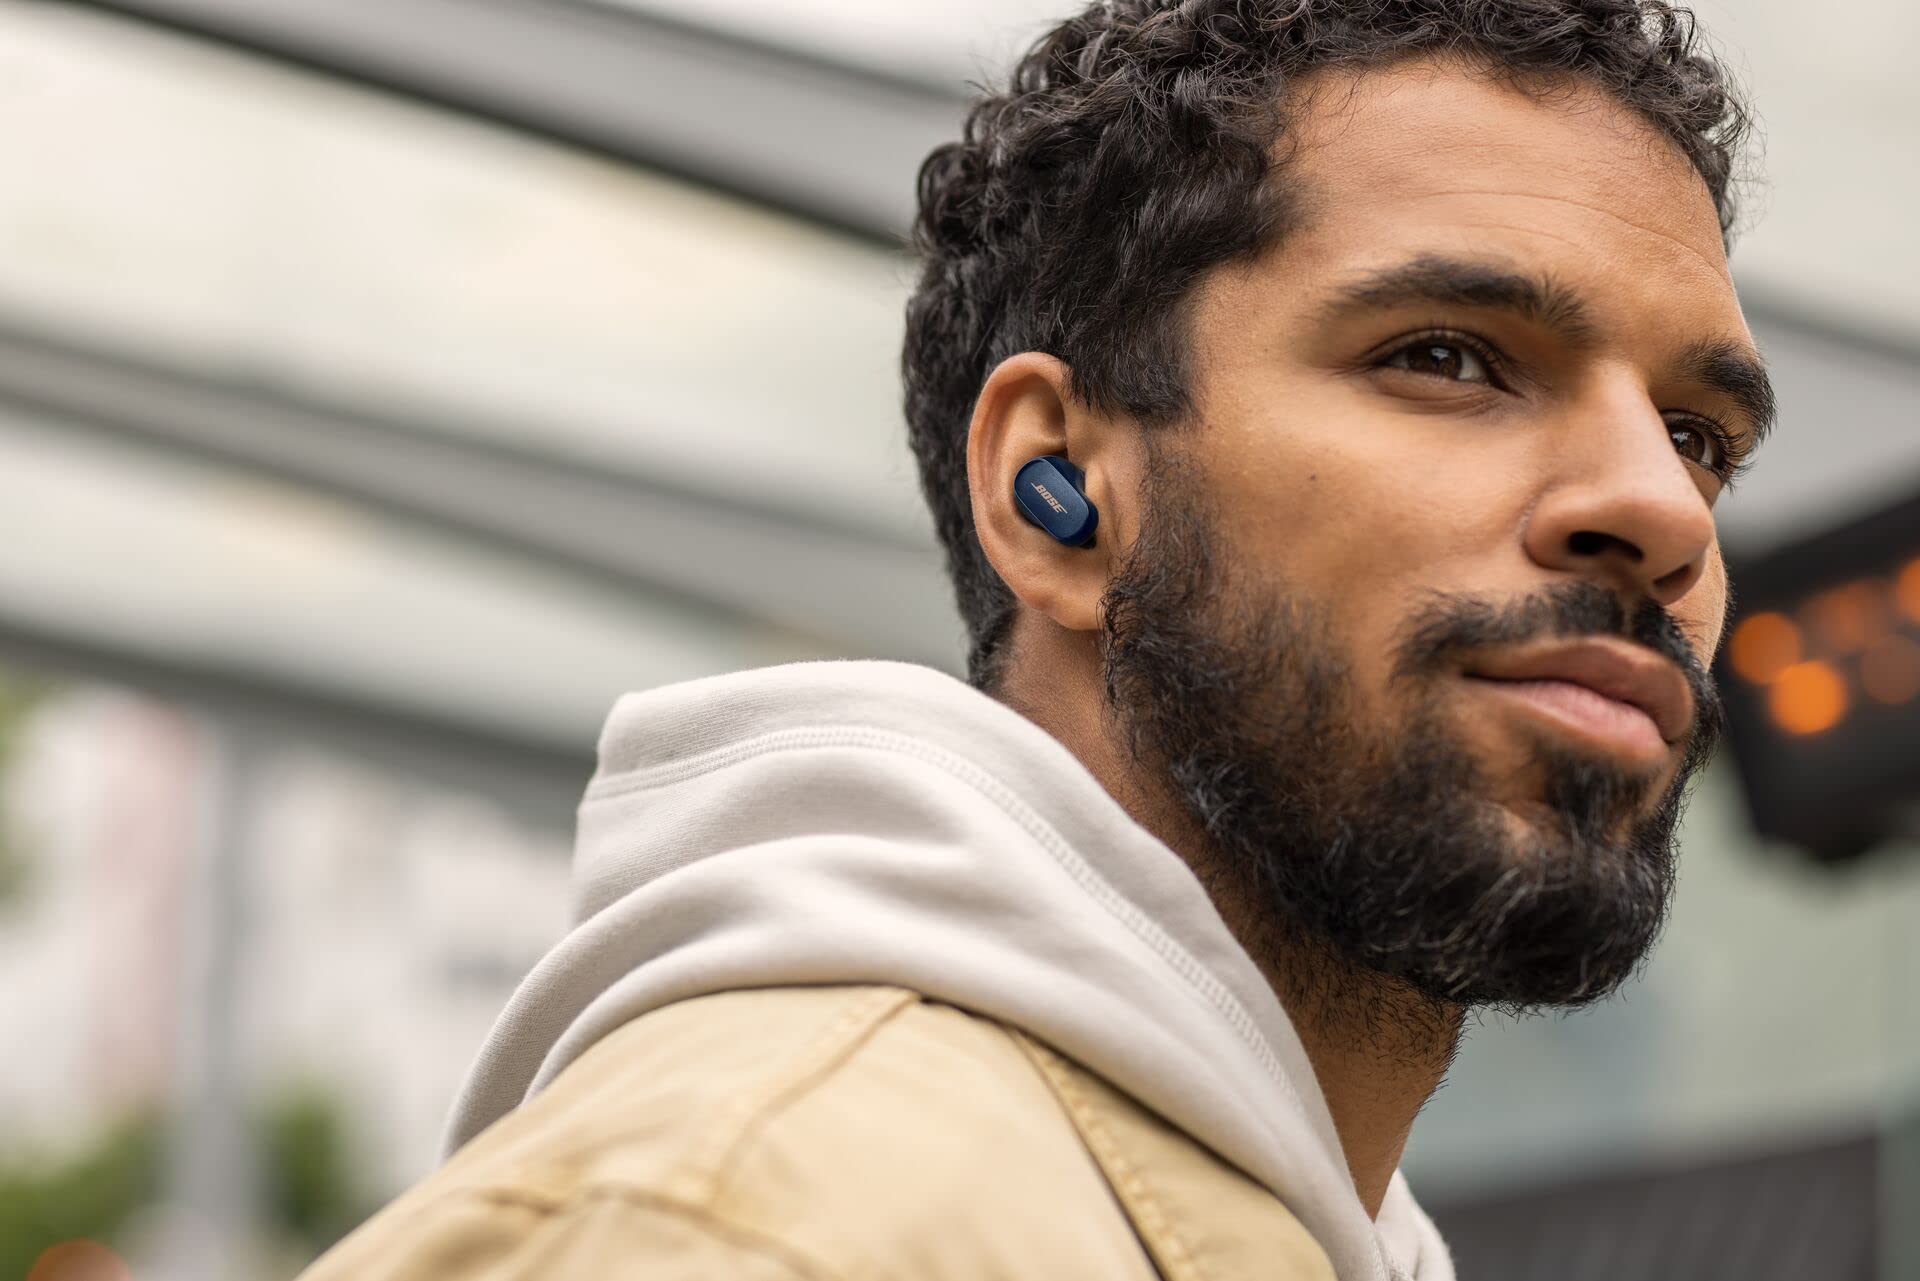
How To Pair Bose Qc Earbuds
Modified: January 22, 2024
Learn how to pair your Bose QC earbuds effortlessly and enjoy a seamless listening experience. Discover the best ways to connect your favorite earbuds easily and quickly.
(Many of the links in this article redirect to a specific reviewed product. Your purchase of these products through affiliate links helps to generate commission for AudioLover.com, at no extra cost. Learn more)
Table of Contents
Introduction
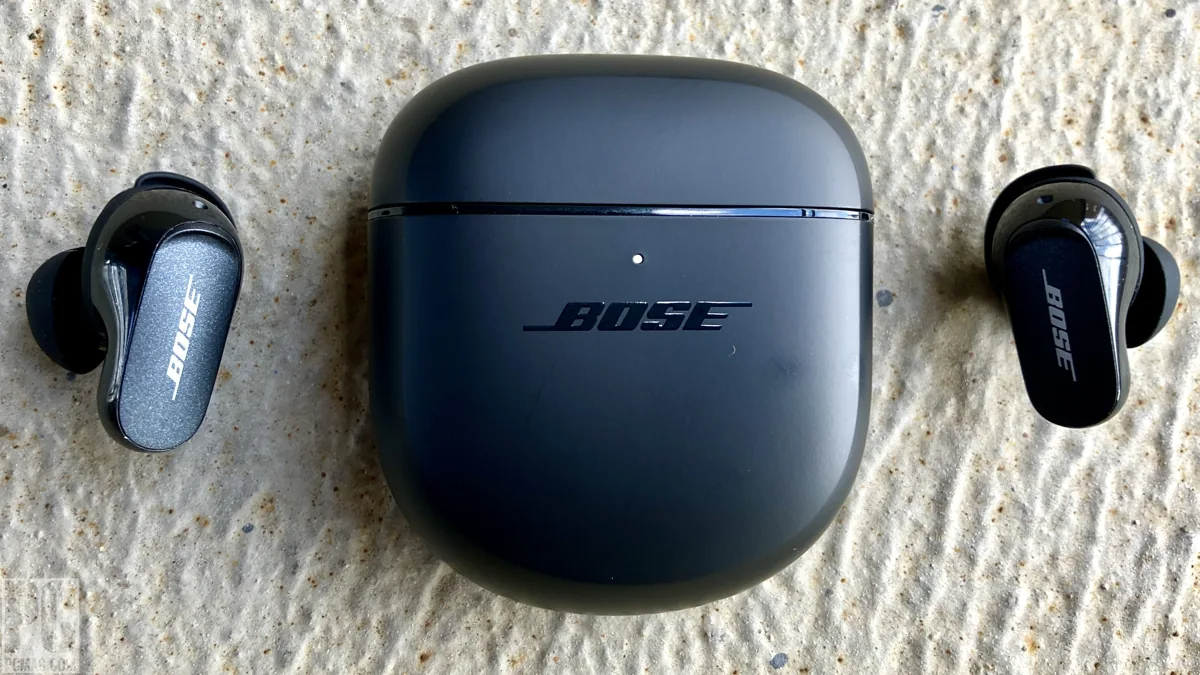
Welcome to the world of Bose QC Earbuds, where exceptional sound quality meets comfort and convenience. These earbuds are designed to deliver an immersive audio experience, whether you’re listening to music, taking calls, or simply enjoying your favorite podcast. One of the first steps to unlock the full potential of your Bose QC Earbuds is pairing them with your device.
Pairing your Bose QC Earbuds allows you to connect them wirelessly to your smartphone, tablet, or any other Bluetooth-enabled device. This wireless technology eliminates the hassle of tangled cords and provides you with the freedom to move around without being tethered to your device.
In this guide, we will take you through the step-by-step process of pairing your Bose QC Earbuds, ensuring that you can enjoy your audio experience to the fullest. So, let’s get started and embark on this journey to seamless wireless connectivity and exceptional sound.
Step 1: Getting Started
Before we dive into the pairing process, there are a few things you need to ensure to set yourself up for success. Here’s what you need to do:
- Charge your Bose QC Earbuds: It’s important to make sure your earbuds have enough battery power to complete the pairing process. Connect them to a power source using the included USB cable and let them charge until the LED indicators on the earbuds turn green, indicating that they are fully charged.
- Download the Bose Music app: While it’s not mandatory to use the app for pairing, it can greatly enhance your experience with the Bose QC Earbuds. The app provides additional customization options and firmware updates for your earbuds. You can download the app from your device’s app store.
- Ensure Bluetooth is enabled on your device: To connect your Bose QC Earbuds to your device, you need to have Bluetooth turned on. Go to the settings menu on your smartphone or tablet and enable Bluetooth.
Once you have completed these initial steps, you are ready to move on to the next phase of the pairing process. In the next step, we will guide you through enabling Bluetooth on your device.
Step 2: Enable Bluetooth on your Device
Before you can pair your Bose QC Earbuds with your device, you need to enable Bluetooth. Here’s how you can do it:
- Open the Settings menu on your device: Depending on your device, the Settings icon may vary, but it is usually represented by a gear or cogwheel.
- Look for the Bluetooth option: Once you are in the Settings menu, scroll down or look for the Bluetooth option. It is usually located near the top of the menu.
- Toggle Bluetooth on: Tap on the Bluetooth option to access its settings. You will see a switch or slider next to the Bluetooth option. Tap on it to toggle Bluetooth on. Once Bluetooth is turned on, your device will start scanning for available devices.
Now that you have enabled Bluetooth on your device, it is time to put your Bose QC Earbuds into pairing mode. This will allow your device to detect and connect to your earbuds. In the next step, we will guide you through the process of putting the earbuds into pairing mode.
Step 3: Put the Bose QC Earbuds in Pairing Mode
Now that Bluetooth is enabled on your device, it’s time to put your Bose QC Earbuds into pairing mode. Follow these simple steps:
- Take both earbuds out of the charging case: Remove the earbuds from the charging case and ensure that they are both powered on. The LED indicators on the earbuds will typically flash white or blue.
- Press and hold the Bluetooth button: On both earbuds, locate the Bluetooth button. Press and hold it for a few seconds until you see the LED indicators on the earbuds start to blink in a pairing mode pattern. This indicates that the earbuds are now in pairing mode and ready to be connected to your device.
It’s important to note that different models of Bose QC Earbuds may have slightly different methods of entering pairing mode. Refer to the user manual that came with your earbuds for specific instructions.
With your Bose QC Earbuds in pairing mode, it’s time to move on to the final step – connecting the earbuds to your device. Continue reading to learn how to complete this process and start enjoying your audio wirelessly.
Step 4: Connect the Earbuds to your Device
Now that your Bose QC Earbuds are in pairing mode, it’s time to connect them to your device. Follow these simple steps to establish a wireless connection:
- Open the Bluetooth settings on your device: Go back to the Bluetooth settings menu on your smartphone or tablet, where you enabled Bluetooth in Step 2.
- Wait for your earbuds to appear in the list of available devices: Your device will scan for available Bluetooth devices, and your Bose QC Earbuds should appear in the list. They may be listed as “Bose QC Earbuds” or with a similar name.
- Select your earbuds to initiate the pairing: Tap on the name of your Bose QC Earbuds in the list of available devices. Your device will then attempt to establish a connection with the earbuds.
- Wait for the connection to be established: After selecting your earbuds, your device will establish a connection. This process may take a few moments. Once the connection is successfully made, you will receive a notification on your device, and the LED indicators on the earbuds will stop blinking and remain solid.
Congratulations! You have successfully connected your Bose QC Earbuds to your device. Now you can start enjoying your favorite audio content wirelessly, with the freedom to move around without any cords limiting your mobility.
If you have more than one device that supports Bluetooth, you can easily switch between them by disconnecting the earbuds from one device and pairing them with another. Refer to the user manual or Bose Music app for specific instructions on how to disconnect and reconnect your earbuds with different devices.
Now that you are all set up, it’s time to explore some troubleshooting tips in case you encounter any issues during the pairing process or while using your Bose QC Earbuds. Continue reading to find out more.
Step 5: Troubleshooting Tips
Although pairing your Bose QC Earbuds should be a smooth process, sometimes you may encounter some issues. Don’t worry, as here are a few troubleshooting tips to help you resolve common problems:
- Ensure your earbuds are in pairing mode: Double-check that your Bose QC Earbuds are properly in pairing mode. Sometimes, they may have automatically connected to another device, preventing them from appearing in the available devices list. Try putting them back into pairing mode by pressing and holding the Bluetooth button as mentioned in Step 3.
- Restart your device: If your device is having trouble detecting or connecting to your earbuds, try restarting it. Sometimes, a simple reboot can resolve connectivity issues.
- Reset your earbuds: If all else fails, you can try resetting your Bose QC Earbuds. Refer to the user manual or the Bose website for instructions on how to perform a reset. Keep in mind that a reset will remove any previously paired devices and customization settings.
- Update the firmware: Ensure that your earbuds are running the latest firmware version. You can check for firmware updates using the Bose Music app. Keeping your earbuds up to date can resolve compatibility issues and improve overall performance.
- Contact customer support: If you have followed all the troubleshooting tips and are still experiencing issues with pairing or connectivity, it may be time to reach out to Bose customer support. They will be able to provide further assistance and guidance to resolve the problem.
Remember, patience is key when troubleshooting. Sometimes, a minor glitch can easily be resolved by following these tips. But in case you need professional guidance, don’t hesitate to contact the support team.
Now that you are armed with these troubleshooting tips, you can confidently set up and troubleshoot any potential issues with your Bose QC Earbuds.
Conclusion
Pairing your Bose QC Earbuds with your device is a crucial step in unlocking the full potential of these exceptional wireless earbuds. With the convenience of Bluetooth connectivity, you can enjoy immersive audio without the hassle of tangled cords.
In this guide, we have walked you through the step-by-step process of pairing your Bose QC Earbuds. From getting started and enabling Bluetooth on your device to putting the earbuds in pairing mode and establishing a connection, we’ve covered it all. We have also provided troubleshooting tips to help you overcome any challenges you may face along the way.
Now, armed with this knowledge, you can confidently connect your Bose QC Earbuds to your device and indulge in a truly remarkable audio experience. Whether you’re listening to music, taking calls, or simply enjoying your favorite audio content, you can now do so wirelessly and with exceptional sound quality.
Remember to keep your earbuds charged, download the Bose Music app for additional customization options, and occasionally update the firmware to ensure optimal performance.
If you encounter any difficulties during the pairing process or while using your Bose QC Earbuds, refer back to this guide and the troubleshooting tips provided. And if all else fails, don’t hesitate to reach out to Bose customer support for further assistance.
Now, grab your Bose QC Earbuds, follow the steps outlined in this guide, and embark on a wireless audio journey like no other. Enjoy the freedom, comfort, and exceptional sound quality that Bose QC Earbuds offer.